If you have ever tried to download a folder from Google Drive on your iPhone, you already know the experience can feel a little like asking your microwave to print a boarding pass. Technically, you are dealing with files. Emotionally, you are dealing with chaos.
The good news is that downloading Google Drive content on iOS is absolutely possible. The less-good news is that on iPhone and iPad, it does not always happen with one beautiful, obvious “Download Folder” button. Google Drive on iOS is much better at handling individual files, offline access, and app-to-app saving than it is at acting like a full desktop file manager.
That does not mean you are stuck. It just means you need the right method for the result you actually want. In some cases, you want a local copy of everything inside a folder. In others, you want the files available offline. And sometimes, you want a real ZIP-style folder download that behaves more like a computer. This guide walks through all of that in plain English, without pretending the process is simpler than it is.
So let’s clear the clutter, save your sanity, and show you the best ways to download a folder from Google Drive on iOS.
Can You Download a Google Drive Folder on iPhone?
Here is the honest answer: not in the same smooth, one-click way you can on a desktop browser. On iPhone, Google Drive is designed mainly around opening, sharing, downloading, and saving files. That means a full folder download is usually handled as a workaround rather than a native iOS superpower.
In practical terms, iPhone users usually end up choosing one of these three approaches:
- Move or copy the folder’s contents through the Files app into local storage or iCloud Drive.
- Download files one by one from the Google Drive app and save them to Files.
- Try a browser-based desktop-style workflow if you need something closer to a true folder export.
If your goal is simply “I want this folder and everything inside it on my iPhone,” the Files app route is usually the most practical. If your goal is “I want a single package I can save, share, or unzip later,” then browser-based methods may help, though they are less predictable on iOS.
What “Download a Folder” Really Means on iOS
Before tapping random menus like a game show contestant, it helps to define what you actually need. On iPhone, “download a folder” can mean a few different things:
1. Make the files available offline
This keeps the files accessible without a connection, but it does not always create the kind of local folder structure you expect in the Files app.
2. Save copies to your iPhone or iCloud Drive
This is the closest thing to a true download for most users. You end up with actual files stored in Files, either under On My iPhone or iCloud Drive.
3. Export the folder like a desktop download
This usually means a compressed archive or a more traditional computer-style download. On iOS, this is the trickiest option and not the most reliable one.
Once you know which outcome you want, the rest gets much easier.
Method 1: Use the Files App to Access Google Drive and Save Folder Contents
If you want the most iPhone-friendly solution, start with Apple’s Files app. This is the best option for people who want to keep their Google Drive files organized and move them into a place they can actually manage.
Step 1: Make Sure Google Drive Is Installed
First, download the Google Drive app from the App Store and sign in to your account. Without the app, Google Drive will not show up as a location inside the Files app. No app, no magic. Just vibes.
Step 2: Enable Google Drive in Files
- Open the Files app on your iPhone.
- Tap Browse.
- Tap the More button, then tap Edit.
- Turn on Google Drive.
- Tap Done.
Now Google Drive should appear as a location inside Files, right alongside iCloud Drive and On My iPhone.
Step 3: Open the Folder You Want
In Files, tap Google Drive, then browse to the folder you want to download. If the folder is large, give it a second to load. Cloud storage loves dramatic pauses.
Step 4: Select the Files Inside the Folder
Because iOS is better at moving file contents than performing a full desktop-style folder export, the safest approach is to open the folder and select the files inside it.
- Tap the folder.
- Tap the More button or Select.
- Choose the files you want to save.
- Tap Move or Copy, depending on what your version of iOS shows.
Step 5: Choose Where to Save Them
You now have two strong choices:
- On My iPhone if you want the files stored locally on the device.
- iCloud Drive if you want them saved in Apple’s cloud and synced across your Apple devices.
If the folder matters as much as the files, create a new folder in your destination first, then move the selected contents into it. That way, you preserve the organization even if iOS refuses to hand you a neat one-tap folder clone.
Why This Method Works Well
This is the best method for everyday use because it gives you real control. Once the files are in Files, you can rename them, tag them, move them again, share them through AirDrop, or attach them to email and Messages. In other words, your files stop feeling like they live in a cloud castle and start acting like normal files.
Method 2: Download Files from the Google Drive App
If the folder contains only a few important items, the Google Drive app itself may be enough. This method is better when you do not need to preserve the whole folder structure exactly as-is.
How to Download a File from Google Drive on iPhone
- Open the Google Drive app.
- Find the file you want.
- Tap the three-dot menu next to it.
- Choose Download or Open in.
- Select Save to Files if you want the file placed in Files.
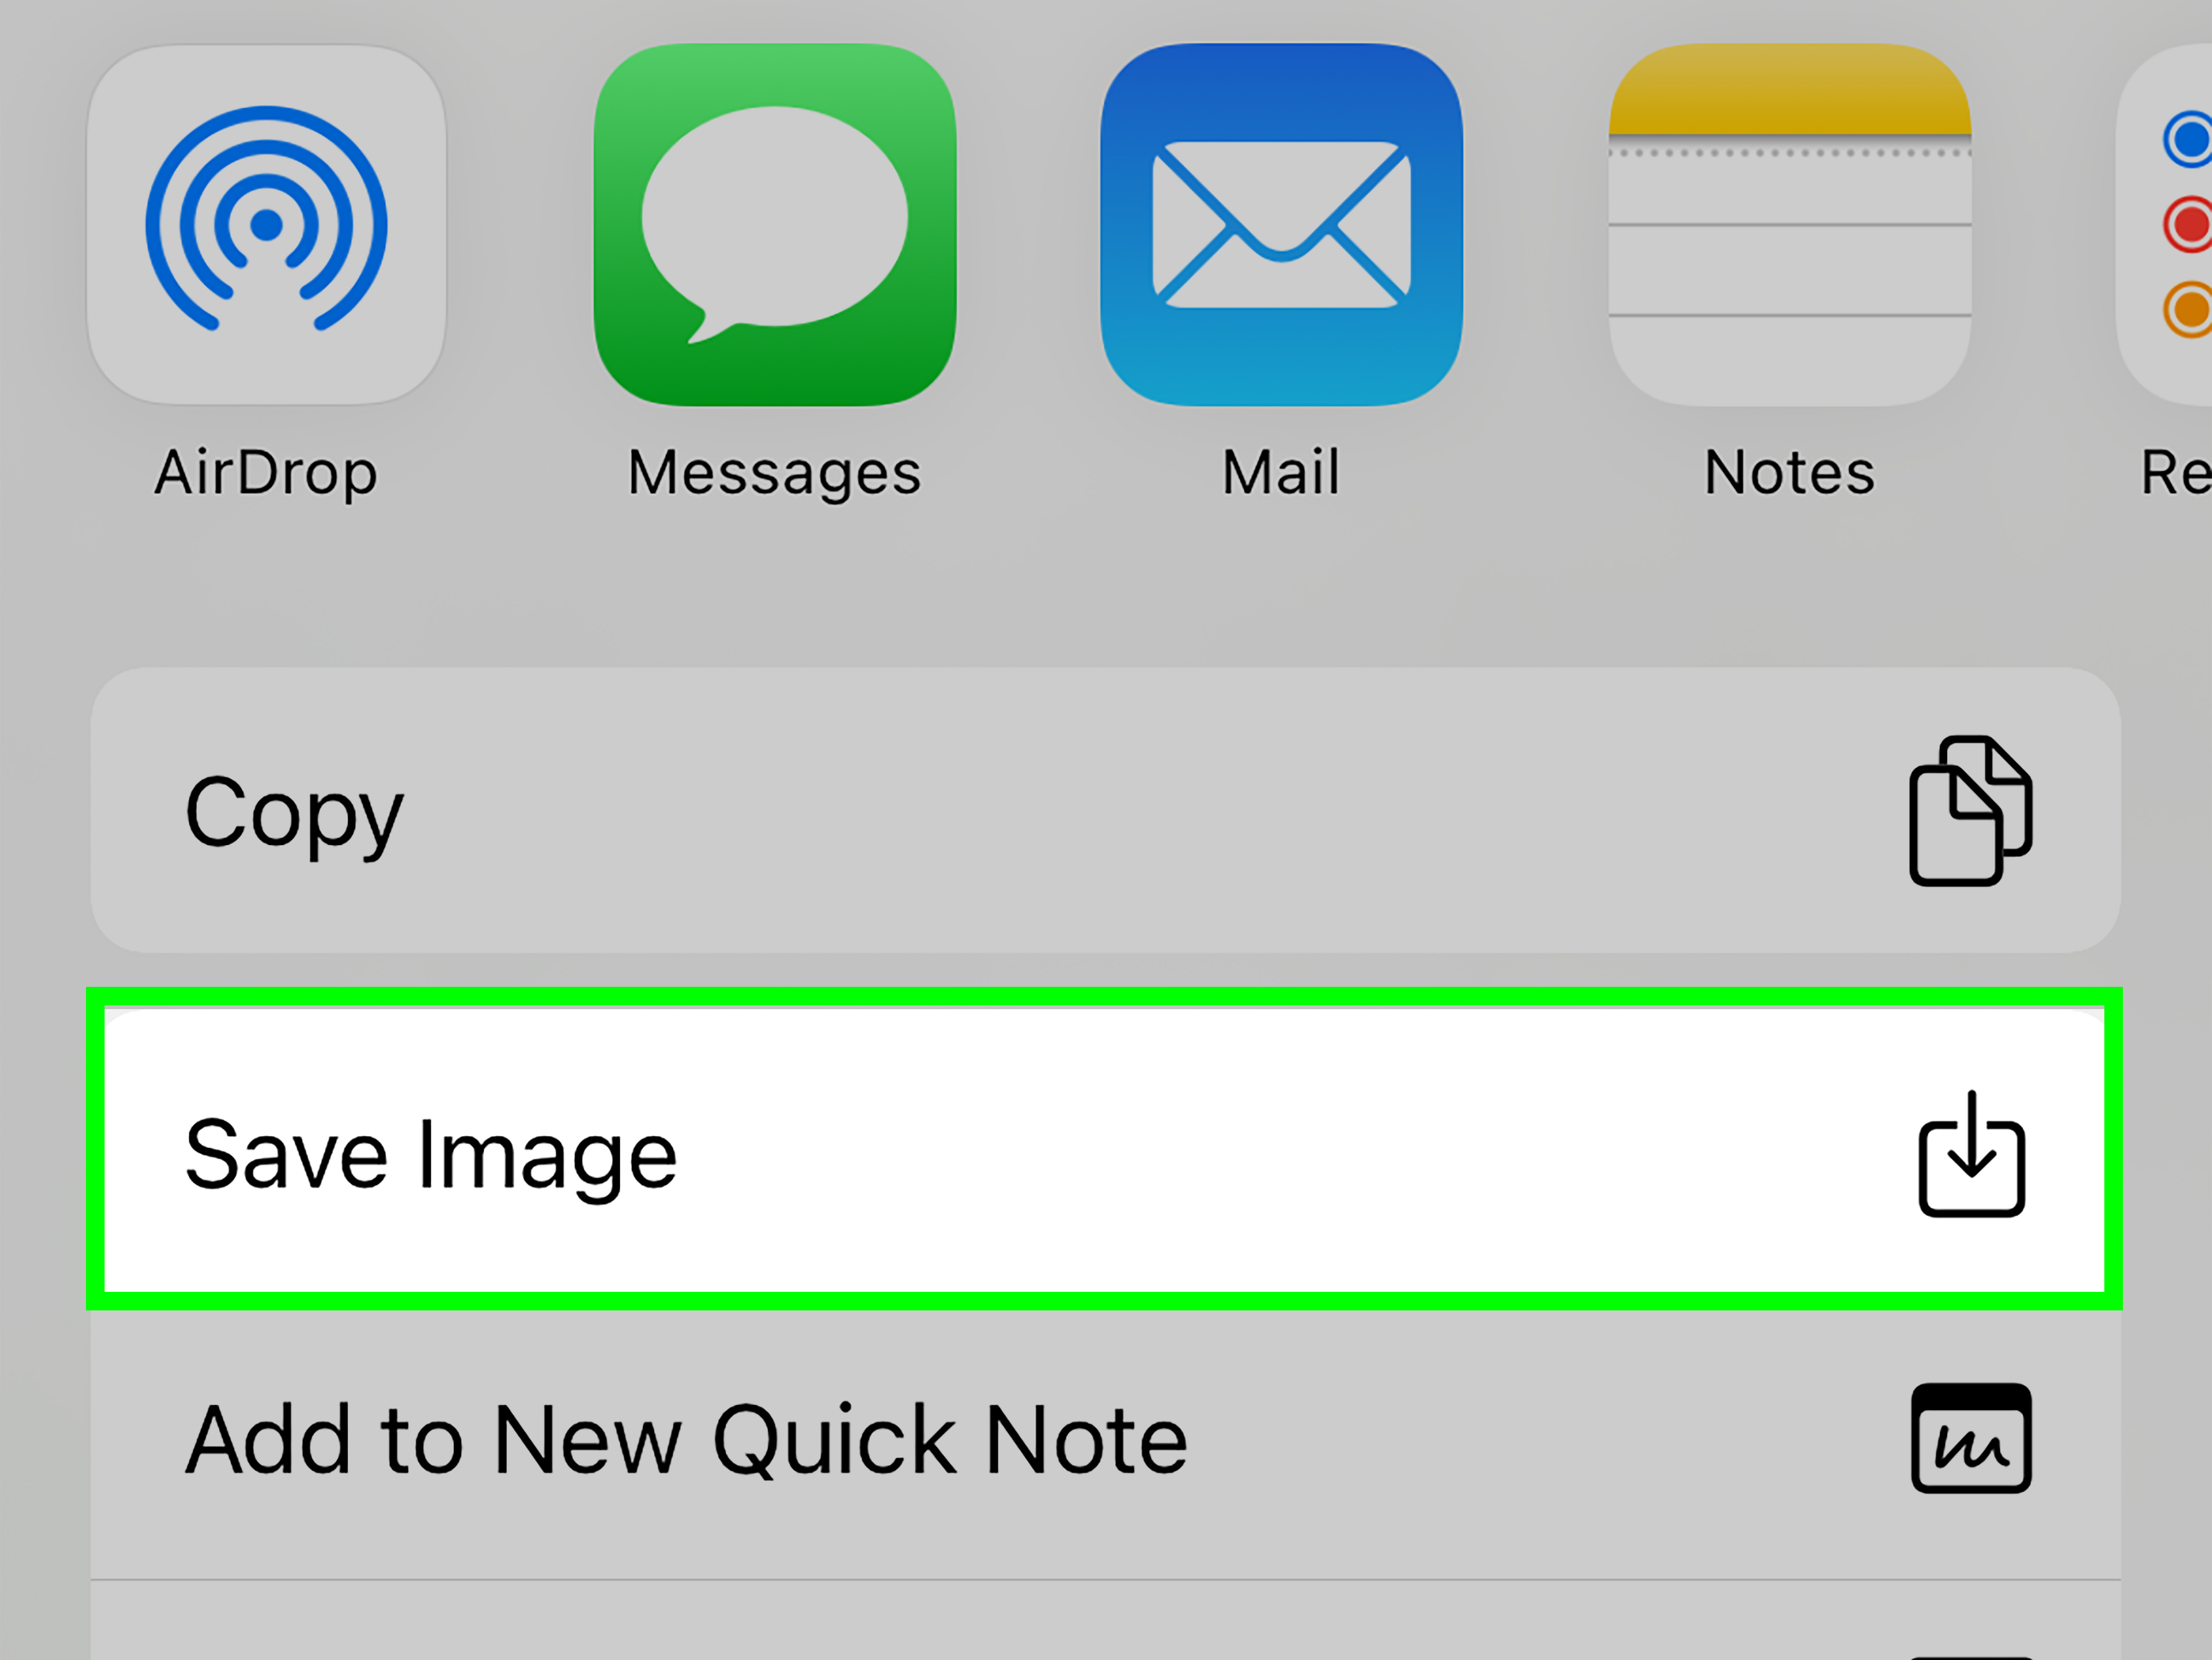
For photos and videos, you may also see options like Send a copy, Save Image, or Save Video, depending on the file type.
When to Use This Method
This works best when:
- You only need a few documents from the folder.
- You want to open a file in another app.
- You need a quick save without managing a bunch of subfolders.
The downside is obvious: if the folder has twenty-seven PDFs, three spreadsheets, six videos, and one mystery file no one remembers uploading in 2022, this method gets old fast.
Method 3: Make Files Available Offline Instead of Downloading Everything
Sometimes you do not actually need a local copy in Files. You just need access when Wi-Fi disappears and your cellular signal starts acting like it is on vacation.
In that case, use Available offline in Google Drive.
How to Make a File Available Offline
- Open the Google Drive app.
- Tap the three-dot menu next to a file.
- Turn on Available offline.
This saves the file for offline access within Google Drive. For Google Docs, Sheets, and Slides, you may get a better editing experience by using the dedicated Docs, Sheets, or Slides apps.
Why Offline Access Is Useful
Offline access is perfect for travel, spotty internet, classrooms, meetings, and all the other moments when technology decides to build character. But remember: offline availability is not always the same thing as a clean, local folder download in the Files app. It is more like packing a lunch than moving your whole kitchen.
Can You Use Safari to Download a Google Drive Folder?
Possibly, but this is where iOS gets a little moody.
Safari on iPhone can download files and save them to Files. It also has a Request Desktop Website option. In theory, that means you may be able to load Google Drive in a more desktop-like way and try a computer-style download workflow.
In practice, results vary. Sometimes the interface loads in a usable way. Sometimes it acts like it is helping while quietly plotting against you. And sometimes a folder download that works beautifully on a computer turns into a confusing browser experience on iPhone.
If You Want to Try It
- Open Safari.
- Go to drive.google.com.
- Sign in to your Google account.
- Tap the page menu and choose Request Desktop Website.
- Locate the folder and look for a download option.
- If the download starts, check the Downloads area in Safari or the Downloads folder in Files.
If you choose this method, think of it as an advanced workaround, not a guaranteed iOS feature. It is best for patient users who do not mind a little experimentation.
Where Do Downloaded Google Drive Files Go on iPhone?
This depends on how you saved them.
If You Used “Save to Files”
The files will go wherever you chose, usually:
- On My iPhone
- iCloud Drive
- Downloads
If You Downloaded Through Safari
Your file usually lands in the Downloads folder. Safari can be set to save downloads in iCloud Drive, On My iPhone, or another location you select.
If You Used “Available offline”
The file remains accessible in the Google Drive ecosystem rather than showing up like a normal local file in a neatly labeled iPhone folder.
If you cannot find your download, open Files > Browse > Downloads, then check both iCloud Drive and On My iPhone.
Common Problems and Fixes
The Google Drive location does not show up in Files
Make sure the Google Drive app is installed, updated, and signed in. Then go back to Files > Browse > More > Edit and turn it on.
I can open the folder, but I cannot get a full local copy
That is the most common iOS limitation. Open the folder, select the contents, and move or copy the files into a local folder you create in Files.
The file opens, but it does not really “download”
Use Open in or Save to Files instead of just previewing the file. Previewing is not the same as storing.
I need the entire folder exactly as one package
Your best bet may be a desktop or laptop, where Google Drive’s browser experience is more complete. iPhone is great at convenience, but it still is not trying to be your MacBook’s identical twin.
I do not have enough storage
Check your available iPhone storage before moving large folders, especially if the folder contains videos. Cloud files feel weightless until they move onto your device and suddenly start eating lunch in your storage settings.
Best Strategy for Most iPhone Users
If you want the simplest recommendation, here it is:
- Use the Files app to connect to Google Drive.
- Open the folder.
- Select the contents.
- Move or copy them into a new folder under On My iPhone or iCloud Drive.
This method is the most reliable, the most iOS-friendly, and the least likely to make you mutter at your screen.
If you only need a few files, use the Google Drive app directly. If you only need access without internet, use Available offline. If you absolutely need a true folder-style export, try Safari in desktop mode or switch to a computer.
Final Thoughts
Downloading a folder on Google Drive from an iPhone is not impossible. It is just annoyingly specific. iOS gives you several workable paths, but each one serves a slightly different purpose. That is why the smartest move is not asking, “Where is the download folder button?” but asking, “What result do I actually need?”
If you want everyday access, use Files. If you want a quick one-off save, use the Google Drive app. If you want offline reading, toggle offline access. And if you want a full desktop-style export, be ready to use a browser workaround or a computer.
In short, the complete iOS guide is this: Google Drive folders on iPhone are manageable, but not magical. Once you understand the difference between offline access, local storage, and browser downloads, the process becomes much easier.
Extra Experience and Real-World Tips from iPhone Users
One of the biggest surprises for people coming from a laptop is that iPhone handles cloud storage more like a collection of access points than a classic folder system. On a computer, you right-click, choose Download, and move on with your day. On iPhone, the same task can feel like a tiny project. That does not mean iOS is bad at file handling. It just means the system is designed around mobility first and file management second.
In real-world use, most people run into the same pattern. They open Google Drive, find the folder, expect a simple “download folder” option, and then spend the next few minutes bouncing between Google Drive, Files, Safari, and maybe their patience limit. Usually, the breakthrough comes when they realize that the Files app is not just a side character. It is the control center. Once Google Drive is enabled there, the whole process starts making more sense.
Another common experience is confusion over what counts as a download. A file preview in Google Drive can look like it is already saved, but that does not always mean it is stored locally on the device. Many users only discover the difference when they lose internet access and the file suddenly becomes a ghost. That is why “Available offline” and “Save to Files” are not interchangeable. One is about access inside Google’s ecosystem. The other is about creating a more traditional file you can manage through Apple’s system.
Large folders bring their own drama. A folder full of PDFs is usually manageable. A folder full of high-resolution videos can turn your iPhone storage into a panic event. This is where people often wish they had checked available space first. It is also why saving to iCloud Drive can be the better move if you want Apple-device access without stuffing everything directly into local storage.
Shared folders can also trip people up. Sometimes the issue is not iOS at all. It is permissions. If the owner of a shared file or folder has restricted downloading, your iPhone is not going to magically negotiate a better deal on your behalf. When something refuses to save, checking sharing permissions can save a lot of frustration.
And then there is the browser route. Some users swear by Safari with Request Desktop Website. Others try it once and immediately decide that life is too short. That pretty much sums up the experience. It can be useful, especially for advanced users who are determined to get a more desktop-like result, but it is rarely the first method I would recommend to someone who just wants their files without a side quest.
The practical lesson is simple: on iPhone, the best Google Drive workflow is the one that matches your goal. If you need access, use offline mode. If you need ownership and control, save to Files. If you need a perfect archive, use a computer when possible. Once you stop expecting iOS to behave exactly like desktop Google Drive, the whole process gets less annoying and a lot more effective.