A strapless dress can look elegant, dramatic, and just a little bit risky if you spend the whole event doing the famous “discreet tug upward” every seven minutes. That is exactly why so many people search for ways to add sleeves to a strapless dress. Sometimes the goal is extra coverage. Sometimes it is better support. Sometimes it is style. And sometimes it is because the dress is gorgeous, but your shoulders have filed a formal complaint.
The good news is that adding sleeves is absolutely possible. The less fun news is that it is not always a quick snip-and-stitch project. A strapless dress was originally built without shoulder support, so when you add sleeves, you are changing both the look and the structure of the garment. That means the smartest approach is to choose the right sleeve style, match the fabric carefully, and decide whether your dress needs extra support inside the bodice before you sew a single thing.
In this guide, you will learn how to add sleeves to a strapless dress, what tools and fabrics work best, which sleeve styles are easiest, when to call a professional tailor, and how to avoid the classic mistake of creating sleeves that look pretty but make it impossible to lift your arms higher than shoulder level. Fashion should be fabulous, not a hostage situation.
Why Add Sleeves to a Strapless Dress?
Before you start pinning fabric all over your dress like a determined raccoon with a sewing kit, get clear on your reason. The “why” affects the “how.”
Common reasons people add sleeves
- They want more coverage across the shoulders or upper arms.
- They want the dress to feel more secure and less likely to slip.
- They want to make the dress look more formal, romantic, or modest.
- They are updating an older strapless dress for a different event.
- They love the dress but do not love the fully bare-shoulder silhouette.
That reason matters. If you mainly want style, detachable sleeves or soft draped sleeves may be enough. If you want support, the bodice may need built-in cups, boning, elastic, or stay tape in addition to the sleeves. Sleeves alone should not be expected to hold up a heavy dress, especially if the fabric is satin, heavily beaded, corseted, or lined like formalwear.
Choose the Best Sleeve Style First
The easiest way to succeed is to pick a sleeve style that works with the original shape of the dress. Not every strapless neckline wants a full long sleeve. Some dresses practically beg for a delicate illusion cap sleeve. Others look best with removable off-the-shoulder drapes that whisper elegance instead of screaming “I was attached at midnight in a panic.”
1. Cap sleeves
Cap sleeves are one of the easiest options because they are small, flattering, and do not require as much fabric or dramatic reshaping. They are a great match for cocktail dresses, bridesmaid dresses, and simple formal gowns.
2. Off-the-shoulder sleeves
This style wraps lightly around the upper arm and creates a romantic neckline. It is popular because it keeps the shoulder area open while adding softness and coverage. It also works well when you want a less structured look.
3. Illusion sleeves
Illusion sleeves use sheer mesh, tulle, or lace to create coverage without making the dress feel heavy. These are ideal if you want a bridal or eveningwear finish. They can be subtle, elegant, and surprisingly practical.
4. Puff sleeves
Puff sleeves can transform a simple strapless dress into something trendy and editorial. They work best when the dress has enough visual structure to balance the volume. On a very sleek dress, giant puff sleeves can look fabulous or wildly confusing. Measure your courage accordingly.
5. Full set-in sleeves
These are the most complex. A true set-in sleeve usually needs a shaped armhole and a bodice designed to receive the sleeve cap. If your strapless dress does not already have that structure, this is more of a pattern-alteration project than a basic fix.
What You Need Before You Start
- Your strapless dress, freshly pressed
- Matching fabric or compatible contrast fabric
- Lining fabric if needed
- Paper for pattern drafting or tracing
- Measuring tape
- Pins or clips
- Chalk or washable fabric marker
- Hand-sewing needle and matching thread
- Sewing machine
- Iron and pressing cloth
- Optional: bra cups, boning, stay tape, elastic, lace appliqués
If possible, use extra fabric from the dress hem, seam allowances, matching wrap, or leftover material from the original garment. That usually gives the cleanest visual result. If that is not available, bring the dress to a fabric store and match weight, drape, sheen, and fiber content as closely as possible. “Sort of similar” is how you end up with one sleeve saying satin and the other saying costume department.
Check the Structure of the Bodice
This step is where smart sewing beats wishful thinking. A strapless dress depends on the bodice for support. When sleeves are added, especially non-sheer sleeves, the bodice may need reinforcement so the new design hangs correctly.
Look for these features inside the dress
- Boning or corset structure
- Built-in bra cups
- Waist stay or inner grosgrain ribbon
- Elastic at the top edge
- Firm lining or interfacing
If your dress is soft and unstructured, adding sleeves may actually pull the neckline out of place unless you stabilize the top edge first. For lightweight dresses, that may mean adding stay tape or a firmer facing. For formal dresses, it may mean professional alterations with cups or internal support added during the fitting process.
How to Add Sleeves to a Strapless Dress: Step by Step
Step 1: Try the dress on and mark placement
Put the dress on or place it on a dress form. Stand naturally. Decide where the sleeve should begin and end. Mark the front and back placement with pins or chalk. This is especially important with off-the-shoulder or cap sleeves, because even half an inch can change how the dress sits.
Step 2: Decide whether the sleeves will be decorative or functional
Decorative sleeves mostly add style and coverage. Functional sleeves affect fit and movement. If your sleeves need to support the dress, they must be attached securely and balanced with internal bodice support. If they are decorative, you have more freedom with soft tulle, lace, or detachable designs.
Step 3: Make a test pattern
Do not skip the mock-up. Use muslin, inexpensive cotton, or another test fabric to create the sleeve shape first. This is especially important for full sleeves or puff sleeves. Test how the sleeve looks when your arm is down, bent, and raised. You are not just fitting a garment. You are negotiating a peace treaty between glamour and mobility.
Step 4: Cut the sleeve fabric
After testing, cut your final fabric carefully. If you are using lace, decide whether you want symmetry in the motif placement. If you are using chiffon or satin, cut on a flat surface and handle gently to avoid stretching or warping.
Step 5: Finish the sleeve edges first
Hem, bind, or finish the sleeve openings before attaching them to the dress when appropriate. This is often easier for cap sleeves, flutter sleeves, and detachable styles. Press everything as you go. A pressed sleeve looks custom. An unpressed sleeve looks like it lost a bet.
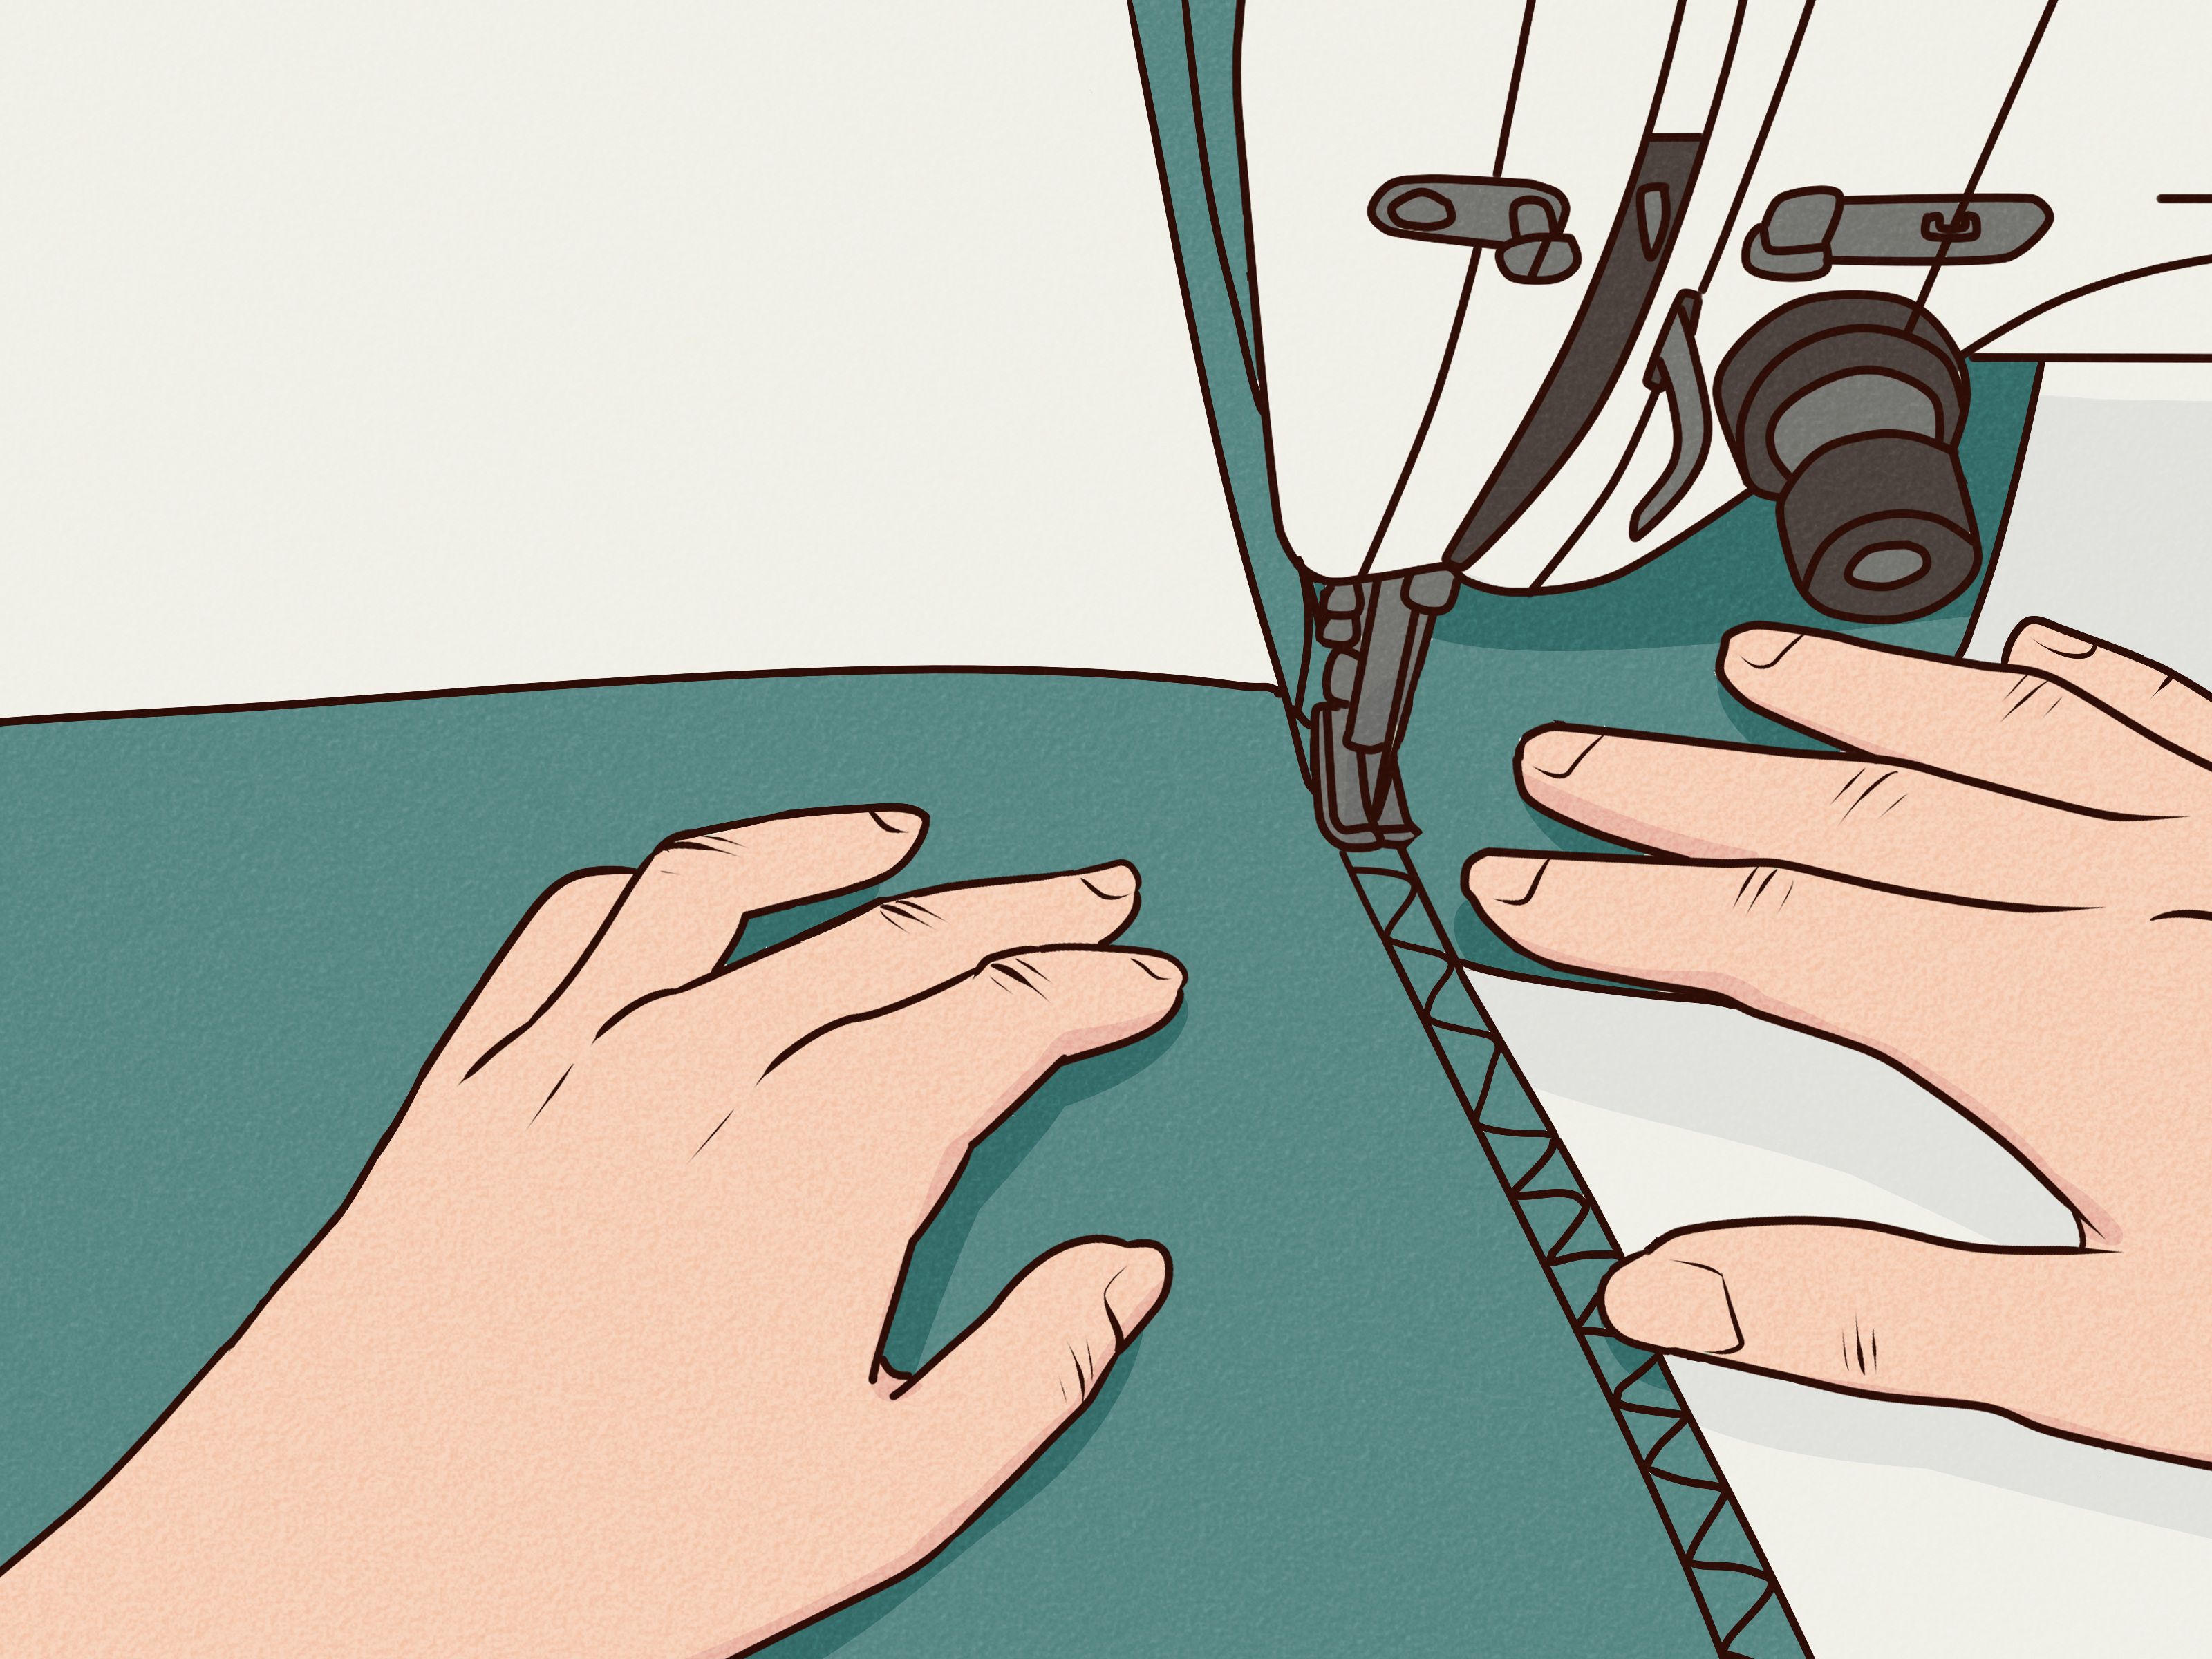
Step 6: Hand-baste the sleeves to the bodice
Pinning is fine, but hand-basting is better. Basting lets you test the exact angle, tension, and drape before committing. Try the dress on again after basting. Check the mirror from the front, side, and back. Sit down. Lift your arms. Hug yourself. Reach for an imaginary canapé. This is quality control.
Step 7: Sew the sleeves permanently
Once the placement is correct, stitch the sleeves in place. For delicate or formal dresses, a combination of machine sewing and discreet hand finishing often gives the best result. Reinforce stress points at the front and back sleeve joins if the sleeve will experience pull during wear.
Step 8: Add finishing details
If needed, cover seams with lace appliqué, trim, or a narrow binding. This can make the sleeve addition look intentional rather than altered. For bridal or formal styles, hand stitching lace over the join is one of the cleanest ways to blend old and new elements.
Best Fabrics for Added Sleeves
Fabric choice can make or break this project. The sleeve does not need to be identical to the dress fabric, but it must make sense with it.
Good options include:
- Lace: Great for illusion sleeves, cap sleeves, and bridal looks.
- Tulle or mesh: Good for sheer coverage and soft structure.
- Chiffon: Best for draped or flutter sleeves.
- Satin: Beautiful, but slippery and less forgiving.
- Organza: Helpful when you want crisp shape and light volume.
- Matching dress fabric: Best for seamless, polished results.
If the dress is heavy, use sleeves that can visually support that weight. Tiny flimsy chiffon sleeves on a heavily structured satin gown can look out of balance. Likewise, thick matte sleeves on a sleek silk dress can feel clunky.
When to Use Detachable Sleeves Instead
If you want flexibility, detachable sleeves are brilliant. They can be snapped, hooked, or lightly stitched in place. This works well for brides, prom dresses, formal events, and anyone who wants sleeves for the ceremony and a strapless look later.
Detachable sleeves are also smart if you are nervous about altering an expensive dress permanently. You get coverage and style without fully rewriting the dress’s original design.
Mistakes to Avoid
- Adding sleeves without checking whether the bodice can support them
- Using fabric that does not match the weight or sheen of the dress
- Skipping the mock-up and hoping the sleeve shape works out
- Placing sleeves too far outward so they slide off the shoulder
- Placing sleeves too high so arm movement becomes restricted
- Ignoring lining, cups, or boning when the dress needs more support
- Machine stitching delicate beaded or lace fabric without testing first
Should You DIY or Hire a Professional?
A simple chiffon off-the-shoulder sleeve on a casual dress may be a realistic DIY project. A beaded bridal gown with corsetry, lace motifs, and a slippery lining is a different creature entirely. If the dress is expensive, sentimental, highly structured, or needed for a major event, a professional seamstress is often the smarter choice.
You should strongly consider a pro if your dress has boning, an internal corset, heavy embellishment, or a complicated neckline. You should also call a pro if you want long fitted sleeves with a clean couture finish. There is no shame in outsourcing. Even very experienced home sewists know when a project has entered “maybe I should not freestyle this” territory.
Style Ideas for a Better Final Look
- Add lace cap sleeves to a satin cocktail dress for vintage charm.
- Use sheer illusion sleeves on a formal gown for coverage without bulk.
- Add flutter sleeves to a summer strapless dress for softness and movement.
- Create detachable puff sleeves for a trendy editorial look.
- Use matching appliqués at the sleeve seams so the addition looks original.
Final Thoughts
Learning how to add sleeves to a strapless dress is really about balancing structure, comfort, and style. The prettiest sleeve in the world is not helpful if the dress shifts every time you breathe. Start by choosing the right sleeve style for the dress you already have, then support that choice with the right fabric, fitting process, and internal structure.
If you take your time, test your pattern, and finish the details properly, the result can look custom rather than altered. And that is the dream, right? A dress that looks like it was always meant to have sleeves, even if two days ago it was out here living its strapless life without a care in the world.
Experience-Based Lessons From Real-World Sleeve Additions
One of the most interesting things about adding sleeves to a strapless dress is that the technical part is only half the story. The other half is what people actually experience once the dress leaves the sewing table and enters real life. That is where the useful lessons show up.
A very common experience is that people start out thinking they only want more coverage, but once the sleeves are added, they realize what they really wanted was more security. That difference matters. If the dress already fits snugly and the bodice is structured well, soft sleeves can be mostly decorative. But if the dress feels unstable before the alteration, adding sleeves without strengthening the bodice can create disappointment. The dress may still shift, except now it does so with extra fabric attached. In other words, sleeves are not magic. They are design elements, not superheroes.
Another common lesson is that sleeve comfort is easy to underestimate. On a hanger, many sleeve styles look beautiful. On a human being who intends to sit, dance, wave, eat, hug, and possibly take seventeen photos from slightly different angles, comfort becomes everything. People often discover that very fitted sleeves or high-set off-the-shoulder sleeves look amazing for five minutes and then begin to limit movement. That is why the test fitting matters so much. A dress is not a museum object. It is supposed to survive dinner.
There is also the emotional side of the project. Many people add sleeves because they want to feel more like themselves in the dress. Maybe the original strapless design felt too exposed. Maybe the event is in a religious venue. Maybe the dress is gorgeous, but the wearer wants a softer, more romantic look. In those cases, the experience is often overwhelmingly positive because the alteration changes not just the silhouette, but the confidence level. When someone stops tugging at the neckline and starts enjoying the event, that is a successful alteration.
Fabric matching is another area where experience teaches fast. People often assume color is the main challenge, but texture and sheen can matter just as much. A “close enough” ivory can still look wrong if one fabric is matte and the other has a luminous finish. Lace can be easier because it blends visually, especially when appliqués soften the seam lines. That is one reason illusion sleeves and lace cap sleeves are so popular. They are forgiving, elegant, and excellent at making an alteration look intentional.
Finally, many people who go through this process say the best decision they made was slowing down. They tried the dress on multiple times. They tested sleeve positions. They moved their arms around like dramatic stage actors in a rehearsal studio. They checked the dress in natural light. They refused to rush the final stitch. And that patience usually shows in the final result.
So if you are thinking about adding sleeves to a strapless dress, the biggest takeaway is simple: the best outcomes happen when style, fit, and real-life wearability all get equal attention. Pretty matters. Comfort matters. Structure matters. And yes, being able to reach for dessert without hearing a suspicious seam sound also matters.