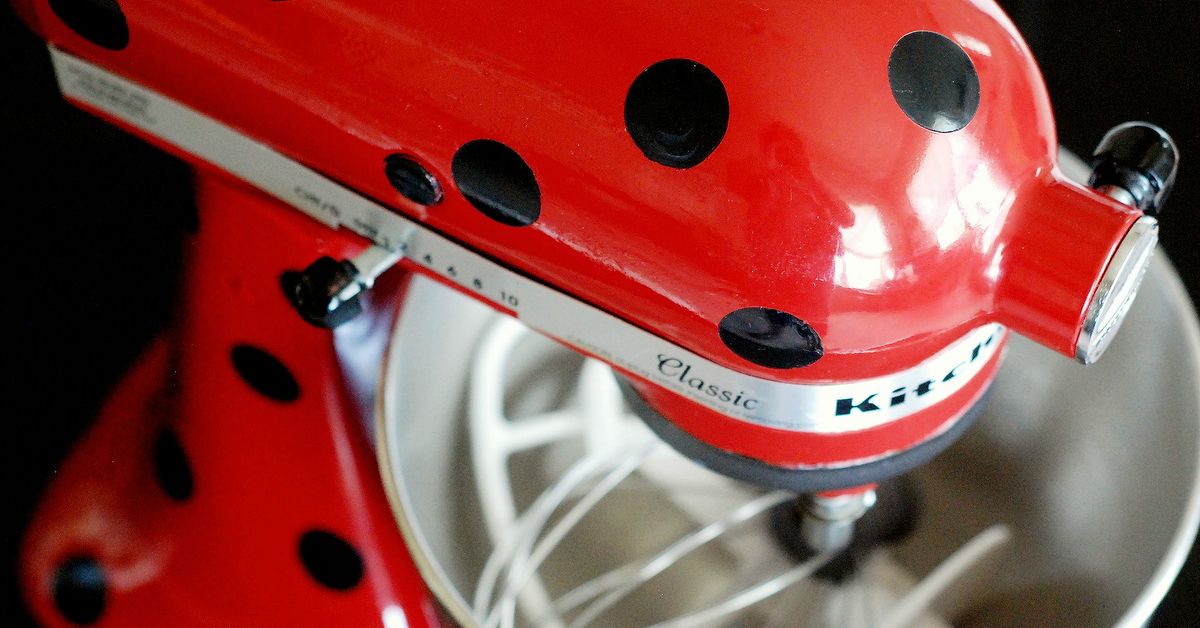
Your KitchenAid mixer may still whip cream like a champ, knead dough like a tiny gym coach, and sit on your counter like the heavyweight champion of baked goods. But maybe the color? Not your vibe anymore. Maybe it clashes with your new kitchen, maybe it screams “college apartment red,” or maybe it simply has the tired look of an appliance that has seen one too many banana bread phases.
A spray paint makeover can give that mixer a dramatic new look without forcing you to buy a brand-new machine just to get a prettier shell. Done well, the finish can look sleek, glossy, and surprisingly factory-like. Done poorly, it can look like your mixer lost a fight with a craft aisle. The difference comes down to prep, patience, and knowing exactly what should and should not be painted.
This guide walks through a smart, realistic way to repaint the exterior of your KitchenAid mixer so it looks polished, lasts longer, and still functions exactly the way it should. No gimmicks. No magical one-coat fantasy. Just a thorough, fun, practical plan for turning a perfectly good mixer into a countertop showpiece.
Why a KitchenAid mixer makeover is worth it
KitchenAid mixers are built to last, which means the body often outlives your taste in color. A spray paint makeover lets you keep the motor you trust while updating the look to match your kitchen style. It is also a more budget-friendly route than replacing the whole appliance just because your current mixer no longer sparks joy, excitement, or even mild decorative approval.
There is also a design perk here. Custom painting opens the door to colors and finishes you may not find in standard retail models. Think creamy white, soft sage, deep navy, matte black, warm mushroom beige, glossy blush, or even a vintage-inspired color that makes your mixer look like it belongs in a bakery where everyone says words like “laminated dough” with confidence.
That said, this project works best when your mixer is structurally sound. If the finish is ugly but the machine runs beautifully, repainting makes sense. If the motor struggles, the gears grind, or the speed control acts possessed, cosmetic work should not be your first priority.
Read this before you paint a single inch
Paint only the exterior housing
The safe rule is simple: keep paint off anything that touches food, anything that moves, and anything that needs a clean mechanical fit. That means the bowl, flat beater, dough hook, wire whip, shaft area, cord, control parts, and similar functional surfaces should stay unpainted. A KitchenAid mixer makeover is an exterior makeover, not an all-over dip in mystery coating.
Check the warranty reality
If your mixer is still new or still under warranty, pause before you start. Cosmetic finish damage is generally excluded in KitchenAid warranty language, and alteration or modification can complicate repair claims. In plain English: a DIY paint job may be worth it, but you should make that choice with open eyes, not while standing in the garage holding a can of spray paint like destiny just called your name.
Ventilation is not optional
Spray paint fumes are the opposite of a charming kitchen candle. Work outdoors or in a very well-ventilated area, protect surrounding surfaces, and use appropriate safety gear. A calm, dust-free setup matters just as much as the color you choose. Wind, humidity, and floating garage fuzz can turn a smooth finish into a bumpy little tragedy.
Patience is part of the finish
The biggest mistake people make is confusing “dry to the touch” with “ready for real life.” Many spray coatings feel dry fairly quickly but still need much longer to harden and cure. If you rush reassembly, you can leave fingerprints, dents, smudges, or tape marks before your mixer even gets its grand return to the counter.
What you need for a spray paint makeover
- Degreasing cleaner or mild dish soap
- Microfiber cloths or lint-free rags
- Fine-grit sanding sponge or fine sandpaper
- Painter’s tape
- Plastic wrap, paper, or bags for masking
- Screwdriver for removable trim pieces
- Metal primer or primer suitable for the paint system you choose
- Spray paint formulated for metal or indoor appliance exteriors
- Optional clear sealer for extra gloss and protection
- Drop cloth or cardboard
- Gloves, eye protection, and a suitable mask or respirator
Choose products that are designed for metal and always follow the exact instructions on the can. Some paints want primer. Some are paint-and-primer blends. Some have very specific recoat windows. The can is not being dramatic; it is giving you the rules that keep the finish from wrinkling, peeling, or turning into orange peel with confidence issues.
How to spray paint your KitchenAid mixer step by step
1. Unplug the mixer and remove what you comfortably can
Start by unplugging the mixer and removing the obvious removable parts, including the bowl and attachments. Many DIYers also remove trim pieces such as the back cap, decorative metal band, bottom bowl support, and front accessory cover, depending on the model. Take photos from several angles before you remove anything. Future you will be deeply grateful when it is time to reassemble and you are no longer operating on vibes alone.
2. Deep-clean the exterior
This step is not glamorous, but it is what separates a durable finish from a peeling one. Kitchen mixers collect grease, flour dust, splatters, and the weird sticky film that appears when an appliance lives near actual cooking. Wash the exterior thoroughly, especially around the trim band, seams, and underside where grime likes to form secret alliances. Let everything dry completely.
3. Mask all non-paint areas carefully
Use painter’s tape and masking material to protect every surface that should not be painted. This usually includes metal parts you want to keep exposed, logos or trim you are preserving, screws, the cord, adjustment or control parts, and any area near the shaft or attachment points. Precision matters here. Crooked masking creates sloppy paint lines, and sloppy paint lines are how a “custom makeover” becomes a “close enough from across the room” project.
4. Scuff the glossy finish
Most mixer exteriors are too slick for paint to grip well without prep. Lightly sand the glossy painted shell until the shine is dulled. You are not trying to carve your initials into the machine. You just want to create tooth so primer and paint can bond better. A fine-grit sanding sponge works well because it follows the curves of the mixer body more easily than flat paper.
After sanding, remove all dust. Wipe the mixer down thoroughly so no powder remains. Dust left on the surface can ruin adhesion and texture, which is a terrible outcome after you just spent quality time sanding around every curve like a very committed countertop sculptor.
5. Apply primer
If your chosen paint system calls for primer, do not skip it. Primer helps even out the finish, improves adhesion, and can make the topcoat look richer and more uniform. Spray light, even coats rather than one heavy coat. Let each coat dry according to the product instructions. If your mixer has chips, scratches, or color changes from dark to light, primer becomes even more valuable.
6. Spray the color in light coats
Now for the satisfying part. Hold the can at the distance recommended on the label and keep it moving. Start the spray just off the edge of the mixer, pass across the surface in a smooth motion, and release after you pass the other edge. Overlap slightly with each pass. Thin coats are your friend. Heavy coats are how drips are born.
It usually takes multiple light coats to build even coverage. That is normal. Better to do three or four gentle passes than one thick layer that sags like wet frosting on a summer cake. If a drip happens, let it dry fully, sand it smooth, and recoat lightly. Panicking and trying to “fix it while it’s wet” usually creates a much larger paint disaster.
7. Add a clear topcoat if you want extra shine or protection
A clear sealer is optional, but many DIYers like it for gloss, depth, and added scratch resistance. If you choose to seal, make sure the sealer is compatible with your paint. Use the same light-coat strategy and do not rush the process. A clear coat can elevate the final look, but only when it is applied patiently and within the product’s recommended timing.
8. Let it cure before reassembly
This is where many projects go sideways. Even if the mixer looks dry the next day, the coating may still be soft underneath. Give it proper curing time before peeling tape, reinstalling trim, or putting the machine back into regular use. Waiting an extra day or two is often smarter than rushing and leaving a thumbprint on the exact side that faces the room.
Best paint choices and finishes for a KitchenAid mixer
For most mixers, a spray product designed for metal or appliance exteriors makes the most sense. Gloss and satin are the most forgiving and most similar to what people expect from a finished appliance body. High-gloss colors can look luxurious, but they show flaws more easily. Matte finishes feel modern, though they may highlight texture if your prep was less than perfect.
If you want a refined look, consider colors that already work well in kitchens: soft white, cream, black, charcoal, olive green, dusty blue, pale gray, and warm beige. If you want your mixer to be the star of the counter, jewel tones like emerald, cobalt, and burgundy can look fantastic. Metallics can be gorgeous too, but they require especially careful application because unevenness shows up quickly.
The smartest approach is to choose a color that complements your cabinetry, backsplash, hardware, or countertop rather than trying to match everything exactly. Your mixer does not need to disappear. It just needs to look intentional.
Common mistakes that ruin the finish
Skipping the degreasing step
Kitchen grime is stealthy. A surface can look clean and still be oily enough to sabotage paint adhesion. If your mixer has lived near frying, baking, or sauce splatter, assume it needs more cleaning than you first think.
Using coats that are too heavy
Thick coats create drips, uneven sheen, and longer dry times. They also make it easier to dent the finish later. Thin, repeated coats win this race every time.
Not sanding enough, or sanding too aggressively
If the surface stays too glossy, the paint may not grip well. If you go too rough, you may create visible scratches that show through. Aim for a light scuff, not a demolition project.
Ignoring the label instructions
Every product has its own rules for temperature, humidity, recoat timing, and cure time. A can of spray paint is not a suggestion container. Read it, respect it, and your finish will thank you.
Painting parts that should remain untouched
This is the big one. Keep the makeover limited to the outer shell and cosmetic surfaces. The more you treat this like refinishing a sturdy appliance body instead of coloring every visible thing, the more professional the result will look.
How durable is a spray-painted KitchenAid mixer?
If the prep is solid and the cure time is respected, a repainted mixer can hold up surprisingly well. The key factors are surface prep, compatible products, thin coats, and patience. The finish will still need common sense. Do not slide it across rough counters. Do not bang metal bowls against the body. Do not clean it with abrasive scrubbers. Wipe it with a soft cloth and mild cleaner, just as you would a nice painted finish you actually care about.
Also remember that a freshly painted mixer is not indestructible just because it looks fabulous. Treat it like the glamorous workhorse it is. It can make bread dough and still deserve gentle cleaning.
Experience and lessons from real KitchenAid mixer makeovers
One of the most interesting things about a spray paint makeover is that people usually begin the project thinking it is all about color, then finish the project talking about prep, patience, and the shocking amount of gunk hiding under the trim band. That is the true emotional journey. You start with “I want a prettier mixer,” and somewhere around the second screw you realize you are also doing a deep clean, a minor restoration, and a personality test.
Many DIYers discover that the mixer looks worse before it looks better. After the cleaning and sanding stage, the body can appear dull, uneven, and slightly alarming. This is normal. A sanded mixer has all the charm of a half-frosted cake. But once primer and color go on in thin, controlled coats, the transformation starts to feel very real. That is usually the moment when confidence kicks in and the project stops feeling reckless.
Another common experience is surprise at how professional the finish can look when the masking is crisp. Good tape lines do a lot of heavy lifting. They make the project feel intentional. They also save you from the heartbreak of realizing you sprayed a decorative trim piece, a control area, or a detail that really should have stayed untouched. People who take their time with masking nearly always sound happier with the result than people who try to “just be careful” with the spray can. Famous last words, honestly.
Curing time is also where the most valuable lessons seem to happen. Plenty of makeover stories sound almost identical at this point: the mixer looked dry, it felt dry, and then someone reassembled it too early and found a soft spot, a smudge, or a fingerprint memorialized forever in glossy paint. The finish may be dry on the surface long before it is ready for normal handling. Waiting can feel ridiculous when your beautiful mixer is right there begging for its comeback tour, but patience is what keeps that comeback from becoming a repaint.
Color choice brings its own surprises too. Bold colors look thrilling in the can and on a test piece, but on a full mixer body they can feel much louder than expected. Soft neutrals often end up looking richer and more timeless once the appliance is back on the counter surrounded by cabinets, tile, and real-life clutter. On the flip side, some people are thrilled they went dramatic because a mixer is one of the few kitchen appliances that can actually behave like decor. There is no single right answer. The best color is the one that makes you happy every time you see it without making your toaster feel underdressed.
The most encouraging part of these makeovers is that people often end up liking their old mixer more after repainting it. Not because the motor changed. Not because it suddenly kneads dough with new emotional intelligence. But because customizing it makes the appliance feel personal again. It stops being the mixer you settled for and becomes the mixer you chose. That is a pretty satisfying outcome for a project built on tape, patience, and a cloud of carefully controlled spray paint.
Final thoughts
A spray paint makeover for your KitchenAid mixer can absolutely be worth it if you approach it like a real refinishing project instead of a shortcut. Clean thoroughly. Sand lightly. Prime when needed. Spray multiple thin coats. Let everything cure. Protect the functional parts. Respect the product instructions. Do all of that, and your mixer can come back looking fresh, custom, and stylish enough to earn permanent counter placement.
In other words, you do not need a brand-new mixer to get that “ooh, nice color” effect. Sometimes you just need a free weekend, a little patience, and the willingness to let your mixer have the glow-up it has clearly been waiting for.