A handsome end table can do a surprising amount of work. It holds the lamp, catches the coffee mug, hides the remote under a magazine, and quietly keeps the sofa from looking lonely. The trouble is that designer-style tables often arrive with designer-style price tags. Fortunately, the warm wood, substantial proportions, simple joinery, and softly aged finish associated with a Pottery Barn inspired end table can be recreated with basic lumber, a few dependable tools, and one unhurried weekend.
This project creates a 24-inch-square table with a lower shelf, clean apron, lightly rustic character, and enough visual weight to sit comfortably beside a full-size sofa. The plan is approachable for a confident beginner, yet the finished piece looks far more polished than “I met a drill for the first time on Saturday.”
What Makes an End Table Look Pottery Barn Inspired?
The recognizable look is less about copying one table and more about combining a few design ideas: a sturdy silhouette, natural-looking wood grain, restrained detailing, practical proportions, and a finish that feels collected rather than factory-shiny. Many high-end side tables use reclaimed-looking wood, hand-applied finishes, simple geometric bases, lower shelves, or thick tops that give the piece presence.
Substantial, Not Bulky
A successful end table should look strong without resembling a shipping crate. A 24-inch top works well beside many sofas and armchairs, while a 24-inch height puts drinks, books, and lamps within easy reach. Before cutting anything, measure the arm of the furniture that will sit beside the table. Ideally, the tabletop should land close to the arm height or slightly below it. Your elbow will appreciate this tiny act of planning.
Warm Wood and Visible Grain
Pine is affordable and easy to work, but it can appear blotchy under dark stain. Poplar paints beautifully and accepts medium stains more evenly, while oak offers pronounced grain and a more furniture-grade appearance at a higher cost. A pine project panel is the friendliest option for this build because it is flat, readily available, and requires less edge-gluing than individual boards.
A Soft, Hand-Finished Surface
The best finish is not necessarily the darkest one. A medium walnut, warm brown, weathered oak, or muted black-brown usually feels richer than an almost-opaque espresso stain. Light distressing around edges can add age, but moderation matters. The goal is “gently lived in,” not “rescued from a pirate ship.”
Project Overview
- Finished size: Approximately 24 inches wide, 24 inches deep, and 24 inches high
- Skill level: Beginner to intermediate
- Estimated build time: One weekend, including finish-drying intervals
- Joinery: Pocket holes, dowels, or countersunk screws
- Style: Transitional, rustic modern, modern farmhouse, or casual traditional
Materials
- One 24-by-24-inch, 3/4-inch-thick pine project panel for the top
- One 18 1/2-by-18 1/2-inch, 3/4-inch-thick panel for the lower shelf
- Two 2-by-2-by-8-foot boards for the legs
- One 1-by-4-by-8-foot board for the upper aprons
- One 1-by-2-by-8-foot board for the lower shelf rails
- 1 1/4-inch pocket-hole screws or appropriate wood screws
- Wood glue
- Wood filler in a stainable or paintable formula
- 120-, 180-, and 220-grit sandpaper
- Pre-stain wood conditioner, especially when staining pine
- Wood stain or furniture paint
- Clear polyurethane, polycrylic, hard-wax oil, or furniture wax
- Felt pads for the feet
Tools
- Tape measure and pencil
- Carpenter’s square
- Circular saw, miter saw, or handsaw with a guide
- Drill/driver
- Pocket-hole jig, if using pocket joinery
- Clamps
- Random-orbit sander or sanding block
- Brushes, foam applicators, and lint-free cloths
- Eye protection, hearing protection, and a suitable dust mask or respirator
Cut List for a 24-Inch End Table
- Four legs: 2-by-2 boards cut to 23 1/4 inches
- Four upper aprons: 1-by-4 boards cut to 18 1/2 inches
- Four lower shelf rails: 1-by-2 boards cut to 18 1/2 inches
- One tabletop: 24 by 24 inches
- One lower shelf: 18 1/2 by 18 1/2 inches
Lumber dimensions are nominal, so a “2-by-2” is usually about 1 1/2 inches square. Measure your actual boards before committing to the rail lengths. Woodworking has many traditions, including calling a board something it is not.
How to Build a Pottery Barn Inspired End Table
1. Select Straight, Compatible Boards
Lay each board on a flat surface and reject pieces that rock, twist, or curve dramatically. Minor imperfections can add character, but a corkscrew-shaped leg adds a different kind of charactermostly frustration. Compare the grain and color of the legs so the most visible faces feel consistent.
2. Cut and Label Every Part
Cut the legs, aprons, and lower rails according to the list. Use a square to mark clean 90-degree lines, and label mating parts with painter’s tape. After cutting, place the four legs together and confirm that they are equal in length. Even a small mismatch can create a wobble that no decorative basket will distract from.
3. Sand Before Assembly
Begin with 120-grit paper to remove mill marks and pencil lines, move to 180 grit for refinement, and finish exposed surfaces with 220 grit. Sand in the direction of the grain, ease sharp corners lightly, and remove dust with a vacuum followed by a clean microfiber or tack cloth. Pre-sanding the inside faces of the aprons and rails is much easier than attempting elegant sander gymnastics after assembly.
4. Build Two Side Frames
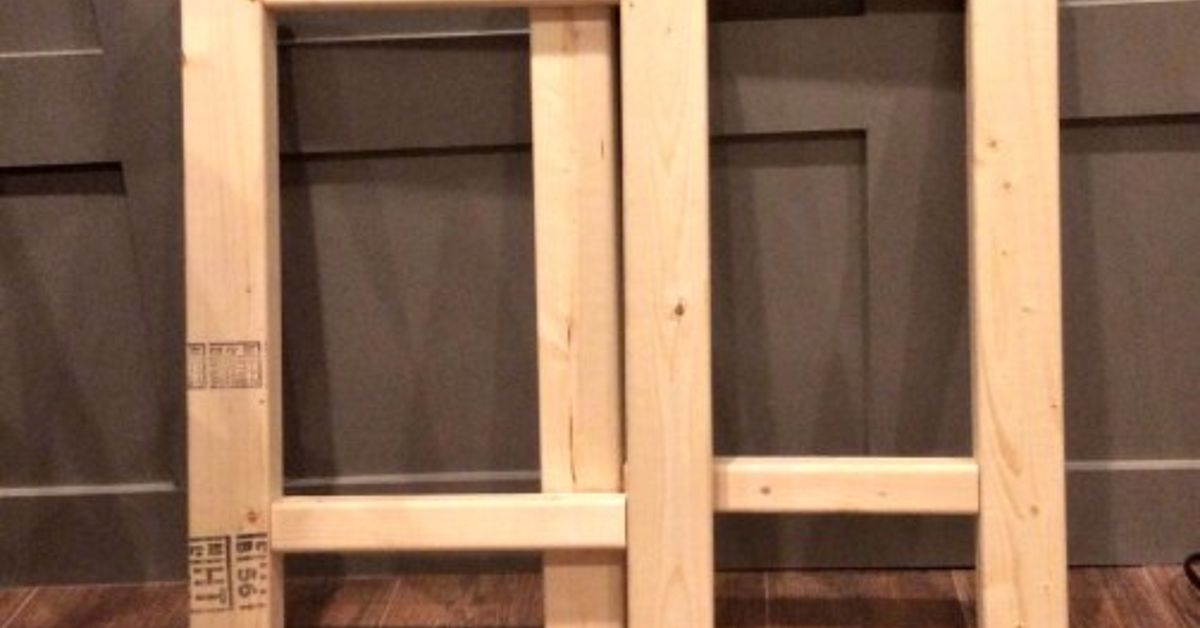
For each side frame, position one upper apron between two legs, flush with the top ends. Place one lower shelf rail between the same legs, about 4 inches above the floor. Drill pocket holes on the hidden faces of the apron and rail, apply a thin layer of wood glue, clamp the pieces square, and drive the screws. Repeat for the second side frame.
Measure the diagonals of each frame. Matching diagonal measurements indicate a square assembly. If they differ, gently shift the frame while the glue is still workable. This step feels fussy for approximately three minutes and prevents hours of blaming the floor later.
5. Connect the Frames
Stand the two side frames upright and connect them with the remaining upper aprons and lower rails. Work on a flat surface, clamp carefully, and check for square after installing each piece. Do not fully tighten every screw until all rails are positioned; a little movement helps align the structure.
6. Install the Lower Shelf
Test-fit the 18 1/2-inch-square shelf. It may rest on the lower rails or sit slightly recessed for a more built-in appearance. To create a shadow line, attach small support cleats beneath the shelf and lower it about 1/4 inch below the rail tops. Secure it from underneath with screws or brad nails and glue.
7. Attach the Tabletop
Center the top so the overhang is even on all four sides. For a solid-wood panel, use tabletop fasteners, figure-eight fasteners, or elongated screw holes that permit seasonal wood movement. Avoid gluing the entire top rigidly across the grain. If the top is stable plywood with a solid edge treatment, conventional screws through the apron can be used more freely.
8. Fill, Inspect, and Final-Sand
Fill visible nail holes and small gaps with a compatible wood filler. Once dry, sand repaired areas until they disappear under your fingertips. Run a clean cloth over the entire table; cloth catches sharp fibers that eyes miss. Check the feet on a level surface and correct any slight wobble before finishing.
Creating the High-End Finish
Option 1: Warm Stained Wood
Test the complete finish schedule on scrap from the same lumber. Apply wood conditioner to pine or other blotch-prone softwood, following the product directions. Brush or wipe on stain in manageable sections, let it penetrate for the recommended time, and remove the excess with a clean cloth. Thin, controlled coats create more depth than one heroic puddle.
After the stain dries fully, apply two or three thin protective coats. A satin or matte sheen usually suits a Pottery Barn inspired end table better than high gloss because it lets the grain and texture remain the stars. Lightly sand between coats when the finish manufacturer recommends it, and remove every trace of dust.
Option 2: Painted Base With a Wood Top
For a relaxed two-tone look, stain the top and shelf while painting the base warm white, muted black, mushroom taupe, or deep olive. Prime knots and resinous areas before painting. A durable enamel or cabinet-and-furniture paint is a better choice than ordinary wall paint for a table that will be kicked, bumped, and introduced to a vacuum cleaner repeatedly.
Option 3: Controlled Distressing
Distress only the places that would naturally receive wear: corners, apron edges, and the lower portions of the legs. Use fine sandpaper and a light touch after the stain or paint has cured. Add a darker glaze sparingly in joints for extra depth. Stop before every corner matches perfectly; natural aging is famously bad at symmetry.
Common Mistakes and Easy Fixes
The Table Wobbles
First, test it on a known-level surface. Loosen the connecting screws slightly, press the frame flat, recheck the diagonals, and tighten gradually. For a tiny remaining difference, add felt pads of different thicknesses or carefully sand the longest leg.
The Stain Looks Patchy
Blotching usually comes from uneven sanding, glue residue, or highly absorbent softwood. Conditioner and test samples reduce the risk. If the stain is already uneven, let it dry, lightly sand, and consider a gel stain or tinted topcoat that deposits color more consistently on the surface.
Visible Pocket Holes Spoil the Look
Orient pocket holes toward the inside or underside before assembly. Use matching plugs where holes may be visible, then trim and sand them flush. In a darker finish, a well-fitted plug nearly vanishes; in a clear natural finish, treat plugs as intentional details or choose dowel joinery.
The Finish Feels Rough
Water-based products can raise the grain, and dust can settle into a wet topcoat. Allow the finish to dry, sand very lightly with fine paper or a finishing pad, remove dust, and apply another thin coat. Do not attack the surface aggressively unless you enjoy restarting projects.
How to Style the Finished End Table
Place the table beside the sofa and confirm that it is easy to reach from a seated position. A lamp, small tray, coaster, and one personal object are usually enough. Vary the height of the items and leave some open surface for real life. An end table covered edge to edge with decorative objects may photograph beautifully, but it leaves your coffee mug negotiating for parking.
Use the lower shelf for two or three substantial books, a woven basket, or a lidded box. Repeat a material already present in the roomblack metal, linen, ceramic, brass, or natural fiberto make the table feel connected rather than newly landed. The wood finish does not need to match every other piece exactly; coordinated undertones often look more natural than a complete furniture set.
Workshop Experience: What DIYers Commonly Learn From This Build
The first lesson is that the table’s appearance is decided long before the stain can is opened. Straight lumber, accurate cuts, and square frames create the quiet precision people associate with expensive furniture. Builders often focus on decorative finish techniques, then discover that a slightly twisted apron attracts more attention than any beautifully layered glaze. A careful dry fit is therefore one of the most valuable stages. Assemble the parts without glue, check the overhang, inspect the shelf spacing, and make sure the table feels visually balanced from across the room.
The second lesson is that stain samples are not optional theater. The color shown on a label is only a suggestion; species, sanding grit, conditioner, application time, and topcoat can all change the result. Pine may turn a warm brown unexpectedly orange, while poplar can reveal green or purple undertones. Testing on offcuts lets you adjust the formula before the tabletop becomes a 24-inch-square reminder to read directions. Many DIYers get a more convincing high-end color by layering a light brown stain with a subtle darker glaze rather than applying the darkest stain available.
Assembly also teaches the importance of working in stages. Glue makes people hurry, and hurried frames become modern art. Keeping clamps, screws, a square, and a damp cleanup cloth within reach reduces panic. It helps to build the two side frames first, allow them to set, and connect them afterward. This sequence creates manageable subassemblies and makes it easier to maintain equal shelf height. When the final frame is placed on a flat workbench and does not rock, the satisfaction is wildly disproportionate to the size of the table.
Finishing tends to reward patience more than talent. Thick coats appear faster but dry slowly, trap dust, and create drips at the lower edges of aprons. Thin coats look unimpressive for the first few minutes and excellent after the second or third application. DIYers also learn to inspect the underside, where stain runs like to hide. A portable work light held at a low angle exposes streaks, missed patches, and dust nibs before the finish cures.
Finally, living with the table reveals whether the design truly works. A top that is level with the sofa arm feels effortless; one that is several inches too high becomes awkward every time someone reaches for a drink. The lower shelf may begin as a decorative feature and quickly become home to books, chargers, or a basket of everyday clutter. That is not design failureit is useful furniture doing its job.
The strongest experience takeaway is that “inspired” is better than “copied.” Adjusting the height, stain, shelf position, or leg thickness to suit a particular room produces a piece that feels intentional. Small imperfections remain, but they become part of the story: the barely visible plug, the grain pattern chosen for the top, or the corner softened by hand. A store-bought table may be more uniform. A well-built DIY end table is more personal, and it earns its place beside the sofa one coffee mug at a time.
Conclusion
A Pottery Barn inspired end table succeeds because it combines practical scale with warm materials and restrained detail. By choosing straight lumber, building a square frame, sanding methodically, and applying thin finish coats, you can create a durable piece that looks polished without feeling precious. Customize the color and proportions for your room, keep the styling simple, and enjoy the pleasant shock of hearing someone ask where you bought it.