If you just brought home a Breville espresso machine, congratulations: your kitchen is now approximately 83% more caffeinated and 100% more ambitious. Whether you own a Bambino, Bambino Plus, Barista Express, Barista Touch, or another Breville model, the basic workflow is wonderfully similar. You heat the machine, grind or load coffee, tamp, pull the shot, steam milk if needed, and clean up before coffee oils turn your beautiful machine into a tiny bean-scented science experiment.
This guide walks you through exactly how to use a Breville espresso machine, from setup and shot pulling to milk texturing, troubleshooting, and maintenance. If you have been pressing buttons and hoping for the best, this article is your friendly rescue mission. If you already know your way around espresso but want more consistency, you will find practical tips to help you brew smoother shots and foam milk like you actually know what “microfoam” means at brunch.
Know Your Breville Before You Brew
Most Breville espresso machines are designed to make home espresso approachable without making it boring. Some models are more hands-on, while others automate more of the process, but the core parts are familiar:
- Water tank: Holds the water for brewing, hot water, and steaming.
- Bean hopper or grinder: Found on models with a built-in grinder, such as the Barista Express.
- Portafilter and filter baskets: This is where the coffee grounds go.
- Group head: The area where the portafilter locks in and hot water flows through the coffee.
- Steam wand: Used to texture milk for lattes, cappuccinos, and flat whites.
- One-cup and two-cup buttons: Preset extraction options on many Breville machines.
The first thing to understand is that Breville machines reward consistency. They are not mind readers. They are clever, yes. Magical, no. If your grind size, dose, tamp, and milk routine change every morning, your coffee will also change every morning. Espresso is loyal to process.
How to Use a Breville Espresso Machine Step by Step
1. Fill the water tank and power on the machine
Start with fresh, clean water. Filtered water is a smart move because water quality affects both flavor and machine health. Fill the tank, make sure it is seated properly, and turn the machine on. Give it time to heat up fully. Even fast-heating Breville models perform better when the machine, portafilter, and cup are all warm.
A quick pro move: place your cup under the group head and run a blank shot without coffee. This warms the group head, the portafilter, and the cup at the same time. It is a tiny step that makes a big difference, especially if your espresso has been tasting lukewarm or a little flat.
2. Choose the right basket for your coffee
Breville machines often include both single-wall and dual-wall baskets. If you are using freshly ground coffee and want better control, use the single-wall basket. If you are using pre-ground coffee or you are brand new and want an easier, more forgiving result, the dual-wall basket can help produce a more stable shot.
This matters because the basket changes how pressure builds during extraction. Think of it as choosing between “I would like to learn espresso” and “Please help me make something drinkable before work.” Both are valid life choices.
3. Add coffee and dial in the grind
If your Breville has a built-in grinder, grind directly into the portafilter. If not, use a quality burr grinder and aim for a fine espresso grind. Espresso should not look like coarse sand or powdery dust. You want fine, even particles that let water pass through with some resistance.
The grind size is one of the biggest factors in how your shot tastes. If espresso pours too quickly and tastes sour, thin, or sharp, the grind is probably too coarse. If it drips painfully slowly and tastes harsh, bitter, or muddy, the grind is probably too fine. In most cases, adjust grind size before changing everything else. New home baristas often change dose, yield, tamp pressure, moon phase, and emotional state all at once. Resist the urge.
4. Distribute the grounds and tamp evenly
Once your grounds are in the basket, level them out so the coffee bed is even. You can lightly tap the portafilter or use your finger or a distribution tool to create an even surface. Then tamp firmly and level. The goal is not theatrical violence. The goal is a flat, compact puck that allows water to flow evenly through the coffee.
After tamping, wipe any loose grounds from the rim of the basket. This helps the portafilter seal properly when you lock it into the group head. A clean rim also keeps your machine cleaner over time, which future-you will appreciate.
5. Lock in the portafilter and brew immediately
Insert the portafilter into the group head and turn until it locks in place. Then start the shot right away. This is important. If the coffee sits in the heated group head too long before brewing, the top layer can overheat, which can muddy the flavor.
Most Breville users will pull either a one-cup or two-cup shot using the preset buttons, though many models also allow manual control. As a general rule, a balanced espresso shot often lands in the neighborhood of 25 to 30 seconds, depending on the coffee, basket, dose, and yield. You are looking for a smooth, syrupy flow rather than a panicked brown waterfall or a single dramatic drip every five business days.
6. Read the shot as it pours
Learning to read extraction is where espresso gets fun. A good shot usually starts darker and becomes more golden as it continues. The stream should look steady and cohesive. If it gushes pale liquid right away, your shot is likely under-extracted. If it trickles slowly and clings to the portafilter like it is afraid of the cup, it is likely over-extracted.
Taste is the final judge:
- Too sour or thin: Go finer on the grind, or improve puck prep.
- Too bitter or dry: Go slightly coarser, or shorten the shot.
- Weak and watery: Check grind, dose, and basket choice.
- Balanced and sweet: You have reached the tiny morning miracle known as a dialed-in shot.
7. Steam milk the right way
If you are making a latte, cappuccino, or flat white, it is time to steam milk. Fill a cold stainless steel pitcher with cold milk to around the bottom of the spout. Purge the steam wand briefly before using it. This clears any leftover water or residue.
Position the tip of the steam wand just below the surface of the milk and start steaming. Early on, you want a gentle tearing or paper-ripping sound. That means air is being introduced. Once the milk has expanded slightly, lower the wand deeper so the milk starts spinning in a whirlpool. This rolling motion helps blend the foam into silky microfoam instead of giant bath bubbles.
For most milk drinks, stop before the milk gets too hot to handle comfortably. Many home baristas aim for roughly 140 to 150 degrees Fahrenheit for sweet, smooth milk, while hotter drinks can push closer to 160 degrees Fahrenheit. Just do not scorch it. Burned milk has the emotional range of wet cardboard.
When done, tap the pitcher on the counter and swirl the milk until it looks glossy. Then wipe the steam wand immediately and purge it again. Always. No exceptions. Milk residue hardens fast and turns cleaning into a punishment scene from a very niche coffee-themed movie.
8. Build your drink
Now you get to enjoy the part that makes all the tinkering worth it. Here are a few easy classics:
- Espresso: Just the shot, bold and concentrated.
- Americano: Espresso plus hot water for a longer, smoother drink.
- Latte: Espresso with plenty of steamed milk and a light layer of foam.
- Cappuccino: Espresso with steamed milk and a fluffier foam cap.
- Flat white: Espresso with velvety microfoam and less volume than a latte.
If you want to try simple latte art, pour from a slight height at first so the milk blends with the espresso, then bring the pitcher closer to the surface to let the white foam rise. Will your first design look like a swan? Probably not. It may look more like a weather event. That is normal.
How to Dial In a Breville Espresso Machine
Dialing in means adjusting the grind and workflow so your espresso tastes balanced. This is the heart of using a Breville espresso machine well. Good machines help, but repeatable technique matters more.
Here is a simple dialing-in approach:
- Use fresh beans, ideally within a few weeks of roast.
- Keep your dose consistent.
- Use the same basket each time.
- Adjust only one variable at a time, usually grind size.
- Taste the result and repeat.
If your machine has a built-in grinder and you are running out of adjustment range, check whether your model allows burr adjustments in addition to the external grind dial. Some Breville machines do, and that extra step can help you get a finer or coarser range when the regular dial feels maxed out.
Common Breville Espresso Machine Mistakes
Using stale beans
Old beans can produce flat crema and dull flavor. You cannot out-tamp stale coffee. Fresh beans give you a better chance at sweetness, body, and aroma.
Skipping the warm-up routine
Cold cups and cold portafilters can make espresso taste less vibrant. A quick blank shot is worth the few extra seconds.
Ignoring puck prep
Uneven distribution can cause channeling, where water finds weak spots and races through the coffee bed. That gives you a shot that is simultaneously weak and bitter, which is rude.
Changing too many things at once
When a shot tastes off, home users often adjust grind, dose, yield, tamp, and bean choice in one dramatic spiral. Change one thing, taste, then adjust again.
Neglecting cleanup
Dirty portafilters, oily group heads, and milk-crusted steam wands ruin flavor and can cause machine issues. Espresso is delicious, but it is also a sticky little diva.
Cleaning and Maintenance
Breville machines are happiest when cleaned regularly. Daily cleaning keeps flavors fresh and helps your machine last longer.
After each use
- Knock out the used puck.
- Rinse and wipe the portafilter.
- Run a blank shot through the group head.
- Wipe and purge the steam wand.
- Empty the drip tray if needed.
Every few days or weekly
- Clean the shower screen area.
- Wash baskets and pitcher thoroughly.
- Backflush if your model supports it.
Every month or as prompted
- Run the cleaning cycle.
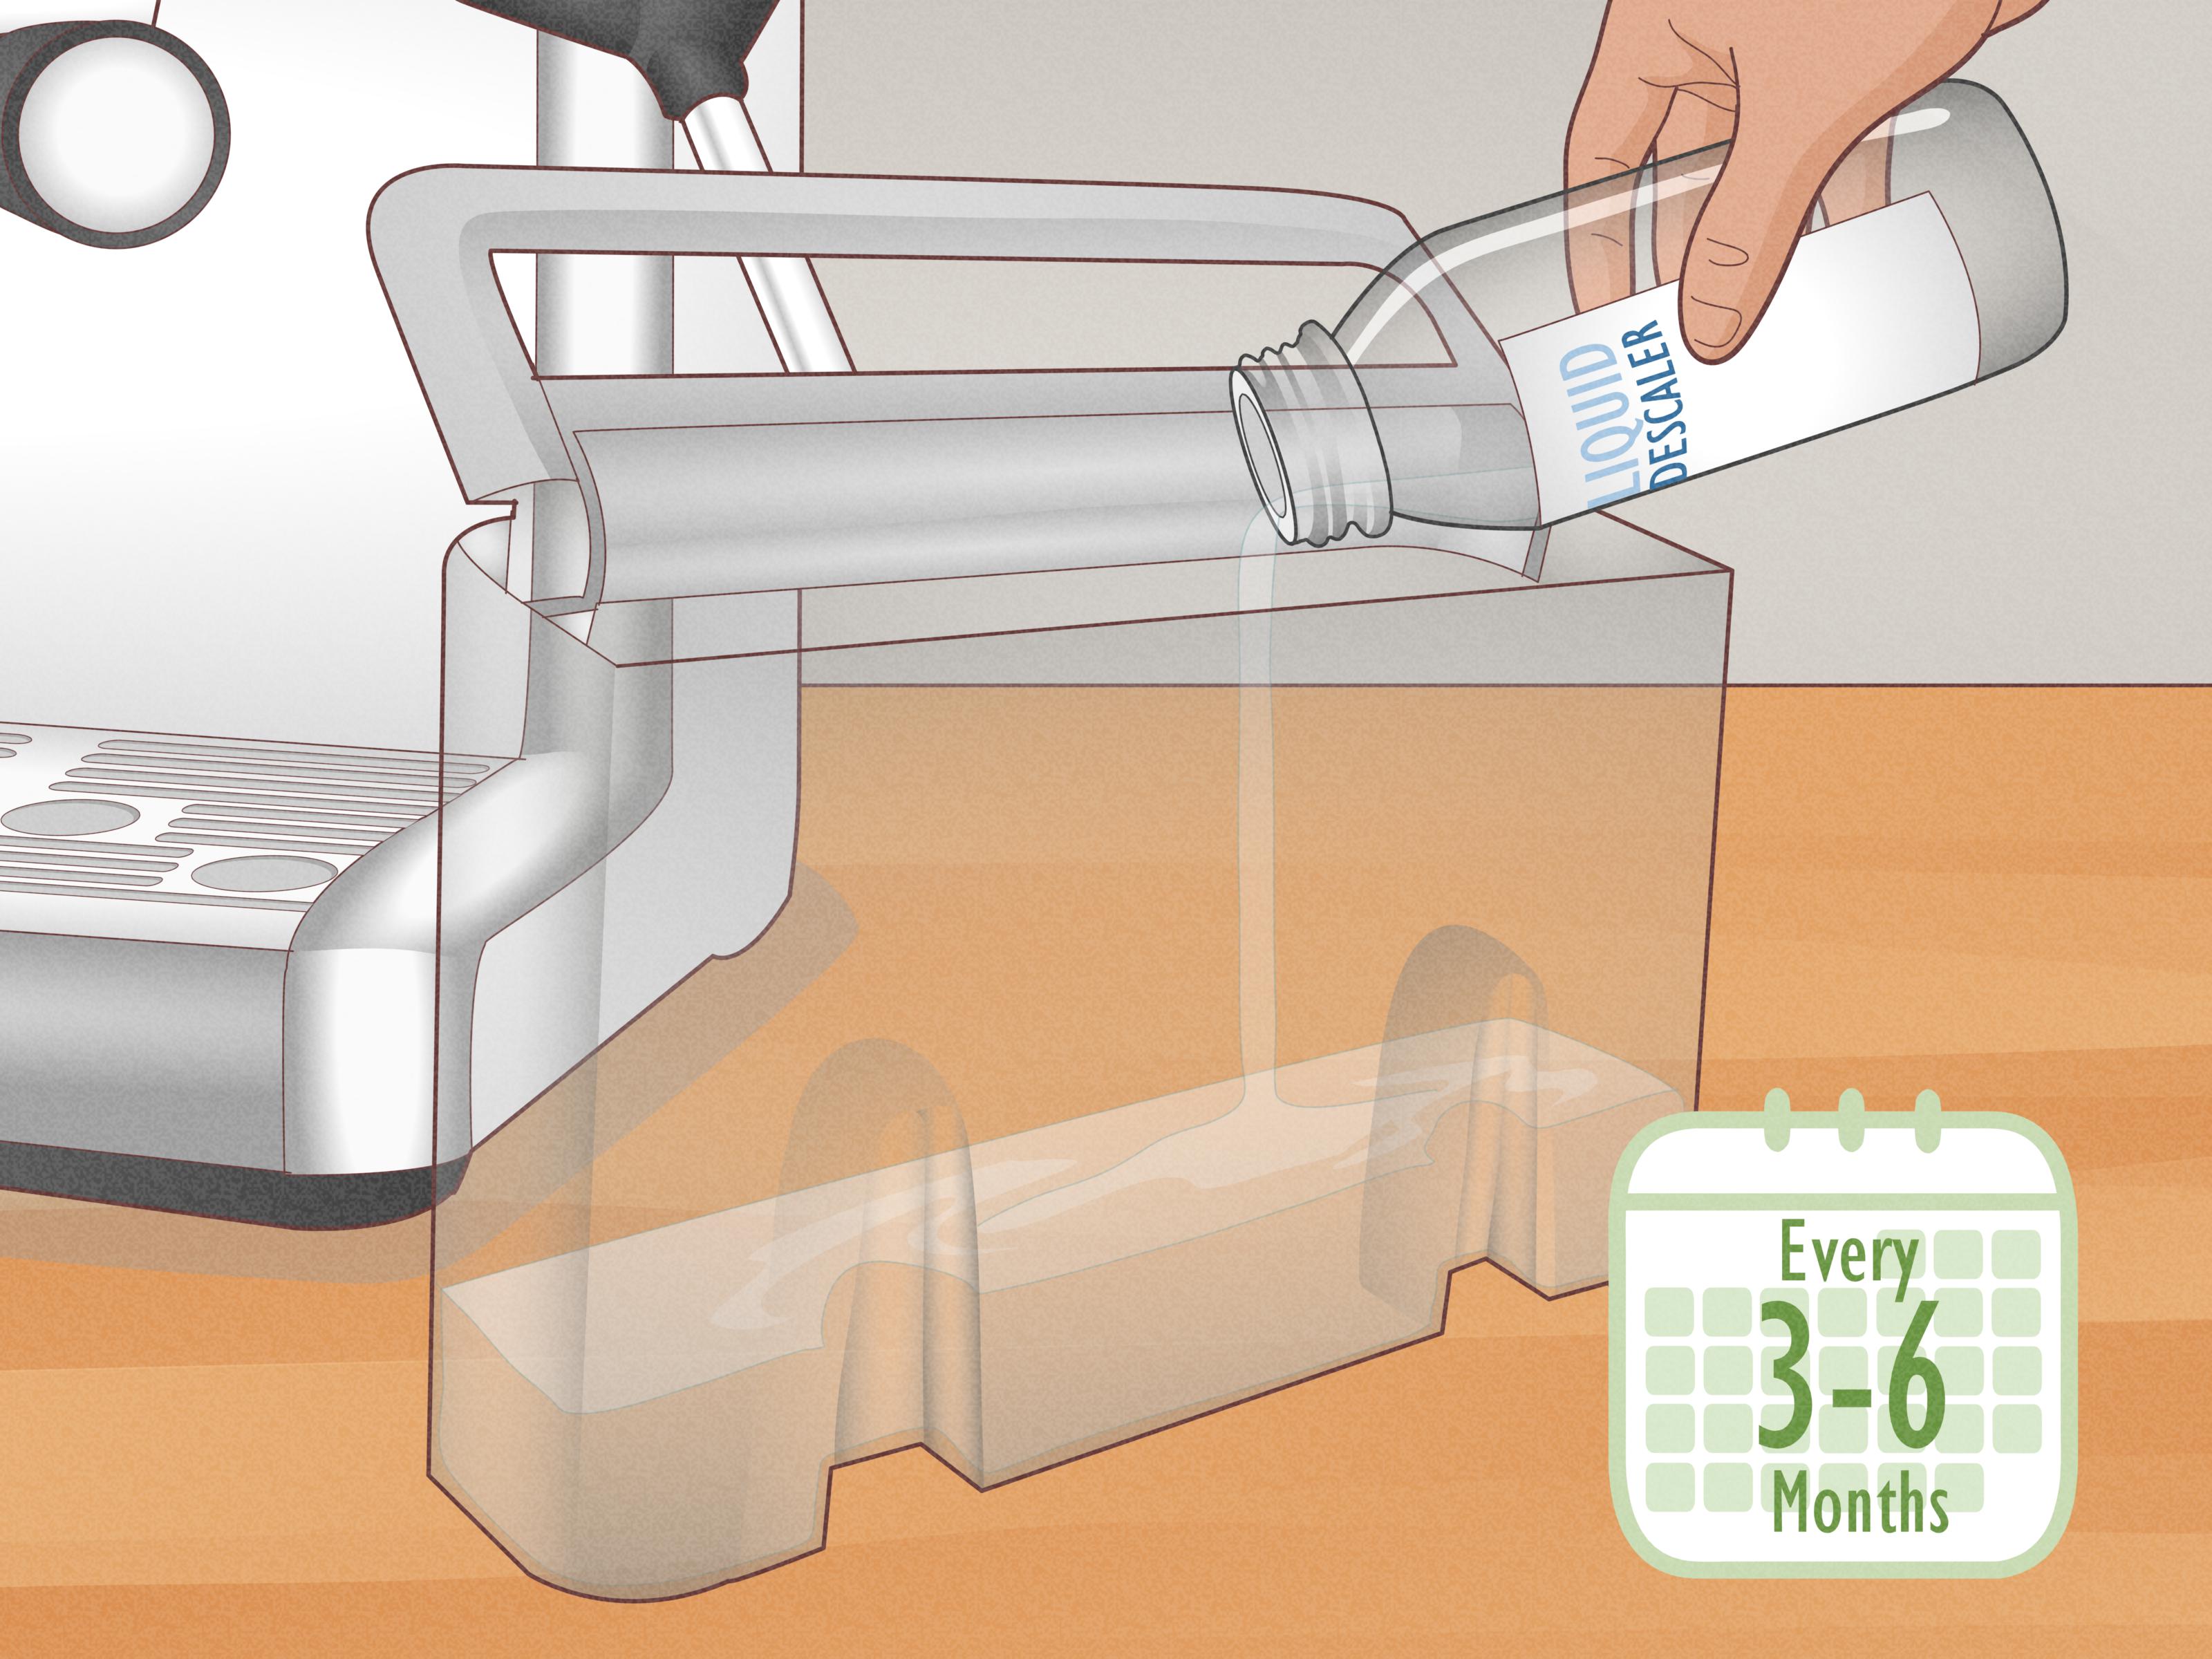
- Descale according to your water conditions and model instructions.
- Replace the water filter when needed.
If your machine is brewing slowly, steaming weakly, or making lukewarm coffee, scale buildup may be part of the problem. Follow your specific model’s manual for the correct cleaning and descaling routine. Breville machines often provide indicator lights or alerts when it is time for service.
Troubleshooting Quick Fixes
Espresso runs too fast
Use a finer grind, make sure your puck is evenly tamped, and confirm you are using the right basket.
Espresso runs too slow
Use a slightly coarser grind, reduce overpacking, and check whether the shower screen or basket needs cleaning.
Milk is foamy but not silky
You probably added too much air and not enough rolling motion. Introduce air early, then focus on the whirlpool.
No steam or weak steam
Clean the steam wand tip thoroughly and make sure the machine is fully heated before steaming.
Lukewarm coffee
Warm the cup, run a blank shot, and descale the machine if performance has dropped.
Best Daily Workflow for Beginners
If you want a simple routine you can actually stick to, use this:
- Turn on the machine.
- Fill the tank and warm the cup with a blank shot.
- Grind into the portafilter.
- Distribute and tamp.
- Lock in and pull a shot.
- Steam milk if needed.
- Pour and drink immediately.
- Rinse, wipe, and purge everything before you wander off feeling accomplished.
That routine keeps the machine clean, your process repeatable, and your odds of tasty espresso dramatically higher.
Experiences From Real Home Brewing Life
One of the most relatable experiences with a Breville espresso machine is how quickly it humbles new owners. Day one often begins with cinematic expectations. You imagine glossy crema, a perfect tulip in the milk, and the smug satisfaction of never overpaying for coffee again. In reality, the first shot may blast out in 12 seconds, taste like lemony regret, and leave you staring at the machine as if it personally betrayed you. That is normal. In fact, it is almost a rite of passage.
What usually happens next is the real learning curve. You start noticing that small adjustments matter. A slightly finer grind changes the shot from watery to syrupy. A more level tamp suddenly makes the flow more even. Warming the cup stops the espresso from feeling disappointingly cool. You realize that great coffee is not one giant trick. It is ten tiny habits done consistently.
Many home users also discover that the steam wand feels awkward at first. The pitcher angle seems weird. The sound is weird. Everything is weird. For a few days, the milk looks like bubble bath and pours like soup. Then one morning, almost by accident, the milk rolls properly. It turns glossy and silky. You swirl the pitcher and think, “Wait. Was that microfoam?” Yes. Yes, it was. The feeling is absurdly satisfying for something that is technically just hot milk.
Another common experience is the bean obsession phase. Once people learn how much freshness affects espresso, they start paying more attention to roast dates, blend styles, and grinder settings. A Breville machine often becomes the gateway to noticing flavor notes you used to ignore. Suddenly coffee is not just “strong” or “weak.” It is chocolatey, nutty, fruity, balanced, or bitter because the shot ran too long while you were looking for a spoon.
There is also the practical side of ownership that people rarely mention enough: Breville machines fit real life well. They are compact enough for home kitchens, fast enough for workday mornings, and capable enough to let beginners grow into better technique. That combination is a big reason so many people stick with them. You can make a quick Americano before work, then spend extra time on a weekend dialing in a new bag of beans and pretending your kitchen is a tiny specialty café with worse parking.
Over time, the machine becomes less of a gadget and more of a ritual. You learn the sound of the grinder, the feel of the tamp, the look of a balanced shot, and the milk texture that gives you your favorite latte. The process stops feeling fussy and starts feeling calming. That is probably the best part of learning how to use a Breville espresso machine: eventually, it is not just about coffee. It is about having a small, satisfying skill that makes ordinary mornings feel a little more polished, a little more delicious, and a lot less dependent on drive-thru lines.
Final Thoughts
Learning how to use a Breville espresso machine is part technique, part patience, and part accepting that your first latte art heart may look like a haunted onion. But once you understand the workflow, the machine becomes incredibly rewarding. Start with fresh beans, warm everything up, grind carefully, tamp evenly, brew immediately, steam milk with purpose, and clean the machine like you intend to keep loving it.
Do that, and your Breville will do what it does best: help you make café-style espresso drinks at home without needing a culinary degree, a commercial machine, or a second mortgage for your morning coffee habit.