That overflowing recycling bin may look like a collection of junk mail, abandoned worksheets, and printer mistakes, but it is secretly holding the ingredients for your next craft project. With water, a blender, a simple screen, and a little patience, you can transform ordinary paper scraps into textured sheets of homemade paper.
Learning how to make homemade paper is part recycling experiment, part art project, and part excuse to create a delightfully controlled mess. Each finished sheet has its own color, texture, thickness, and personality. Some sheets look elegant enough for wedding stationery. Others look as though they survived an adventurous expedition through the washing machine. Both kinds are useful.
This DIY homemade paper tutorial explains the entire process in six manageable steps, from preparing recycled scraps to drying the finished sheets. It also covers materials, common mistakes, decorative additions, project ideas, and practical lessons learned from real papermaking sessions.
What Is Homemade Paper?
Paper is essentially a mat of plant-based fibers that have been separated, suspended in water, collected in a thin layer, pressed, and dried. Commercial paper mills perform those jobs with enormous machines. Home papermakers use a blender, a tub, and a screened frame called a mould and deckle.
The mould is the frame covered with mesh. It catches the fibers while allowing water to drain away. The deckle is an open frame placed on top of the mould. It contains the wet pulp and determines the size and shape of the sheet. When the deckle is removed, it often leaves the softly feathered border known as a deckled edge.
Homemade recycled paper will rarely be as thin or uniformly smooth as store-bought printer paper. That is not a defect. Its irregular surface is exactly what makes it attractive for cards, gift tags, collages, bookmarks, invitations, journals, and mixed-media artwork.
Why Make Recycled Paper at Home?
Making paper at home gives used material another purpose before it enters the recycling or waste stream. It also provides a hands-on demonstration of how loose fibers can reconnect to form a durable sheet.
The process is especially useful for families, classrooms, artists, gardeners, and anyone who saves attractive scraps because they are “definitely going to use them someday.” Congratulations: someday has arrived.
Benefits of DIY Papermaking
- Reuses suitable paper scraps and reduces household waste.
- Produces one-of-a-kind paper for crafts and gifts.
- Teaches basic ideas about fibers, recycling, water, and material design.
- Allows complete control over color, texture, thickness, and decorative additions.
- Requires inexpensive tools that can often be found at home.
Supplies You Will Need
Gather everything before starting because wet pulp is not famous for respecting clean countertops.
- Recycled paper scraps
- Warm water
- A household or craft blender
- A large plastic tub, dishpan, or shallow basin
- A mould and deckle
- Absorbent cloths, felt pieces, or smooth kitchen towels
- A sponge
- A flat board, tray, or waterproof work surface
- Heavy books, boards, or another flat weight
- Optional dried flowers, herbs, thread, natural fibers, or coloring
How to Make a Simple Mould and Deckle
Two matching wooden picture frames can become an inexpensive mould and deckle. Remove the glass and backing. Stretch nylon window screen tightly across the back of one frame and secure it with staples. Trim the excess mesh and cover sharp edges with waterproof tape. Leave the second frame open.
The screened frame is the mould, while the open frame is the deckle. Place the deckle directly on top of the screen side of the mould when forming a sheet. The inner opening determines the final paper size.
An embroidery hoop fitted with fine mesh can also work, although it will naturally create round sheets. Apparently, paper does not have to be rectangular just because office printers have strong opinions.
Choosing the Best Paper Scraps
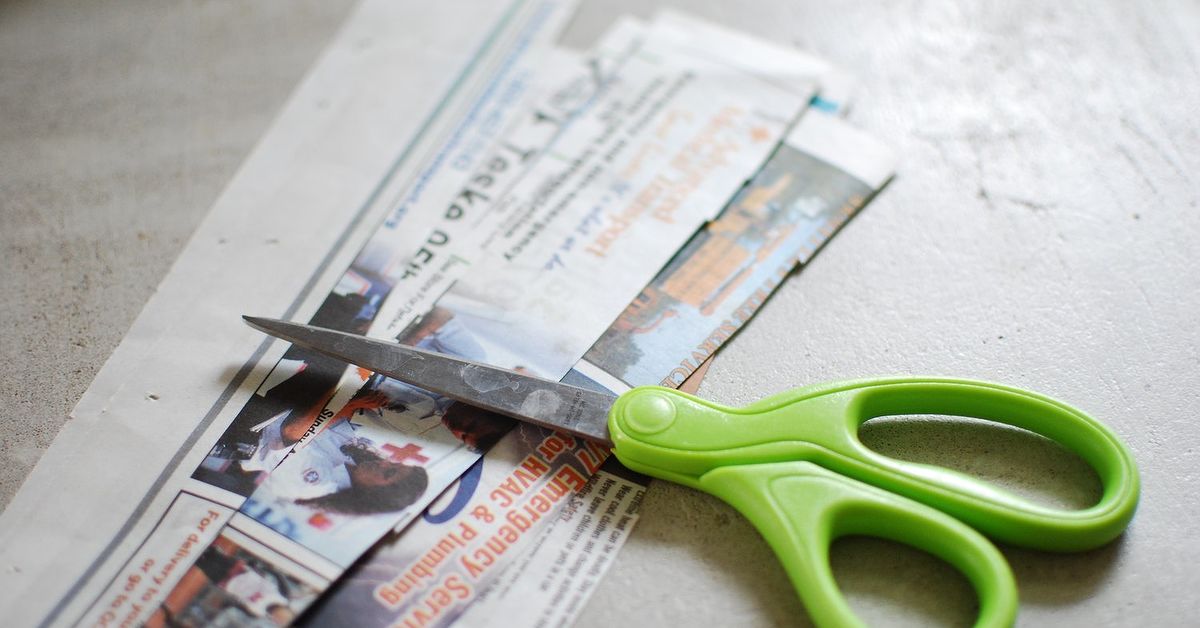
Plain, uncoated paper is easiest for beginners. Try used printer paper, notebook pages, envelopes without plastic windows, construction paper, paper grocery bags, tissue paper, nonmetallic gift wrap, or clean newspaper.
Mixing different scraps changes the result. White office paper creates a pale base, colored construction paper adds pigment, newspaper produces a soft gray sheet, and brown paper bags make earthy kraft-style paper.
Remove staples, tape, plastic windows, adhesive labels, and bindings before soaking. Avoid heavily coated advertising inserts, waxed paper, laminated sheets, photographic paper, carbonless forms, and thermal receipts. These materials may contain coatings or plastics that resist pulping and can leave unpleasant residue in the blender.
Do not use confidential documents unless they have been thoroughly shredded and the finished pulp cannot reveal readable information. Papermaking is creative, but it is not a substitute for proper document security.
How to Make Homemade Paper in 6 Easy Steps
Step 1: Tear and Soak the Recycled Paper
Tear the selected paper into pieces approximately one inch square. Torn edges absorb water more readily than neatly cut edges because tearing exposes more fibers. Precision is unnecessary; this is one project in which uneven destruction is productive.
Place the pieces in a bowl or bucket and cover them completely with warm water. Let thin paper soak for at least 20 to 30 minutes. Thicker paper, cardboard-like scraps, and strong office paper become easier to blend after several hours or an overnight soak.
Keep colors separated when you want predictable results. Mixing every color in the recycling bin can create an interesting neutral shade, although “interesting neutral” occasionally means swamp brown.
Step 2: Blend the Soaked Paper into Pulp
Fill the blender about halfway with water. Add a small handful of soaked paper, replace the lid securely, and blend in short pulses. Continue until the mixture resembles thin oatmeal or cloudy soup and no large pieces remain.
A watery mixture is better than a blender packed with heavy paper. Too much pulp can strain the motor and produce uneven chunks. Add water whenever the blades struggle to move.
For smooth paper, blend until the fibers are finely dispersed. For a more rustic finish, stop while a few visible flecks remain. Pour each batch into a container and repeat until you have enough pulp.
Never reach into a plugged-in blender. Unplug it before clearing material from the blades, and supervise children closely. Anyone planning to make paper regularly may prefer a secondhand blender reserved for crafts.
Step 3: Prepare the Vat and Customize the Pulp
Fill a plastic tub with several inches of water, making sure it is deep and wide enough to submerge the mould and deckle. Add a portion of the blended pulp and stir with your hand to distribute the fibers evenly.
The mixture should be very dilute. A crowded vat creates thick, lumpy sheets, while a thinner suspension gives the fibers room to spread across the screen. You can always add another scoop of pulp if the first sheet appears too delicate.
This is the best moment to personalize the paper. Stir in small amounts of dried flower petals, finely cut thread, dried herbs, tiny leaves, or short natural fibers. Use additions sparingly. Large petals and thick stems can prevent fibers from bonding and may cause holes.
For colored paper, blend colored scraps into the pulp or add a small amount of water-based craft coloring. Remember that wet pulp usually looks darker than the finished dry sheet.
Step 4: Pull a Sheet with the Mould and Deckle
Place the deckle on top of the screen side of the mould and hold both frames firmly. Stir the vat immediately before dipping so the fibers are floating instead of resting on the bottom.
Insert the frames into the water at a slight angle. Once they are submerged, level them and lift upward in one smooth motion. Keep the frames horizontal as they leave the water. A thin layer of pulp should remain on the screen while most of the water drains back into the tub.
Gently shake the mould from side to side and front to back while it is still dripping. Small, controlled movements help distribute the fibers and encourage them to interlock. Aggressive shaking creates waves, bald patches, and a surprisingly accurate paper portrait of rough ocean conditions.
Allow the mould to drain for several seconds. Lift the deckle straight upward, taking care not to drag it across the fragile sheet.
Step 5: Couch and Press the Wet Sheet
Transferring the wet paper from the mould to fabric is called couching, pronounced “cooching.” Place a damp cloth or piece of felt on a flat surface. Turn the mould over so the pulp faces the fabric, lower one edge first, and then roll the rest of the mould down gently.
Press a sponge against the back of the screen to remove water. Blot several times without sliding the sponge. Slowly lift the mould from one edge. The wet sheet should remain on the cloth.
If it sticks to the screen, lower the mould again, apply more pressure with the sponge, and try lifting from another corner. A clean, evenly tensioned screen releases paper more easily than a loose one.
Place another cloth over the wet sheet. Add the next sheet on top and continue building alternating layers of fabric and paper. When the stack is complete, place it between two flat boards and press firmly. Heavy books can provide pressure, or you can lean on the stack for a minute and briefly become part of the manufacturing equipment.
Step 6: Dry and Finish the Homemade Paper
After pressing, carefully separate the layers. Leave each wet sheet on its cloth or transfer it to a smooth, nonporous surface such as acrylic, glass, or a clean laminated board. Press the edges flat so they do not curl as they dry.
Drying may take several hours to two days, depending on humidity, airflow, and paper thickness. Thin sheets dry faster than heavily decorated ones. A fan can improve air circulation, but strong heat may cause rapid shrinking, curling, or uneven surfaces.
When the paper is completely dry, peel it gently from the surface. Place curled sheets under heavy books overnight. For a smoother writing surface, sandwich the paper between clean sheets of plain paper and press it with a warm, dry iron. Use low heat, avoid steam, and protect the work surface.
The sheet is now ready for drawing, stamping, painting, folding, binding, or admiring while saying, “I made this from junk mail,” more times than your household considers necessary.
How to Control Paper Thickness and Texture
Paper thickness depends mainly on the concentration of pulp in the vat and the amount collected on the screen. Use less pulp and more water for thin sheets. Add more pulp or pull the mould through the vat twice for heavier paper.
Fine blending creates a smoother, more uniform surface. Brief blending leaves larger fibers and visible fragments. Rough cloth adds texture during pressing, while smooth felt or flat synthetic fabric produces a cleaner surface.
Perfectly smooth homemade writing paper is difficult to achieve without specialized equipment and sizing. However, pressing thoroughly and drying against glass or acrylic can create a noticeably smoother sheet.
Common Homemade Paper Problems
The Sheet Has Holes
The pulp may have been distributed unevenly, or decorative pieces may be too large. Stir the vat immediately before pulling and use smaller inclusions.
The Paper Is Extremely Thick
Dilute the vat with more water or remove some pulp. A surprisingly small amount of fiber can form a complete sheet.
The Wet Paper Will Not Release
Use a damp receiving cloth, sponge more water through the back of the mould, and peel the frame upward slowly from one edge.
The Finished Sheet Crumbles
The fibers may not have been blended enough, the sheet may be too thin, or too many flowers and decorative materials may have interrupted the fiber network. Blend the next batch more thoroughly and increase the proportion of paper pulp.
The Paper Curls While Drying
Press out more moisture before drying, secure the edges to a flat surface, or flatten the dry sheet under heavy books.
The Paper Smells Musty
Wet pulp has probably remained damp for too long. Make only what you can use promptly, improve airflow, and discard pulp that develops mold or an unpleasant odor.
Creative Ways to Use Handmade Paper
- Greeting cards and thank-you notes
- Gift tags and product labels
- Bookmarks and journal covers
- Collages and mixed-media artwork
- Wedding place cards or invitations
- Hand-bound notebooks
- Holiday ornaments and paper garlands
- Watercolor backgrounds
- Pressed-flower keepsakes
Homemade paper works particularly well for projects that benefit from texture. Pens may catch on rough fibers, so test writing tools first. Fine-tip permanent markers, paint pens, pencils, stamps, block-printing ink, and soft brushes are often easier to use than fountain pens.
Can You Add Seeds?
Yes. Plantable seed paper is a popular variation, but seeds should be stirred into the pulp after blending. Running seeds through a blender can damage them. Choose small, regionally appropriate seeds and keep the finished paper fairly thin so it breaks down easily in moist soil.
Allow seed paper to dry naturally without high heat. Include planting instructions when giving it as a gift, and avoid distributing invasive or unsuitable plant species.
Safe Cleanup and Responsible Disposal
Pouring thick pulp directly into a sink can contribute to clogs. Strain leftover pulp through the mould, a fine sieve, or a piece of fabric. Save the captured fibers for another batch, allow them to dry for later use, or dispose of them according to local waste guidance.
Water left in the vat can often be reused for additional sheets. Small amounts of relatively clear water may be used for cleanup, provided it contains no harmful pigments or additives.
Wash the screen before fibers dry into the mesh. Clean the tub, sponge, fabrics, and blender promptly. Keep electrical appliances away from puddles, unplug the blender before handling its blades, and provide adult assistance when children participate.
Experiences from Making Homemade Paper: Lessons the First Batch Teaches
The first homemade paper session usually begins with unreasonable confidence. You have watched the scraps disappear into the blender, the pulp looks satisfyingly professional, and the mould is ready. Then you pull the first sheet and discover that it is thick enough to qualify as a building material. This is normal. Most beginners use far more pulp than necessary because the watery vat appears almost empty. In reality, thousands of suspended fibers are waiting to gather on the screen. Adding more water before the second pull often produces a dramatically better sheet.
Color mixing delivers another memorable lesson. A cheerful collection of red, blue, yellow, and green scraps does not necessarily create rainbow paper. Once blended, it may become gray, brown, or a shade best described as “recycling-center oatmeal.” Separating colors gives greater control. White paper mixed with a small amount of blue produces a soft blue sheet, while brown bag fibers create warm, natural-looking paper. Bright tissue paper can add color quickly, although some varieties release more dye than expected.
Decorative petals are equally educational. It is tempting to add enough flowers to create a portable meadow, but overloaded sheets often tear around the inclusions. Small petals, short threads, and finely chopped leaves work better than thick stems or whole flower heads. A few well-placed additions usually look more intentional and allow the paper fibers to remain connected. The same rule applies to glitter, although avoiding plastic glitter makes cleanup considerably kinder to both the room and the environment.
Couching the first sheet can feel like attempting to transfer wet tissue with oven mitts. The key is confidence without speed. A damp cloth accepts the pulp more readily than a dry towel, and firm sponging through the back of the screen helps the sheet release. Lifting the mould slowly from one corner is far more successful than pulling it straight upward. Even when a sheet folds or tears, the pulp can simply return to the vat. Homemade papermaking is unusually forgiving because most mistakes can be blended and tried again.
Drying reveals how strongly thickness affects the final result. A thin sheet pressed against smooth acrylic may dry relatively flat and crisp. A thick sheet left on a towel may remain damp the next morning and develop a deeply textured surface. Humid weather extends the drying time, so airflow matters. Placing sheets near a fan works better than applying intense heat, which can curl the edges before the center has dried.
The most satisfying experience comes when the dry paper is finally peeled from its surface. The sheet may not be perfectly square, and a few fibers may wander beyond the deckled edge, but it has a tactile character that factory paper cannot imitate easily. Writing a short note on it, turning it into a gift tag, or binding several sheets into a small notebook makes the recycling process feel tangible. Yesterday’s discarded printout has become something personal, useful, and difficult to throw awaywhich is a wonderfully inconvenient ending for a piece of trash.
Final Thoughts
Making homemade paper is a simple craft built around a fascinating transformation. Used sheets are torn apart, softened, blended into individual fibers, collected on a screen, pressed, and reunited as new paper. The process requires patience rather than perfection.
Begin with plain recycled paper and a basic mould and deckle. Once you understand how pulp concentration, blending time, pressure, and drying affect the result, experiment with colors, petals, herbs, threads, seeds, and different textures. No two sheets will be identical, which is precisely the point.
Your first attempt may be bumpy. Your second may curl. Your third may be unexpectedly beautiful. Keep the vat nearby, because even the failures can go back into the pulp and begin again.