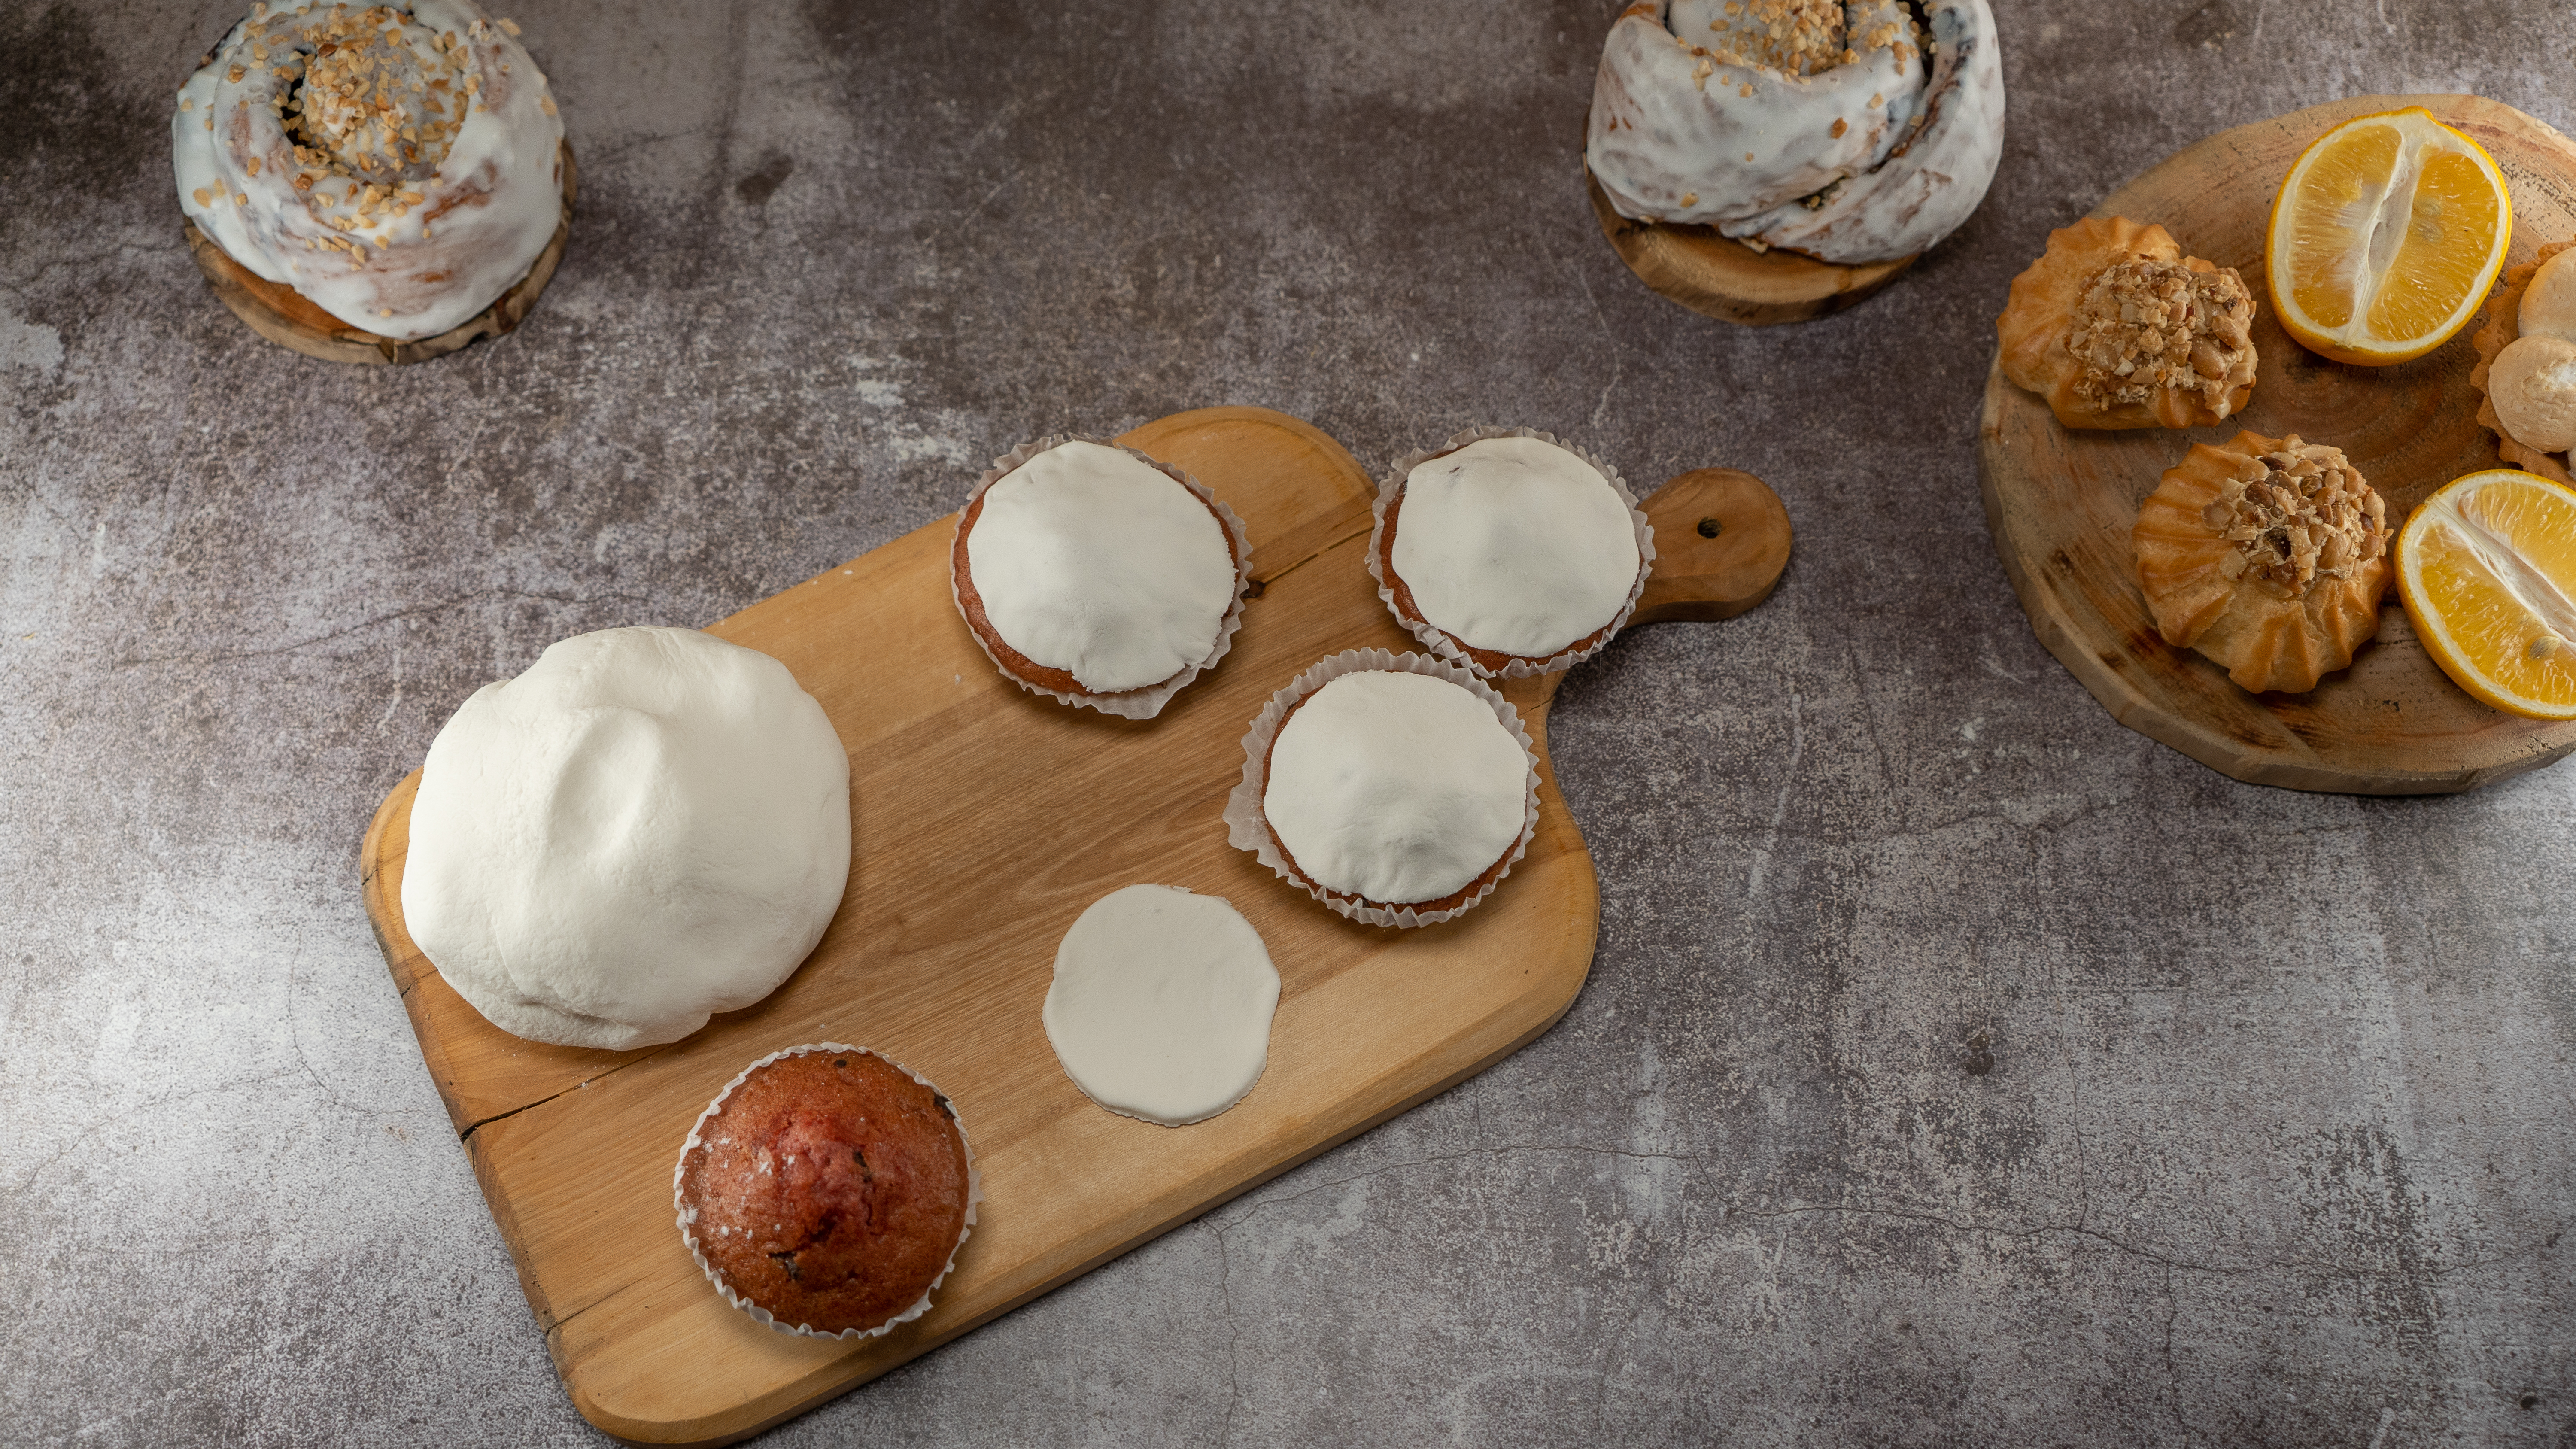
Note: This guide focuses on homemade marshmallow fondant because it is the easiest, most beginner-friendly version to make in a regular home kitchen. A quick classic rolled fondant variation is included later for bakers who want the more traditional route.
Fondant has a reputation for being the drama queen of cake decorating. It looks polished, acts fancy, and can absolutely throw a fit if you ignore it for five minutes. But here is the good news: homemade fondant is not nearly as intimidating as it sounds. Once you understand how the dough should feel, how much sugar to add, and when to stop kneading before you accidentally create a sweet cement block, the whole process becomes surprisingly manageable.
If you want a smooth cake finish, cute cutout decorations, or edible bows and shapes that look far more expensive than they really are, learning how to make fondant is worth it. This step-by-step guide walks you through the process in plain English, with practical tips, troubleshooting advice, and enough detail to help you avoid the usual rookie mistakes. In other words, fewer tears, more cake.
What Is Fondant?
Fondant is a smooth, pliable sugar dough used to cover cakes and make decorative accents. It can be rolled out like dough, draped over frosted cakes, cut into shapes, or molded by hand. Homemade fondant usually falls into two common categories: marshmallow fondant and traditional rolled fondant. Marshmallow fondant is quicker, softer, and more approachable for beginners. Traditional fondant often includes ingredients like gelatin, corn syrup or glucose, and glycerin for a smoother, more professional finish.
For most home bakers, marshmallow fondant is the sweet spot between convenience and performance. It tastes better than many store-bought versions, uses easy-to-find ingredients, and is forgiving enough that you can rescue it if it gets too sticky or too dry.
Ingredients You Will Need
- 16 ounces mini marshmallows
- 2 to 3 tablespoons water
- 6 to 8 cups sifted confectioners’ sugar
- 2 to 3 tablespoons vegetable shortening
- 1 teaspoon clear vanilla extract or another clear flavoring, optional
- Gel food coloring, optional
- Extra powdered sugar or cornstarch for dusting
Helpful Tools
- Large microwave-safe bowl
- Rubber spatula or sturdy spoon
- Clean counter or large silicone mat
- Plastic wrap
- Rolling pin
- Bench scraper or sharp knife
- Disposable gloves, optional but very useful
How to Make Fondant in 13 Steps
-
Step 1: Prep your workspace before the sugar circus begins
Grease your bowl, spatula, countertop, and hands with a thin layer of vegetable shortening. This step matters more than people think. Fondant is basically a clingy sugar cloud, and it will attach itself to anything dry. Sift the powdered sugar so you do not end up kneading surprise lumps into the dough later. Measure everything before heating the marshmallows because, once melted, they move fast and stick faster.
-
Step 2: Melt the marshmallows with water
Place the marshmallows and water in a large microwave-safe bowl. Microwave in short bursts, about 30 seconds at a time, stirring between rounds until the mixture is puffed and smooth. Do not wander off. Marshmallows go from “soft and helpful” to “volcanic sugar goo” in a blink. Stir until the mixture is completely melted with no stubborn lumps left behind.
-
Step 3: Add flavor while the mixture is warm
Stir in the clear vanilla extract, almond extract, or another clear flavoring if you want a better-tasting fondant. Clear extracts help keep the fondant a bright white color. This is also a good time to decide whether you want one large white batch or a lightly tinted base color.
-
Step 4: Mix in most of the powdered sugar
Add about three-quarters of the sifted confectioners’ sugar to the melted marshmallow mixture. Stir with a greased spatula until it becomes thick and shaggy. It will look messy. That is normal. In fact, if it looks elegant at this point, something suspicious is happening. Keep folding until the sugar is mostly incorporated and the mixture is too stiff to stir comfortably.
-
Step 5: Turn it out and grease your hands again
Transfer the mixture onto your prepared counter or mat. Coat your hands with shortening before touching it. This is not optional unless you enjoy wearing fondant like a sticky mitten. Begin bringing the dough together, folding it inward and pressing it gently. Add more powdered sugar little by little as needed.
-
Step 6: Knead until the fondant becomes smooth and stretchy
Knead the fondant just like bread dough, but with less aggression and more patience. Fold, press, turn, and repeat. The goal is a dough that feels smooth, pliable, and slightly elastic. It should not puddle like frosting, and it should not crack like dry clay. If it sticks to your hands or the counter, add a dusting of sugar. If it starts feeling stiff, rub on a little shortening and continue kneading.
-
Step 7: Adjust the texture before calling it done
This is the step that separates pleasant fondant from edible drywall. Good fondant should hold a ball shape without relaxing into a blob. If it is too soft, knead in a bit more powdered sugar. If it is too firm, knead in a few drops of water or a touch more shortening. Work slowly. Tiny adjustments make a big difference, and overcorrecting is how many fondant adventures become kitchen folklore.
-
Step 8: Add color the smart way
If you want colored fondant, use gel food coloring instead of liquid coloring. Gel adds strong color without making the dough overly wet. Smear a small amount onto the fondant and knead until evenly distributed. Wear gloves unless you want your hands to look like you lost an argument with a marker factory. Start with less color than you think you need; you can always deepen it later.
-
Step 9: Let the fondant rest
Wrap the fondant tightly in plastic wrap, then place it in an airtight container or zip-top bag. Let it rest for at least a few hours, or overnight if possible. Resting helps the fondant relax, smooth out, and become easier to roll. Freshly made fondant can be a little too warm, soft, and dramatic. A rest period gives it time to settle down and remember its manners.
-
Step 10: Bring it back to room temperature and knead briefly
Before rolling, let the fondant sit at room temperature if it has been stored for a while. Then knead it briefly until smooth. If it feels dry on the outside, add a tiny bit of shortening. If it feels sticky, dust the surface with powdered sugar or cornstarch. The goal is workable fondant, not a dust storm, so use your dusting ingredients lightly.
-
Step 11: Roll it out evenly
Roll the fondant on a smooth surface dusted lightly with powdered sugar or cornstarch. Turn it occasionally so it does not stick. Aim for an even thickness of about 1/8 inch for covering cakes. Too thin, and it tears. Too thick, and it tastes overly sweet and may slump awkwardly. For a cake cover, roll the fondant several inches wider than the cake so you have enough overhang to drape neatly.
-
Step 12: Drape and smooth it over the cake
To cover a cake, make sure the cake is already coated with a smooth layer of buttercream or ganache. That underlayer helps the fondant stick and hides crumbs. Gently roll the fondant over your rolling pin and unroll it over the center of the cake. Smooth the top first, then work down the sides using your hands or fondant smoothers. Lift and ease the lower edge as needed to avoid pleats and tearing. Trim the excess at the base with a sharp knife or pizza wheel.
-
Step 13: Store leftovers properly
Unused fondant should be coated lightly with shortening, wrapped tightly in plastic wrap, and sealed in an airtight container. Keep it at cool room temperature unless your kitchen is very warm. Properly wrapped fondant can last for several weeks and often around a month. When you want to use it again, knead it until soft and smooth. If it dries out because you forgot to wrap it well, yes, that was the fondant’s revenge.
Common Fondant Problems and How to Fix Them
Fondant is too sticky
Knead in a bit more powdered sugar, one tablespoon at a time. You can also dust your surface with cornstarch or confectioners’ sugar. Do not dump in a whole cup at once unless you enjoy converting fondant into sculpture-grade plaster.
Fondant is cracking
Cracking usually means the fondant is too dry or too cold. Knead in a little shortening and work it until the dough softens. If needed, add a drop or two of water. Letting it warm up at room temperature also helps.
Fondant tears on the cake
This often happens when it is rolled too thin or draped too quickly. Patch small tears with a tiny bit of matching fondant and smooth gently with shortening on your fingertip.
Fondant has elephant skin or rough edges
That wrinkled surface usually comes from dryness, overhandling, or too much sugar on the work surface. Knead briefly with a little shortening and smooth the surface before rolling again.
Fondant decorations will not dry
Keep them in a cool, dry room and make them ahead of time. If you need firmer decorations, mix in a little tylose powder or combine fondant with gum paste.
Marshmallow Fondant vs. Traditional Rolled Fondant
Marshmallow fondant is excellent for beginners because it is quick, affordable, and pleasantly sweet. It is ideal for birthday cakes, cupcakes, cookies, and simple decorative work. Traditional rolled fondant gives a more polished, professional finish and often handles heat and structure a bit better. That version usually uses gelatin, glucose or corn syrup, glycerin, and confectioners’ sugar. If you plan to make elaborate wedding-style decorations or want a very smooth, satin-like finish, traditional fondant may be worth trying next.
Still, for most home bakers making a celebration cake on a Saturday afternoon while also answering texts, washing dishes, and wondering why they ever volunteered for this, marshmallow fondant is a very smart choice.
Best Ways to Use Homemade Fondant
- Cover layer cakes for birthdays, showers, and holidays
- Make cutout flowers, stars, hearts, and letters
- Create simple figurines or bows
- Decorate cookies and cupcakes
- Add smooth accents over buttercream cakes
Extra Experience: What Home Bakers Usually Learn After Making Fondant the First Time
The first experience many home bakers have with fondant is a strange mix of confidence and immediate humility. You start by thinking, “This will be easy, it is only sugar.” Ten minutes later, you are elbow-deep in a sticky white mass that has somehow attached itself to the bowl, the spatula, the counter, and possibly your soul. That is normal. In fact, it is almost a rite of passage. Fondant often feels chaotic before it feels cooperative, and that moment can trick beginners into thinking they have already failed. Usually, they have not. They are just in the awkward middle stage.
One of the most common real-world lessons is that texture matters more than strict perfection. You can follow the ingredient list exactly and still need to adjust based on humidity, kitchen temperature, brand of marshmallows, or even how generously you measured the powdered sugar. Bakers often discover that fondant is less about obeying the recipe like a robot and more about learning what smooth, pliable dough actually feels like. Once that clicks, the whole process becomes far less intimidating.
Another common experience is realizing that patience beats force every single time. If fondant sticks, people often react by dumping in more sugar. Then it gets stiff. Then they panic and add water. Then it gets gummy. Congratulations, the kitchen has entered a tiny sugar soap opera. The better approach is to make very small changes and knead after each one. Fondant rewards calm behavior. It does not reward dramatic flourishes, overcorrections, or speeches about betrayal.
Many bakers also learn that resting the fondant is not an annoying extra step; it is the difference between a decent batch and a much easier one. Fresh fondant can be warm, sticky, and a little too soft to behave. After resting, it becomes smoother and more stable. The same goes for covering cakes. Trying to rush fondant onto a lumpy cake almost always ends with bumps, trapped air, or a mysterious tear that appears exactly where everyone will see it. A chilled cake with a smooth buttercream base makes the process dramatically easier.
Then there is the emotional journey of coloring fondant. A tiny dab of gel color looks innocent, almost cute. Five minutes later, you have neon hands and an unexpectedly intense shade that can only be described as “birthday highlighter.” Most experienced bakers eventually learn to start with less color than they think they need, especially because darker colors continue to deepen as the fondant rests.
Perhaps the most useful experience of all is realizing that homemade fondant does not have to be flawless to be beautiful. A cake covered in fondant can still look charming even if the edge is not perfectly sharp or the flower petals are not bakery-window precise. Homemade decorations have personality. They look made, not mass-produced. And honestly, when the cake is sliced and people are smiling, no one is going to stand up and announce that the bow on the top left was 7% less symmetrical than expected. They are going to eat cake. As they should.
Conclusion
Learning how to make fondant is one of those baking skills that seems far more intimidating from a distance than it does in practice. Once you understand the texture, keep your tools lightly greased, and resist the urge to overcorrect every tiny issue, fondant becomes surprisingly approachable. Start with a marshmallow version, give it time to rest, and treat it like a dough rather than a mystery. Soon enough, you will be covering cakes, cutting decorations, and pretending you always knew what you were doing.