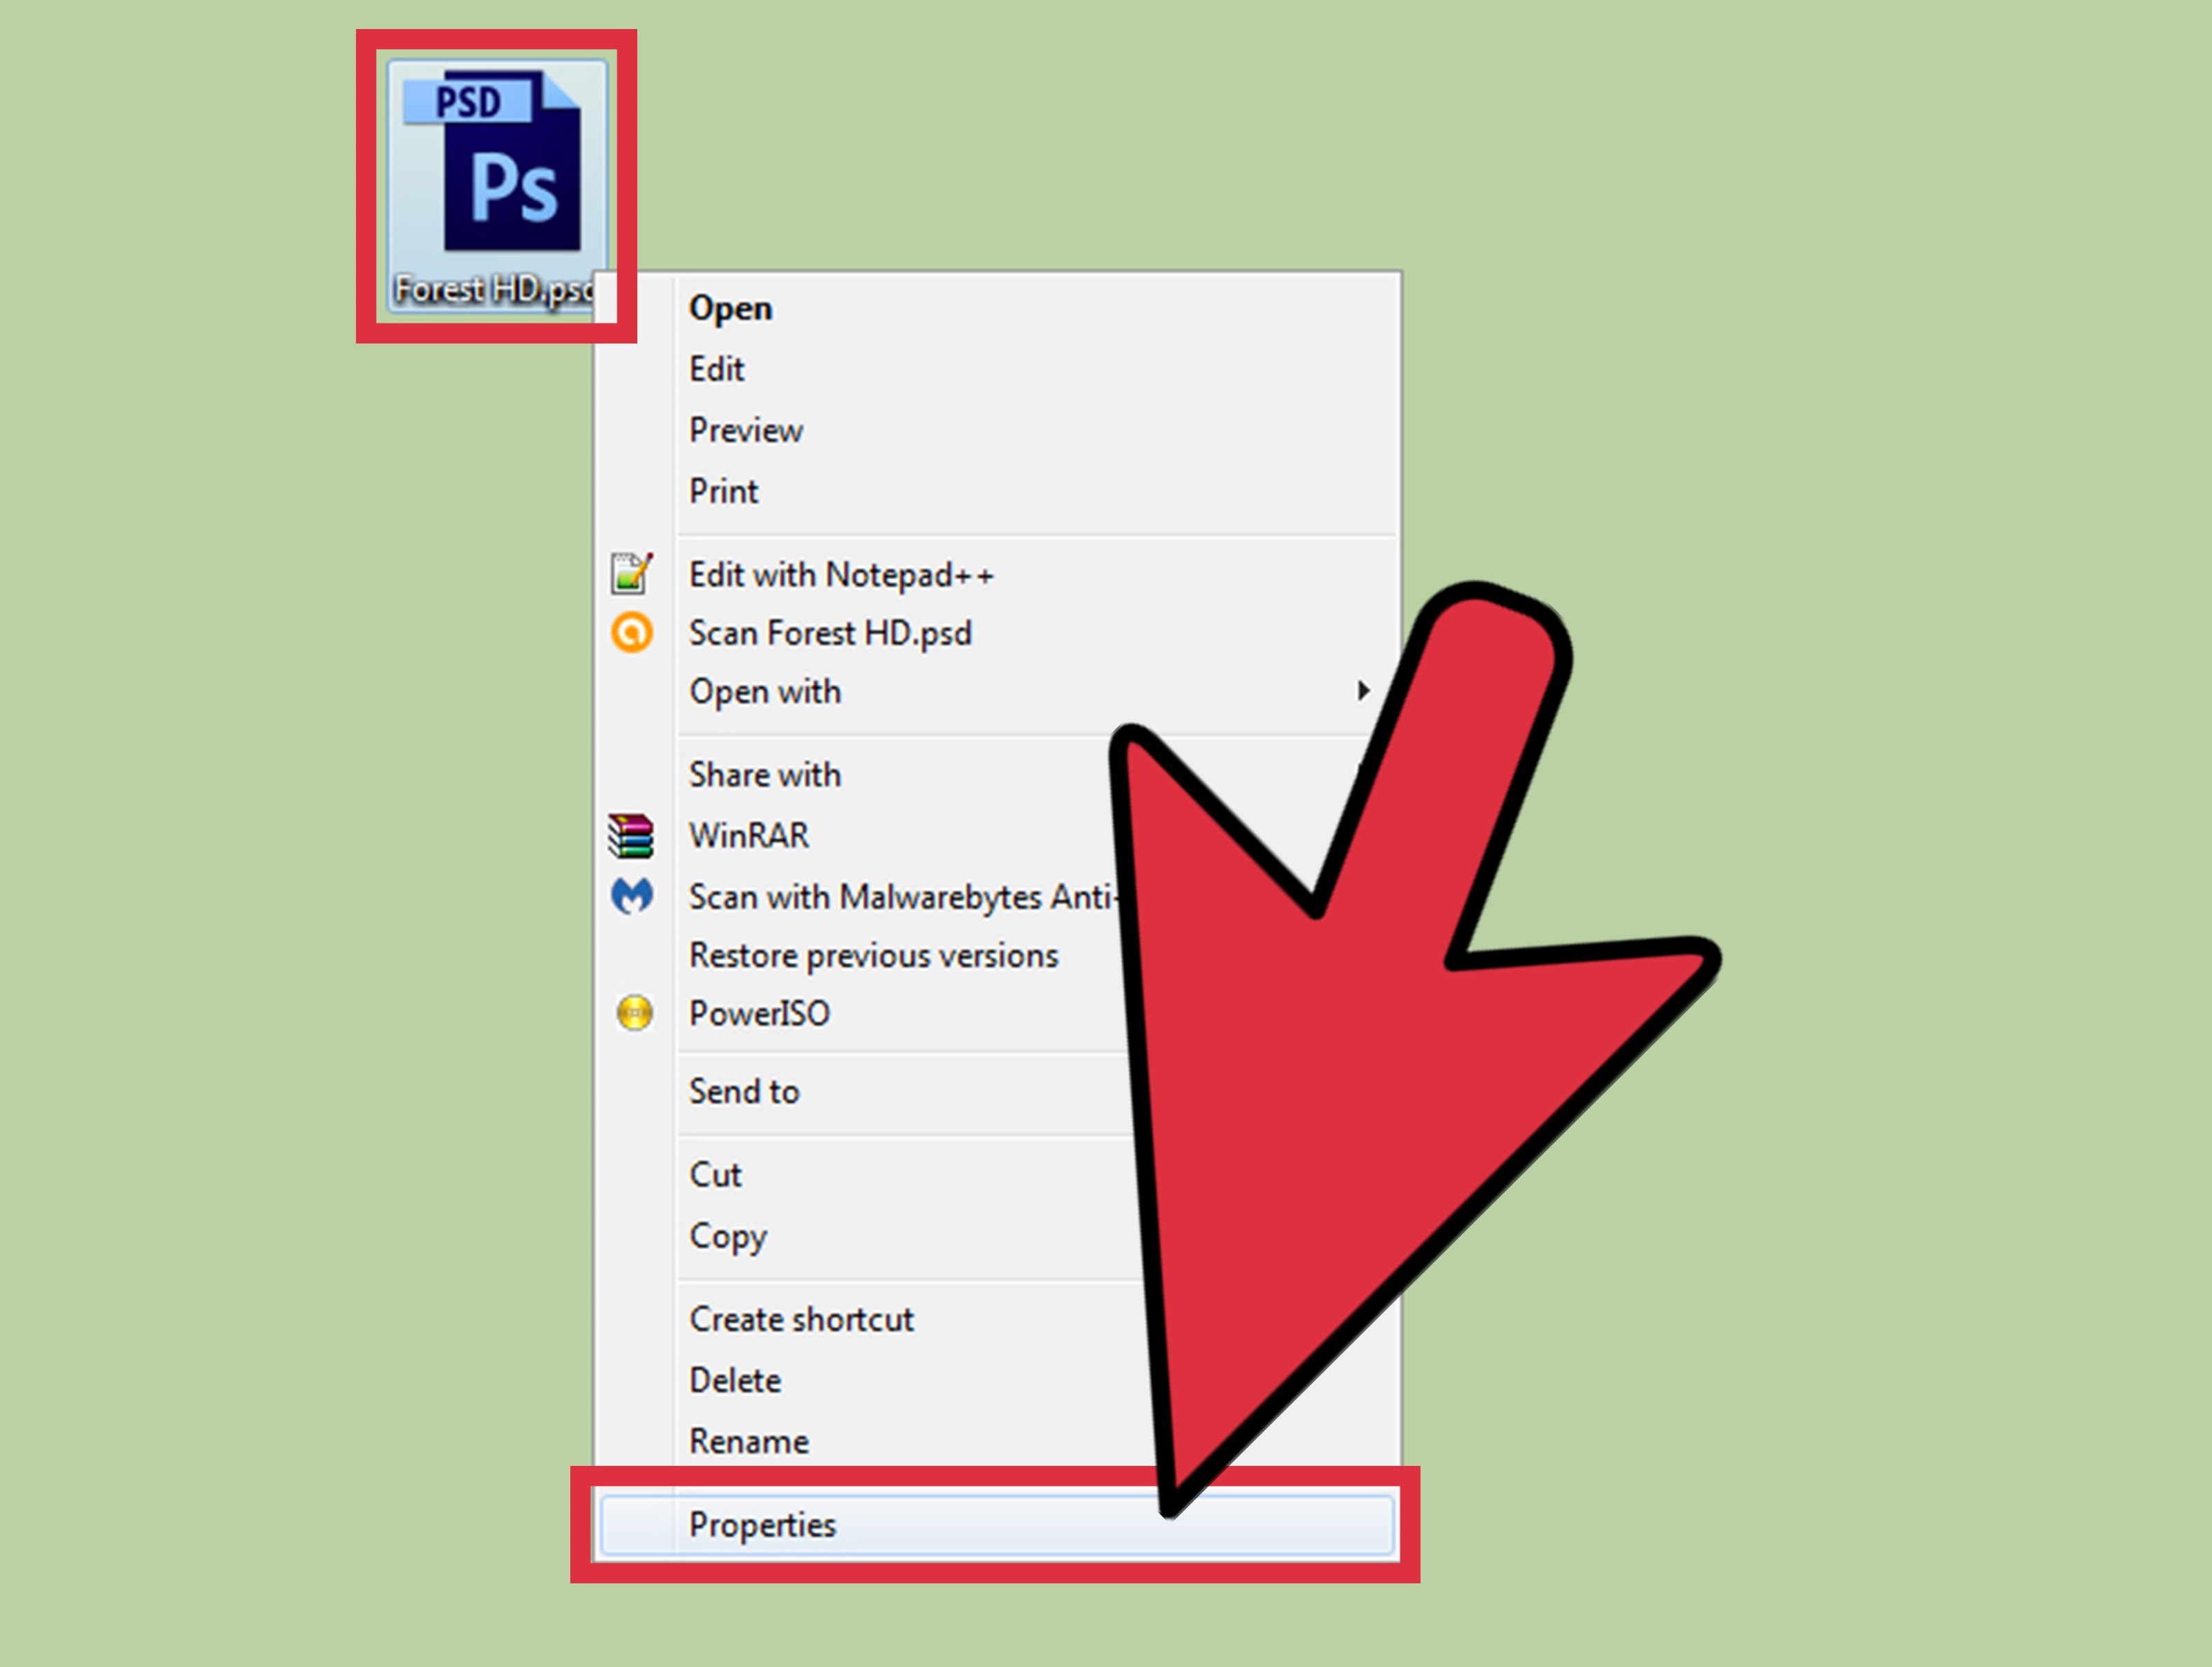
Learning how to make a PSD file using Photoshop is one of the first “welcome to the design world” moments every beginner has. One minute you are editing a simple picture, and the next minute Photoshop asks you about layers, resolution, color mode, file formats, Smart Objects, and approximately 700 panels that look like they were designed by a wizard with excellent posture.
Do not panic. A PSD file is simply a Photoshop Document. It is Photoshop’s native working file format, which means it can preserve editable layers, masks, text, effects, adjustment layers, transparency, and other project details that flat image formats like JPG usually cannot keep. In plain English: a PSD file lets you return later and change your design without starting over like a raccoon rebuilding a tiny graphic-design empire from scratch.
This beginner-friendly guide walks you through how to create a PSD file in Photoshop from a blank canvas, build it with layers, organize your work, and save it properly. Whether you are making a social media graphic, a flyer, a photo edit, a web banner, or your first “I promise I know Photoshop” project, these 10 steps will help you build a clean, editable Photoshop file from the ground up.
What Is a PSD File?
A PSD file, short for Photoshop Document, is the standard editable file format used by Adobe Photoshop. Unlike a JPG or PNG, which usually stores a flattened image, a PSD can keep your design broken into separate parts. Those parts might include photo layers, text layers, shape layers, layer masks, adjustment layers, Smart Objects, blending modes, and effects.
Think of a PSD as a layered sandwich. A JPG is the sandwich after someone has pressed it in a panini grill. Delicious, maybe, but hard to separate. A PSD keeps the lettuce, tomato, cheese, bread, and questionable sauce decisions on separate layers so you can adjust each one later.
Why Beginners Should Use PSD Files
Beginners often save everything as JPG because it feels simple. That is fine for sharing a final image, but it is not ideal for editing. Once a file is flattened, you cannot easily move the headline, change one graphic, remove a background adjustment, or fix a typo without extra work.
A PSD file is better when you want to:
- Keep text editable
- Preserve layers and effects
- Make changes later without damaging the original image
- Create templates for repeated use
- Share editable design files with another Photoshop user
- Export final versions as JPG, PNG, PDF, or other formats
In short, the PSD is your master file. Your exported JPG or PNG is the finished copy. Save both when needed: one for editing, one for showing off.
How to Make a PSD File Using Photoshop: 10 Beginner Steps
Step 1: Open Photoshop and Create a New Document
Launch Adobe Photoshop and choose File > New. This opens the New Document window, where you can choose the size, resolution, orientation, color mode, and background settings for your project.
If you are making a social media post, choose a preset or enter custom pixel dimensions. For example, a square Instagram-style graphic might be 1080 x 1080 pixels. A website banner might be 1920 x 600 pixels. A printable flyer might be 8.5 x 11 inches.
For beginners, here is a simple rule: use pixels for digital designs and inches for print designs. Photoshop gives you many presets, but custom settings are often better when you know exactly where the final design will appear.
Step 2: Choose the Right Resolution
Resolution controls how much detail your image contains for print or screen use. For web graphics, 72 PPI or a screen-friendly pixel size is usually enough because websites care more about pixel dimensions than traditional print resolution. For print projects, 300 PPI is the common standard because printed materials need more detail.
Example: If you are creating a school event poster that will be printed, use 300 PPI. If you are designing a blog image, YouTube thumbnail, or web banner, focus on the correct pixel dimensions instead.
Choosing resolution correctly at the beginning helps prevent blurry output later. Photoshop can resize artwork, but enlarging a small image too much can make it look soft, fuzzy, or like it was photographed through a potato.
Step 3: Select the Correct Color Mode
Color mode affects how colors are built in your Photoshop file. For most beginner projects, choose RGB Color. RGB is used for screens, websites, social media, digital ads, thumbnails, and most online graphics.
For professional print projects, CMYK Color may be required, especially when a print shop asks for it. However, many beginners can start in RGB and convert later if necessary. When in doubt, ask the printer before designing the entire file. Nothing says “learning experience” like discovering your bright neon blue prints as a sad office carpet color.
Step 4: Set the Background Contents
In the New Document window, Photoshop lets you choose a white, black, background color, or transparent background. A white background is great for flyers, posters, mockups, and basic photo edits. A transparent background is useful for logos, icons, stickers, cutout graphics, and images that need to be placed over other backgrounds.
If you are not sure what to choose, start with white. You can always add, hide, or replace background layers later because your PSD file will remain editable.
Step 5: Click Create and Save Immediately as a PSD
After choosing your document settings, click Create. Before you do much work, save your file as a PSD. Go to File > Save As, choose a folder, name your file, and select Photoshop (.PSD) as the format.
A good file name matters more than beginners think. Use something clear, such as:
- birthday-poster-v1.psd
- website-banner-homepage.psd
- product-photo-edit-master.psd
- youtube-thumbnail-template.psd
Avoid names like final.psd, final-final.psd, or final-real-this-time-v8.psd. We have all been there. It is a confusing neighborhood.
Step 6: Add Your First Layers
Layers are the heart of Photoshop. They let you place different elements on top of one another while keeping each part editable. Open the Layers panel by choosing Window > Layers if it is not already visible.
You can add layers in several ways:
- Click the New Layer icon in the Layers panel
- Use the Type Tool to create editable text
- Use the Shape Tool to create vector shapes
- Drag an image into Photoshop to place it into your document
- Copy and paste artwork from another file
For example, if you are creating a simple sale banner, you might have one layer for the background image, one for a color overlay, one for the headline, one for the product photo, and one for a button shape. Each piece stays separate, which means you can move or edit one part without disturbing the rest.
Step 7: Use Text, Shapes, and Images
Now build your design. Select the Type Tool to add text. Choose a readable font, adjust the size, and use the Character panel if you need more control over spacing, weight, or alignment.
Use the Shape Tool to add rectangles, circles, lines, buttons, badges, and decorative blocks. Shape layers are especially useful because they remain editable. You can change their color, size, and position later.
To add an image, drag it into the document or use File > Place Embedded. Placing an image often adds it as a Smart Object, which helps preserve quality during resizing and transformations. This is helpful when you need to scale a logo or photo without damaging the original pixels too quickly.
Step 8: Edit Non-Destructively
Non-destructive editing means making changes without permanently damaging the original image or layer. Beginners should learn this early because it saves time, protects your work, and makes you look calmer than you actually feel.
Here are a few beginner-friendly non-destructive techniques:
- Use Adjustment Layers for brightness, contrast, hue, saturation, and color changes
- Use Layer Masks instead of erasing parts of an image
- Convert important layers to Smart Objects before resizing or applying filters
- Duplicate important layers before experimenting
- Keep original images hidden in a backup group if needed
For example, instead of using the Eraser Tool to remove part of a photo, add a layer mask and paint with black on the mask to hide areas. If you make a mistake, paint with white to bring them back. It is like Photoshop gives you an undo button with better manners.
Step 9: Organize Your Layers
A messy PSD file can become scary fast. At first, three layers feel manageable. Then you blink, and suddenly your Layers panel contains “Layer 37 copy copy 2,” a mysterious rectangle, and a text layer you are afraid to delete because it might be holding the universe together.
To stay organized, rename your layers. Double-click a layer name and use clear labels such as:
- Background Photo
- Main Headline
- Logo
- Button Shape
- Color Correction
- Shadow Effect
You can also group related layers. Select multiple layers, then press Ctrl + G on Windows or Command + G on Mac. Create groups such as Header, Background, Product, Text, Effects, or Footer. Organized layers make your PSD easier to edit, easier to share, and less likely to cause dramatic sighing.
Step 10: Save the PSD and Export a Final Copy
When your design is ready, save your editable PSD again by choosing File > Save. This keeps the working file with all layers, masks, text, and effects intact.
Then export a copy for sharing or publishing. For web use, choose File > Export > Export As or Save a Copy, depending on your version and workflow. Export as JPG for photos or general images, PNG for transparency or crisp graphics, and PDF when needed for documents or print review.
Remember this simple workflow:
- PSD = editable master file
- JPG = smaller flattened image for web or sharing
- PNG = image with transparency or sharp graphics
- PDF = useful for print review or document sharing
Never delete your PSD after exporting. The exported image is the final cookie. The PSD is the recipe, the oven, and the emergency backup snack drawer.
Beginner Example: Creating a Simple PSD Poster
Let’s say you want to create a simple coffee shop poster. Start with a new 8.5 x 11-inch document at 300 PPI in RGB or CMYK, depending on your print needs. Add a warm background color on one layer. Place a coffee cup photo as another layer. Add a large headline such as “Weekend Latte Special.” Use a smaller text layer for the price and date. Add a rectangle shape behind the call-to-action button. Then use an adjustment layer to slightly improve the photo brightness.
Now your PSD might include:
- Background Color
- Coffee Photo Smart Object
- Photo Brightness Adjustment
- Main Headline
- Price Text
- Call-to-Action Button
- Footer Details
If the shop owner later says, “Can we change the latte to iced coffee, make the headline bigger, and use blue instead of brown?” you can edit the PSD quickly. If you had only saved a flattened JPG, you would be trapped in pixel archaeology.
Common PSD Mistakes Beginners Should Avoid
Flattening Too Early
Flattening combines your layers into one image. This can be useful for final exports, but it is risky for your master file. Keep a layered PSD version before flattening anything.
Forgetting to Save
Photoshop is powerful, but your computer is still a machine with moods. Save regularly with Ctrl + S or Command + S. Develop the habit early. Your future self will send emotional thank-you notes.
Using Low-Resolution Images
Small images can look blurry when enlarged. Start with high-quality images whenever possible. If a photo is tiny, Photoshop cannot magically invent perfect detail forever, even though it does many impressive things.
Ignoring Layer Names
Unnamed layers are harmless at first, but they become confusing in larger projects. Naming layers takes seconds and can save minutes or hours later.
Saving Only the Exported File
A JPG or PNG is not a full replacement for a PSD. Always keep the PSD if you may need to revise the project.
Best Practices for Making PSD Files
To make clean PSD files, begin with the right document size, use layers for every major element, edit with masks and adjustment layers, organize your file with names and groups, and save both a master PSD and an exported final version.
It is also smart to create versions when making big changes. For example, save poster-v1.psd, then poster-v2.psd before major revisions. This gives you a backup path if a design direction fails. Designers call this version control. Everyone else calls it “not crying later.”
If you are working with clients, classmates, or teammates, keep the PSD easy to understand. A well-organized Photoshop file communicates professionalism. It says, “Yes, I know what I am doing,” even if you still occasionally click the wrong layer five times in a row.
Extra Experience: What Beginners Learn After Making Their First PSD Files
After making a few PSD files, most beginners discover that Photoshop is not just about dramatic photo edits or fancy effects. It is really about control. A PSD file gives you control over structure, timing, revisions, and creative decisions. The first time you reopen a PSD and change only one text layer without touching the rest of the design, you understand why professionals rely on layered files.
One practical lesson is that good setup prevents frustration. Beginners often rush into a project without checking canvas size, resolution, or color mode. Then they finish the design and realize it is too small for print, the wrong shape for social media, or not prepared for the final use. Spending one extra minute in the New Document window can save a full redesign later.
Another experience is learning that layers are not optional decoration. They are the actual workflow. When every design element has its own layer, your PSD becomes flexible. You can move the logo, resize the headline, change the background, adjust the photo, or test different colors without destroying the whole project. This is especially useful when feedback arrives. And feedback always arrives. Sometimes it wears a friendly hat and says, “Just one tiny change,” before requesting twelve changes and a different font.
Beginners also learn that layer masks are better than erasing. The Eraser Tool feels simple, but it permanently removes pixels from a layer. A mask lets you hide and reveal areas whenever you want. This matters in real projects because you may change your mind. Actually, you will change your mind. Photoshop practically runs on creative second thoughts.
Smart Objects are another important lesson. At first, they may seem confusing because some direct edits are not available until you open or rasterize the Smart Object. But once you understand them, they are incredibly useful. They help preserve image quality during transformations and make it easier to update placed artwork. For logos, product images, mockups, and repeated design elements, Smart Objects can keep your PSD cleaner and more flexible.
Organization becomes more important as projects grow. A small PSD with five layers is easy to manage. A banner, poster, or web layout with 60 layers can become chaos unless you name and group items. Professionals do not organize layers because they enjoy paperwork. They do it because future edits are faster, safer, and less annoying.
Saving habits also improve with experience. Many beginners save only when they are done. Better users save early, save often, and keep master files separate from exported files. A PSD is not usually the file you upload to a website or send as a quick preview. It is your editable source file. Exported JPGs and PNGs are delivery files. Mixing those up can cause problems when you need revisions later.
Finally, making PSD files teaches patience. Photoshop has many tools, and beginners do not need to master them all at once. Start with document setup, layers, text, shapes, masks, adjustment layers, saving, and exporting. That foundation is enough to create useful, editable projects. The advanced tricks can come later, preferably after coffee.
Conclusion
Making a PSD file in Photoshop is not complicated once you understand the basic workflow. Start with a new document, choose the right size and resolution, build your design with layers, use non-destructive editing techniques, organize your Layers panel, save the file as a PSD, and export a final copy for sharing.
The biggest beginner mindset shift is this: do not treat Photoshop like a one-time image editor. Treat it like a workspace. Your PSD file is where the project lives, grows, changes, and occasionally wears three different headline fonts before everyone agrees the first one was best.
Once you learn how to create and manage PSD files properly, you can build graphics that are easier to edit, easier to improve, and easier to reuse. That is the real power of Photoshop for beginners: not just making something look good today, but making it editable tomorrow.