“`
Your electric toothbrush works twice a day, stands guard beside the sink, and receives a steady coating of toothpaste foam, saliva, tap-water minerals, and whatever mystery dust floats around a bathroom. It deserves better than being rinsed for half a second and abandoned like a tiny bathroom power tool.
Fortunately, cleaning an electric toothbrush is easy. Most of the job requires running water, a clean cloth, a few minutes, and the rare ability to remember that the charger is also part of the toothbrush. A consistent routine helps prevent dried toothpaste from collecting around the shaft, keeps the brush head fresh, and may extend the useful life of the handle and accessories.
This guide explains how to clean an electric toothbrush safely, how often to clean each component, what not to do, and how to solve common problems such as odors, hard-water marks, and stubborn residue.
Why Electric Toothbrush Cleaning Matters
An electric toothbrush has more seams, moving parts, and contact points than a manual brush. Toothpaste can settle inside the removable head, around the metal or plastic drive shaft, beneath rubber seals, and on the charging stand. When moisture and residue remain trapped, the brush may develop discoloration, odor, or a sticky ring around the base.
The goal is not to turn your bathroom into a surgical suite. Toothbrushes are not sterile, and routine home care does not need to be dramatic. The practical objective is to remove visible debris, allow the parts to dry, avoid cross-contamination, and replace worn brush heads on schedule.
A clean brush also performs better. Matted or frayed bristles do not clean as effectively as fresh bristles, and a brush head clogged with hardened toothpaste is hardly living its best life.
What You Need to Clean an Electric Toothbrush
You probably already own everything required:
- Clean running water
- A soft, lint-free cloth
- A small soft brush or clean cotton swab for narrow crevices
- Mild liquid soap, only when allowed by the manufacturer
- A dry towel
- The owner’s manual or manufacturer support page for model-specific instructions
Skip abrasive powders, scouring pads, bleach, boiling water, and random disinfectant cocktails invented during a burst of bathroom enthusiasm. Strong chemicals or excessive heat can damage plastics, seals, bristles, finishes, and internal components.
How to Clean an Electric Toothbrush After Every Use
A 30-to-60-second cleanup after brushing prevents most buildup.
Step 1: Rinse the Brush Head
With the brush switched off, rinse the bristles thoroughly under running tap water. Use your thumb to gently move the bristles apart so water can flush away toothpaste and food particles. Some manufacturers recommend briefly rinsing the head while the brush is running; follow the instructions for your particular model.
Do not aggressively pull, twist, or mash the bristles. They are cleaning tools, not a stress ball.
Step 2: Remove the Brush Head
Detach the head according to the product instructions. Many heads pull straight off, while others twist or release differently. Rinse the opening at the bottom of the brush head and the top of the handle, where toothpaste residue commonly gathers.
This step is especially important because the narrow space between the head and handle can hold moisture and paste even when the outside looks spotless.
Step 3: Wipe the Handle
Use a damp cloth to wipe the body, buttons, grip, and neck of the toothbrush. If dried toothpaste is stuck around the shaft, loosen it gently with the cloth or a damp cotton swab.
Avoid forcing water into buttons, charging ports, seams, or openings. A water-resistant handle is not automatically a submarine. Unless the manufacturer specifically says the handle may be submerged, keep it out of sinks, bowls, and enthusiastic bathtub experiments.
Step 4: Remove Excess Water
Shake the head lightly over the sink and pat the handle dry. Wipe the base of the handle before placing it near the charger. Standing water and charging equipment are not a charming couple.
Step 5: Air-Dry the Parts
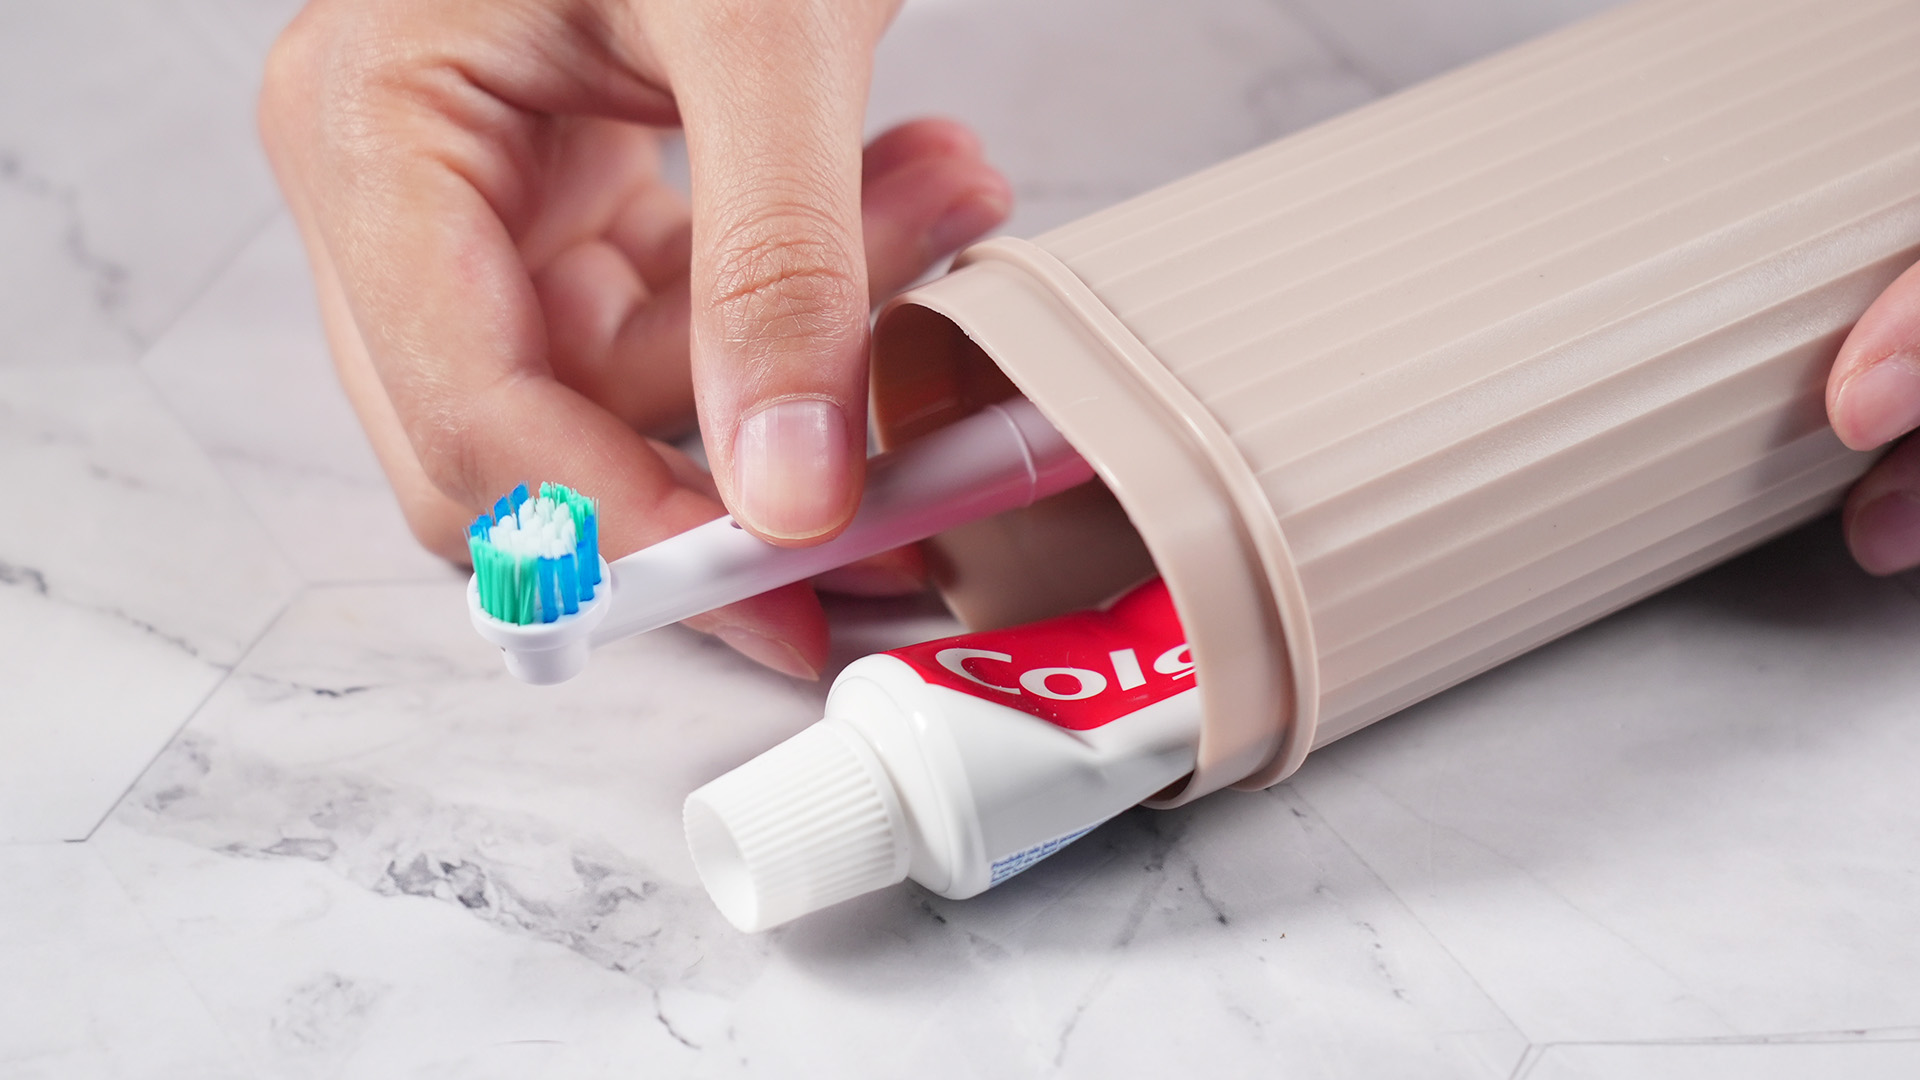
Store the handle and brush head upright in an open, well-ventilated location. When practical, keep the head detached until both components are dry. Avoid sealing a wet brush head inside a cap or closed travel case because trapped moisture slows drying.
If several toothbrushes share one holder, keep the heads separated so the bristles do not touch. Every family has enough opportunities to share without creating a bristle exchange program.
How to Deep-Clean an Electric Toothbrush Weekly
A more thorough cleaning once a week, or whenever buildup appears, keeps small problems from becoming geological formations.
Clean the Head and Connection Area
Remove the brush head and rinse it inside and out. Inspect the base for paste, slime, or mineral residue. Use a soft, damp brush or cotton swab to clean around the inner rim without scratching or widening the opening.
Rinse well and allow the head to air-dry. If your manufacturer permits mild soap, use only a tiny amount and rinse until no soap remains. Do not assume that mouthwash, denture tablets, hydrogen peroxide, vinegar, or other soaking solutions are safe for every brush head. Materials and internal components vary by brand.
Clean the Handle Carefully
Wipe the handle with a damp cloth from top to bottom. Pay attention to the power button, mode button, grip texture, and base. For a stubborn toothpaste ring, hold a warm, damp cloth against the area for a minute, then wipe again. Softening the residue is safer than attacking it with a knife, pin, or metal tool.
Never open the handle, remove waterproof seals, or poke into internal gaps. If moisture appears beneath a display or inside the handle, stop using the brush and contact the manufacturer.
Clean the Charging Base
Unplug the charger first. Wipe it with a slightly damp cloth, cleaning around the raised charging post and any grooves where residue collects. Dry it completely before plugging it back in.
Do not immerse the charger, run it under the faucet, or spray cleaner directly onto it unless the manufacturer explicitly approves that method. Even when a charging stand is described as water-resistant, the safest routine is usually unplug, wipe, and dry.
Clean the Holder or Travel Case
A clean brush placed in a grimy holder is a small hygiene comedy. Wash removable holders according to their instructions. Many simple plastic cups can be cleaned with warm, soapy water, rinsed, and dried thoroughly. For a powered stand or sanitizing case, follow the model-specific manual.
Travel cases should be emptied and wiped after trips. Allow both the case and brush head to dry before closing them for storage.
How to Remove Common Buildup and Odors
Dried Toothpaste
Place a warm, damp cloth around the affected area for one or two minutes. Wipe gently, repeat if needed, and use a cotton swab around shallow seams. This approach usually removes old paste without scratching the finish.
Hard-Water Spots
Mineral spots often appear as chalky white marks on the handle or charger. Start with a damp microfiber cloth. If the marks persist, check the manufacturer’s cleaning guidance before using any acidic solution. Never soak the powered handle or charger in vinegar.
Bad Smell
An odor usually signals trapped moisture, residue, or an overdue brush-head replacement. Remove the head, rinse every accessible surface, clean the connection point, and let all parts dry separately. Clean the holder as well. If the odor remains, discard the brush head and install a new one.
Mold-Like Discoloration
Dark spots around seals, inside the head, or on the charger deserve attention. Clean accessible exterior surfaces as directed. Replace a stained head rather than trying to rehabilitate it with harsh chemicals. If discoloration appears beneath a seal or inside the powered handle, discontinue use and ask the manufacturer whether the unit should be replaced.
Should You Disinfect an Electric Toothbrush?
For most healthy users, thorough rinsing and open-air drying are the foundation of toothbrush care. Routine sterilization is generally unnecessary, and improvised methods can cause more damage than benefit.
A manufacturer-approved ultraviolet sanitizer may reduce microorganisms on compatible brush heads, but it does not replace rinsing, drying, and timely replacement. Likewise, soaking a brush head in mouthwash does not magically remove hardened paste hiding around the handle connection.
People with weakened immune systems, recent oral surgery, or special infection-control needs should ask a dentist or physician for personalized advice. The correct routine may differ from ordinary household care.
Electric Toothbrush Cleaning Mistakes to Avoid
- Do not share brush heads, even with a partner. Romance has limits.
- Do not place the powered handle, charger, or smart travel case in a dishwasher.
- Do not boil the brush head. Heat can deform the bristles and plastic.
- Do not use bleach, abrasive cleaners, scouring pads, or concentrated disinfectants unless the manufacturer specifically directs their use.
- Do not store the brush permanently in a sealed, damp container.
- Do not charge the handle while the base is visibly wet.
- Do not keep using a cracked head, loose connection, damaged charger, swollen battery, or handle that becomes unusually hot.
When to Replace the Brush Head or Handle
Replace an electric toothbrush head about every three to four months, or sooner when the bristles are frayed, flattened, splayed, discolored, or no longer feel effective. Some models include fading indicator bristles or an electronic replacement reminder, but a visual inspection still matters.
Replace the head after it has been dropped into a toilet, contaminated by a pet, stored wet for a prolonged period, or damaged. Some dental professionals also advise replacing it after certain illnesses; ask your dentist when you have concerns about reinfection or a vulnerable household member.
The powered handle lasts much longer, but it is not immortal. Consider replacement when the battery will not hold a charge, the shaft becomes loose, water enters the body, the casing cracks, the controls fail, or compatible heads are no longer available.
A Simple Electric Toothbrush Cleaning Schedule
- After every brushing: Rinse the head, remove visible residue, wipe the handle, and let the parts dry.
- Once a week: Detach the head, clean the connection area, wipe the full handle, and inspect the charger.
- Once a month: Clean the holder or travel case, check the cord and charger, and inspect for mineral buildup or damage.
- Every three to four months: Replace the brush head, or replace it sooner if it becomes worn or contaminated.
This schedule is intentionally boring. Boring maintenance is excellent maintenance because it actually gets done.
Practical Experience: The Habits That Make the Biggest Difference
In everyday use, the most effective toothbrush-cleaning routine is rarely the most complicated one. The biggest improvement usually comes from changing what happens in the final 30 seconds after brushing. A quick rinse of the bristles is helpful, but removing the head and flushing the connection point prevents the hidden ring of toothpaste that surprises people weeks later.
One common pattern is the “looks clean from the front” problem. The bristles appear fine, the handle is shiny, and yet the brush develops an odor. The culprit is often the hollow base of the brush head or the damp collar around the drive shaft. Cleaning those two areas and drying the parts separately often solves the problem without special products.
Another practical lesson is that bathroom placement matters. A brush squeezed between a wall and a closed cabinet may remain damp longer than one kept in an open holder. Moving it to a ventilated spot can be more useful than buying a gadget. The same principle applies to travel. A cap protects the bristles from contact with luggage, but closing a wet head inside the cap for three days creates a tiny tropical climate. Let the brush dry before packing whenever possible, and open the case after arrival.
The charger is the most frequently forgotten component. Toothpaste foam runs down the handle, dries around the base, and slowly creates a crusty ring that resembles modern sculpture. Wiping the handle before charging and cleaning the unplugged base weekly prevents this. It also makes the bathroom counter look less like a toothpaste testing laboratory.
Overcleaning causes its own problems. Scraping residue with metal objects can damage seals. Soaking an entire handle because the package says “waterproof” may shorten its life. Strong chemicals can discolor plastic or affect bristles. The gentler approachwarm water, a damp cloth, patience, and model-specific instructionsis usually both safer and faster.
A useful reset for a neglected brush is to replace the old head, unplug and wipe the charger, clean the handle carefully, wash the holder, and choose a more ventilated storage spot. Then attach the new head only after everything is dry. This simple reset can make the whole setup feel new without replacing an otherwise functional handle.
Shared bathrooms add another practical challenge: identifying whose head is whose. Color-coded rings, labeled storage slots, or separate cups prevent accidental sharing and make drying easier. For children, the routine works best when it is visible and simple: rinse, pull off the head if the model allows it, shake, and place both pieces in their assigned spot.
Complicated sanitizing rituals tend to disappear after three days. A routine that takes less than a minute is far more likely to survive busy mornings, late nights, and the universal temptation to say, “I’ll clean it tomorrow.”
Finally, make replacement automatic. Write the installation date on the brush-head package, add a recurring phone reminder, or keep spare heads in the same cabinet. Waiting until the bristles resemble a startled porcupine is not a reliable system. A clean electric toothbrush depends less on heroic deep cleaning and more on small actions repeated consistently.
Conclusion
Learning how to clean an electric toothbrush is mostly a matter of rinse, separate, wipe, dry, and inspect. Clean the brush head and connection after use, wipe the handle instead of soaking it, unplug the charger before cleaning, and give every component enough air to dry. Replace worn heads regularly and consult the owner’s manual before using soaps, sanitizers, or soaking solutions.
The routine takes less time than choosing a streaming show and produces a far more useful result: a fresher brush, a tidier counter, and one less mysterious bathroom object demanding attention.
Note: Water-resistance ratings and cleaning instructions vary. Always follow the directions supplied with your exact toothbrush, charger, travel case, and sanitizing accessory.