A Frigidaire ice maker that stops working has excellent comic timing: it usually quits just before guests arrive or during peak iced-coffee season. Fortunately, the cause is often simple. The ice maker may be switched off, the freezer may be too warm, water flow may be restricted, or a cube may be jammed in the mechanism.
This guide starts with quick, low-risk checks and moves toward problems that may require a technician. First, determine whether the refrigerator is failing to make ice or merely failing to dispense it. An empty bin points to temperature, water, or ice maker issues. A full bin that will not dispense points more toward the bucket, auger, chute, control lock, or door switch. Frigidaire generally recommends a 0°F freezer setting, and a newly installed refrigerator may need about 24 hours to stabilize.
15 Frigidaire Ice Maker Troubleshooting Tips
1. Make Sure the Ice Maker Is Turned On
Depending on the model, the ice maker may use a wire shutoff arm, a small switch, an interior button, or a control-panel setting. Confirm that the arm is down or the electronic ice-making function is enabled. Frozen food can bump a wire arm upward without anyone noticing. If your model uses digital controls, switch the ice maker off, wait about a minute, and switch it back on. Never force a stiff arm; check the model manual for the correct position.
2. Allow Enough Time After Installation or a Power Interruption
A new, moved, or recently restarted refrigerator must cool before it can make ice. Frigidaire notes that air in new plumbing can cause two or three empty cycles. Production may be limited during the first 24 hours, and filling the entire bin may take one to two days. Let the temperature stabilize instead of changing the settings every hour, and discard early batches if they look discolored or taste unusual.
3. Set and Verify the Freezer Temperature
Set the freezer to 0°F and allow roughly 24 hours after an adjustment. Use an appliance thermometer because the display setting is not proof of the actual temperature. If the freezer is warmer than expected, clear blocked air vents, reduce overcrowding, check the door gasket, and look for a broader cooling problem. Dirty coils or a weak fan can also reduce ice production.
4. Check That the Doors Close Completely
Frigidaire refrigerators generally stop dispensing when a door is open, and some models rely on a door switch during normal ice operation. Remove packages that interfere with closing, clean sticky gasket surfaces, and inspect the seal for gaps or damage. If the interior light stays on when an accessible door switch is pressed, the switch may be faulty. Do not tape down or bypass a safety switch.
5. Confirm the Water Supply Valve Is Fully Open
Locate the cold-water shutoff valve feeding the refrigerator and open it fully. A partially closed valve may allow a weak dispenser stream but provide too little water for reliable ice making. Check the wall connection and floor for moisture. If you find an active leak, close the valve before continuing. Pull the refrigerator forward carefully so the supply line does not stretch, kink, or disconnect.
6. Inspect the Water Line
Follow the tubing from the wall to the refrigerator. Straighten gentle bends and replace tubing that is sharply creased, brittle, cracked, or leaking. A refrigerator pushed too close to the wall can pinch its own line. Restricted flow is especially likely when the dispenser has become slower or the ice cubes became smaller before production stopped.
7. Prime and Purge the Water System
Air trapped after installation or a filter change can cause sputtering water, empty ice cycles, uneven filling, or odd-tasting cubes. Follow the model instructions for dispensing water in intervals until the stream is steady. Frigidaire specifically recommends priming and purging new plumbing because trapped air may cause two or three unproductive ice maker cycles.
8. Reseat or Replace the Water Filter
Remove and reinstall the filter according to the manual, making sure it locks into place. A clogged, incorrect, or poorly seated cartridge can reduce flow to both the dispenser and ice maker. Frigidaire recommends replacement when the filter is older than six months or water flow becomes slow. After installing a new filter, purge the system and discard the first ice. If the failure began immediately after a filter change, suspect fit or seating before blaming the ice maker.
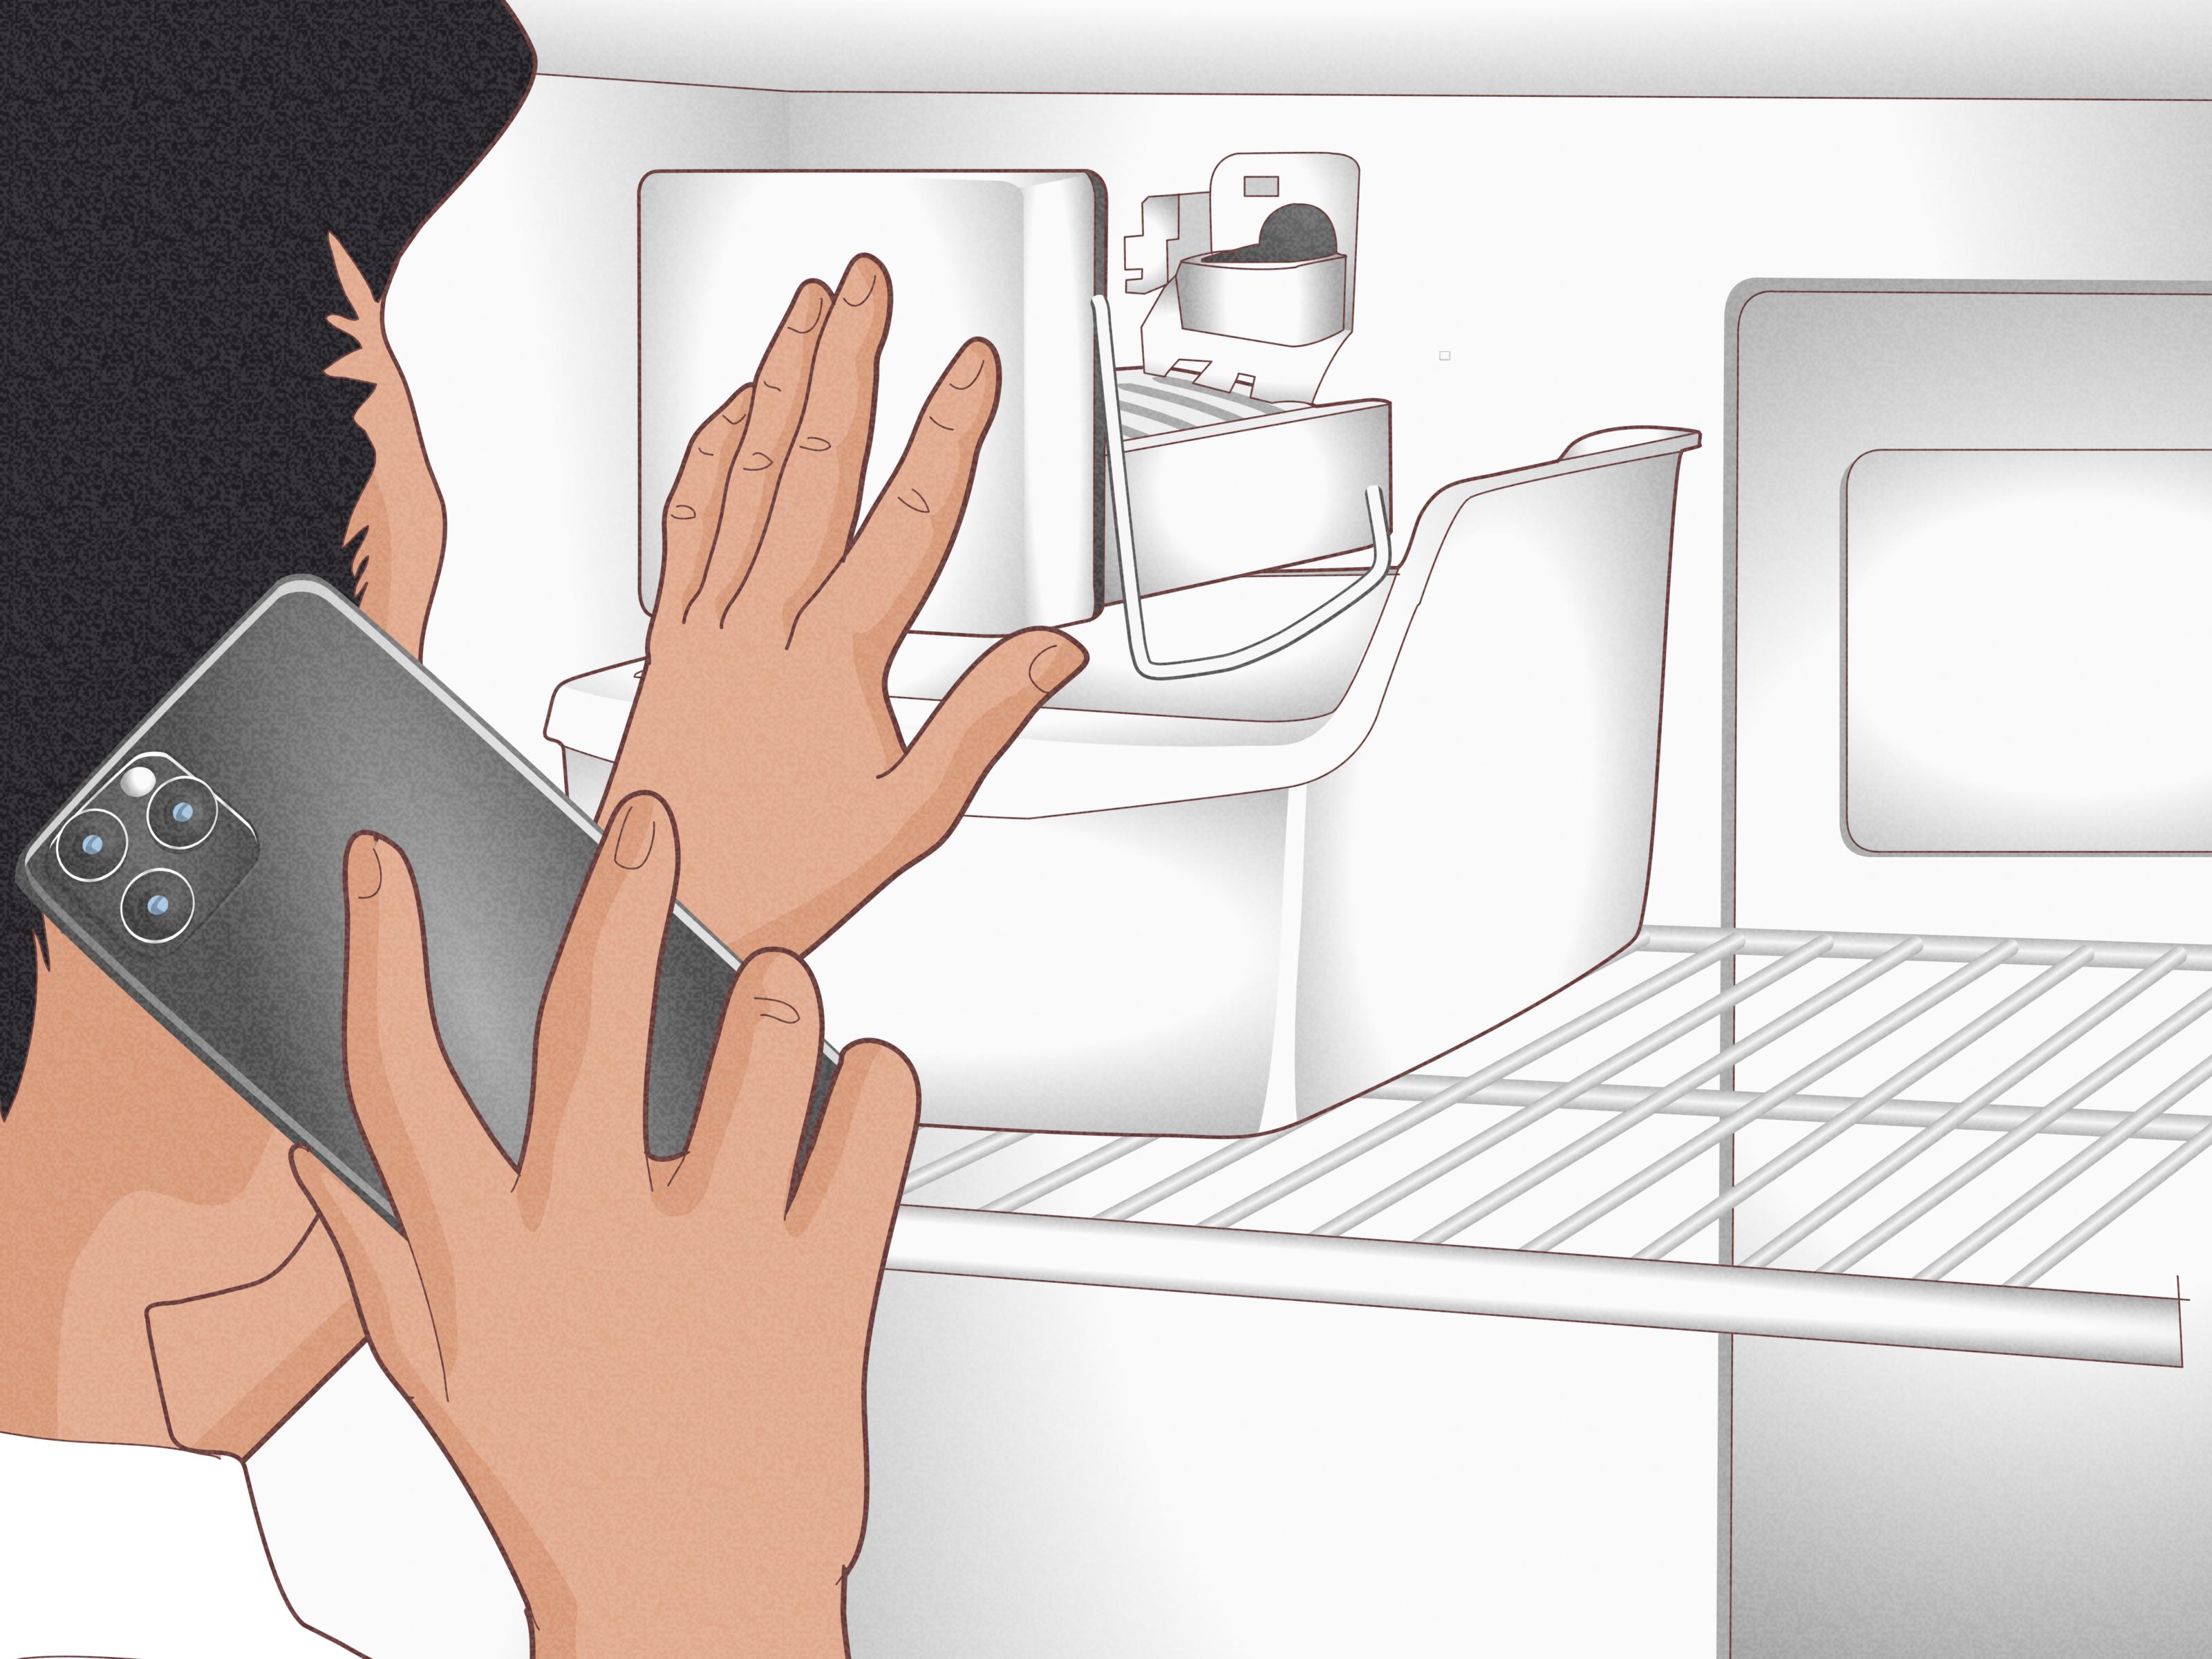
9. Clear Jammed Cubes
Turn off the ice maker and inspect the mold, ejector fingers, and nearby moving parts. Remove loose or wedged cubes carefully after disconnecting power if your hand must enter the mechanism. Use fingers or a plastic utensil, not a knife or screwdriver. Repeated jams may indicate temperature swings, low water flow, overfilling, or melting and refreezing rather than a one-time rebellious cube.
10. Look for a Frozen Fill Tube
The fill tube carries water into the ice mold. If it freezes shut, the ice maker may cycle while the mold remains dry. Turn off power and thaw an accessible ice plug gradually with a warm, damp cloth. Never use an open flame, boiling water, or a heat gun. If the tube freezes again, low flow, poor alignment, or a seeping inlet valve may be the real cause.
11. Remove and Reseat the Ice Bucket
If the bin contains ice but the dispenser does not deliver it, remove the bucket and break up or discard clumped cubes. Wash and dry the removable bin if needed, then reinstall it squarely so the auger coupling engages. Clear the chute and inspect the auger for frozen buildup. Some Frigidaire models have a specific auger-thaw procedure, so use only the instructions that match your model. Never reach into a powered auger.
12. Unlock the Panel and Check the Dispenser Setting
A locked control panel can make a healthy dispenser appear dead. On many Frigidaire models, holding the lock control for about three seconds unlocks it. Confirm that cubed or crushed ice is selected. If pressing the paddle produces a motor sound but no ice, suspect the bucket, auger, or chute. Complete silence may point to the paddle switch, door switch, motor, wiring, or control.
13. Perform a Power Reset
Turn the ice maker off, unplug the refrigerator or switch off its breaker, wait about five minutes, and restore power. Re-enable the ice maker and allow several hours for a cycle. A reset can clear a temporary control glitch, but it will not repair a clogged line or failed valve. If operation returns only briefly, record that pattern for the technician. Sears PartsDirect includes a five-minute reset among its initial electronic checks.
14. Consider Low Water Pressure or a Faulty Inlet Valve
The electrically operated inlet valve fills the dispenser and ice maker. Warning signs include tiny or hollow cubes, slow water flow, humming without filling, or a fill tube that repeatedly freezes because the valve drips after closing. Pressure requirements vary, especially with reverse-osmosis systems; consult the model specifications. Testing live voltage or valve coils should be left to a qualified person unless you have proper electrical training.
15. Investigate Internal Component Failure
If temperature and water flow are correct and the system still will not fill, freeze, harvest, or dispense, a component may have failed. Possibilities include an ice-level sensor, door switch, thermostat, fan, wiring harness, auger motor, control board, or complete ice maker assembly. Do not replace the most expensive board first. Model-specific diagnostics and electrical tests can identify the failed part before money starts flying out of the freezer.
Fast Diagnosis by Symptom
- Empty mold and weak dispenser flow: Check the valve, supply line, filter, pressure, and inlet valve.
- Empty mold but normal dispenser flow: Check the fill tube, ice maker control, sensor, wiring, and valve circuit.
- Full bin but no dispensing: Check the panel lock, doors, bucket, auger, chute, paddle switch, and motor.
- Small or hollow cubes: Look for restricted flow, low pressure, or incomplete filling.
- Repeated freeze-ups: Investigate dripping water, poor airflow, door leaks, and temperature swings.
A Practical Ice Maker Troubleshooting Experience
This is a composite homeowner experience based on common repair patterns, not a claim about one specific refrigerator.
The problem often begins quietly. Nobody notices the ice maker has stopped until the bin is empty, at which point several people stare into the freezer as though the cubes might return under social pressure. In a typical case, the water dispenser still works, the freezer feels cold, and there is no dramatic grinding noise. That combination makes replacing the entire ice maker seem reasonable, but a step-by-step check usually produces better evidence.
The first useful tool is a freezer thermometer. A control panel may be set to 0°F while the actual compartment sits near 12°F because a large food package blocks an air vent or the door has not been sealing well. Moving the obstruction and allowing the freezer to recover overnight may restart a few cycles. Even limited production is valuable information because it shows that the ice maker can still operate when conditions improve.
Next comes a water-flow comparison. A dispenser stream can weaken so gradually that nobody notices. An aging filter may first produce small cubes, then hollow cubes, and finally an empty mold. Replacing the correct cartridge, seating it firmly, and purging the line often restores normal flow. The ice maker will not respond instantly; it still needs time to call for water, freeze it, and complete the harvest cycle.
Sometimes the first batch does not arrive because a small plug of ice blocks the fill tube. A warm cloth can thaw the accessible opening, but the important part is watching what happens next. If the tube freezes again, the inlet valve may be seeping after it should close. That slow drip freezes layer by layer, creating a tiny stalactite with terrible customer service. Proper valve diagnosis is then more useful than scheduling weekly thaw sessions.
A dispensing failure tells a different story. The bin may be full, yet the paddle produces only a hum. Removing the bucket may reveal one solid block of cubes formed after the door was left ajar. Emptying the clump, drying the bin, clearing the chute, and reinstalling the bucket can solve the problem without touching the ice maker. If the motor is silent, checking the control lock and door switch becomes more important than inspecting the water line.
The practical lesson is to change one condition at a time and write down the result. Record the freezer temperature, filter age, water-flow strength, whether the mold is wet or dry, and any motor sounds. Waiting through a full cycle is less exciting than swapping parts, but it prevents expensive guessing. The successful repair is often not one heroic move; it is a sequence of ordinary checks performed in the right order.
When to Call a Technician
Arrange professional service if the refrigerator cannot maintain temperature, leaks repeatedly, displays returning error codes, has burned wiring, or requires live electrical testing. Also call when a fan, valve, control board, or sealed internal component appears faulty. Before the appointment, record the model and serial numbers, actual freezer temperature, filter age, dispenser behavior, and any sounds. Frigidaire provides model-specific manuals and factory-authorized repair support.
Conclusion
When a Frigidaire ice maker is not working, start with the switch, freezer temperature, doors, water supply, filter, and visible ice jams. Then check the fill tube, bucket, dispenser controls, and power reset. If proper temperature and water flow are present but the system still fails, the symptom pattern can guide a technician toward the inlet valve, switch, motor, sensor, control board, or ice maker assembly.
The goal is not to disassemble the refrigerator until it confesses. It is to separate production problems from dispensing problems, test the simplest causes first, and stop when the repair requires energized circuits or model-specific diagnostics.