Developing film in a darkroom feels a little like kitchen chemistry, a little like meditation, and a little like trying not to drop spaghetti in the dark. That is part of the charm. When you develop your own film, you stop treating photography like a disposable tap-and-swipe hobby and start seeing it as a craft. You learn what your negatives are doing, why contrast shifts, how grain behaves, and why one tiny mistake can make a frame look dramatic, dreamy, or downright haunted.
If you are new to analog photography, the good news is this: developing black-and-white film in a darkroom is absolutely doable at home or in a school lab. You do not need a giant professional setup, a villain’s lair, or a mustache worthy of 1970s street photography. You need a light-tight way to load film, a reliable tank and reel, a few chemicals, a timer, and the patience to follow directions without improvising like you are on a cooking show.
This guide walks you through how to develop film in a darkroom step by step, with beginner-friendly explanations, practical tips, and real-world advice that helps you avoid the classic mistakes. We will focus mainly on black-and-white film because it is the most accessible starting point. Color film can be developed at home too, but it demands tighter temperature control and a little more fussiness. Black-and-white is where most people learn the rhythm of the process, and honestly, it is a very good place to fall in love with film.
Why Develop Your Own Film?
There are plenty of reasons photographers still develop film by hand. First, it gives you more control. You are not just handing off your roll and hoping for the best. You decide the chemistry, the workflow, and eventually the look. Second, it teaches you how exposure really works. When a negative comes out thin, dense, flat, or punchy, you begin connecting those visual results to what happened in-camera and in processing.
There is also the cost factor. Sending rolls to a lab is convenient, but frequent shooters can save money over time by processing black-and-white film themselves. And then there is the emotional part: pulling a strip of fresh negatives from the reel is one of the most satisfying moments in photography. It is the analog version of opening a present from your past self.
What You Need Before the Lights Go Out
Essential Equipment
To develop film in a darkroom, you need a few basics. The core setup includes a developing tank, matching reels, a thermometer, graduated containers, storage bottles, scissors, a timer, and film clips for drying. A changing bag can substitute for a fully dark room when loading film, which is great news for people whose bathroom still has an annoying little light leak around the door.
A daylight tank is the beginner favorite because only the loading stage must happen in total darkness. Once the film is safely wound onto the reel and sealed inside the tank, you can turn the lights back on and continue the rest of the process like a civilized human being.
Chemicals You Will Usually Use
A standard black-and-white workflow usually involves four liquid stages: developer, stop bath, fixer, and wash. Many photographers also finish with a wetting agent to reduce drying marks. Some simplified systems use a monobath, which combines developing and fixing in one solution, but traditional multi-step processing gives you more control and teaches better habits.
Here is the quick job description for each one:
- Developer: Turns the latent image on the film into a visible negative.
- Stop bath: Halts development quickly. Some photographers use water as a rinse stop.
- Fixer: Removes unexposed silver halides so the film becomes light-safe.
- Wash: Removes residual chemistry from the film.
- Wetting agent: Helps the film dry with fewer water spots.
Safety Basics That Are Not Optional
Darkroom work is fun, but it is still chemistry. Wear gloves when handling concentrates or when your skin will come into regular contact with solutions. Use eye protection when mixing chemicals. Keep the area ventilated, especially if you are using acidic stop baths or working in a smaller room. No food, no drinks, and absolutely no “this coffee cup looks close enough to a measuring beaker” behavior.
Label your bottles clearly, keep your workspace organized, and clean up after each session. The best darkroom advice is boring and excellent: do not be sloppy.
Step-by-Step: How to Develop Film in a Darkroom
1. Prepare the Workspace
Before touching the roll, set up everything you need. Mix your chemistry according to the manufacturer’s instructions. Bring it to the correct temperature. For many black-and-white workflows, the standard reference temperature is 68°F or 20°C, though your exact developer and film combination may call for something slightly different. Confirm your development time from the chemistry instructions, film data sheet, or an accurate development chart.
Lay out the tank, reel, scissors, bottle opener if needed for 35mm cassettes, timer, thermometer, and clips. This is not the moment to realize the scissors are in another room. In darkness, every forgotten tool becomes a personality test.
2. Load the Film in Complete Darkness
This is the part that scares beginners the most, and fair enough: you are handling something fragile, important, and invisible. Film must be loaded onto the reel in total darkness. Not “kind of dark.” Not “the red light is probably fine.” Total darkness. Safelights are for photographic paper, not for film.
Open the roll, trim the film leader if needed, and feed the film onto the reel so the layers never touch. The reel spaces the film properly so chemistry can reach every surface evenly. If you are using plastic reels, the ratcheting motion will help guide the film in. If you are using stainless steel reels, practice first with a junk roll in daylight because that learning curve can be spicy.
Once the roll is fully loaded, place the reel into the tank and close it securely. From this point on, the film is protected from light, and you can turn the lights on.
3. Double-Check Temperature and Time
Great negatives are built on consistency. Temperature, time, and agitation matter more than beginners usually expect. Even small variations can change contrast, density, and grain. If you are using a developer that allows some flexibility, you still want to stay close to the recommended range. Guesswork is exciting in road trips, not in chemical processing.
Set your timer before you pour. Make sure you know your agitation pattern. A common beginner routine is continuous agitation for the first 30 seconds, then gentle agitation for a few seconds every 30 seconds after that. Some workflows call for 10 seconds, some for 5, and some vary by developer. Follow the instructions for your chemistry first, then refine later when you understand what changes do.
4. Develop the Film
Pour the developer into the tank smoothly and start the timer immediately. Agitate according to your plan, and gently tap the tank after early inversions to dislodge air bubbles. Those little bubbles can cling to the film and leave undeveloped spots, which is a rude surprise on an otherwise nice portrait.
During development, do not improvise. Do not decide that one extra minute “feels artistic.” Developing time is the stage that most strongly shapes the negative. Longer or hotter development generally increases density and contrast. Shorter or cooler development can flatten the result. That is powerful once you know what you are doing, but for now, consistency is your best friend.
5. Stop the Development
When the development time is up, pour out the developer. Then stop the process. Some photographers use a proper stop bath, while others use several quick water rinses. A real stop bath halts development more decisively, which can matter more when your development times are short. Water can still work well for many home black-and-white routines, especially if you move quickly and consistently.
The important thing is to stop the developer from continuing its work. Film is not impressed by your good intentions. It only responds to chemistry and timing.
6. Fix the Film
Next comes fixer. Pour it in, start the timer, and agitate as directed. Fixing makes the film safe to view in normal light by clearing away the remaining light-sensitive material. This step is essential. If the film still looks milky after fixing and rinsing, the fixer may be exhausted or the roll may need more time.
Once the fixing stage is complete, the drama is mostly over. The images are there. You have rescued them from invisibility. Congratulations: you are now emotionally attached to a strip of plastic.
7. Wash Thoroughly
After fixing, wash the film thoroughly to remove residual chemistry. Some photographers use a running-water wash, while others use fill-and-dump cycles. A washing aid can shorten total wash time, but it is optional in many beginner workflows. What matters is that the film is cleaned well enough for long-term stability.
Do not rush this stage. Inadequate washing can affect the life of your negatives. You are not just making images for tomorrow’s Instagram carousel. Ideally, you are making negatives that still look good years from now.
8. Use a Wetting Agent and Dry Carefully
A brief final rinse in a wetting agent helps water sheet off the film and reduces drying marks. After that, remove the film from the reel and hang it in a clean, dust-free space. Clip the top, add a little weight at the bottom if needed, and let gravity do the work.
You can use a very clean film squeegee or clean fingers, but be cautious. Anything dirty can scratch the film. Many photographers would rather live with a water spot than drag a speck of grit down the entire roll like a tiny saboteur. Let the film dry fully before cutting and sleeving it.
Common Beginner Mistakes
The first mistake is poor film loading. If the film jams, buckles, or overlaps on the reel, chemicals cannot reach it evenly. Practice with a sacrificial roll before processing your first real one. The second mistake is bad temperature control. The third is inconsistent agitation. And the fourth is impatience, which deserves its own category because it causes most of the others.
Another common issue is drying film in a dusty room. Your negatives can come out beautifully processed and still end up wearing a fur coat of lint. A clean bathroom after a hot shower can work surprisingly well because the moisture helps settle airborne dust. Not glamorous, but effective.
Black-and-White vs. Color Film in the Darkroom
If you are wondering whether you should start with color, the honest answer is: probably not. Color film development at home is very possible, but it is more temperature-sensitive and less forgiving. Black-and-white film is the better training ground because the workflow is easier to manage and more flexible. Once you can control time, temperature, chemistry handling, and drying with confidence, moving into C-41 color processing becomes much less intimidating.
Think of black-and-white as film school without the student debt.
How to Judge Your Negatives
When the film is dry, hold it up and study it. Good negatives usually show a full range of tones without looking excessively thin or excessively dense. If they are too faint, the film may have been underexposed, underdeveloped, or both. If they are very dark and hard to print or scan, you may have overdeveloped them or overexposed them. Uneven marks can point to loading issues, agitation problems, contamination, or drying mistakes.
This is where the learning gets real. Every roll becomes feedback. Keep notes on film stock, exposure index, developer, dilution, time, temperature, and agitation. Boring notebook people have an unfair advantage in the darkroom, and that is simply the truth.
What Happens After Developing?
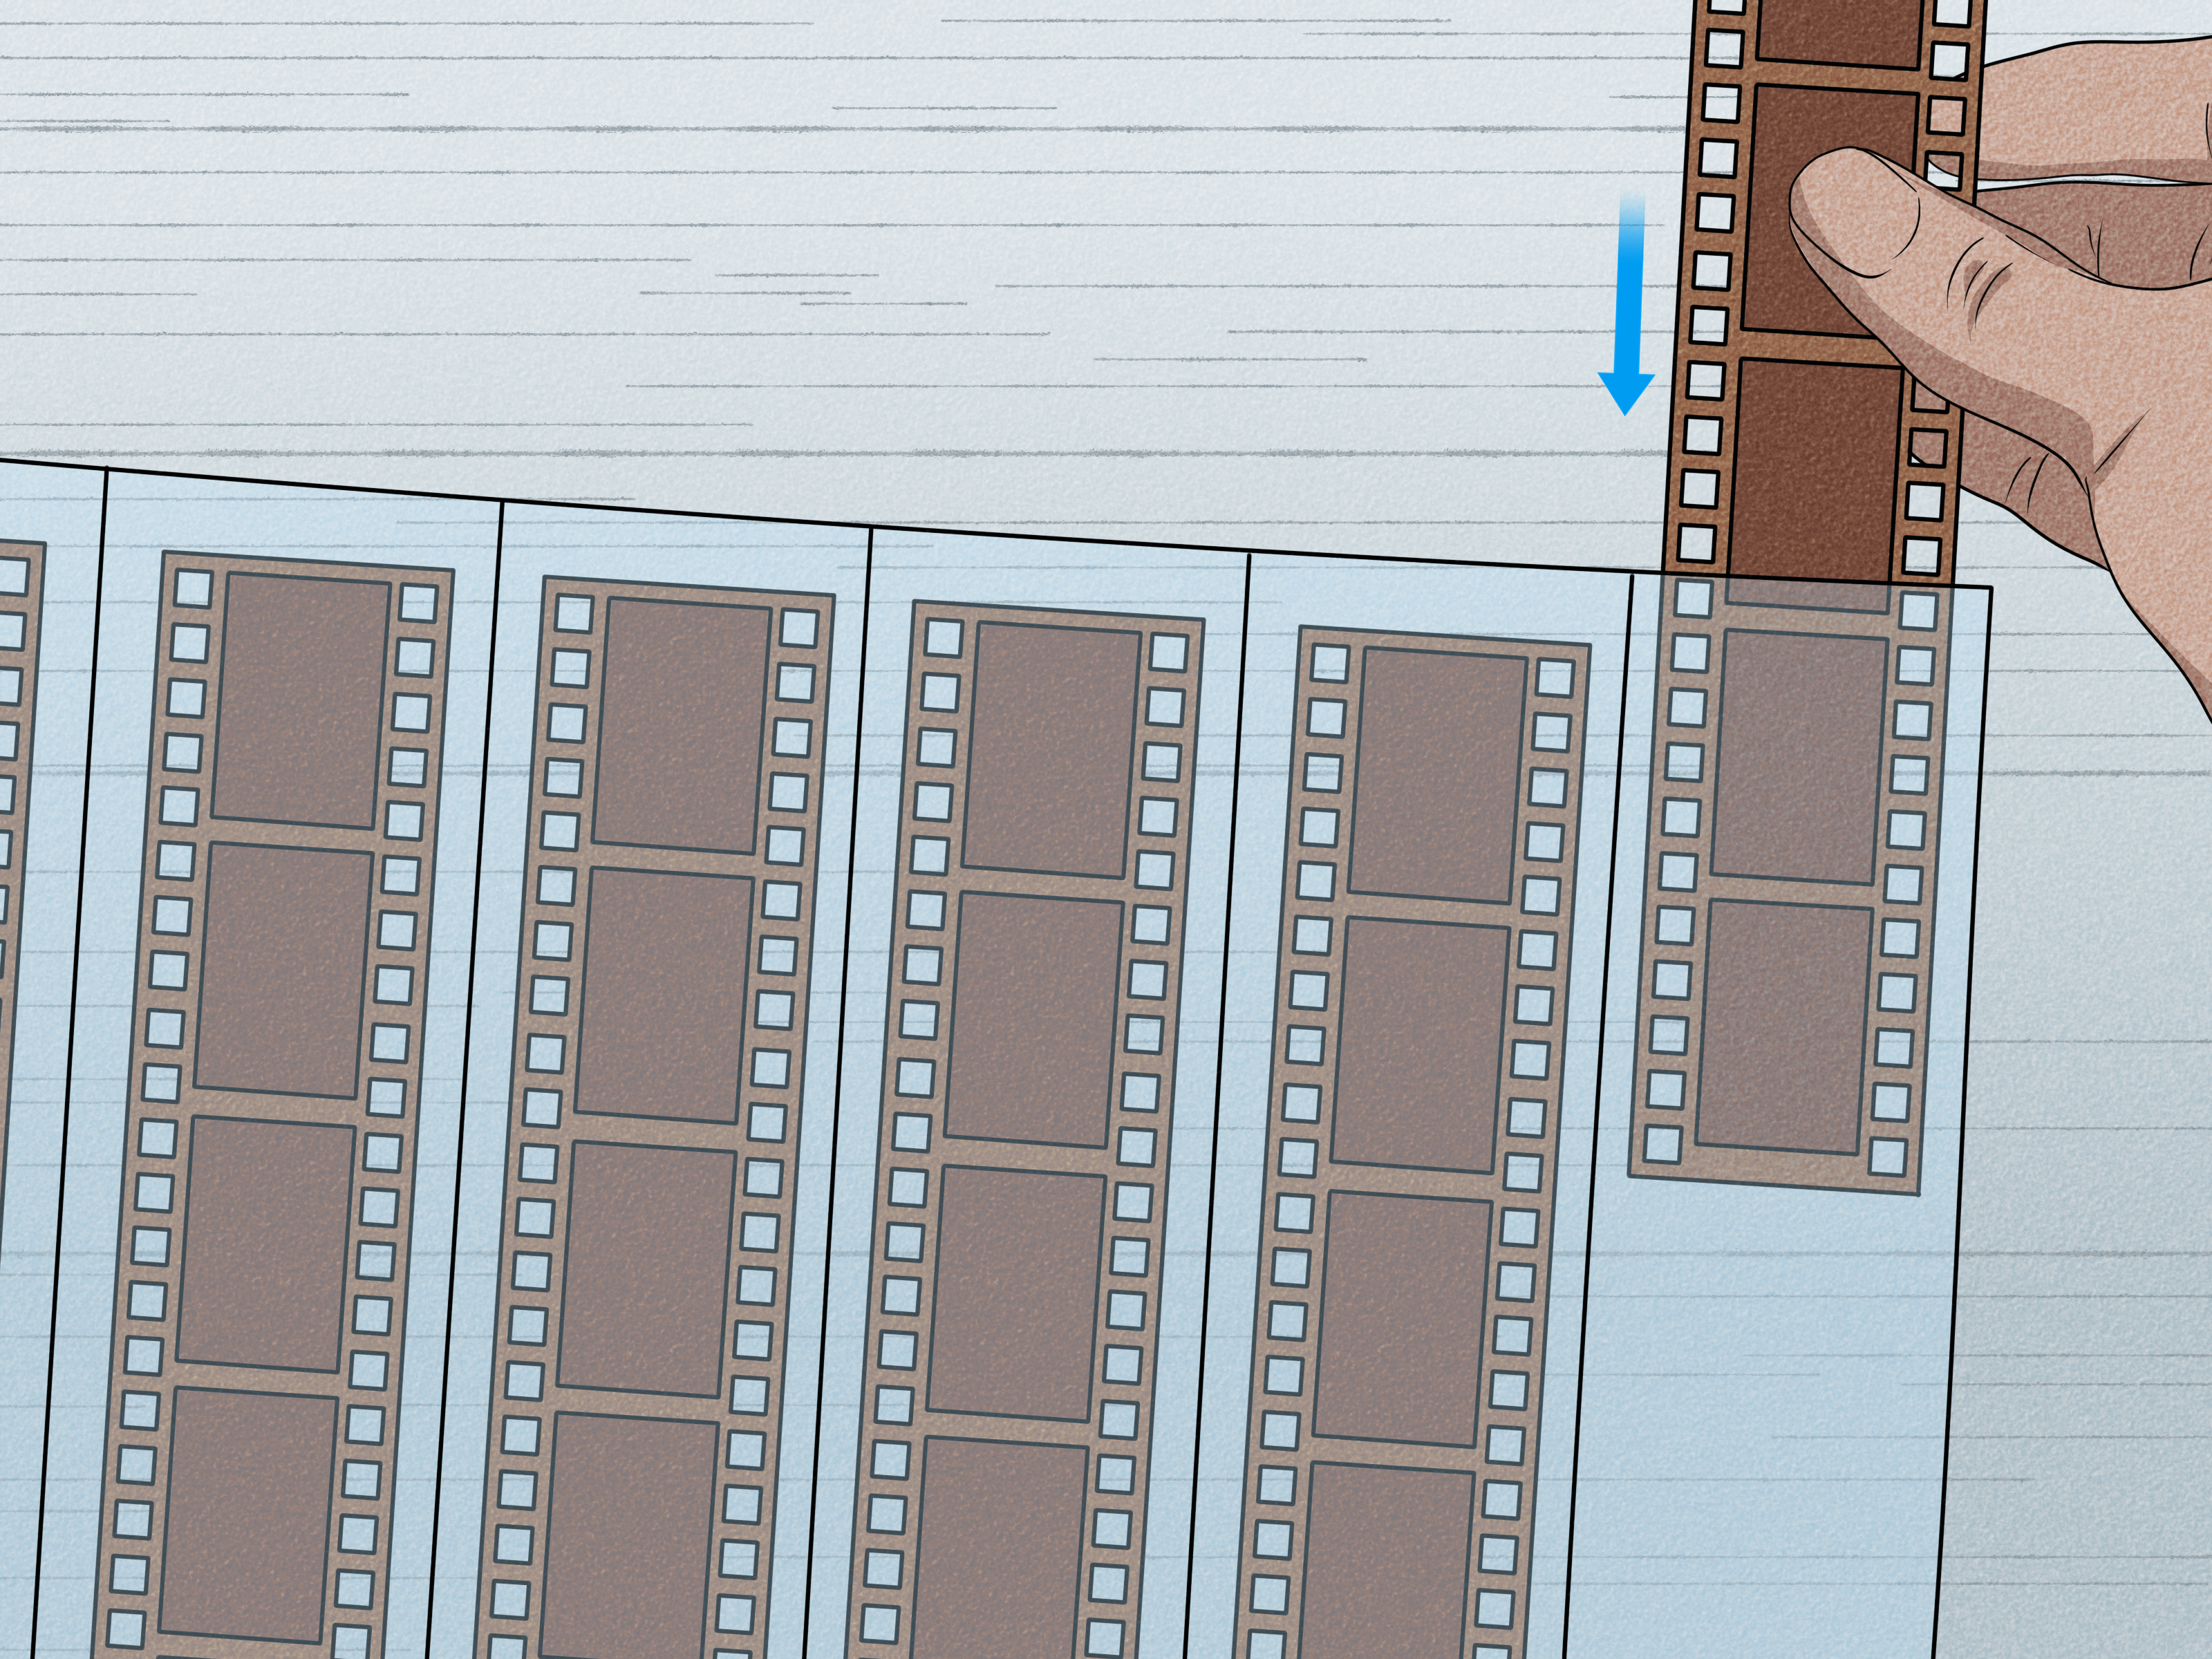
Once your negatives are dry, cut them into strips and place them in archival sleeves. From there, you have two main paths. You can scan the negatives and edit digitally, which is the most common route for many modern film shooters. Or you can continue the full darkroom tradition and print them under an enlarger using photographic paper, trays, safelights, and all the wonderfully obsessive choices that come with darkroom printing.
If developing film is the gateway, printing is the rabbit hole. It is a very beautiful rabbit hole.
Conclusion
Learning how to develop film in a darkroom is not just about saving money or chasing nostalgia. It is about understanding photography at the material level. You are no longer just capturing images; you are physically bringing them into existence. That changes the way you shoot. It changes the way you look. It even changes the way you fail, because darkroom mistakes tend to be memorable, educational, and occasionally weirdly beautiful.
Start with one reliable black-and-white film, one developer, and one repeatable process. Keep notes. Practice loading reels until your hands stop panicking. Respect safety. Dry your negatives somewhere clean. And remember that every experienced darkroom printer was once a beginner standing in the sink area, wondering whether that milky strip meant disaster or merely Tuesday.
Developing film in a darkroom is slow, tactile, and gloriously imperfect. That is exactly why people keep coming back to it.
Darkroom Experiences: What the Process Actually Feels Like
The first time you develop film in a darkroom, it does not feel elegant. It feels suspiciously like you have volunteered for a trust exercise with chemistry. Your hands are trying to memorize the shape of the reel, your brain is reciting steps like a nervous stage actor, and the film suddenly seems to have the emotional fragility of a rare museum artifact. You realize very quickly that darkness is louder than expected. Every crinkle of the film sounds dramatic. Every tiny jam feels like a crisis. And yet, once you get the roll onto the reel and seal the tank, a strange calm kicks in. The hard part is over. The rest is timing, pouring, waiting, and trying not to knock anything over.
Then there is the smell of the darkroom. Anyone who has done this more than once knows exactly what that means. The room has its own atmosphere: part clean water, part chemistry, part old-school workshop. It is not glamorous, but it is distinctive. The darkroom feels separate from normal life, almost like time runs slower there. You are not doom-scrolling. You are not multitasking. You are watching a timer, checking a thermometer, and listening to liquid move inside a tank. In a very distracting world, that kind of focus is rare.
One of the most memorable experiences is the moment you finally pull the developed film from the reel. Even people who act cool about it are usually lying. You hold the wet strip up to the light and suddenly the images are there: tiny, reversed, unmistakably real. The frame you nearly forgot about is now permanent. The portrait you worried you exposed badly has a chance. The street shot you thought might be boring suddenly looks alive. It is part relief, part surprise, and part tiny miracle. Digital photography gives instant feedback, which is useful. Darkroom film gives delayed revelation, which is addictive.
There are frustrating experiences too, of course. Dust happens. Scratches happen. Sometimes a roll comes out thin because the meter was fooled, or dense because the development ran hot, or streaky because agitation was uneven. Beginners often think a bad roll means they are bad at film photography. It usually means they are learning. The darkroom has a blunt but effective teaching style. It does not flatter you. It does not auto-correct your errors. But it does reward patience and consistency in a way that feels deeply satisfying.
Over time, the experience becomes less about fear and more about ritual. You begin to enjoy the preparation, the notes, the quiet, the steady sequence of steps. The darkroom stops feeling mysterious and starts feeling familiar. And that might be the best part of all. What once felt like a secret process turns into a craft you can repeat, refine, and trust. You no longer walk in hoping for luck. You walk in with a method. That confidence is earned one roll at a time, usually with slightly damp hands and a very strong opinion about drying dust.