There are hairstyles, and then there are hairstyles that walk into a room before you do. 70s hair belongs proudly in the second category. It is big, breezy, touchable, dramatic, and just a little bit theatricalin the best possible way. Think Farrah Fawcett’s feathered flip, soft curtain bangs, shaggy rock-and-roll layers, Studio 54 curls, and that effortless “I woke up like this, but also maybe owned a round brush” energy.
The beauty of 1970s hairstyles is that they were not all one thing. The decade celebrated freedom, individuality, natural texture, volume, movement, and personal style. Some looks were polished and bouncy. Others were undone, rebellious, and intentionally messy. Some were sleek and center-parted, while others were curly, fluffy, and ready to dance under a disco ball until sunrise.
If you want to learn how to do 70s hair, you do not need a time machine, a celebrity glam squad, or a closet full of bell-bottomsalthough the bell-bottoms would certainly help the vibe. You need the right styling approach, a few basic tools, and an understanding of what makes the look work: face-framing shape, airy volume, soft bends, and a finish that looks glamorous without becoming stiff.
Below are three classic, wearable, and modern ways to do 70s hair at home: the feathered Farrah-inspired blowout, the relaxed shag with curtain bangs, and the big disco curl look. Each one can be adapted for different hair lengths, textures, and comfort levels. Let’s get groovyresponsibly, with heat protectant.
Way 1: The Feathered Farrah Fawcett Blowout
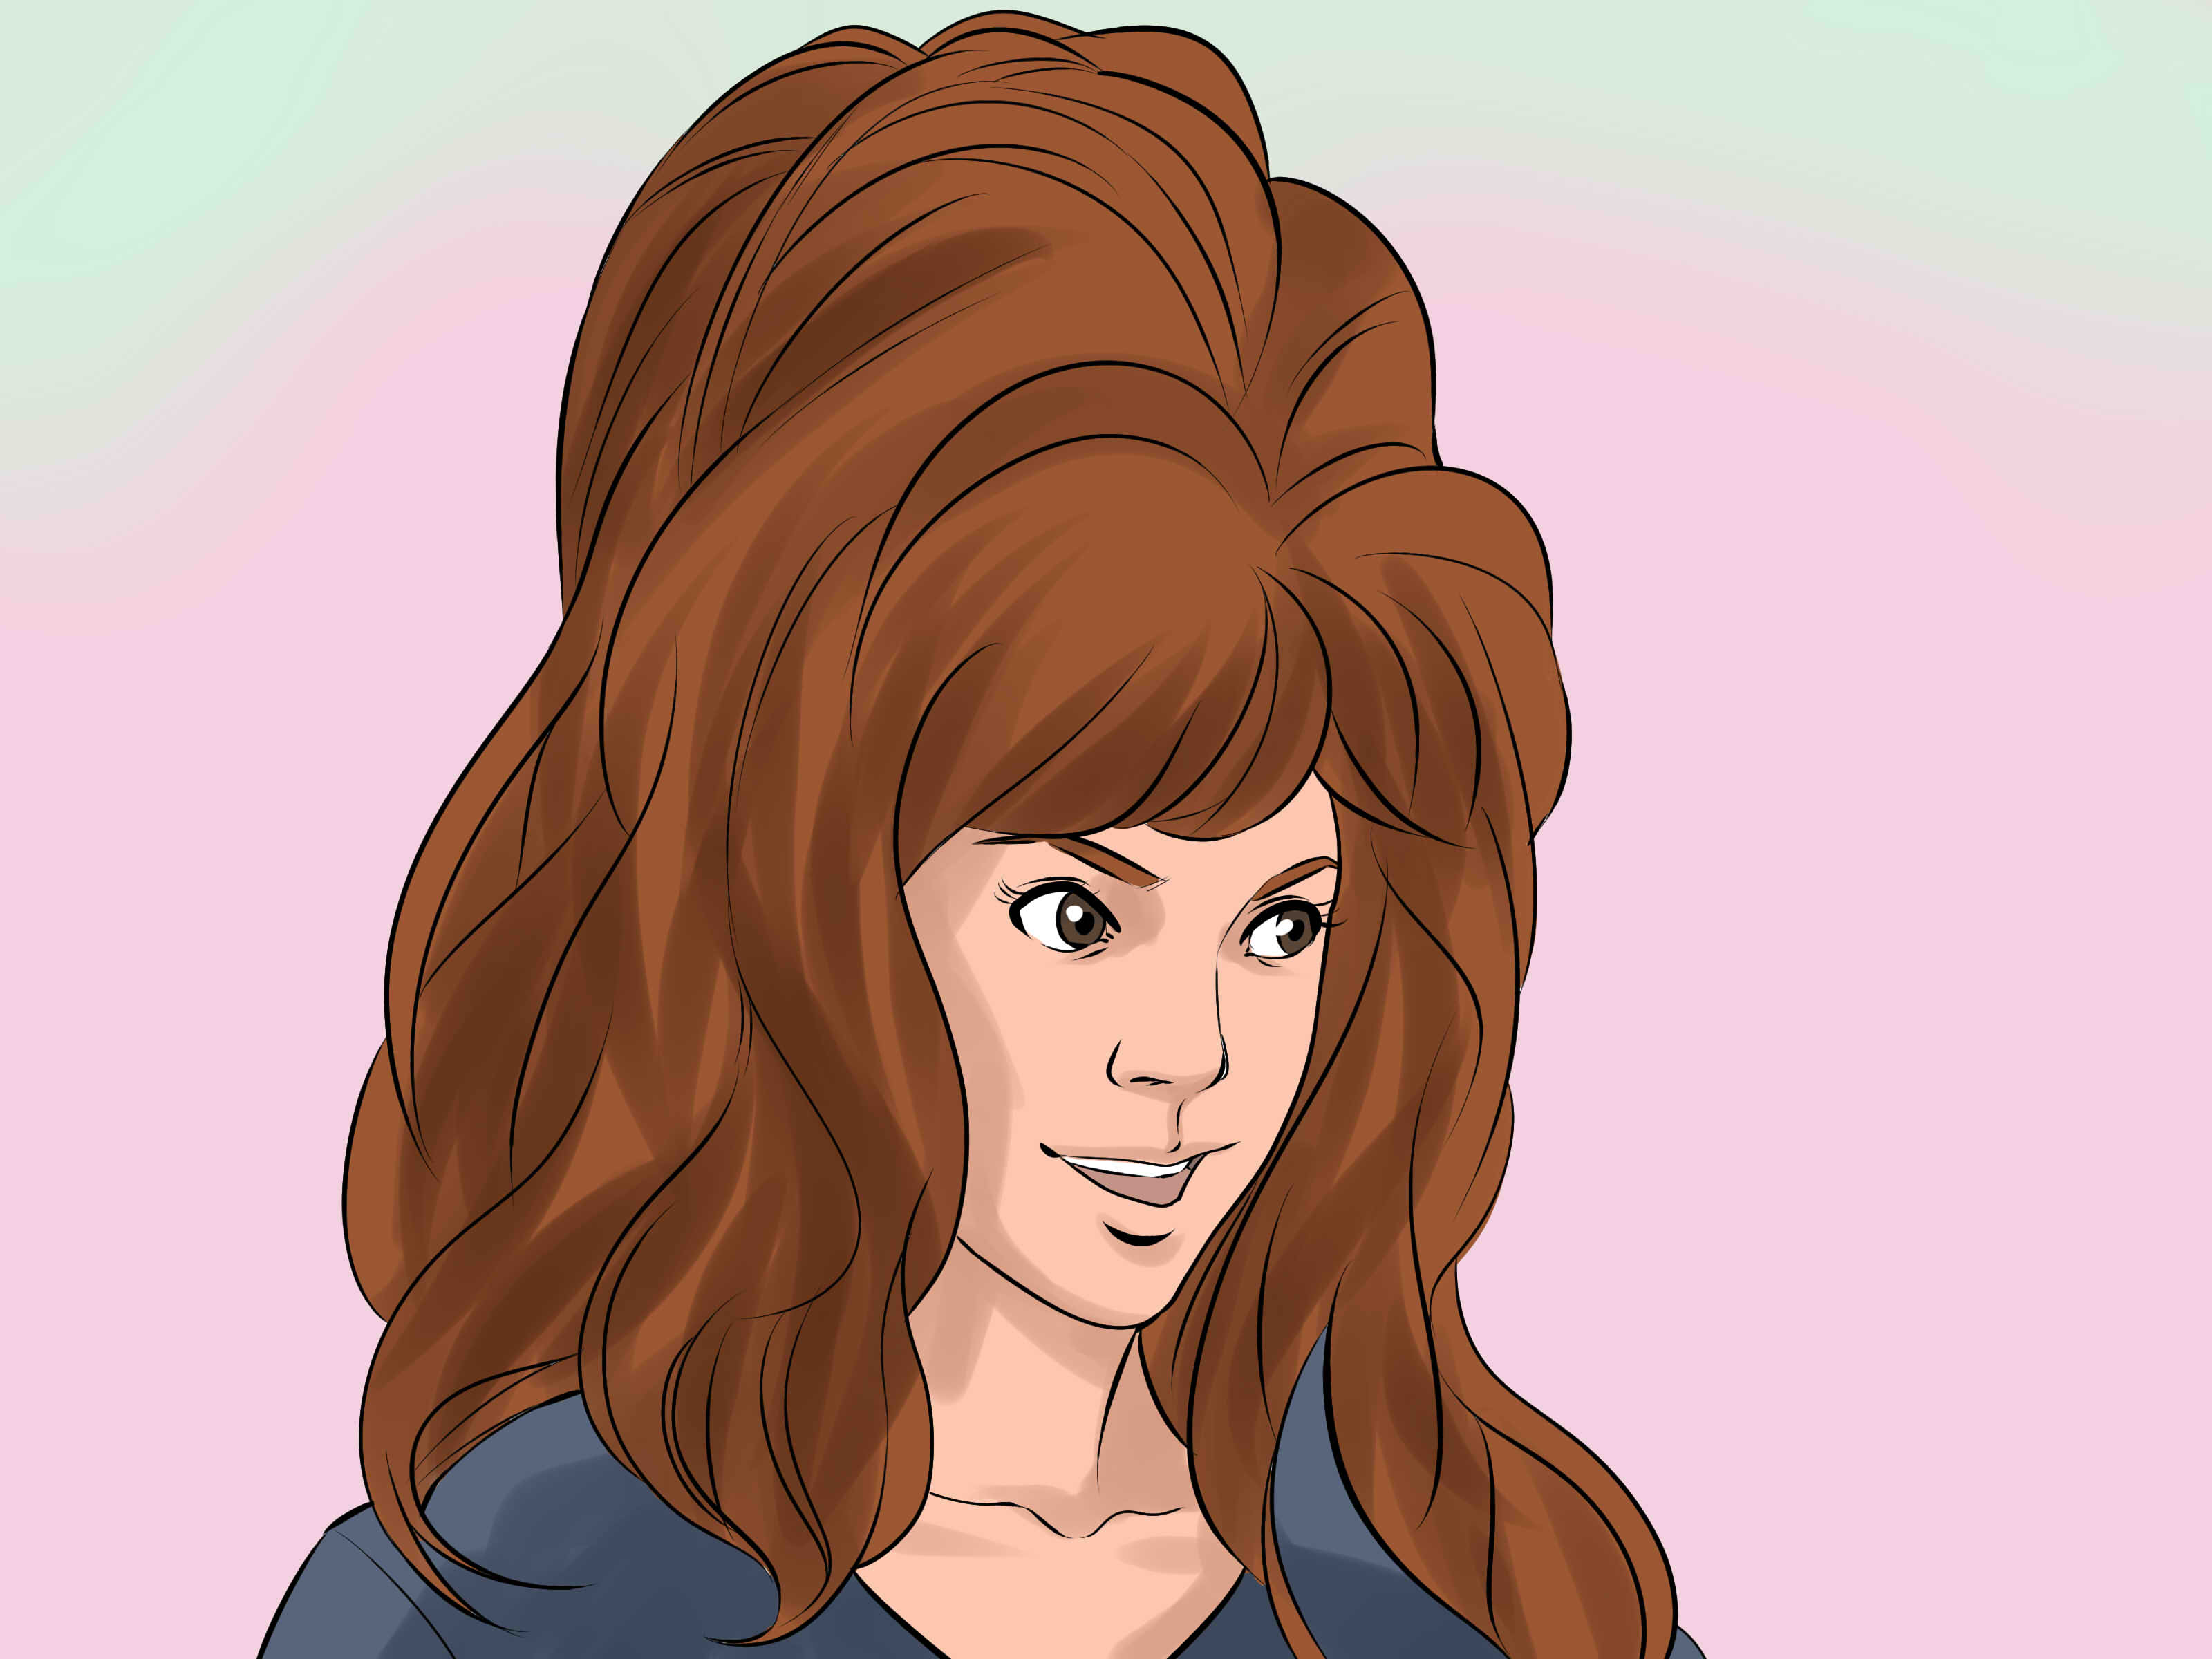
The feathered blowout is probably the most famous 70s hairstyle of all time. It is bouncy, winged, glamorous, and instantly recognizable. The signature feature is hair that flips away from the face in soft, layered “feathers.” This look became iconic thanks to Farrah Fawcett, but it remains popular because it flatters the face, adds movement, and makes even a basic outfit feel ready for a magazine cover.
Best For
This style works beautifully on medium to long hair, especially if you have layers around the face. It can also work on shorter cuts if the front pieces are long enough to flip outward. Fine hair benefits from the volume, while thick hair looks lighter and more sculpted when the ends are feathered.
What You Need
Gather a blow dryer with a concentrator nozzle, a medium or large round brush, heat protectant, lightweight mousse or volumizing spray, large rollers or velcro rollers, a wide-tooth comb, and flexible-hold hairspray. Avoid heavy gels or crunchy sprays because 70s feathered hair should move. If your hair looks like it could survive a wind tunnel without blinking, you have gone too far.
Step-by-Step: How to Create the Feathered Flip
Start with clean, towel-dried hair. Apply heat protectant from mid-lengths to ends, then work a small amount of mousse or volumizing spray into the roots. The goal is lift, not stickiness. Part your hair down the center or slightly off-center, depending on what flatters your face.
Rough-dry your hair until it is about 70% dry. This saves time and reduces the amount of heat needed for styling. Next, divide your hair into sections: bottom, middle, crown, and face-framing pieces. Begin at the bottom and use your round brush to smooth the hair while directing the ends outward. For the front sections, wrap hair around the brush away from your face and aim the dryer down the hair shaft to reduce frizz.
Once each front section is warm and shaped, roll it away from your face using a large roller and clip it in place. Letting the hair cool in the roller is the secret sauce. Heat creates the shape, but cooling helps set it. If you remove the rollers too soon, your flip may collapse faster than a lawn chair at a family barbecue.
After 15 to 20 minutes, remove the rollers gently. Flip your head upside down, shake out the roots, then lift your head back up and use your fingers or a wide-tooth comb to separate the feathers. Finish with a light mist of flexible-hold hairspray.
Pro Tips for a Modern Finish
For a softer 2020s update, keep the crown volume controlled and focus the drama around the face. If you want a more authentic retro look, add extra lift at the roots and brush the sides outward for that full Charlie’s Angels effect. For fine hair, dry shampoo or texture spray can help create grip. For thick hair, a smoothing cream on the ends can keep the flip polished instead of puffy.
Way 2: The 70s Shag With Curtain Bangs
The shag haircut is the cool cousin of the feathered blowout. It is layered, textured, casual, and just messy enough to suggest you own vinyl records and have strong opinions about guitar solos. The 70s shag became associated with musicians, actors, and free spirits because it did not look overly perfect. That is exactly why it still works today.
A classic shag includes lots of layers, especially around the crown and face. Curtain bangs often complete the style. These bangs part near the middle and taper from shorter pieces in the center to longer pieces at the sides, creating a soft frame around the eyes and cheekbones.
Best For
The shag works for straight, wavy, and curly hair. It is especially flattering for anyone who wants movement without a high-maintenance blowout routine. If your hair naturally bends, waves, or curls, the shag can bring out texture you did not even know you had. Surprise: your hair may have been waiting for its rock-star era all along.
What You Need
You will need texturizing spray, curl cream or lightweight styling cream, a diffuser if you have waves or curls, a small round brush for bangs, clips, and a flexible finishing spray. If you do not already have a shag haircut, ask a stylist for choppy layers, face-framing pieces, and curtain bangs that suit your face shape and hair density.
Step-by-Step: How to Style a 70s Shag
Start with damp hair. Apply a small amount of styling cream through the mid-lengths and ends. If your hair is wavy or curly, scrunch in curl cream or mousse to encourage shape. Avoid brushing the hair too smooth; texture is the whole point.
For air-drying, clip the roots lightly at the crown to create lift while the hair dries. Scrunch occasionally, but do not touch it constantly. Overhandling can create frizz. Once dry, spray a little texture spray into the layers and use your fingers to separate the pieces.
If blow-drying, use a diffuser on low or medium heat. Tilt your head from side to side and let the diffuser support the hair rather than blasting it around. For curtain bangs, blow-dry them forward first, then split them at the center and direct each side away from the face using a small round brush or your fingers. This helps the bangs look relaxed instead of forming one big forehead bubble, which is rarely anyone’s dream.
Once the hair is dry, define a few face-framing pieces with a curling iron if needed. Curl them away from the face, then break them up with your fingers. The finished shag should look lived-in, not lacquered.
How to Keep Curtain Bangs Looking Fresh
Curtain bangs are lower commitment than blunt bangs, but they still need attention. Refresh them between washes by misting them with water and blow-drying them back into shape. A tiny amount of dry shampoo at the roots can prevent them from separating too much. If they grow out, they usually blend into face-framing layers, which is why curtain bangs are a smart choice for anyone who fears bang regret.
Way 3: Big 70s Disco Curls
Disco curls are joyful hair. They are full, shiny, bold, and made for movement. Inspired by the dance-floor glamour of the 1970s, this style is all about volume and defined curls that are brushed or separated into a soft, cloud-like shape. Think Diana Ross energy: powerful, glamorous, and absolutely not apologizing for taking up space.
Best For
This look works on naturally curly, coily, wavy, or straight hair. Natural curls can be shaped and amplified, while straight hair can be set with a curling wand, rollers, or pin curls. The key is creating volume without turning the hair into a frizz festival. A little frizz can be charming. A full weather system on your head may need product support.
What You Need
You may need curl cream, mousse, heat protectant, a diffuser, a small or medium curling iron, rollers, a wide-tooth comb, a pick, shine spray, and flexible-hold hairspray. For naturally textured hair, moisturizing products are especially important because disco curls should look plush and healthy, not dry.
Step-by-Step: How to Create Disco Curls on Naturally Curly Hair
Start with damp, conditioned hair. Apply curl cream or leave-in conditioner, then layer mousse over it for hold. Scrunch upward to encourage curl formation. Dry with a diffuser on low or medium heat, lifting at the roots for volume. Once your hair is fully dry, use a pick at the roots to expand the shape. Do not rake through the ends unless you want to lose definition.
For extra polish, wrap a few top-layer curls around a small curling iron, matching your natural curl pattern. Let them cool, then separate gently. Finish with shine spray or a light oil on the ends.
Step-by-Step: How to Create Disco Curls on Straight or Wavy Hair
Apply heat protectant and mousse to dry or mostly dry hair. Divide the hair into small sections. Curl each section with a small or medium curling iron, alternating directions for a fuller, more natural look. Let every curl cool completely before touching it. This is the part where patience pays rent.
Once cool, flip your head upside down and gently shake the curls at the roots. Use a wide-tooth comb or your fingers to separate them. For more volume, lightly tease the roots at the crown and sides. Finish with flexible hairspray.
How to Make Disco Curls Wearable Today
To modernize disco curls, keep the hair shiny and touchable. Avoid stiff helmet hair. Pair the curls with a center part for a true 70s effect, or try a deep side part for extra drama. You can also add a scarf, headband, or decorative clip if you want the style to feel playful rather than costume-like.
Essential 70s Hair Tips for Every Style
Protect Your Hair From Heat
Many 70s-inspired hairstyles rely on blow dryers, curling irons, rollers, or hot tools. Use heat protectant before styling and choose the lowest effective heat setting for your hair type. Fine, fragile, color-treated, or damaged hair usually needs less heat. Thick or coarse hair may need more, but that does not mean the tool should be set to “surface of the sun.”
Do Not Skip the Cool-Down
Whether you are using rollers, a round brush, or a curling iron, let the hair cool before brushing or separating. This helps the style last longer and keeps the shape from falling flat.
Choose Products Based on Hair Type
Fine hair usually needs mousse, root spray, or dry shampoo for lift. Thick hair may need smoothing cream or lightweight oil. Curly hair benefits from moisture, curl cream, and a diffuser. The wrong product can ruin the vibe. Too much heavy cream on fine hair can turn a feathered flip into a sad pancake. Too little moisture on curls can make disco hair look thirsty.
Work With Your Cut, Not Against It
A great 70s hairstyle is easier when the haircut supports the look. Feathered hair needs layers. A shag needs texture. Curtain bangs need careful shaping. Disco curls need enough length or volume to create a rounded silhouette. Styling can do a lot, but even the best round brush cannot fake a haircut forever.
Common Mistakes When Doing 70s Hair
Using Too Much Hairspray
70s hair should move. A little hairspray helps, but too much makes the style stiff and dated. Use flexible-hold spray and apply it in light layers.
Brushing Curls Too Aggressively
For disco curls, separate gently. If you brush too hard, you may lose the curl pattern and create unwanted frizz. Use a wide-tooth comb, pick, or fingers.
Making the Crown Too Puffy
Volume is good. A mountain range on top of your head is optional. For a modern 70s look, keep volume soft and balanced around the face.
Ignoring Hair Health
Retro styling should still be hair-friendly. Limit repeated heat styling, avoid tugging, and condition regularly. Healthy hair holds shape better and looks shinier, which is half the magic of these styles.
Personal Experience: What It Is Really Like to Try 70s Hair
Trying 70s hair for the first time can feel a little intimidating because the styles look so confident. The feathered blowout, especially, has a way of making you think you need professional skills, perfect layers, and possibly a wind machine following you around. In real life, the process is much more forgiving. The first attempt may not look like a celebrity poster, but it will usually teach you exactly what your hair wants.
One of the biggest lessons is that sectioning matters. When people rush the feathered blowout, they often grab random chunks of hair and hope the round brush performs a miracle. It will not. A round brush is helpful, but it is not a wizard. Working in clean sections gives the hair direction and makes the final shape look intentional. The front pieces are the most important because they create the visible “70s” effect. Even if the back is simple, those face-framing flips can carry the entire style.
Another real-world discovery is that rollers are underrated. Many people skip them because they seem old-fashioned, but rollers are one of the easiest ways to make 70s hair last. After blow-drying the front pieces away from the face, rolling them up while they cool gives the style bounce and memory. Without that cooling step, the hair may look great for five minutes and then quietly return to its regular personality.
The shag is a different experience. It is less about perfection and more about learning when to stop. A good shag should not be overworked. The more you fuss with it, the less cool it looks. Texturizing spray, scrunching, and a little bang shaping are usually enough. This is wonderful news for anyone who prefers a hairstyle that does not require a full morning ceremony.
Disco curls are probably the most fun because the transformation is immediate. Straight or wavy hair becomes bouncy and dramatic; curly hair becomes fuller and more defined. The challenge is controlling volume without flattening it. The best trick is to build volume at the roots while keeping moisture on the ends. A pick at the roots can create that rounded 70s shape without destroying curl definition.
The most surprising part of wearing 70s hair is how much it changes the mood of an outfit. A plain T-shirt suddenly looks styled. A blazer feels more glamorous. Big sunglasses become extremely reasonable. Even jeans and sneakers look more intentional. That is the charm of 70s hairstyles: they bring personality. They are not quiet, but they are not difficult either once you understand the basic formulavolume, movement, face-framing shape, and a finish that looks touchable.
In practice, the best 70s hair is not a perfect copy of the past. It is a modern version that fits your hair, your face, and your daily routine. Maybe that means soft curtain bangs instead of a full shag. Maybe it means loose disco waves instead of tight curls. Maybe it means one dramatic feathered flip in the front and a very normal ponytail in the back. That still counts. The 70s were about self-expression, not passing a styling exam.
Conclusion
Learning 3 ways to do 70s hair gives you a mini wardrobe of retro beauty options. The feathered blowout is polished and iconic. The shag with curtain bangs is relaxed, cool, and easy to personalize. Disco curls bring volume, glamour, and serious dance-floor energy. Each look has its own personality, but they all share the same foundation: movement, softness, and confidence.
You do not need to recreate the decade exactly to enjoy the style. The best modern 70s hair borrows the drama and freedom of the original looks while keeping the finish fresh, healthy, and wearable. Use heat protectant, choose the right products for your hair type, let your curls or flips cool before brushing, and remember that a little imperfection is part of the charm. After all, 70s hair was never meant to whisper. It was meant to make an entrance.