Note: This article is written for general informational purposes and is based on widely accepted U.S. ID-photo requirements, photography principles, and practical grooming advice. Always check the exact rules for your passport, driver’s license, school ID, work badge, visa, or state agency before taking the final photo.
There are two kinds of people in the world: people who look “fine” in ID pictures, and people who look like they were photographed three seconds after hearing bad news in a DMV basement. If you have ever stared at your passport photo, driver’s license, or work badge and thought, “Who is this tired raccoon wearing my face?” congratulationsyou are extremely normal.
The good news is that you probably do not look horrible. ID pictures are simply engineered to be unflattering. They combine harsh lighting, strict rules, close camera distance, zero flattering angles, nervous posture, and the soul-draining instruction: “Don’t smile.” It is less a portrait and more a government-approved facial receipt.
Still, you are not powerless. With a little strategy, you can look natural, awake, and recognizable without breaking photo rules or editing your face into a suspiciously poreless wax figure. Let’s break down why ID photos look so badand exactly how to fix them.
Why ID Pictures Make Everyone Look Weird
1. The Camera Is Usually Too Close
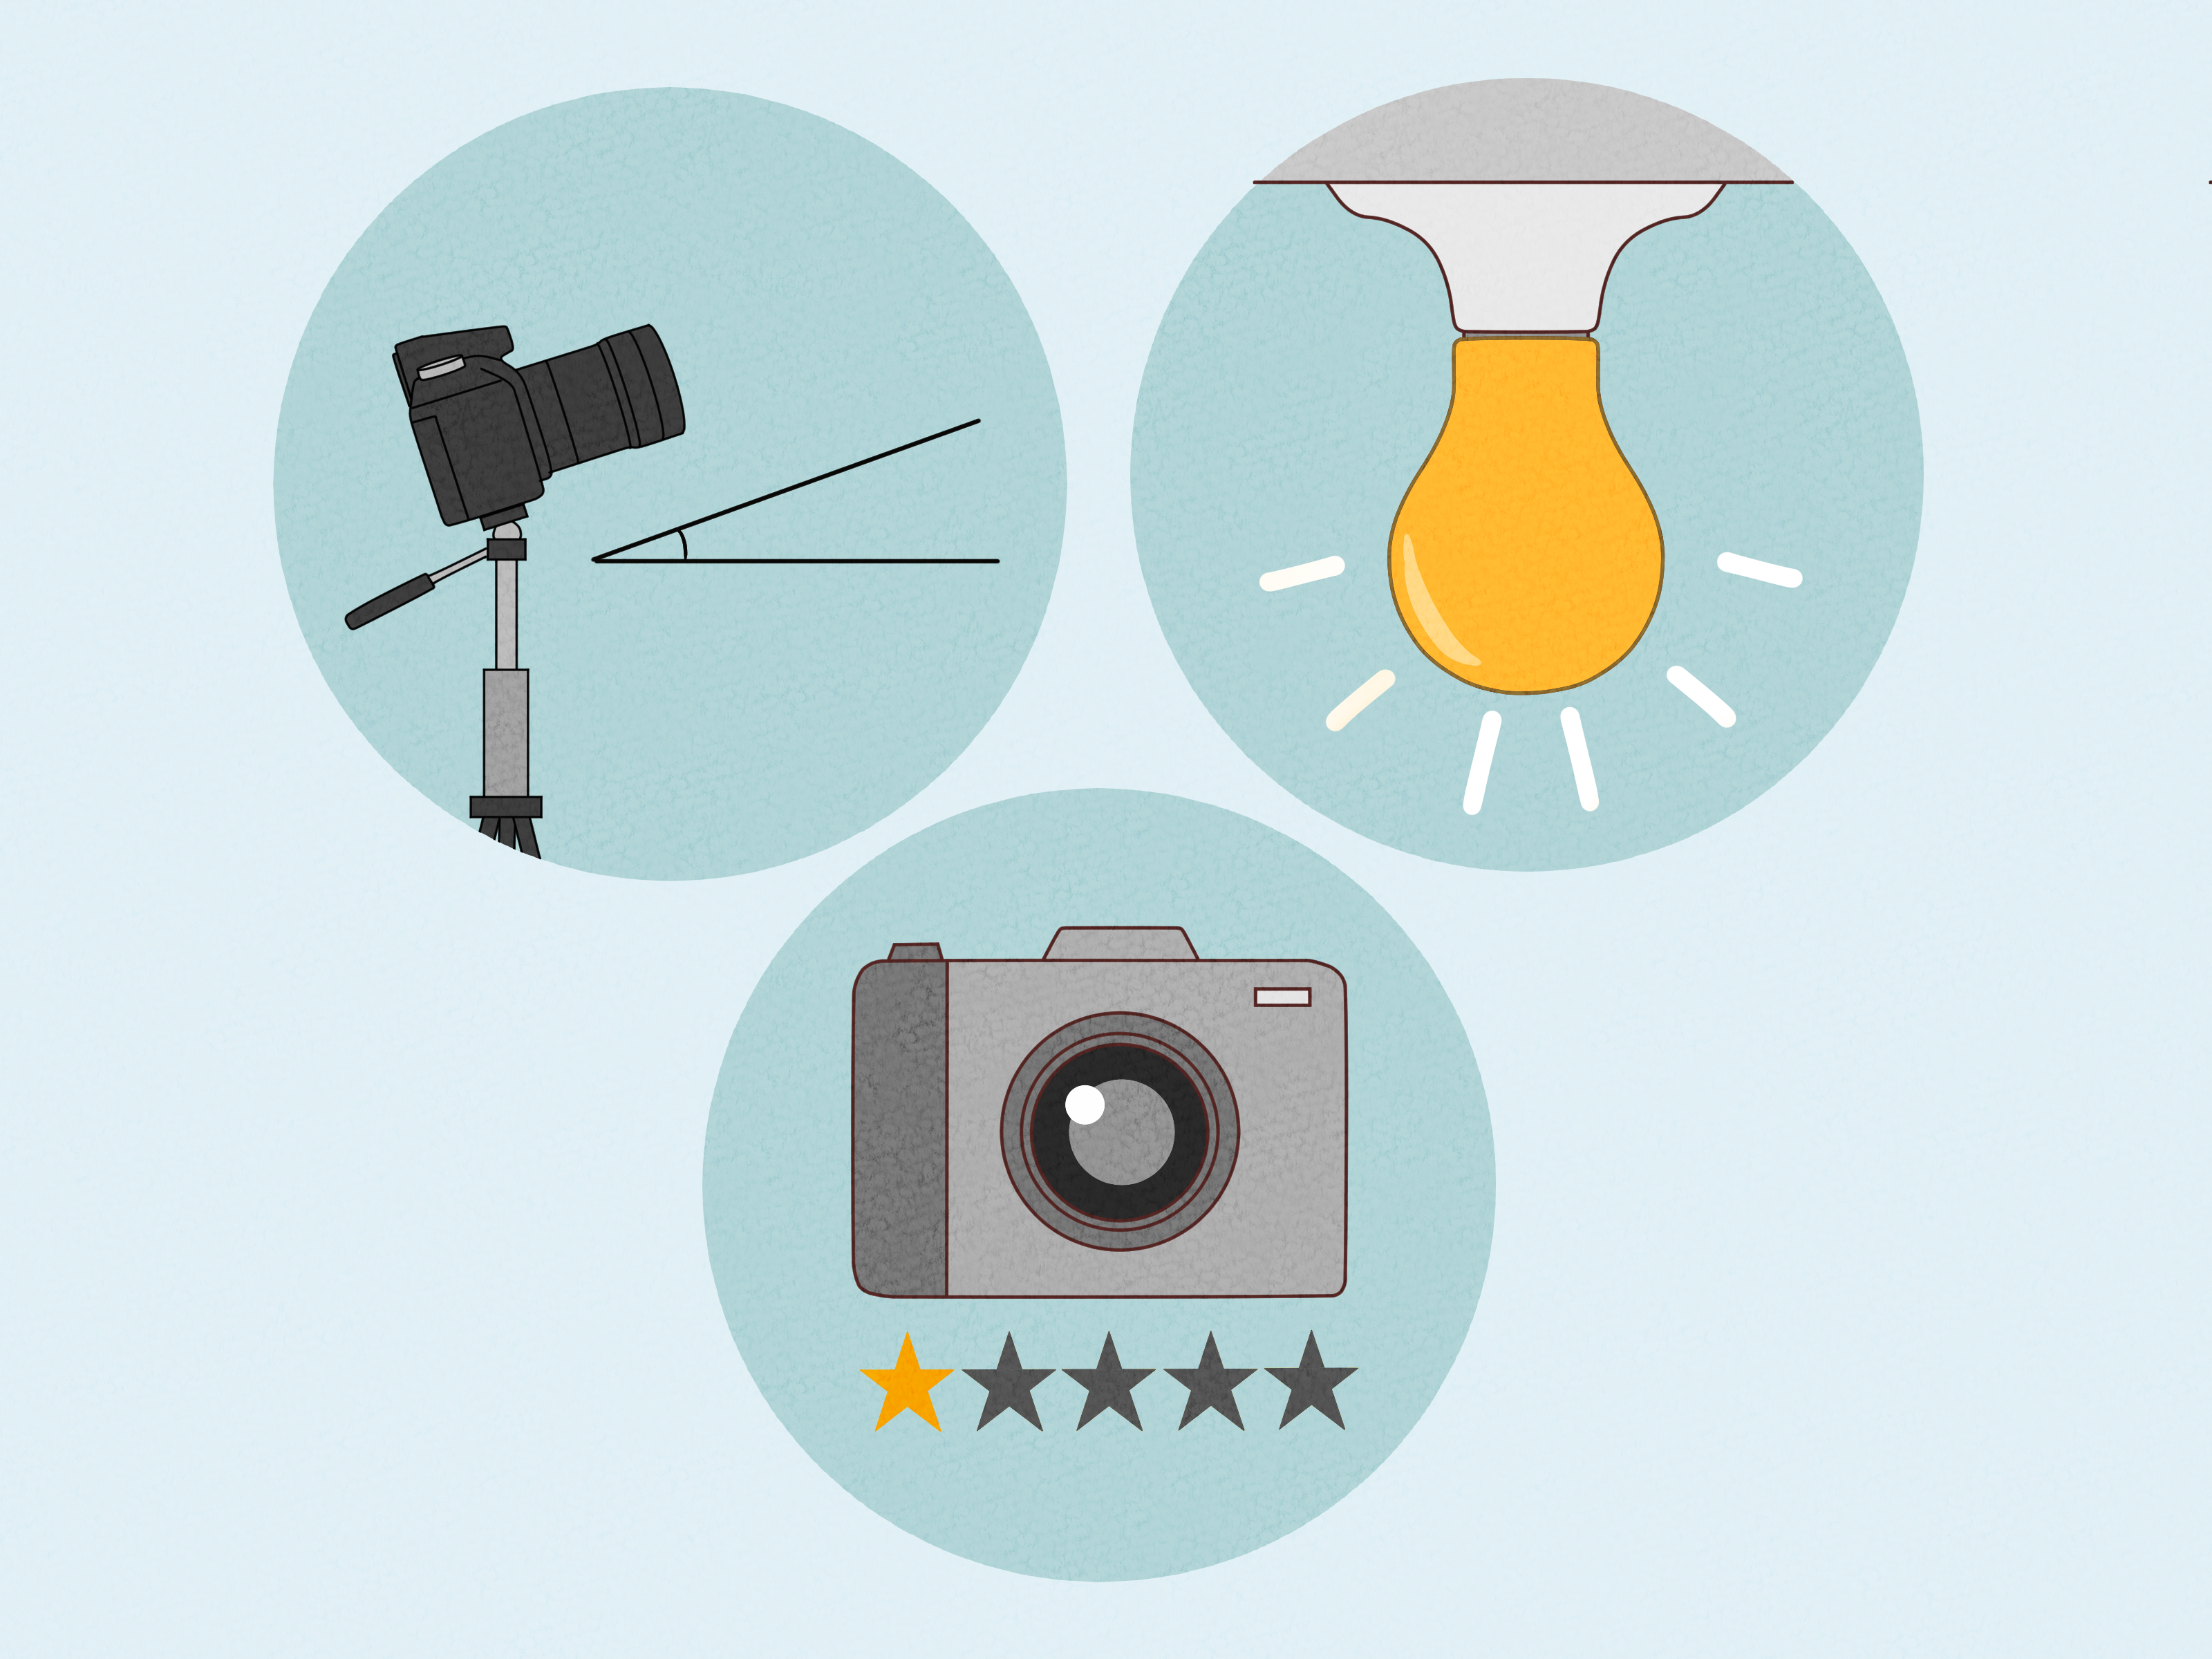
One major reason ID pictures look strange is camera distance. When a camera is close to your face, the features nearest the lens appear larger. Your nose, forehead, chin, or cheeks may look more prominent than they do in real life. This is not your face betraying you; it is perspective distortion doing its little goblin dance.
Selfies and quick ID photos often happen at short distances. That can exaggerate facial proportions, especially if the lens is wide or the photographer stands too close. In real life, people see you from different distances, in motion, with expression, posture, and personality. An ID camera freezes one flat, close-up moment and says, “This is your official identity for the next decade. Good luck.”
2. Harsh Lighting Creates Shadows in the Worst Places
ID-photo lighting is often bright, overhead, or flat. Overhead lighting can create shadows under the eyes, nose, and chin. Side lighting can make one half of the face look heavier or more tired. Dim lighting can add blur and muddy skin tone. Overly bright lighting can wash you out and make your face look shiny.
Good portrait lighting is soft and even. Bad ID lighting is the visual equivalent of opening your fridge at 2 a.m. and seeing your reflection in the butter drawer. It is not ideal, but it can be managed.
3. You Are Forced Into a Straight-On Pose
Most flattering portraits allow slight movement: a turned shoulder, a gentle head angle, a relaxed smile, or a little breathing room. ID photos usually require your face to be centered and directed straight at the camera. For passports and many official documents, your full face must be visible, your eyes open, and your expression neutral or very natural.
That straight-on pose removes many of the tricks people naturally use to look good in photos. It can flatten your face, make your shoulders look square, and turn your expression into “I have just been asked to remember my high school locker combination.”
4. Your Expression Gets Frozen Between “Normal” and “Terrified”
A neutral expression sounds easy until someone points a camera at you in a government office. Suddenly, your mouth forgets how to exist. Your eyes widen. Your jaw tightens. Your smile gets trapped behind your teeth like a polite hostage.
The result is not truly neutral. It is tense. A tense face looks older, more tired, and less like the version of you that your friends know. The goal is not to smile like you just won a cruise. The goal is to look relaxed, alert, and human.
5. You Are Used to Your Mirror Image
Another sneaky reason ID pictures feel wrong is that you are used to seeing yourself in the mirror. A mirror reverses your face. A photo shows you the way other people generally see you. Because most faces are naturally asymmetrical, the photo version can feel unfamiliar. Your brain may interpret “unfamiliar” as “bad,” even when other people think the picture looks completely normal.
This is why you might hate a photo that everyone else says is fine. They are used to seeing that version of you. You are used to the bathroom-mirror version, preferably under forgiving lighting and after you have adjusted your hair 12 times.
How to Fix a Bad ID Picture Before It Happens
1. Know the Rules Before You Try to Look Good
Before planning your glow-up, check the requirements for your specific ID. U.S. passport photos, for example, generally require a recent color photo, a plain white or off-white background, a clear view of the face, no digital filters or AI alterations, and no eyeglasses except in limited medical situations. Visa, school, employer, and state driver’s license rules may vary.
This matters because the best ID picture is not just flatteringit must be accepted. A dramatic beauty filter, heavy editing, extreme contour, hat, tinted glasses, or distracting accessory may create problems. Your ID photo should look like you on a good, normal day, not like your online avatar after a spa weekend in the cloud.
2. Choose the Right Outfit
Your clothes frame your face. Since many ID photos use a white or light background, avoid wearing a plain white shirt unless you want the “floating head at a printer test page” effect. Choose a solid color that contrasts with the background. Navy, charcoal, deep green, burgundy, chocolate brown, and medium blue usually work well.
A simple neckline is best. Collared shirts, clean crewnecks, modest V-necks, and structured tops can help your face look framed and polished. Avoid busy patterns, tiny stripes, shiny fabrics, large logos, and anything that might distract from your face. You want the photo to say “responsible adult,” not “lost member of a picnic blanket.”
3. Fix the Lighting If You Can
If you are taking the photo yourself or at a place where you have options, look for soft, even light. Stand facing a window, but not in direct harsh sun. Avoid overhead-only lighting, strong side shadows, and fluorescent light that makes your skin look like it has entered a legal dispute.
The best setup is simple: face the light, keep the background plain, and make sure there are no shadows behind your head or across your face. If you are at a pharmacy, photo center, or office, politely ask whether they can retake the photo if the lighting creates strong shadows or glare. You are not being difficult; you are protecting Future You from carrying a haunted rectangle in your wallet.
4. Create a Relaxed Neutral Expression
For many official photos, your mouth should be closed and your eyes open. That does not mean you need to look furious. Think “calm and pleasant,” not “stone-faced courthouse extra.” Before the shot, inhale slowly, exhale, relax your jaw, and let the corners of your mouth gently lift without showing teeth if the rules allow.
A good trick is to think of someone you like or something mildly amusingnot hilarious, just enough to wake up your eyes. This creates a natural softness without turning into a full grin. Your eyes should look engaged, not startled. Imagine you are saying, “Yes, I know where my boarding gate is,” rather than “Why is the printer smoking?”
5. Use Posture to Improve Your Face
Posture changes everything. Slouching compresses the neck and makes the face look heavier. Lifting the chin too high can show too much nostril and create shadows. Pulling the chin straight back can create a double chin even if you do not normally have one.
Try this instead: stand tall, roll your shoulders gently back and down, lengthen the back of your neck, and move your forehead and chin slightly forwardlike a turtle emerging with confidence. Then lower the chin just a tiny bit. This subtle movement defines the jawline without looking posed. Keep your face directed at the camera if the ID rules require it.
6. Tame Shine Without Erasing Your Skin
Shine can look dramatic in ID photos because flash and flat lighting bounce off the forehead, nose, cheeks, and chin. If you wear makeup, choose a natural, semi-matte finish and blend well around the jaw and hairline. A small amount of translucent powder on shiny areas can help. If you do not wear makeup, blotting papers or a clean tissue can reduce oil right before the photo.
Be careful with products that reflect light. Heavy highlighter, glittery eyeshadow, glossy sunscreen, and very shiny lip products can photograph oddly under flash. Some mineral sunscreens can leave a pale cast, especially in bright light, so choose products that blend well with your skin tone. The goal is not to look airbrushed. The goal is to look like you slept, drank water, and did not spend the morning arguing with a parking meter.
7. Keep Hair Neat but Not Overdone
Your hair should not cover your eyes, cast shadows over your face, or hide important facial features. If you have bangs, style them so your eyes remain visible. If your hair is long, keep it controlled enough that it does not blend into the background or create a messy outline around the face.
Do not experiment with a brand-new hairstyle five minutes before your ID photo. This is not the moment for “I saw a tutorial.” Go with a reliable version of your everyday look. If your ID lasts for years, you want to recognize yourself, not remember the afternoon you discovered aggressive side volume.
8. Handle Glasses, Hats, and Accessories Carefully
Many official ID photos restrict glasses, hats, headphones, and head coverings. U.S. passport photos generally require eyeglasses to be removed, except for specific medical reasons with documentation. Religious or medical head coverings may be allowed, but they usually cannot obscure the face or cast shadows.
If glasses are allowed for your specific photo, watch for glare. Tilt your head incorrectly or face a bright light and your lenses may turn into two tiny reflective billboards. Ask for a retake if glare hides your eyes. Your eyes are central to identification, and also central to not looking like a mysterious undercover librarian.
Quick Checklist: How to Look Better in ID Pictures
- Wear a solid color that contrasts with a white or off-white background.
- Avoid white tops, loud patterns, logos, glitter, and shiny fabrics.
- Use soft, even lighting with no harsh shadows on your face.
- Relax your jaw and create a calm, closed-mouth expression if required.
- Stand tall, shoulders down, neck long, chin slightly forward and gently down.
- Blot oil or use a light powder to control shine.
- Keep hair out of your eyes and away from heavy shadows.
- Do not use filters, AI edits, or heavy retouching for official photos.
- Ask for a retake if the photo is blurry, shadowy, overexposed, or clearly unflattering.
What to Do If You Already Have a Terrible ID Picture
First, take a breath. A bad ID picture is annoying, but it is not a character flaw. Most people dislike at least one official photo of themselves. If the picture is merely unflattering but accepted, you may have to live with it until renewal. If it is inaccurate, damaged, heavily outdated, or no longer resembles you because of a major appearance change, check the issuing agency’s replacement rules.
For future photos, practice at home. Stand against a plain wall, face a window, use your phone’s timer, and take several straight-on pictures without filters. Study what changes the result: lighting, chin position, shirt color, hair placement, and expression. This is not vanity. It is preparation. You would not walk into a job interview without checking your shirt; you do not need to walk into a 10-year passport photo with mystery hair and panic eyes.
Common Mistakes That Make ID Photos Look Worse
Mistake 1: Trying Too Hard to Look Serious
A serious expression can quickly become a tense expression. Instead of forcing your face into “official mode,” aim for relaxed and alert. Think calm confidence. Your mouth can be closed without looking like you are guarding national secrets.
Mistake 2: Wearing the Wrong Color
White shirts often disappear against light backgrounds. Neon colors can reflect onto the skin. Busy prints compete with the face. A simple solid top is usually the safest choice.
Mistake 3: Ignoring the Camera Height
If the camera is too low, it may exaggerate the chin and neck. If it is too high, it may distort the forehead or make the face look smaller. Ideally, the lens should be around eye level. If someone else is taking the photo, ask them to adjust the height if possible.
Mistake 4: Using Too Much Product
Heavy makeup, thick foundation, excessive contour, very glossy lips, or glitter can look strange under ID-photo lighting. Natural definition usually photographs better than dramatic glam. You want “polished,” not “headed to a red carpet where the security guard is also the photographer.”
Real-World Experiences: Why Everyone Has an ID Photo Story
Almost everyone has a bad ID picture story, and they are weirdly comforting. One person walks into the DMV after work, exhausted, wearing a wrinkled gray shirt, and ends up with a license photo that looks like a witness-protection intake form. Another renews a passport during a lunch break, forgets to check the mirror, and spends the next ten years traveling internationally with one eyebrow doing its own independent research.
These experiences happen because ID photos are usually taken at inconvenient moments. People are rushing. The room is not designed like a studio. The photographer may be moving quickly. There might be a line behind you, a number being called, a child crying, a printer jamming, or a clerk saying, “Stand there,” with the warmth of a traffic cone. Under that pressure, even confident people can become stiff.
One common experience is the “neutral face disaster.” You try not to smile, but your face does not land on neutral. It lands on suspicious. Your eyes get too wide, your mouth presses flat, and suddenly you look like you have just been accused of stealing office snacks. The fix is practicing a soft closed-mouth expression before you go. Relax the lips, breathe out, and let your eyes stay friendly. Tiny changes make a big difference.
Another familiar experience is the “wrong shirt problem.” Many people wear white, cream, pale gray, or beige because those colors feel clean and safe. Then the photo uses a pale background, and their shoulders vanish. The final image becomes a floating head with ears. A darker solid shirt would have framed the face better and made the whole photo look more intentional.
There is also the “I swear I do not look like that” reaction. This usually comes from the mirror-versus-photo effect, harsh lighting, and a frozen moment. In real life, people see you moving, blinking, smiling, listening, and reacting. A single ID image captures one fraction of a second, often under terrible conditions. It is not a full report on your attractiveness. It is a tiny administrative snapshot.
The best experience comes from preparation. People who like their ID photos usually do a few boring things right: they sleep enough, wear a reliable top, fix their hair simply, avoid shine, practice posture, and ask for a retake if the first shot is obviously bad. They do not try to become a different person. They just help the camera stop lying so aggressively.
Conclusion: Your ID Photo Is Not the Final Word on Your Face
If you look horrible in ID pictures, it is probably not because you are secretly unphotogenic. It is because official photos are taken under strict rules, awkward lighting, close camera distance, and emotional conditions best described as “mild paperwork panic.” The camera is not capturing your whole presence; it is capturing a flat, regulated, expression-limited version of you.
The fix is not complicated. Know the rules. Wear a solid color. Use soft light when possible. Relax your jaw. Keep your posture tall. Control shine. Keep hair and accessories simple. Practice the expression before the photo. And most importantly, remember that your ID picture is a document, not a beauty contest judged by fluorescent bulbs.
A great ID picture does not need to be glamorous. It just needs to look clear, natural, and recognizably like you on a decent day. If you can achieve that, you have won. The DMV may not clap, but your future wallet-self will quietly thank you.