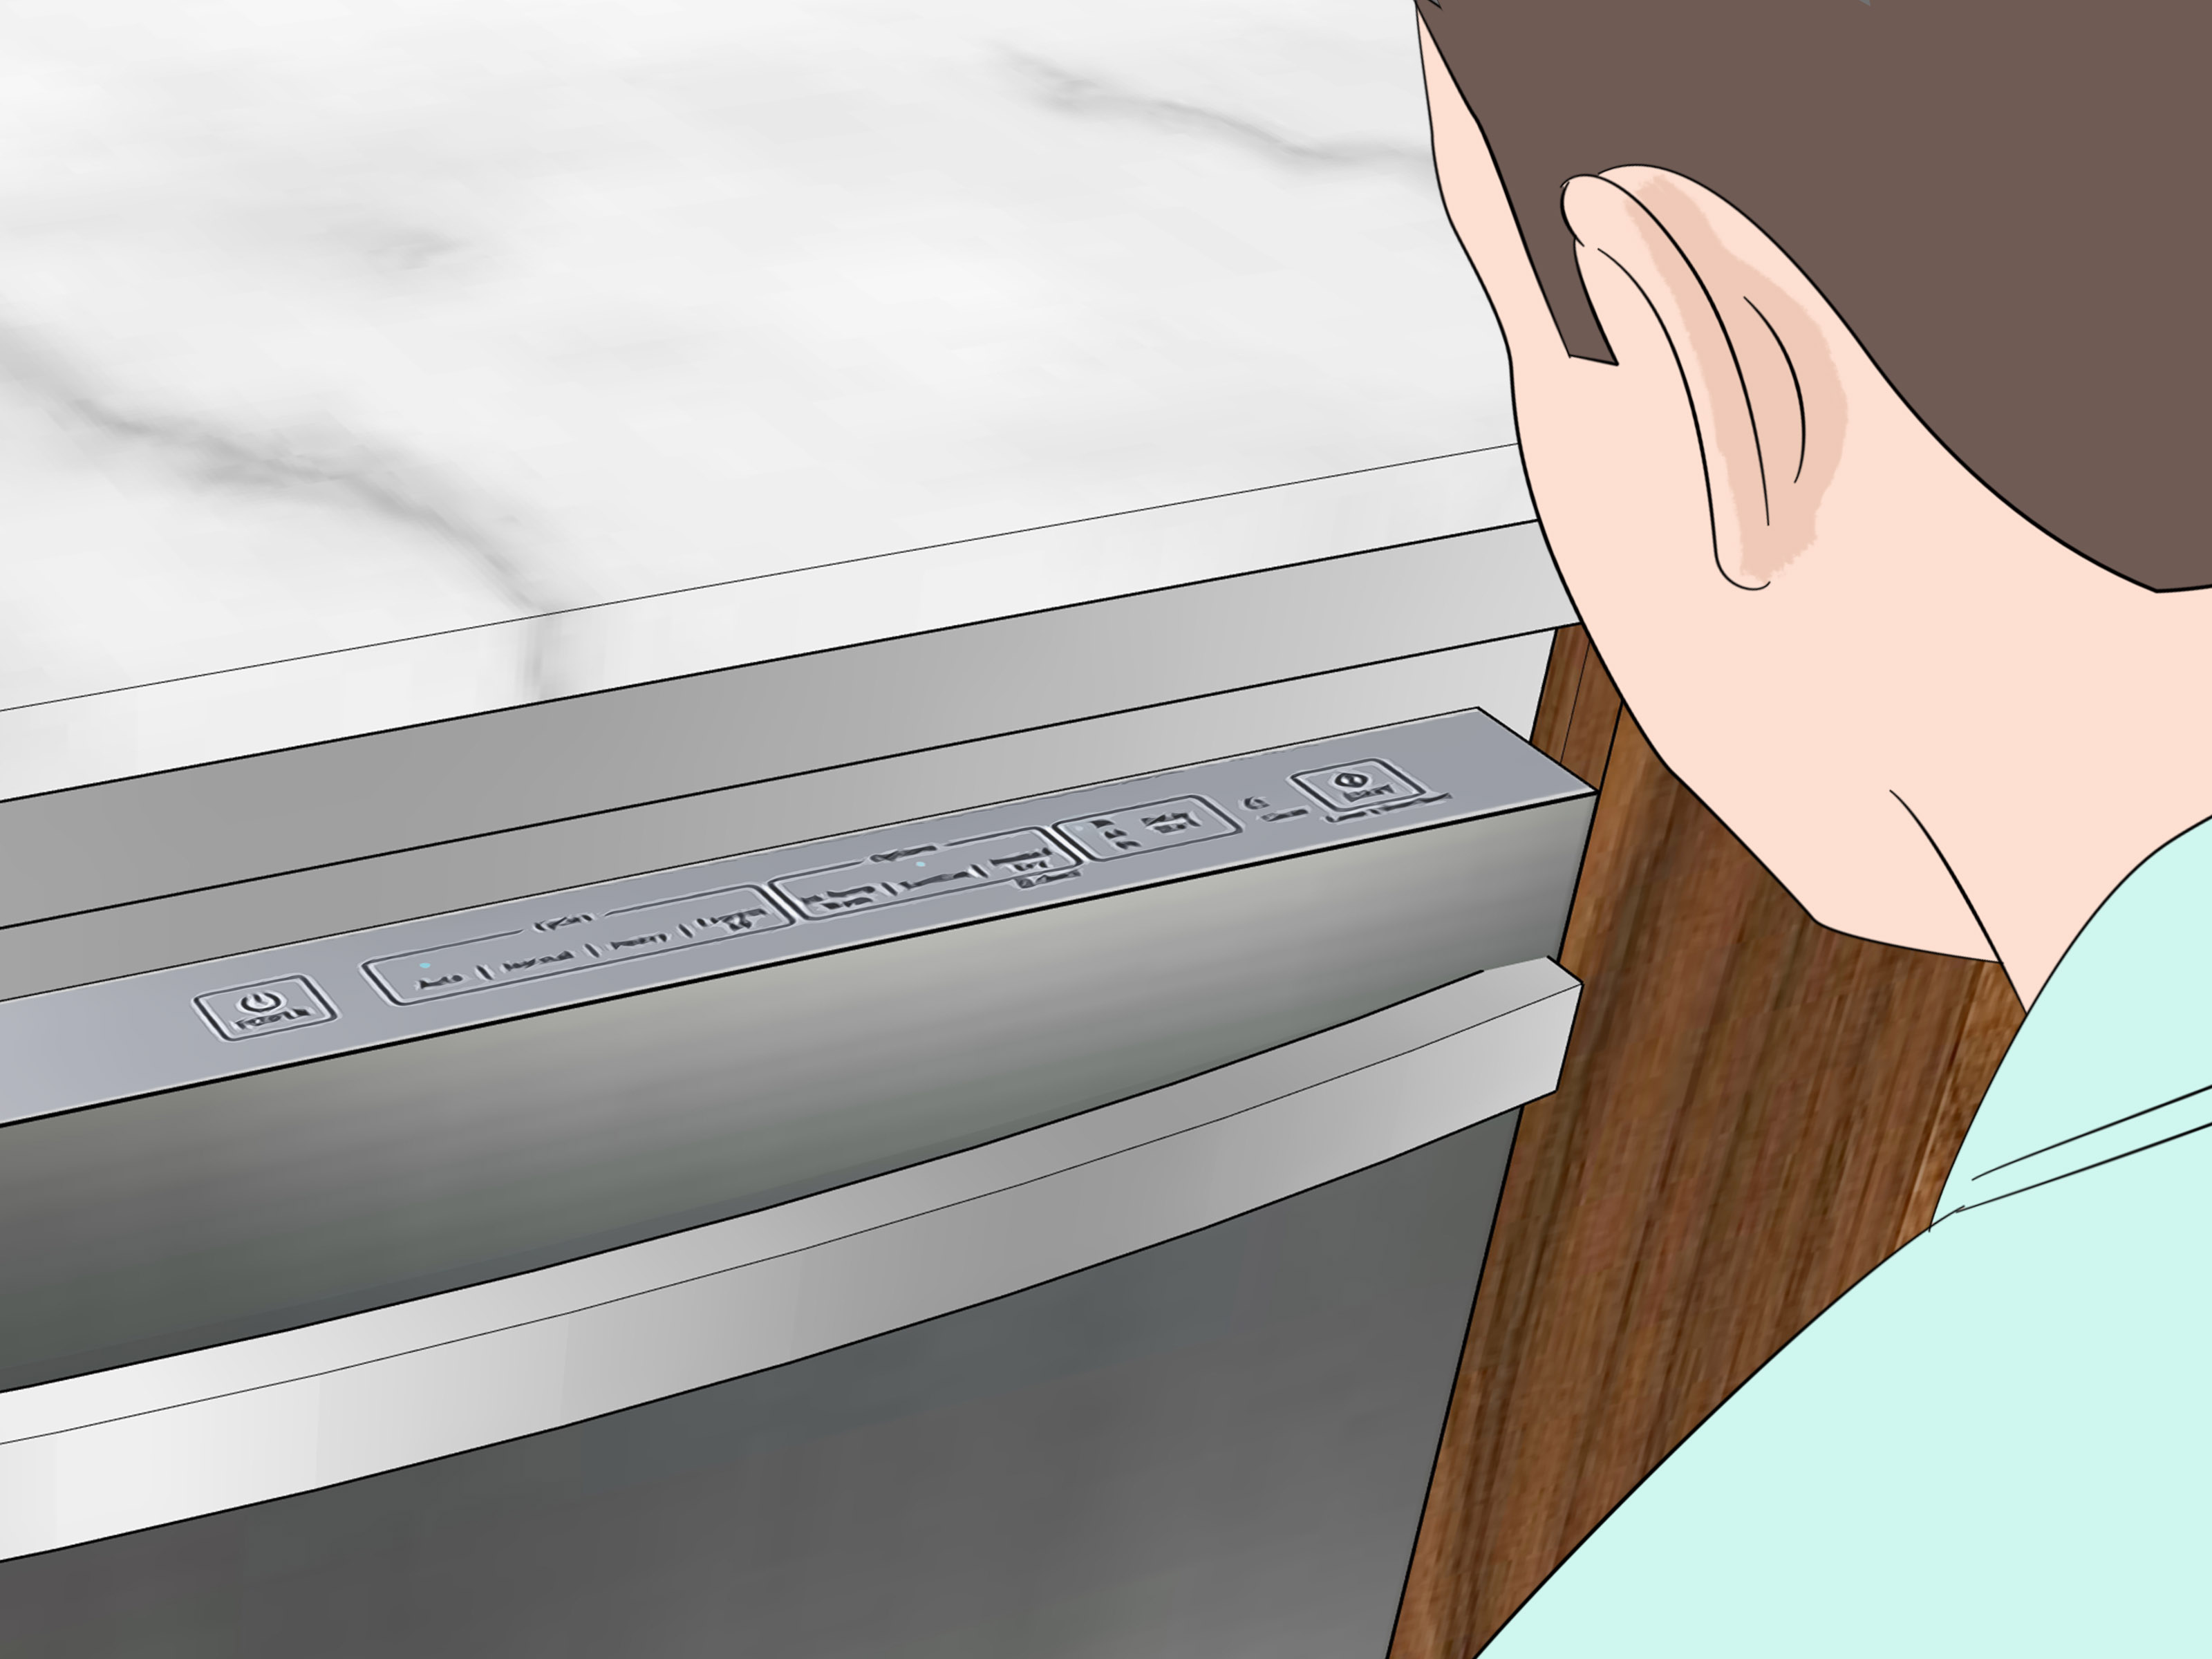
Your Samsung dishwasher has stopped washing, the Normal light is blinking, and the drain pump sounds determined to excavate the kitchen. Before assuming the control board has suffered a dramatic electronic breakdown, take a breath. On many Samsung dishwashers without a digital display, blinking cycle lights function as error codes.
A blinking Normal light by itself usually means the leak sensor has detected moisture in the dishwasher’s base. The machine may stop the cycle and run its drain pump continuously as a protective response. Sometimes there is a genuine plumbing or component leak. In other cases, spilled water, excessive suds, a loose hose connection, or poor drainage has activated the sensor.
This guide explains how to interpret the warning, perform safe troubleshooting, reset the dishwasher correctly, and recognize when the job belongs to a qualified technician.
What Does a Blinking Normal Light Mean on a Samsung Dishwasher?
On many Samsung models, the Normal light blinking alone corresponds to a moisture-detection or leakage warning similar to an LC or LE error on models with digital displays. Once the sensor detects water where it should not be, the dishwasher may cancel the wash and repeatedly attempt to drain.
This behavior is intentional. The appliance is trying to prevent a small puddle from auditioning for the role of “major kitchen renovation.” Do not bypass the sensor or continue resetting the machine without investigating the cause.
First, confirm that the light represents an error. A cycle indicator can blink during ordinary operation on some models. Treat it as a fault when the dishwasher also stops mid-cycle, refuses to start, beeps repeatedly, runs the drain pump continuously, or behaves abnormally.
Check the complete blinking-light pattern
The Normal light does not always blink alone. Combinations have different meanings, and the definitions can vary by model:
| Typical light pattern | Possible meaning | Recommended response |
|---|---|---|
| Normal only | Leak sensor detected moisture | Check for leaks, suds, spills, and drainage problems |
| Normal and Heavy | Thermistor or temperature-sensor problem | Disconnect power and request service |
| Normal and Quick or Smart Auto | Dishwasher is too hot | Stop operation and follow the model-specific manual |
| Normal, Heavy, and Quick | Insufficient water supply on certain models | Check the supply valve and consult the manual |
| Normal, Heavy, and Express 60 | Shorted thermistor on certain models | Professional service is normally required |
Locate the model number along the dishwasher door or tub frame and consult its manual before buying parts. Troubleshooting the wrong light combination is an excellent way to spend money without fixing anything.
How to Fix a Samsung Dishwasher Normal Light Blinking
1. Stop the dishwasher and look for active water
Press Cancel or open the door to stop washing. If water is escaping, switch off the dishwasher’s circuit breaker and close its water-supply valve. Do not reach beneath a powered appliance while standing on a wet floor.
Dry visible water around the door, beneath the sink, and near the dishwasher. Check whether the moisture came from the appliance or from an unrelated spill. A tipped cup, wet countertop, or recently moved dishwasher can occasionally put water where the sensor can detect it.
2. Allow incidental moisture to dry
If no active leak is visible, leave the dishwasher powered off with its door slightly open for several hours. Overnight drying is reasonable after a minor spill. Ventilation helps moisture evaporate, but do not aim a high-temperature heat gun or hair dryer into the appliance.
A warning that disappears after drying is encouraging, but it is not proof that the machine is repaired. If water entered the base because of a slow leak, the Normal light will return when the next cycle recreates the problem.
3. Inspect the drain hose under the sink
Follow the dishwasher drain hose to the sink drain, air gap, or garbage disposal. Look for kinks, crushing, cracks, damp connections, or a loose clamp. The hose should not be folded behind the dishwasher, and its connection should follow the installation instructions for your model.
If the installation does not use an air gap, the hose generally needs a high loop beneath the countertop to reduce dirty-water backflow. Do not randomly reroute it; compare the arrangement with the Samsung installation guide and local plumbing requirements.
4. Check a recently installed garbage disposal
If the problem began after a new garbage disposal was installed, verify that the dishwasher inlet’s knockout plug was removed before the drain hose was attached. A plug left in place blocks discharge from the dishwasher.
Disconnect electrical power to the disposal before inspecting it. Run water into the sink and confirm that the sink and disposal drain freely. A slow household drain can interfere with dishwasher drainage and may require a plumber rather than an appliance technician.
5. Clean the filter and drain area
Disconnect power, remove the lower rack, and inspect the filter and sump area. Remove food particles, labels, bone fragments, and any other debris that has formed a tiny archaeological site at the bottom of the tub.
Clean removable filter components according to the owner’s manual and reinstall them precisely. Incorrectly seated or missing filter parts can cause poor drainage and additional errors. Wear gloves because broken glass may be hiding among the debris.
6. Look for excessive suds
Open the dishwasher and check for lingering foam. Regular hand dish soap creates far more suds than automatic dishwasher detergent. Those suds can force water past the door and into the base pan, activating the leak sensor.
Use only detergent labeled for automatic dishwashers and follow the amount recommended for the product and local water conditions. Also check whether rinse aid was spilled or the dispenser was overfilled. If excessive foam is present, cancel the cycle, let the suds settle, remove what you safely can, and run detergent-free rinse cycles after the leak warning has cleared.
7. Examine the door gasket and latch
Wipe the rubber door seal with mild soap and water. Food residue, grease, or a small piece of packaging can create a gap. Push a displaced gasket gently back into its channel, but replace a seal that is torn, hardened, stretched, or permanently flattened.
Confirm that the door closes evenly and latches without being forced. A rack installed incorrectly, a cutting board protruding from the lower rack, or a utensil sticking through the basket can prevent a proper seal. The dishwasher should also sit squarely in the cabinet without its control panel or door rubbing adjacent cabinetry.
8. Inspect the spray arms and loading arrangement
Rotate each spray arm by hand while the dishwasher is off. It should move freely without striking tall dishes. Inspect it for cracks, split seams, or clogged openings. A damaged spray arm can direct a concentrated jet toward the door seal and produce a leak that appears only during the wash phase.
Rearrange oversized pans and utensils so they do not block the arms. Avoid overloading the racks. Your dishwasher is powerful, but it is not expected to wash a skillet, fourteen plates, and an entire holiday buffet in one compressed layer.
9. Check accessible supply-line connections
Inspect the water-supply hose from the shutoff valve to every safely accessible connection. Look and feel for moisture, corrosion, cracks, and loose fittings. A dry paper towel pressed around a connection can reveal a slow seep more easily than a quick glance.
Do not tighten fittings aggressively; overtightening can damage washers or threads. If the leak is behind the toe-kick, at the inlet valve, or inside the dishwasher, leave the internal diagnosis to a qualified technician unless you have the appropriate repair experience.
10. Verify that the dishwasher is level
An unlevel dishwasher can direct water toward the front of the tub and interfere with door sealing. Place a level along the tub opening to check both side-to-side and front-to-back alignment.
Leveling may require adjusting the appliance’s legs and cabinet mounts. Because moving a built-in dishwasher can pinch hoses or damage wiring, consult the installation instructions or hire an installer if access is limited.
How to Reset a Samsung Dishwasher After Troubleshooting
Reset the dishwasher only after visible water has been removed and the likely cause has been corrected:
- Turn the dishwasher off.
- Switch off its circuit breaker or unplug it if the plug is safely accessible.
- Wait one to five minutes for the electronics to discharge.
- Restore power.
- Run a short empty cycle while watching for leaks.
A power reset clears stored electronic conditions, but it cannot repair a leaking pump, cracked hose, bad sensor, or loose fitting. If the Normal light returns, repeated breaker resets merely silence the messenger while the message remains very much employed.
When Should You Call for Samsung Dishwasher Service?
Turn off the breaker and water supply, then arrange professional service if:
- The Normal light returns immediately after the dishwasher is completely dry.
- Water appears beneath the appliance during a test cycle.
- The pump continues running whenever power is restored.
- The inlet valve keeps admitting water after the machine is turned off.
- The door gasket, tub, pump, sump seal, or an internal hose is damaged.
- You smell burning, see damaged wiring, or the circuit breaker trips.
- Several lights indicate a thermistor, control, or temperature fault.
- The appliance remains covered by a warranty or service agreement.
Provide the technician with the full model number, the exact blinking-light combination, when the error occurs, whether the drain pump runs continuously, and where moisture appears. A short video of the panel and the leak can also make diagnosis easier.
How to Prevent the Normal Light From Blinking Again
- Use automatic dishwasher detergent in the recommended quantity.
- Clean the filter and inspect the drain area regularly.
- Wipe food and residue from the door gasket.
- Keep spray arms unobstructed and inspect them for damage.
- Check supply and drain connections periodically for moisture.
- Maintain the drain hose’s model-approved routing and high loop.
- Run the garbage disposal before starting the dishwasher when they share a drain.
- Correct slow sink drainage promptly.
Frequently Asked Questions
Why does my Samsung dishwasher keep draining with the Normal light blinking?
The leak sensor has probably detected moisture. Many Samsung dishwashers run the drain pump continuously to reduce the risk of flooding. Shut off power and investigate the source rather than repeatedly resetting the machine.
Can I run the dishwasher while the Normal light is flashing?
No. Continuing to operate it may worsen a leak or damage flooring and cabinetry. Resolve the moisture warning first.
Will leaving the dishwasher unplugged fix the problem?
Disconnecting power can reset the controls and allow incidental moisture to dry. It will not fix a failed seal, hose, valve, pump, or sensor. If the warning returns during a test cycle, further diagnosis is necessary.
Should I tilt the dishwasher to remove water from the base?
No. Tilting a built-in dishwasher can spill water onto electrical components, damage connections, pinch hoses, or conceal the real leak temporarily. Use safe drying methods or request professional service.
Troubleshooting Experiences: What Common Cases Teach Us
The following composite experiences reflect recurring repair patterns rather than one specific household. They show why the timing of the warning often reveals more than the blinking light itself.
Experience 1: The warning appeared after a disposal replacement
In a typical post-renovation case, the dishwasher works normally until a new garbage disposal is installed. On the next load, the Normal light begins blinking, water remains in the tub, and the pump sounds unusually busy. The dishwasher itself seems guilty, but the timing points toward the drain connection.
Inspection reveals that the disposal’s dishwasher knockout plug was never removed. Water cannot leave through the blocked connection, so drainage fails and moisture reaches an area monitored by the leak sensor. Once the plug is correctly removed, the hose is reattached with its clamp, and the machine dries, an empty test cycle completes normally.
The lesson is simple: when a fault begins immediately after plumbing work, inspect what changed before replacing appliance parts.
Experience 2: A tiny amount of dish soap created a large commotion
Another common scenario begins when someone runs out of dishwasher detergent and adds a “small” squirt of hand-washing liquid. The result is a foam party nobody invited. Suds expand around the door, moisture reaches the base, and the dishwasher starts draining while the Normal light flashes.
After power is disconnected, the overflow is cleaned up and the foam is allowed to collapse. The machine remains off long enough for incidental moisture to dry. Detergent-free rinse cycles then remove the remaining soap. No component replacement is needed, but the floor receives a memorable lesson in product labeling.
This experience also explains why a dishwasher may display a leak warning without a cracked hose. The sensor reports moisture; it does not identify whether that moisture came from a failed part, oversudsing, or a spill.
Experience 3: Drying cleared the code, but it returned mid-cycle
A more deceptive case involves a dishwasher that resets successfully after sitting unused overnight. It fills and begins washing, but the Normal light returns ten minutes later. Because the warning appears during active spraying rather than filling or draining, attention shifts to the wash system and door.
The door gasket looks acceptable, yet the lower spray arm has a hairline split. Under pressure, the opening sends water toward the lower door seal. A small amount escapes into the base pan, where the sensor stops the cycle. Replacing the model-specific spray arm resolves the leak.
The important lesson is that drying can clear the immediate warning without correcting its cause. Note when the error returns: during filling may suggest a supply connection or inlet problem; during washing may indicate a seal, spray arm, pump, or loading issue; during draining may point toward the drain hose, disposal, air gap, or household plumbing. That timeline gives a technicianor a careful homeownera far better starting point than guessing.
Conclusion
A Samsung dishwasher Normal light blinking by itself usually means the leak sensor has detected moisture, not that the Normal cycle button is merely feeling expressive. Start by confirming the exact light pattern, shutting off power when water is present, and checking the safest possibilities: spills, excessive suds, the filter, drain hose, disposal connection, door gasket, spray arms, and appliance level.
After the dishwasher is dry and the likely cause has been corrected, perform one proper power reset and supervise an empty test cycle. If the warning returns, water appears beneath the machine, or an internal part is involved, stop using the appliance and arrange service.