Note: This original article is written for web publishing and synthesized from real-world photography principles, miniature photography techniques, toy photography communities, macro photography guidance, and practical scale-model shooting methods.
At first glance, photographing toy cars sounds like something you do on a rainy afternoon when the internet is broken and the snacks are gone. But then you place a tiny die-cast Mustang on a cracked driveway, lower the camera until your elbows start negotiating with gravity, line up the background, wait for golden-hour light, and suddenly that five-dollar toy looks like it just escaped a vintage car commercial.
That is the magic of realistic toy car photography. It is part photography, part illusion, part patience, and part explaining to your neighbors why you are lying on the sidewalk with a camera pointed at a Hot Wheels car. The goal is simple: make a miniature vehicle look believable, cinematic, and full-size enough that viewers pause and ask, “Wait… is that real?”
In this guide, I’ll walk through how realistic toy car photography works, why forced perspective matters, how lighting can make or break the illusion, and what small details turn a plastic or die-cast model into a convincing scene. Whether you use a DSLR, mirrorless camera, macro lens, or smartphone, the secret is not expensive gear. The secret is learning how the real world behaves, then tricking the camera into believing your toy car belongs there.
What Is Realistic Toy Car Photography?
Realistic toy car photography is the art of photographing miniature cars so they appear life-sized, dramatic, and believable. It often combines macro photography, forced perspective, careful lighting, low camera angles, outdoor backgrounds, and small-scale scene building. The subject may be a 1:64 die-cast car, a 1:43 collectible, a 1:24 model, or a detailed 1:18 scale vehicle.
The best photos do not simply show a toy. They create a tiny universe around it. A toy Jeep becomes an off-road beast when placed in real dirt with pebbles that look like boulders. A vintage pickup becomes a nostalgic roadside scene when photographed near an old fence at sunset. A tiny sports car becomes a luxury ad when shot against wet pavement with reflected city lights.
Realism depends on one big question: does the image feel physically possible? If the light direction, shadows, focus, texture, and perspective all agree, the brain accepts the illusion. If one detail feels wrong, the viewer instantly sees “toy.” That is why realistic miniature car photography is so satisfying. It rewards tiny decisions.
Why Toy Cars Look Fake in Photos
Toy cars usually look fake for three main reasons: the camera angle is too high, the depth of field is too shallow or too strange, and the surrounding objects reveal the scale. Photograph a toy car from above on a kitchen table, and it looks like a toy car on a kitchen table. That may be cute, but it will not fool anyone unless your kitchen table is secretly Route 66.
Real cars are usually photographed from low angles, eye-level street angles, or slightly elevated commercial angles. Toy cars need the same respect. If the camera is too high, the viewer sees the roof and recognizes the scale immediately. Bring the camera down until it is nearly level with the toy’s headlights, and the car suddenly gains presence.
Scale clues are another problem. A single blade of grass can look like a palm tree. A grain of sand can look like a rock. A leaf can become a suspiciously enormous green alien tarp. Realistic toy car photography requires choosing backgrounds and textures that match the car’s scale, or at least hiding anything that gives the game away.
The Power of Forced Perspective
Forced perspective is the superhero cape of toy car photography. It uses distance and camera placement to make small objects appear larger than they are. When the toy car is placed close to the lens and the real-world background is farther away, the camera compresses the scene into a believable illusion.
Imagine placing a 1:18 scale model car near the camera, then positioning a real tree, building, or road far behind it. If the angles line up, the tree appears correctly sized in relation to the car. The viewer’s brain reads the scene as full-size because the composition matches what a real car photo might look like.
How to Use Forced Perspective With Toy Cars
Start by setting the toy car on a surface that resembles a real environment. A driveway can become a road. A patch of packed dirt can become a desert trail. A wet sidewalk can become a rainy city street. Then lower your camera until the toy car sits naturally against the background.
Move the car closer to the camera to make it appear larger. Move the background farther away to make it appear smaller in relation to the car. Adjust until the horizon, road lines, trees, buildings, or sky seem to belong to the same world. This is not a “set it and forget it” technique. It is more like convincing reality to cooperate, which reality does only when it has had coffee.
Camera Angle: Get Low, Then Get Lower
The easiest way to improve toy car photography is to lower the camera. A low angle gives the car weight, drama, and realistic proportions. For many shots, the lens should be at bumper height or headlight height. This creates the feeling that the viewer is standing near a real vehicle rather than hovering over a toy display shelf.
Low angles also hide the top of the car, which is useful because toy cars often reveal their scale from above. Roof thickness, window plastic, and interior details may look less convincing when photographed from a high viewpoint. From the front or side, those same details can look surprisingly real.
Try this: place a toy car on asphalt, position your camera almost on the ground, and shoot toward a distant street or tree line. Even a phone camera can create a believable result if the lens is low enough. Your knees may complain, but the photo will thank you.
Lighting Makes the Miniature Feel Real
Lighting is where toy car photography becomes serious. A realistic scene needs believable shadows, highlights, and reflections. The best light often comes from the same source used in real automotive photography: the sun. Early morning and late afternoon are especially useful because the light is softer, warmer, and lower in the sky.
Midday sunlight can be harsh. It creates strong reflections, blown highlights, and shadows that look too sharp on a small subject. However, harsh light can still work for desert scenes, race-track moods, or dramatic action shots. The important part is consistency. If the car is lit from the left, the background should also look lit from the left. If the toy casts a shadow forward but the trees cast shadows backward, the illusion starts packing its bags.
Natural Light Tips
Golden hour is your best friend. It adds warmth to paint, shape to body lines, and long shadows that help the toy feel grounded. Overcast days are also great because clouds act like a giant softbox. Reflections become smoother, colors become easier to control, and shiny die-cast paint does not turn into a mirror ball audition.
Artificial Light Tips
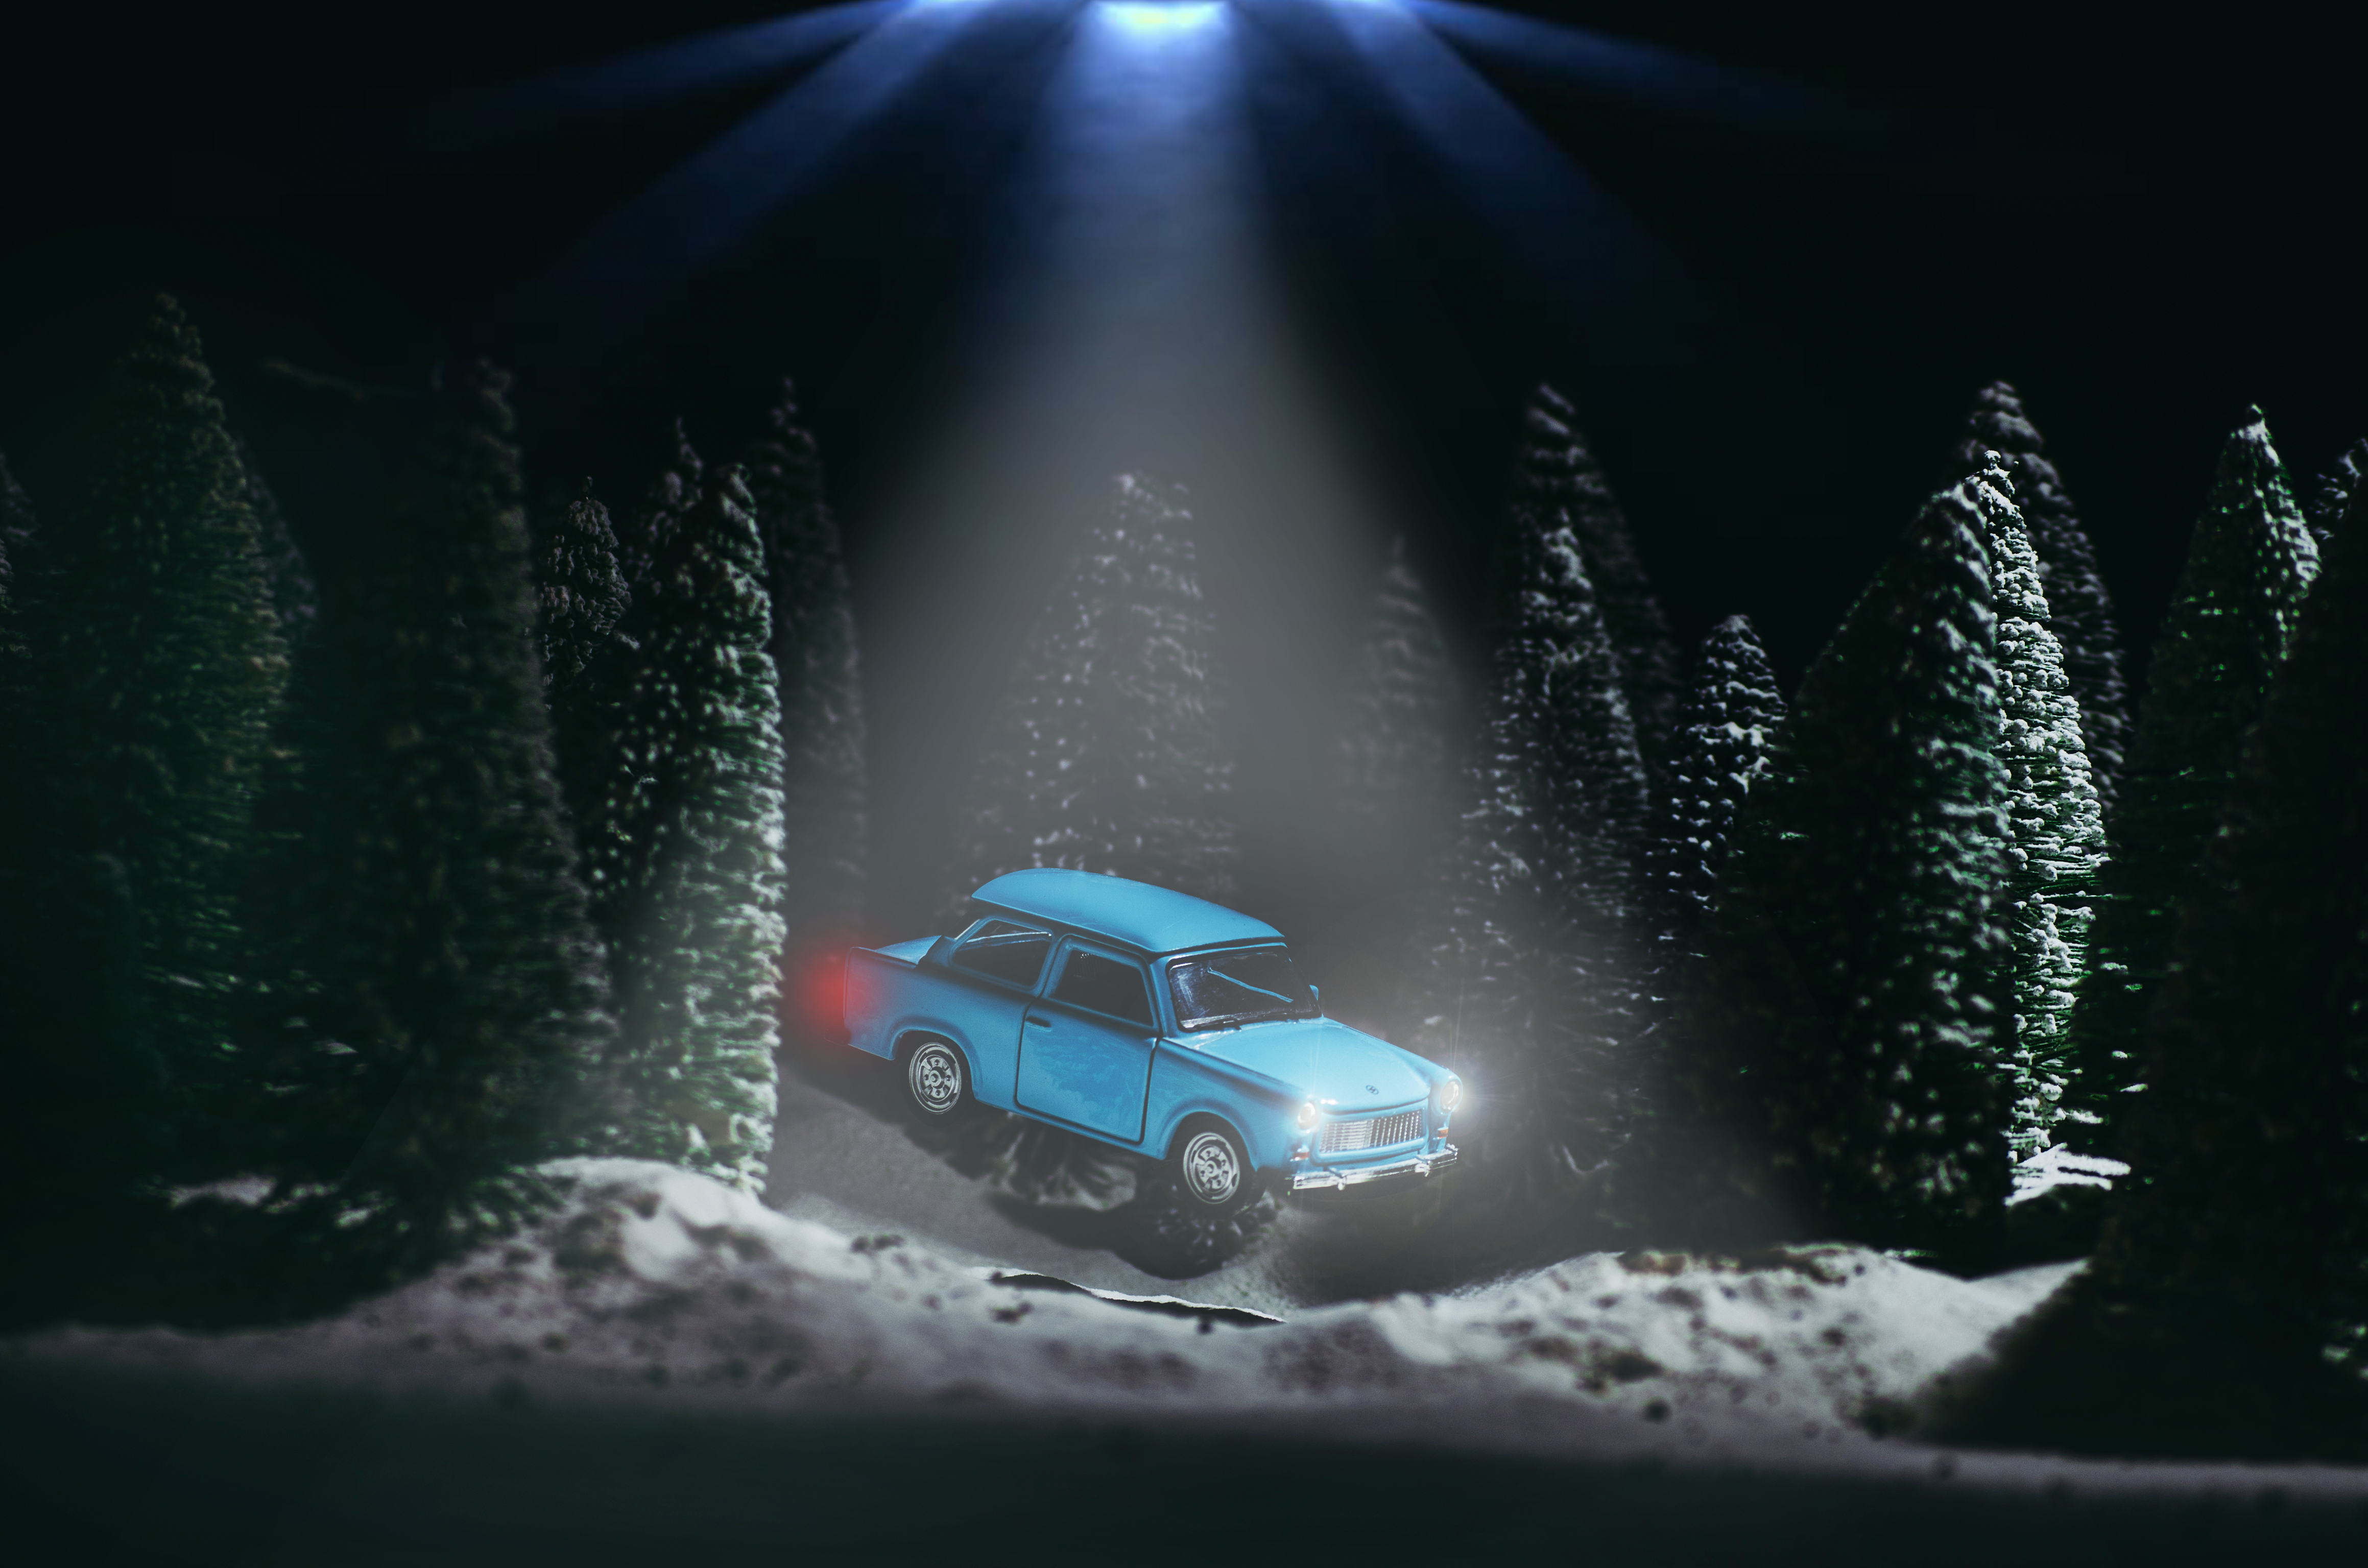
Small LED panels, flashlights, desk lamps, and even phone screens can help shape the scene. A tiny light placed low can mimic headlights or streetlights. A soft light from above can create a studio look. For night scenes, colored lights can add atmosphere, but use them carefully. Too much colored light makes the toy car look like it drove through a music festival.
Depth of Field: The Realism Problem Nobody Warns You About
Macro and close-up photography naturally create a shallow depth of field. That means only a thin slice of the image is sharp. In portraits, this can look beautiful. In toy car photography, it can accidentally reveal scale. Real cars are large, so more of the vehicle often appears sharp in a normal automotive photo. Tiny cars photographed up close may have only one headlight in focus while the rear bumper disappears into blur.
To make a toy car look realistic, you often need more depth of field. That usually means using a smaller aperture such as f/8, f/11, or even narrower if your camera allows it. The trade-off is that smaller apertures need more light or slower shutter speeds. A tripod becomes very helpful here.
Smartphone shooters can still manage depth creatively. Tap focus on the car’s front third, keep the lens clean, use good light, and avoid fake portrait blur unless it looks natural. Artificial blur can be useful, but if the edges around the car look strange, the photo will scream “software” louder than a printer jam.
Choosing the Right Toy Car
Not every toy car is equally photogenic. Detailed scale models usually photograph better than basic toys because they have realistic wheels, headlights, grills, mirrors, interiors, and paint finishes. But even inexpensive die-cast cars can work beautifully if you choose the right angle and hide weak details.
Look for clean body lines, realistic proportions, and believable colors. Matte and slightly weathered finishes can be easier to photograph than ultra-glossy paint because they reflect less. Black cars look dramatic but can lose detail in shadows. White cars show shape well but can overexpose quickly. Red, blue, green, and yellow cars can pop against natural backgrounds.
Scale also matters. A 1:18 model is easier to shoot realistically because it has more detail and is physically larger. A 1:64 car is portable and fun but harder to make believable because tiny imperfections become obvious. The best scale is the one you enjoy carrying, posing, and photographing without needing a support crew and a tiny driver’s license.
Backgrounds That Sell the Illusion
The background should support the car, not expose it. Realistic toy car photography works best when the environment matches the vehicle’s story. A rally car belongs near mud, gravel, grass, or forest textures. A classic sedan looks great near weathered wood, brick, old streets, or warm evening light. A supercar fits smooth pavement, reflections, modern architecture, or dramatic shadows.
Easy Background Ideas
A driveway can become a highway. A curb can become a concrete barrier. A puddle can become a cinematic wet street. A garden bed can become a rugged off-road trail. A brick wall can become an urban backdrop. A printed road texture can work indoors if photographed from the right angle and lit carefully.
The trick is to avoid recognizable scale killers. Human footprints, giant grass blades, oversized dust, obvious table edges, and household clutter can ruin the illusion. Before taking the shot, scan the frame like a detective. If anything says “this car is three inches long,” remove it, hide it, blur it, or reframe.
Weathering: Make the Car Less Perfect
Real cars are rarely spotless unless they are in a showroom. Dust, road grime, water droplets, and tiny scratches can make a toy car look more believable. A little dirt around the tires can help it feel connected to the ground. A mist of water can create reflections and drama. Fine dust can turn a toy truck into a trail warrior.
Be careful, though. Weathering should match the scene. A muddy Lamborghini on a kitchen counter raises questions. A dusty pickup in a gravel scene feels natural. Use a soft brush, a small spray bottle, or carefully placed dirt. If the model is collectible or valuable, avoid anything that could damage it permanently. Realism is great, but not if your limited-edition model ends up looking like it lost a fight with a sandbox.
Composition: Tell a Story, Not Just “Here Is a Car”
A realistic toy car photo becomes stronger when it suggests a story. Is the car parked after a long road trip? Is it speeding through a mountain road? Is it abandoned behind an old garage? Is it waiting under streetlights after rain? Story helps viewers forget they are looking at a miniature.
Use leading lines such as road cracks, curb edges, shadows, or fences to guide the eye toward the car. Leave space in front of the vehicle if you want it to feel like it is moving forward. Place the car off-center for a more cinematic frame. Try reflections in puddles or shiny surfaces to add depth.
Simple Story Concepts
A red sports car at sunset can suggest a weekend drive. A weathered truck in dirt can suggest hard work. A police car near dramatic shadows can suggest a movie scene. A vintage car near fall leaves can suggest memory and nostalgia. The car is the subject, but the story is the engine.
Editing Without Destroying the Illusion
Post-processing can improve realism, but heavy editing can also make the photo look artificial. Start with basic adjustments: exposure, contrast, highlights, shadows, white balance, and sharpness. Remove distracting dust or background objects. Add a subtle vignette if it helps focus attention on the car.
Color grading can create mood. Warm tones feel nostalgic. Cooler tones feel urban or cinematic. Slightly lowered saturation can make the image feel more natural. If you add motion blur, smoke, rain, or headlights, make sure the effect follows the direction and logic of the scene.
The best editing supports the photo rather than showing off. Think of editing like seasoning food. A little salt makes the soup better. A cup of salt makes everyone concerned.
Smartphone vs. Camera: Which Is Better?
You can create realistic toy car photography with both smartphones and dedicated cameras. A DSLR or mirrorless camera gives more control over aperture, lens choice, focus, and file quality. A macro lens can capture details beautifully, while a tripod helps with slower shutter speeds and focus stacking.
Smartphones, however, are surprisingly powerful for forced perspective shots. Their small sensors often keep more of the scene in focus, which can help realism when shooting tiny cars against real backgrounds. Phones are also easy to place very low to the ground. The best camera is the one you are willing to get dusty.
If using a phone, clean the lens, lock focus and exposure if possible, shoot in good light, and avoid extreme digital zoom. If using a camera, experiment with aperture, focal length, and manual focus. Both tools can produce excellent results when the idea is strong.
Common Mistakes in Toy Car Photography
The first mistake is shooting from a standing position. The second is ignoring shadows. The third is using backgrounds that reveal scale. The fourth is over-editing until the image looks like a video game loading screen. The fifth is expecting perfection in five minutes.
Realistic miniature photography takes experimentation. You may need to move the car one inch, lower the lens half an inch, wait for a cloud, wipe dust off the windshield, and retake the shot twenty times. That is normal. Tiny scenes are fussy. They have the attitude of a movie star and the stability of a cookie crumb.
How to Practice Realistic Toy Car Photography
Start with one car, one location, and one type of light. Do not overcomplicate the first session. Place the car on pavement during golden hour and shoot from several low angles. Study which images feel most realistic and ask why. Was it the shadow? The background? The focus? The reflection?
Next, try a dirt scene, a wet pavement scene, and an indoor studio scene. Compare how the same car changes personality in different environments. Practice focusing on the front wheel, the headlights, and the side profile. Learn how close your camera can get before focus becomes difficult.
Over time, build a small kit: microfiber cloth, small brush, spray bottle, portable LED light, mini tripod, black card, white card, and a few background materials. You do not need a warehouse of props. You just need enough tools to control light, texture, and scale.
Why This Hobby Is So Addictive
Toy car photography is addictive because it turns ordinary places into movie sets. A crack in the sidewalk becomes a canyon road. A puddle becomes a dramatic rain scene. A garden stone becomes desert terrain. You begin seeing the world at toy-car height, which is both creatively exciting and slightly dangerous if you forget to watch where you are walking.
It is also a low-pressure way to practice serious photography skills. You learn composition, lighting, focus, depth of field, storytelling, editing, and patience. Unlike real automotive photography, your subject does not need fuel, insurance, parking, or permission to be photographed. It also will not complain if you ask it to hold the same pose for an hour.
My Experience Photographing Toy Cars in a Realistic Way
The first thing I learned from photographing toy cars realistically is that the ground is much farther away than it looks. A good shot often begins with kneeling, crouching, or lying down at an angle that makes passing pedestrians wonder if you have lost a contact lens. But the lower I place the camera, the more the toy car transforms. From above, it is a toy. From bumper height, it becomes a character.
One of my favorite experiences was shooting a small classic car on wet pavement after a light rain. The scene was nothing fancy: a driveway, a puddle, and a cloudy sky. But when I placed the car close to the water and lowered the lens, the reflection doubled the drama. The tiny headlights, chrome trim, and curved hood suddenly looked cinematic. I did not need a studio. I needed patience, a towel for my elbows, and the ability to ignore the fact that I was getting damp for art.
I also learned that dust is both enemy and friend. Dust on the windshield can ruin a close-up, but dust around the tires can make a car feel like it has actually driven through the scene. The difference is intention. Random dust says, “I forgot to clean this.” Controlled dust says, “This vehicle has history.” A soft brush became one of my most useful tools. It removes unwanted specks but also lets me place dirt where it helps the story.
Lighting taught me humility. I once spent half an hour arranging a toy SUV on gravel, only to realize the shadow direction made no sense with the background. The car looked pasted into the scene even though it was physically there. After moving the car a few inches and rotating it toward the sun, everything clicked. The tires had weight. The paint had shape. The shadow connected the car to the ground. It was a small adjustment, but it made the difference between “toy on gravel” and “off-road adventure poster.”
Another lesson: backgrounds do not need to be impressive; they need to be believable. A boring curb can look like an urban street if framed correctly. A garden path can look like a mountain road if the camera is low and the background is distant. A brick wall can become a garage exterior if the scale clues are hidden. The best locations are often ordinary places viewed from an unusual angle.
My biggest practical tip is to slow down. Realistic toy car photography rewards small corrections. Move the car slightly. Check the wheel angle. Watch reflections. Clean the windshield. Look at the edges of the frame. Take one safe shot, then one weird shot. Sometimes the weird shot wins. Sometimes it looks like a toy car fell into a landscaping accident. Either way, you learn.
What keeps me coming back is the feeling of building a world from almost nothing. A toy car, a patch of light, a bit of texture, and a low camera angle can create an image that feels larger than its subject. That is the charm of the hobby. It is playful, technical, creative, and just ridiculous enough to stay fun.
Conclusion
Photographing toy cars in a realistic way is not about pretending toys are real. It is about understanding how reality looks through a lens and recreating those clues at miniature scale. Low angles, believable lighting, controlled depth of field, smart backgrounds, and thoughtful storytelling all work together to create the illusion.
The beauty of this hobby is that anyone can start. You do not need a professional studio or a full-size sports car. You need a toy car, a camera or smartphone, decent light, and the curiosity to see everyday spaces differently. Once you begin, you may never look at a puddle, driveway, or patch of dirt the same way again. Congratulations: your world is now full of tiny roads.