A chain link fence rarely fails with dignity. One day it is quietly doing its job; the next, a branch has folded the top rail, the gate is scraping the ground, or the mesh looks as though a rhinoceros tried to leave the yard. Fortunately, chain link fencing is modular. Posts, rails, ties, fittings, and woven fabric can often be replaced individually instead of removing the entire run.
This guide covers torn fabric, bent top rails, leaning posts, sagging mesh, gate problems, and early rust. The goal is not merely to hide damage but to restore the system: solid posts, straight rails, secure hardware, and evenly tensioned fabric.
Research basis:
Identify What Actually Failed
Inspect both sides of the fence before buying parts. A dented panel may have pulled on a terminal post, while a leaning post can make a perfectly good gate sag. Look for torn or stretched mesh, a creased rail, loose concrete, missing ties, distorted fittings, rust, and misaligned hinges or latches.
Measure the fence height, mesh opening, wire gauge, post diameter, rail diameter, and finish. Similar-looking chain link parts are not always interchangeable. Wire gauge works backward: a lower gauge number generally means thicker wire. Match galvanized components with galvanized fencing and use compatible coated parts on vinyl-coated systems.
Research basis:
Tools and Materials
Typical tools include work gloves, safety glasses, lineman’s pliers, locking pliers, bolt cutters, an adjustable wrench, sockets, a hacksaw or reciprocating saw, a metal file, tape measure, level, mason’s line, and a fence stretcher or come-along. Post replacement may also require a shovel, post-hole digger, digging bar, wheelbarrow, gravel, and concrete.
Purchase matching repair fabric, fence ties, hog rings, tension wire, rail, rail sleeves, tension bars, bands, bolts, caps, and posts as required. Bring measurements and photos to the store; “that looks about right” is how a 20-minute repair becomes a three-trip hobby.
Safety and Planning
Cut wire is sharp and tensioned fabric can spring suddenly, so wear gloves and eye protection. Keep children and pets away from the work zone. Never stand in line with a tensioned cable, release a pulling tool abruptly, or wrap a come-along cable directly around a post.
Before digging, contact 811 or your state’s 811 center and wait for underground utilities to be marked. Confirm property boundaries, local fence rules, and permit requirements. Pool barriers, security fences, utility easements, and disputed property lines may require professional or code-specific work.
Research basis:
How to Replace Damaged Chain Link Fabric
A localized fabric replacement is the cleanest fix for cut wire, severe kinks, holes, or impact damage. Because chain link mesh is woven from spiral strands, a damaged section can be removed and a matching piece woven into its place.
1. Remove Nearby Ties and Relieve Tension
Use pliers to untwist or cut the ties securing the damaged fabric to the top rail, posts, and bottom tension wire. Free only enough mesh to create a workable area. If the repair is close to a terminal post, use a fence stretcher to take pressure off the tension bar before loosening the tension-band bolts.
2. Unweave the Damaged Section
Select a vertical strand just outside the damage. Open its top and bottom bends with pliers, then rotate the strand like a corkscrew until it unwinds from the adjoining diamonds. Repeat on the opposite side and remove the damaged panel.
3. Cut Matching Replacement Fabric
Use the removed panel as a template. Match the height, mesh size, wire gauge, and coating. Adjust the width by unwinding a strand rather than cutting every horizontal wire and leaving a row of sharp stubs.
4. Weave the Patch Into Place
Position the new fabric between the existing edges. Twist a saved spiral strand through alternating diamonds of the old and new sections. Repeat at the other seam, then close the top and bottom ends around neighboring wire so the connectors cannot unwind.
5. Restore Tension and Install Ties
Reconnect the tension bar if it was removed, then pull the mesh gradually until it gives only slightly when squeezed. Stop if the diamonds become narrow or posts begin to move. Retie the fabric to the framework with matching ties, following the spacing on the undamaged fence. Turn all tie ends inward.
Research basis:
How to Replace a Bent Top Rail
A gently bowed rail may be straightened, but a sharply creased pipe has lost strength and should be replaced.
1. Detach and Cut
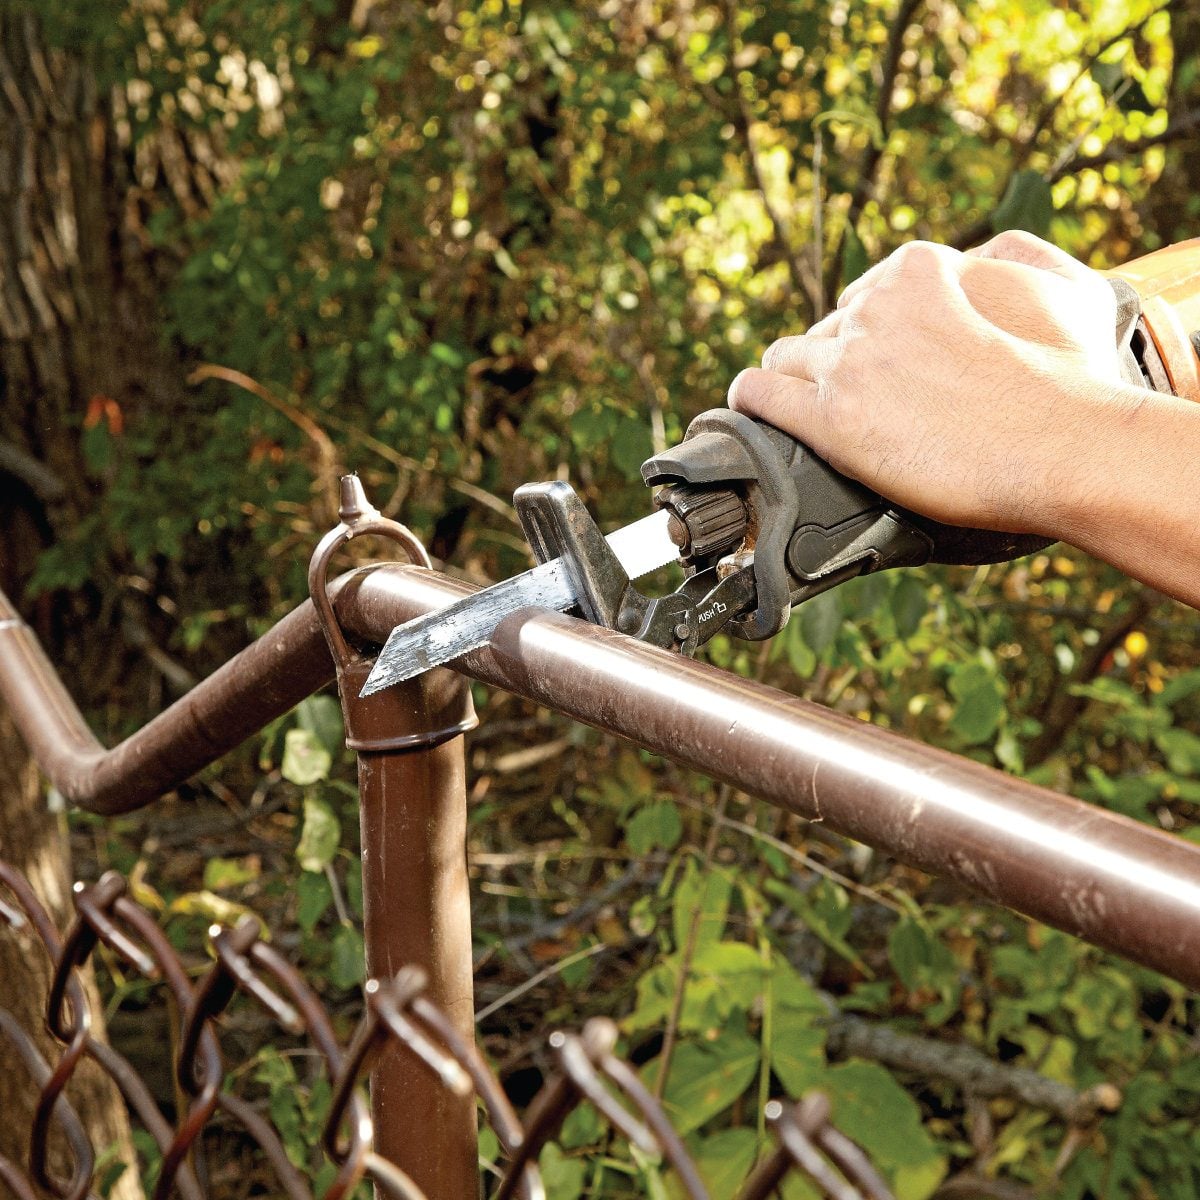
Remove all ties from the damaged section. Mark square cuts several inches beyond the crushed metal, support the rail, and cut it with a hacksaw, pipe cutter, or reciprocating saw. File away burrs.
2. Install the Replacement
Measure the opening while allowing for overlap inside a swaged end or rail sleeve. Fit the replacement between the existing rails, loosening the rail end at a terminal post if extra movement is needed. Center and seat the coupling, tighten all hardware, lift the mesh back into position, and add new ties.
Research basis:
How to Repair or Replace a Leaning Post
Determine whether the post is straight but loose, loose inside cracked concrete, badly rusted, or permanently bent. A sound post may be reset; a bent or weakened post should generally be replaced.
1. Disconnect and Brace the Fence
Remove ties, caps, rail fittings, bands, and bolts as needed. Brace the adjacent fence so its weight does not pull neighboring posts out of line. Terminal and gate posts carry more load than ordinary line posts.
2. Remove the Post and Footing
Excavate around the concrete until the footing can be rocked or lifted out. Large footings may need to be broken into smaller pieces. Stay outside marked utility tolerance zones unless approved digging procedures are followed.
3. Set the Replacement
Hole dimensions depend on fence height, post type, soil, wind, frost depth, and local code. General concrete guidance often uses a hole about three times the post width and roughly one-third to one-half of the post’s above-ground height, plus room for a gravel base. Cold climates may require a footing below the frost line.
Add gravel if specified, set the post, and check plumb on two sides. Use braces and a mason’s line to align it with the fence. Fill with concrete according to product directions and slope the top away from the steel. Let the footing cure before reconnecting rails and applying full fabric tension.
Research basis:
How to Tighten Sagging Mesh
If the framework is straight, inspect the terminal connections. Replace broken bands, tighten loose bolts, and remove damaged ties. Pull the fabric toward the terminal post with a fence stretcher. If excess mesh prevents proper tension, unwind one vertical strand, reconnect the tension bar, and install new ties.
A bottom edge that bows outward may benefit from bottom tension wire secured with hog rings. Tension wire helps resist pets and casual pushing, but it cannot compensate for loose posts or badly stretched fabric.
Research basis:
How to Fix a Sagging Gate
Check the hinge and latch posts first. If either leans, correct the post before adjusting the gate. Support the gate on wood blocks, loosen the hinge hardware, and raise or lower the frame until the top aligns with the fence and the latch meets the catch. Tighten the hinges and test the full swing. Replace worn hinges, bent latches, missing bolts, or a distorted frame rather than trying to tune around failed hardware.
Research basis:
How to Treat Rust
For light surface rust, scrub away loose corrosion, wash the area, and let it dry. Apply a coating intended for galvanized or exterior steel. Seal exposed steel on vinyl-coated fencing with a compatible product. Replace components that are deeply pitted, perforated, or weakened at a structural connection. Paint is protection, not a steel transplant.
Research basis:
When to Replace the Fence or Hire a Professional
Repair is practical when damage is localized and the remaining framework is stable. Consider full-section replacement or professional help when several posts are failing, corrosion is widespread, a vehicle impact shifted the structure, steep terrain complicates tensioning, or the fence serves as a regulated pool or security barrier.
Preventive Maintenance
Inspect the fence after storms and at least twice a year. Replace missing ties, tighten hardware, trim heavy branches and vines, keep wet debris away from steel, lubricate gate hinges, wash off salt and lawn chemicals, and treat scratches or rust before the damaged coating expands.
Conclusion
Successful chain link fence repair follows a simple order: stabilize the posts, straighten the rails, replace failed fittings, tension the fabric evenly, and finish every wire end safely. Match parts carefully, respect stored tension, and never dig before checking for utilities. A precise repair can blend into the fence line and add years of service without the cost of complete replacement.
Practical Experience Notes From DIY Chain Link Fence Repairs
Measure the pipe, not your memory. A common repair-day mistake is buying a sleeve or fitting based on what the fence “probably” uses. Similar-looking diameters may not fit one another, and nominal descriptions can be confusing. Take measurements and photos, and bring an undamaged fitting or bolt to the store when possible. Five minutes of documentation can prevent an hour of trying to introduce two incompatible pieces of steel.
Release only as much fence as necessary. Beginners often remove every tie in sight, creating a large, floppy sheet of mesh. Free a modest working area and leave sound sections attached. The remaining ties act like extra hands while the damaged panel is unwoven and replaced.
Save a clean spiral strand. A vertical wire removed from the old fabric is often the ideal connector because its gauge, shape, and coating match. Put it somewhere visible instead of dropping it in grass, where it will disappear until a lawn mower finds it. Use a strand from the new roll if the old one is rusty or kinked.
Dry-fit rail repairs. The visible gap is not the full measurement because a swaged end or sleeve needs overlap. Cut the replacement slightly long, test the assembly, and trim gradually. Metal can always be shortened. Persuading it to grow back remains outside the normal DIY skill set.
Use both a level and a string line. A bubble level makes one post vertical; a mason’s line makes it agree with the rest of the fence. Check two sides, then step back and sight along the top rail before the concrete sets. A post can be plumb yet still sit several inches out of line.
Do not rush fresh concrete. A newly set post can look stable before the footing is ready for rail pressure and fabric tension. Brace it and follow the concrete manufacturer’s cure instructions. Waiting is less satisfying than finishing immediately, but it is more satisfying than repeating the repair next weekend.
Expect tension to expose weak hardware. Tightening sagging mesh may snap old ties, twist rusty bands, or reveal a marginal post. Keep spare ties, bolts, and common fittings nearby. Pull gradually, pause often, and watch the whole framework. The goal is even tension, not a strength contest with the come-along.
Repair the cause before the symptom. A sagging gate may seem to need a hinge adjustment, but the real problem may be a loose gate post. A bowed section of mesh may trace back to a broken rail fitting several feet away. Before tightening, cutting, or replacing anything, follow the load path from the damaged area to the nearest terminal posts. Fixing the underlying structural problem first keeps the cosmetic repair from failing and usually reduces the amount of rework.
Finish the sharp details. Close top and bottom loops, bend tie ends inward, file cut rails, cap open posts, and collect loose wire. These small steps distinguish a safe, durable repair from a patch that catches sleeves, scratches pets, and announces itself to everyone walking past.