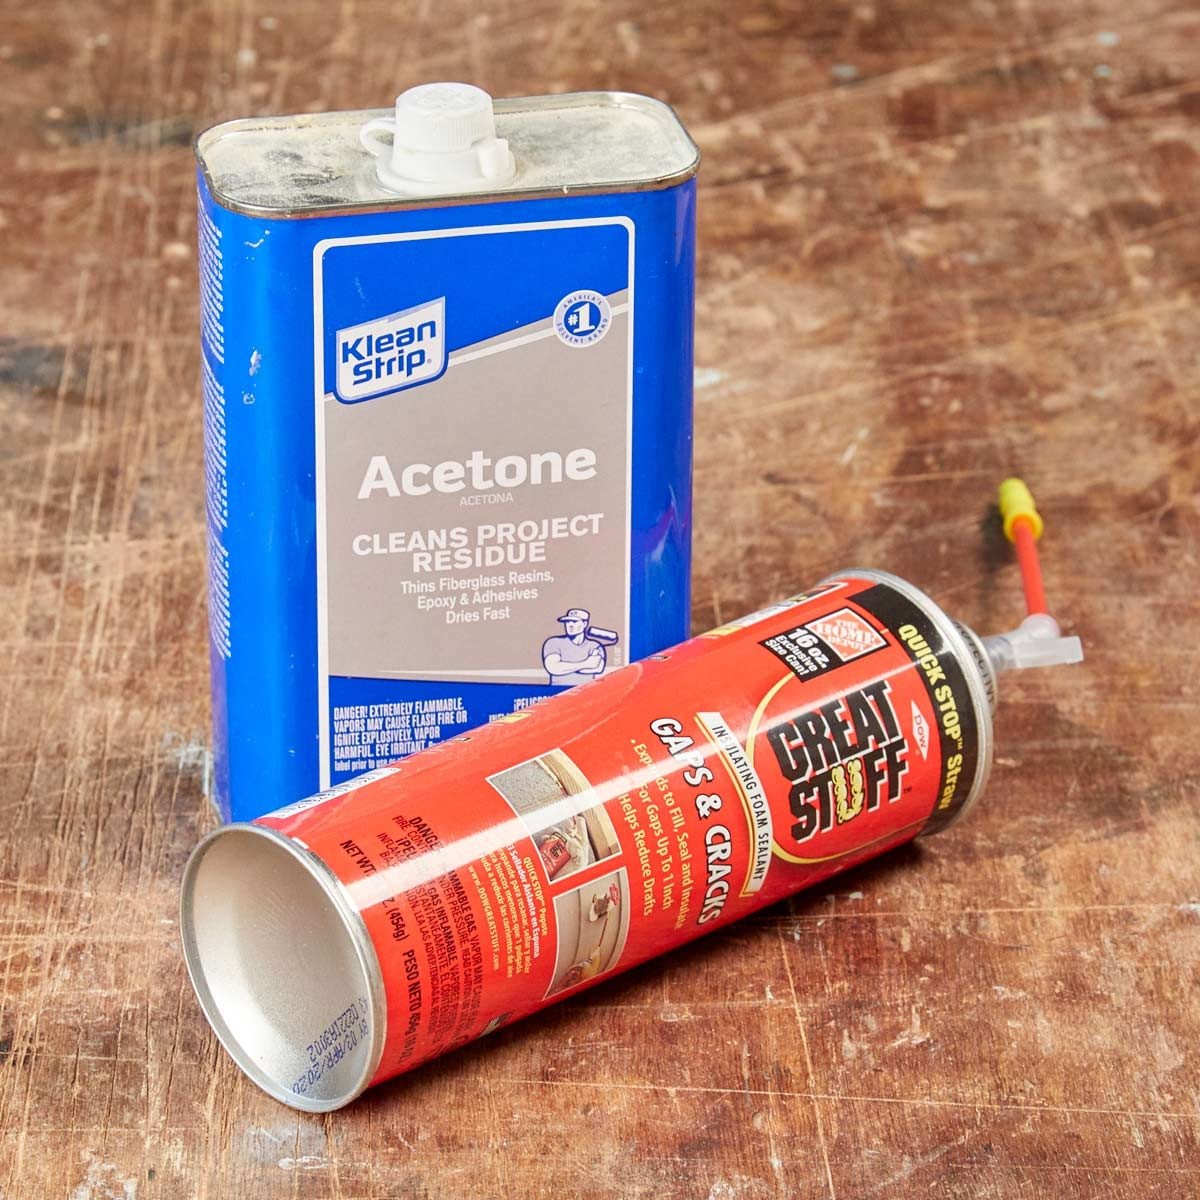
Spray foam is one of those miracle home-improvement products that behaves beautifully until it does not. One minute you are sealing a gap around a window like a weekend pro. The next, you have a beige, sticky blob on your floor, your shirt, your putty knife, and somehow your elbow. Spray foam expands fast, grabs hard, and cures into a stubborn polyurethane material that does not politely apologize and leave.
The good news: removing spray foam is possible. The less-good news: the method depends on whether the foam is still wet or already cured. Fresh, uncured spray foam can usually be dissolved or wiped away with the right cleaner. Cured spray foam, however, must usually be cut, scraped, sanded, or patiently worn off. That difference matters more than anything else.
This guide explains how to remove spray foam from skin, hands, clothes, wood, metal, plastic, glass, floors, tools, and painted surfaces without turning a small DIY mistake into a full-blown “maybe we should move” situation.
First: Is the Spray Foam Wet or Cured?
Before reaching for acetone, a scraper, or your most dramatic sigh, check the foam’s condition. Spray foam removal has two very different playbooks.
Uncured Spray Foam
Uncured spray foam is fresh, sticky, soft, and tacky. It may look glossy or feel like chewing gum’s evil cousin. This is the stage where foam cleaner or acetone can be effective on many hard surfaces. Acting quickly gives you the best chance of removing spray foam without scraping, sanding, or damaging the material underneath.
Cured Spray Foam
Cured spray foam is dry, firm, and no longer sticky. Once polyurethane foam hardens, solvents generally do not dissolve it in a useful way. At this point, removal is mostly mechanical: cutting, shaving, scraping, sanding, or gently abrading the foam away.
Safety Tips Before Removing Spray Foam
Spray foam sticks aggressively because that is literally its job. It fills cracks, seals gaps, and clings to building materials. Unfortunately, it does not know the difference between a wall cavity and your knuckle.
Before cleaning, open windows or work in a well-ventilated area, especially if using acetone or spray foam cleaner. Wear gloves, eye protection, and old clothing. Acetone is flammable and can damage finishes, plastics, and painted surfaces, so keep it away from flames, pilot lights, sparks, and delicate materials unless you have tested first.
Also, do not use harsh solvents on skin unless the product label specifically says it is safe. Many spray foam manufacturers advise against using acetone or foam cleaner on skin because it can irritate and dry the skin. When in doubt, choose the gentler approach: wipe, wash, moisturize, and let time do some of the work.
How To Remove Spray Foam from Skin and Hands
Getting spray foam on your skin is common, especially when you think, “I’ll only use a little, so gloves are optional.” That sentence has humbled many homeowners.
If the Foam Is Still Wet
Do not immediately run your hands under water. Water can speed the curing process for many polyurethane foams, making the mess harder to remove. Instead, use a dry rag or paper towel to lift off as much wet foam as possible. Blot and lift rather than smear. Smearing just spreads the foam into a larger, stickier map of regret.
After removing the bulk, wash the area with warm, soapy water. Some product instructions mention acetone for uncured foam, but many also warn not to use solvents on skin. If you use nail polish remover with acetone, apply a very small amount to a cloth, avoid broken or sensitive skin, work quickly, and wash thoroughly afterward. Moisturize immediately because acetone strips natural oils from the skin.
If the Foam Has Cured on Skin
Once spray foam cures on skin, do not try to melt it off with strong solvents. The safer method is patience plus gentle abrasion. Soak the area in warm, soapy water, then rub lightly with a washcloth or pumice stone. Apply petroleum jelly or a thick moisturizer, cover with a disposable glove for a while, and wipe again later.
Residual foam usually wears away as your skin naturally sheds. It may take a few days. It is annoying, but it is usually better than scrubbing your hand like you are refinishing furniture.
When To Get Medical Help
If spray foam gets in your eyes, mouth, or a deep cut, do not experiment with home remedies. Rinse with clean water when appropriate and contact a medical professional or poison control center. If skin becomes painful, swollen, blistered, or severely irritated, get medical advice.
How To Remove Spray Foam from Clothes
Clothing is one of the hardest places to remove spray foam because fabric fibers give the foam thousands of tiny places to grip. Translation: your favorite hoodie may be entering its “yard work only” era.
Wet Foam on Fabric
Use a scrap of cardboard, a plastic scraper, or a paper towel to lift off excess foam without rubbing it deeper into the fibers. If the fabric is sturdy and colorfast, you can test a tiny hidden area with acetone. If the color does not bleed and the fabric does not weaken, dab the stain carefully. Never soak delicate fabrics in acetone.
Cured Foam on Fabric
Let cured foam harden fully, then pick or scrape away what you can. A dull butter knife, plastic scraper, or fingernail may remove some of the raised foam. Unfortunately, cured foam may leave permanent residue or discoloration. Wash the garment only after removing as much foam as possible, because heat from a dryer can make stains even more stubborn.
How To Remove Spray Foam from Wood
Wood requires a careful touch because the right removal method depends on whether the wood is unfinished, painted, stained, or sealed.
Unfinished Wood
For wet foam on unfinished wood, carefully scrape away excess foam and use acetone sparingly on a cloth. Test first, even on unfinished wood, because solvents can change how the surface accepts stain later. Once the foam is gone, let the wood dry completely before sanding or refinishing.
Finished or Painted Wood
For painted trim, stained floors, cabinets, or sealed wood, avoid aggressive solvent use. Acetone may remove the foam, but it can also remove the finish, which is a little like solving a mosquito problem with a flamethrower. If the foam is cured, trim it close with a sharp utility knife or razor blade held nearly flat. Then use a plastic scraper to lift the remaining bits.
For tiny residue, gentle sanding may be needed. Use fine-grit sandpaper and work slowly. If the finish becomes dull, you may need to touch up the paint, stain, or clear coat.
How To Remove Spray Foam from Metal
Metal is more forgiving than wood or fabric, especially if it is unfinished. For wet foam, wipe up the excess and use acetone or spray foam cleaner on a rag. For cured foam, cut away the bulk with a utility knife, then scrape the rest with a putty knife or razor scraper.
On stainless steel, painted metal, aluminum, or powder-coated surfaces, test solvents first. Acetone can dull or damage coatings. Use a plastic scraper instead of a metal blade if you are worried about scratches.
How To Remove Spray Foam from Plastic and Vinyl
Plastic and vinyl are tricky because acetone can soften, cloud, or melt some materials. That means the “quick cleanup” can become “why does my window frame look like a science experiment?”
For wet foam, use a dry cloth to lift as much as possible. Then test any cleaner in a hidden area before applying it to the visible surface. If the foam has cured, use a plastic scraper, wooden craft stick, or dull putty knife. Work from the edge of the foam and peel it up slowly.
For vinyl windows, doors, siding, or trim, avoid metal blades unless you are extremely careful. A razor can remove foam, but it can also leave permanent scratches. If residue remains, try warm, soapy water and repeated gentle scraping rather than strong solvents.
How To Remove Spray Foam from Glass
Glass is one of the easier surfaces to clean because it is hard and nonporous. For wet foam, wipe away excess and clean with acetone on a cloth if needed. Keep acetone away from painted frames, plastic trim, and rubber seals.
For cured foam on glass, use a sharp razor scraper at a low angle. Wet the glass first with soapy water to reduce scratching, then carefully shave the foam away. Finish with glass cleaner. Congratulations: this is one of the rare spray foam mistakes that may actually end cleanly.
How To Remove Spray Foam from Concrete, Brick, and Masonry
Concrete, brick, stone, and masonry are porous, so spray foam can grab tightly. If the foam is wet, remove the bulk immediately and use acetone or foam cleaner only if the surface can tolerate it. On porous surfaces, solvents may spread residue deeper, so use restraint.
For cured foam, cut away the excess with a utility knife or serrated blade. Then use a stiff nylon brush, wire brush, or scraper depending on the toughness of the surface. On rough concrete, light sanding or a drill brush attachment may help. On decorative brick or stone, avoid anything too aggressive unless you are comfortable with visible abrasion marks.
How To Remove Spray Foam from Floors
Floor cleanup depends heavily on the flooring material.
Hardwood Floors
Let cured foam harden, then slice it carefully as close to the floor as possible. Use a plastic scraper for the remaining foam. Avoid acetone unless you are prepared to repair the finish. If sanding is needed, sand lightly and blend the area with the surrounding finish.
Tile Floors
Ceramic and porcelain tile can usually handle careful scraping. For cured foam, use a plastic scraper first, then a razor scraper if the tile is hard and glossy. Avoid scratching grout lines. For residue, test acetone in a hidden area before using it near colored grout or sealers.
Laminate and Vinyl Floors
Do not attack laminate or vinyl flooring with acetone unless the manufacturer allows it. Use a plastic scraper and patience. Heat is also risky because it can warp flooring or soften adhesives. Slow, gentle removal is boring, but boring is better than replacing planks.
How To Remove Spray Foam from Tools and Applicator Guns
Tools are easiest to clean while the foam is still wet. Use spray foam cleaner or acetone on uncured foam, wiping tools thoroughly before the product hardens. For foam dispensing guns, use the cleaner recommended for that gun system and follow the product instructions.
For cured foam on basic tools, scrape or cut away the buildup. A utility knife, wire brush, or scraper may work. For straw applicators, a stiff wire or small nail can sometimes push out dried foam, but many disposable straws are not worth heroic rescue attempts. Sometimes the most efficient tool is the trash can.
How To Remove Spray Foam from Painted Walls
Painted drywall and plaster are delicate compared with the foam stuck to them. Do not use acetone on painted walls unless you enjoy surprise touch-up painting. If the foam is wet, lift off what you can with cardboard or a disposable scraper. Let remaining foam cure, then trim it carefully with a utility knife.
For thin residue, sand lightly with fine-grit sandpaper, feather the edges, and repaint. If the foam tore the paper surface of drywall, use joint compound to smooth the area before priming and painting.
What Not To Do When Removing Spray Foam
Do not use water on wet foam as your first move. It may accelerate curing and make cleanup worse. Do not rub wet foam across a surface; lift it instead. Do not pour acetone directly onto skin, plastic, painted wood, or finished flooring. Do not use open flames or high heat to soften foam. Spray foam and chemical cleaners can be flammable, and scorched trim is not a design trend worth starting.
Most importantly, do not panic. Spray foam looks catastrophic when it lands in the wrong place, but most mistakes can be reduced, hidden, repaired, or at least turned into a story you tell with confidence later.
Best Tools and Supplies for Spray Foam Removal
Keep a small cleanup kit nearby before you start a spray foam project. It should include disposable gloves, safety glasses, old rags, paper towels, cardboard scraps, painter’s tape, a plastic scraper, a utility knife, acetone or spray foam cleaner, petroleum jelly, warm soapy water, and fine-grit sandpaper.
The secret is preparation. Spray foam expands quickly, so you do not want to go hunting for acetone while a beige blob slowly grows on your baseboard like a tiny construction-site mushroom.
How To Prevent Spray Foam Messes Next Time
The easiest spray foam to remove is the foam you never spill. Before spraying, cover nearby surfaces with painter’s tape, plastic sheeting, cardboard, or drop cloths. Wear gloves and long sleeves. Shake the can as directed and practice on scrap cardboard so you understand the flow rate.
Use less foam than you think you need. Many expanding foams continue growing after application, so filling a gap completely can lead to overflow. For many gaps, filling part of the depth is enough because the foam expands to occupy the space.
Also, choose the right foam. Window and door foam is designed to expand with less pressure, while big-gap filler expands more aggressively. Using the wrong product can create bulging trim, stuck windows, or a cleanup session that eats your afternoon.
Real-World Experiences: Lessons from Removing Spray Foam the Hard Way
Anyone who has used expanding foam more than once has probably learned at least one lesson the sticky way. Spray foam is not especially forgiving, but it is predictable once you respect its timing. The first and biggest lesson is that cleanup starts before spraying. People often focus on sealing the crack and forget that the foam has a dramatic personality. It expands, droops, strings, and clings. If the nearby floor, wall, cabinet, or window frame is not protected, the foam will find it. It has the aim of a toddler with a chocolate cupcake.
One practical experience is to always keep a “wet foam rag” and a “clean finishing rag” separate. The wet foam rag is for lifting blobs and handling the disaster zone. The clean rag is for final wiping with cleaner. Mixing them up spreads residue everywhere. It is the DIY version of using the same towel for muddy boots and dinner plates.
Another lesson is that cured foam is often easier to remove neatly than half-cured foam. This feels backward, but it is true. Half-cured foam can be gummy, stretchy, and messy. Fully cured foam can often be sliced cleanly with a sharp blade. If the foam is already past the wet stage and starting to firm up, waiting may be smarter than fighting it immediately. Let it cure, then cut it flush and scrape gently.
For skin, the best experience-based advice is simple: do not obsess over removing every speck in one session. A little cured foam on your hands may look ridiculous, but aggressive scrubbing can irritate your skin more than the foam itself. Warm soaks, gentle rubbing, petroleum jelly, and time usually work better than declaring war on your knuckles. Gloves are cheaper than regret, and nitrile gloves are easier to replace than your dignity during a hardware-store checkout.
On finished wood, patience is everything. A common mistake is using acetone too quickly. It may remove the foam, but it may also dull the finish or lift stain. A safer approach is to trim the cured foam with a sharp blade held nearly parallel to the surface, then use a plastic scraper. If residue remains, decide whether it is more noticeable than the repair would be. Sometimes the perfect fix is a tiny touch-up with stain or paint, not endless scraping.
On glass, the experience is much happier. A razor scraper and soapy water can remove cured foam cleanly if you keep the blade flat and work slowly. On plastic window frames, however, the same razor can leave permanent scratches. That is where a plastic scraper earns its place in the toolbox.
The final lesson: spray foam rewards calm, small moves. Big frantic wipes make big sticky smears. Small lifts, careful cuts, and patient scraping win. Treat spray foam like a cat with a glue stick: do not chase it wildly, do not grab too hard, and definitely prepare the room before letting it loose.
Conclusion
Removing spray foam from surfaces and skin comes down to timing. If the foam is fresh and uncured, act quickly with dry wiping, foam cleaner, or acetone where appropriate. If the foam has cured, switch strategies. Cut, scrape, sand, or gently abrade it away. On skin, avoid harsh tactics and let warm water, petroleum jelly, gentle exfoliation, and time do the job.
The smartest approach is prevention: gloves, drop cloths, painter’s tape, ventilation, and a cleanup kit within arm’s reach. Spray foam is useful, powerful, and occasionally chaotic. Handle it with respect, and it will seal your gaps instead of starring in your next home-improvement horror story.
Note: This article is original web content synthesized from manufacturer guidance, DIY best practices, and home-improvement safety recommendations. Always follow the instructions on the specific spray foam product you are using.