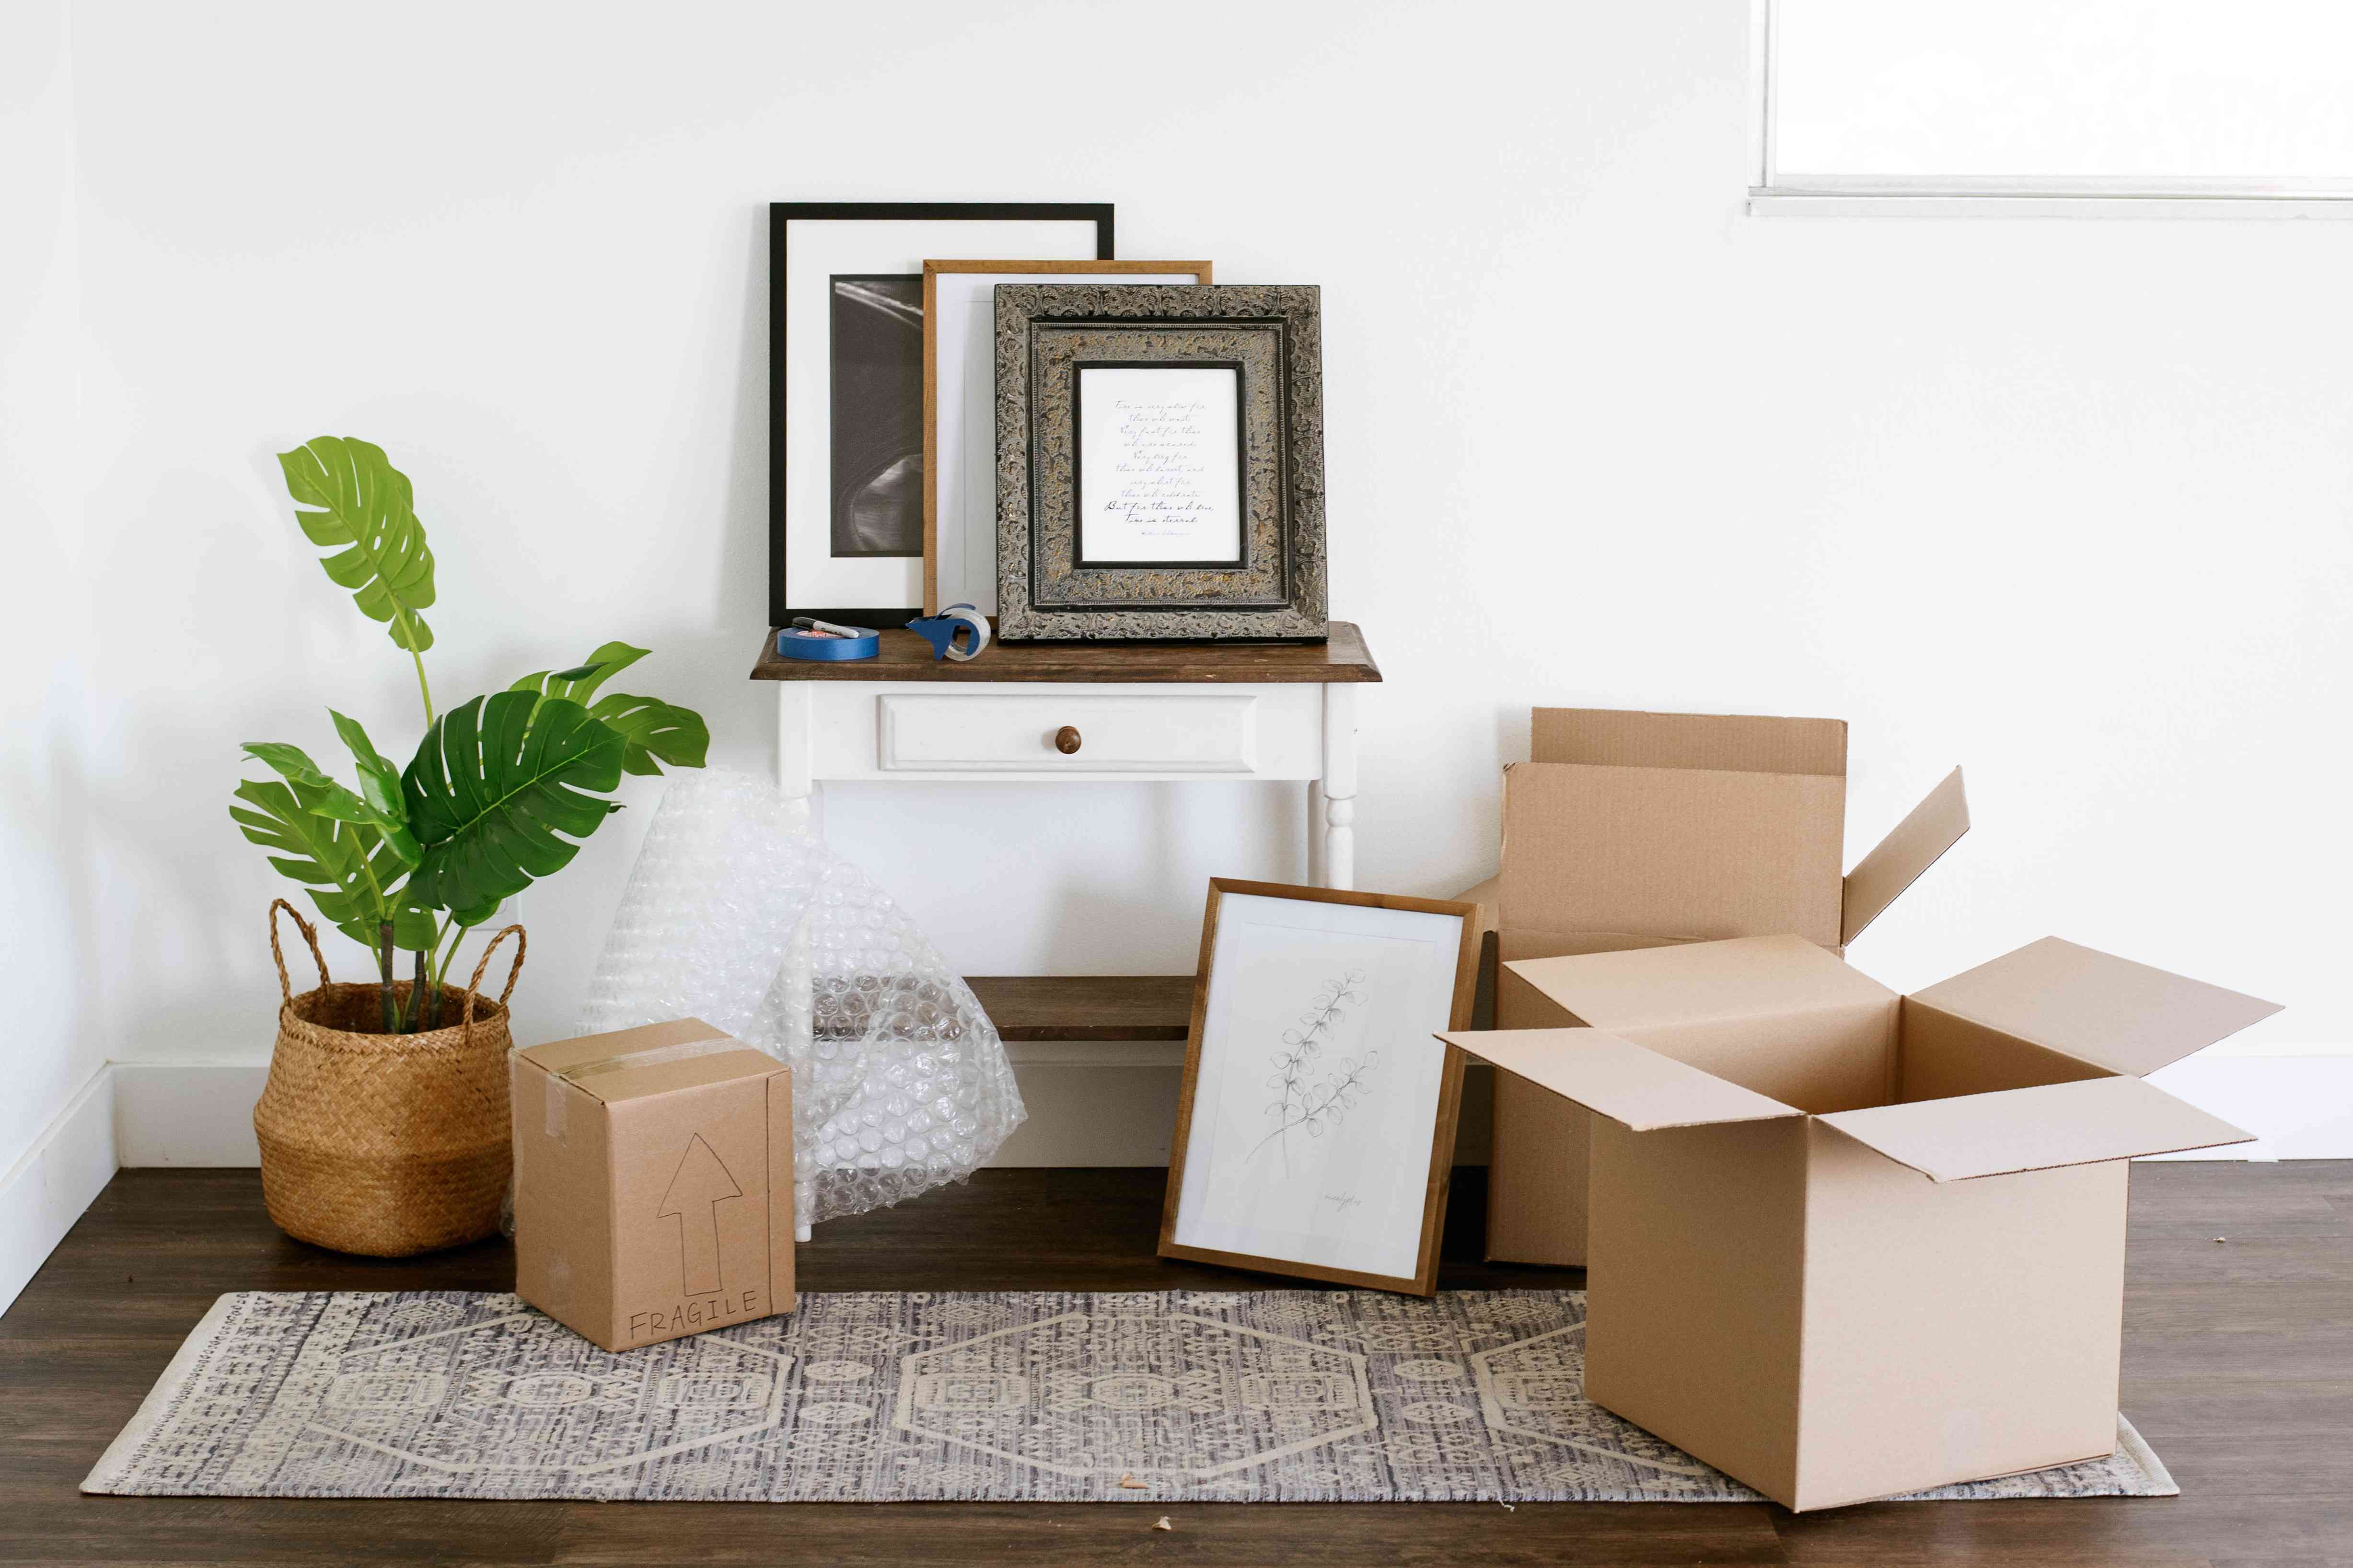
Moving is already a chaotic little circus. Add artwork to the mix, and suddenly every doorway looks too narrow, every box looks suspicious, and every pothole feels personal. Whether you are relocating a few framed prints, a family portrait, a canvas painting, or a collection that makes your living room feel like a small gallery, the goal is simple: get every piece from Point A to Point B without scratches, cracks, warped canvas, chipped corners, or a full-blown “why did we put the painting under the lamp?” regret spiral.
The good news is that learning how to pack and transport artwork for moving is not mysterious. It is mostly about slowing down, using the right materials, handling each piece in a way that respects its weak points, and matching your packing method to the artwork itself. A framed print under glass needs different protection than an unstretched canvas. A charcoal drawing needs gentler treatment than a poster print. A giant oil painting that barely fits through the hall? That one may need professional help, and there is no shame in that. Pride is nice. Intact artwork is nicer.
This guide walks through how to move artwork safely, what packing supplies to use, how to prepare framed art and unframed pieces, how to load artwork in a vehicle, and when custom crating or fine-art movers are worth every penny.
Why Artwork Gets Damaged During a Move
Before you start wrapping anything, it helps to know what you are protecting against. Artwork is vulnerable in more ways than most people realize. Damage does not only come from dramatic drops or obvious accidents. In many cases, the real culprits are vibration, pressure, abrasion, moisture, heat, bad stacking, and rushed handling.
Frames are most likely to get damaged at the corners and edges. Glass can crack from a single hard bump or from being laid flat under pressure. Canvas can dent if something presses against the front surface. Works on paper can buckle or smudge if rolled incorrectly or exposed to humidity. Photos and glossy surfaces can stick to the wrong wrapping material. Pastels, charcoal, and other delicate media can be disturbed by vibration alone. In other words, artwork is often less “fragile” in a general sense and more “particular.” It wants to be treated correctly, not heroically.
Best Packing Supplies for Moving Artwork
If you want to pack framed art like a pro, start with the right materials. This is not the moment to get creative with grocery bags, old towels, or that random shoebox from the hall closet. Good packing supplies are cheaper than restoration.
Core supplies to gather first
- Clean packing paper or acid-free tissue paper
- Glassine paper for delicate surfaces and works on paper
- Bubble wrap for cushioning, used over a protective barrier layer when needed
- Cardboard corner protectors
- Painter’s tape or low-tack tape
- Packing tape for boxes only, not directly on art
- Rigid cardboard, foam board, or corrugated panels
- Mirror and picture boxes in adjustable sizes
- Sturdy cartons or double-wall boxes
- Stretch wrap for securing outer layers
- Foam sheets or soft padding
- Markers and “FRAGILE / THIS SIDE UP” labels
- Blankets for vehicle loading
For high-value, oversized, antique, or unusually delicate artwork, custom crates and professional packing materials are the safer route. That is especially true for original paintings, glazed works larger than standard picture boxes, sculpture, or art with unstable surfaces.
Step One: Inspect, Photograph, and Measure Everything
Before wrapping anything, do three boring but extremely smart things.
1. Inspect the condition
Look for loose frames, flaking paint, weak hanging hardware, cracked glazing, warped stretcher bars, water stains, or tears in the backing. If a piece is already unstable, packing it like an ordinary household item is a bad idea. Fragile or high-value pieces may need a conservator or professional art handler.
2. Take clear photos
Photograph the front, back, corners, frame, and any existing flaws. This helps with insurance documentation and also saves you from the classic post-move debate: “I swear that scratch was already there.”
3. Measure accurately
Measure height, width, and depth before buying boxes. Artwork should fit snugly, but not like it is wearing jeans from high school. Too much empty space allows shifting. Too little space creates pressure.
How To Pack Framed Art for Moving
Framed pieces are the most common type of artwork people move, and they need a layered approach.
Protect the glass or acrylic first
If the art is glazed, apply painter’s tape in a large X across the glass, or use a low-tack film intended to help contain fragments if breakage occurs. This does not prevent cracking, but it can reduce the risk of shattered pieces damaging the artwork underneath. Do not slap aggressive tape directly onto valuable frames or delicate finishes.
Add a smooth protective layer
Wrap the entire piece in glassine or clean paper first. This creates a barrier between the art and the cushioning layers. For framed works, the barrier helps prevent abrasion. For painted or delicate surfaces, it helps keep textured wrapping material from rubbing where it should not.
Reinforce the corners
Use corner protectors. Frame corners are drama queens during a move: they look sturdy until the first bump says otherwise. Foam or cardboard corner guards absorb impact and reduce chips.
Wrap with cushioning
After the barrier layer and corner protection, add bubble wrap or foam wrap. Secure it with tape on the wrapping, never directly on the artwork. The piece should be cushioned, but not squeezed like a burrito fighting for its life.
Add rigid front-and-back protection
Sandwich the wrapped artwork between rigid sheets of cardboard or foam board. This is especially helpful for framed photographs, prints, and anything under glass. Tape the protective boards together around the package, not onto the art.
Box it properly
Place the piece in a mirror or picture box. Fill any remaining space with foam, paper, or other cushioning so the artwork cannot slide around. If the box is much bigger than the piece, use a second box and double-box it. Movement inside the box is the enemy.
How To Pack Canvas Paintings for Moving
Canvas paintings are tricky because the painted surface should never be pressed, dragged, or wrapped carelessly.
For stretched canvas
Start with a protective barrier such as glassine or another smooth, non-abrasive layer. Do not allow rough materials to touch the painted face. If the painting is framed, protect it much like framed art, but remain extra careful about direct pressure on the front.
If the canvas is unframed, place cardboard corner guards on the stretcher edges and create a rigid sandwich using foam board or cardboard larger than the painting. Then wrap the entire package and place it in a fitted box. Ideally, a rigid backing board should support the reverse during transport.
For oversized canvases
Large paintings are where DIY confidence can quietly become property damage. Oversized canvas works are more likely to twist, dent, or be punctured during handling. If the piece is valuable, very large, or fragile, use a custom crate or a museum-style travel box. Professional art movers use systems that reduce direct handling and absorb shock better than ordinary household boxes.
Can you roll canvas art?
Sometimes, but only in specific cases. Rolled transport is more appropriate for some unframed, flexible works, not for framed paintings or paintings that are brittle, cracked, heavily textured, or otherwise unstable. If you do roll a suitable piece, use a wide tube, barrier layers, and roll carefully so the art is supported rather than crushed. When in doubt, do not improvise. Ask a conservator or fine-art shipper.
How To Pack Unframed Prints, Posters, and Paper Artwork
Works on paper need protection from bending, smudging, moisture, and bad rolling habits.
Flat is usually best
If the print, drawing, poster, or photograph is small enough, pack it flat. Place a clean sheet of glassine or tissue over the surface, add a stiff non-acidic backing board, and create a protective sandwich. Then place the package in a flat box or between sturdy boards inside a larger carton.
When rolling makes sense
Very large paper artwork may be rolled if flat packing is impractical. Use a wide-diameter tube, cover it first with a smooth barrier layer, and roll the artwork around the outside of the tube rather than cramming it inside a narrow one. Then wrap it again and place it inside a larger tube or protective outer carton so it cannot shift.
Important caveat: not all paper art should be rolled. Fragile, brittle, mounted, cracked, or friable works should be packed flat, hand-carried, or assessed professionally.
How To Load Artwork Into a Moving Truck or Car
Packing art well and then loading it badly is the moving equivalent of brushing your teeth while eating gummy bears. Nice effort. Wrong ending.
Keep artwork upright when appropriate
Framed and glazed art should usually travel vertically, not flat under other items. Vertical positioning reduces pressure on glazing and frames. Use straps, blankets, and padding to keep pieces from tipping or rubbing against harder surfaces.
Never stack heavy boxes on artwork
Not even “just for a minute.” That sentence has broken many frames. Artwork should ride in a protected zone away from furniture corners, loose tools, lamps, and the mysterious box of kitchen items that somehow weighs as much as a small moon.
Create a dedicated art zone
Stand artwork side by side with padding between each piece. Use moving blankets or foam sheets as separators. Keep the zone dry, stable, and away from doors where shifting cargo may hit it during braking.
Mind the climate
Do not leave artwork in a hot truck for hours in summer or a freezing vehicle overnight in winter if you can avoid it. Sudden swings in temperature and humidity are not ideal for paintings, photographs, or paper-based works. Climate matters more than most people think.
When To Hire Professional Art Movers
Sometimes the smartest packing decision is outsourcing. Professional art movers or fine-art shipping services are worth considering when:
- The piece is high-value or irreplaceable
- The artwork is oversized or unusually heavy
- The surface is flaking, brittle, or delicate
- The frame has glass and cannot be safely stabilized
- The move includes long distance, storage, or air transport
- You need custom crating, condition reports, or specialized insurance
In these situations, custom boxes, crates, travel frames, and trained handlers reduce risk in ways ordinary moving supplies simply cannot. This is one area where “good enough” can become expensive very quickly.
Common Mistakes To Avoid When Moving Artwork
- Wrapping delicate surfaces without a barrier layer
- Taping directly onto frames, glazing, or art
- Using oversized boxes with lots of empty space
- Laying glazed artwork flat under pressure
- Carrying a frame by the top rail only
- Skipping corner protection
- Rolling paper art too tightly
- Leaving artwork in extreme heat or cold
- Assuming sentimental value and market value need the same level of packing
- Trying to DIY a museum-grade move with optimism and leftover holiday wrapping paper
A Simple Packing Checklist Before You Move Artwork
- Inspect and photograph each piece.
- Measure every item before buying boxes.
- Choose packing materials based on the art type.
- Use a smooth barrier layer first.
- Protect corners, edges, and glazing.
- Add rigid front-and-back support where needed.
- Use snug boxes and eliminate shifting.
- Label clearly and load artwork in a protected area.
- Keep art upright when appropriate and climate in mind.
- Call professionals for fragile, valuable, or oversized pieces.
Real-World Experiences: What People Learn the Hard Way About Moving Artwork
Anyone who has moved artwork more than once usually ends up with the same conclusion: the packing itself is not the hardest part. The hardest part is resisting the urge to rush. In real moving situations, damage often happens during the in-between moments. A frame leans “just for a second” against a wall and slides. A wrapped painting gets set near the loading area, and someone puts a toolbox beside it. A large print fits into the truck, but only after being tilted awkwardly past a bicycle, a lamp, and a box labeled “misc.” The damage is rarely dramatic in the moment. It shows up later as a chipped corner, a hairline crack, or a subtle dent in the canvas that suddenly becomes all you can see.
One of the most common experiences people report is underestimating glass. Framed pieces often look sturdy because they already hang on the wall without complaint. But moving is different from hanging. Once a piece is carried through doorways, loaded into a vehicle, exposed to vibration, and stacked near other belongings, the glazing becomes far more vulnerable. That is why so many movers learn, a little too late, that framed artwork needs its own protection plan and cannot just be wrapped in a blanket and wedged beside a nightstand.
Another lesson is that corners take the first hit. People remember wrapping the front, the back, and maybe even the whole frame in bubble wrap, but they forget that corners tend to collide first when turning, setting down, or sliding into a box. Tiny corner damage may sound minor, yet it can turn an otherwise polished frame into something that suddenly looks tired and beat-up. The same is true for canvases: the front may survive, but a bump to the stretcher edge can still leave a dent or warp.
There is also the experience of “good enough” packing that was almost good enough. This usually looks like using a box that is a little too large, then promising yourself the extra packing paper will keep things stable. On smooth roads, maybe. On actual moving-day roads, not so much. Even a small amount of shifting can create friction, pressure, and repeated impact. That is why snug fit matters so much. In moving, tiny wiggles become big problems.
People also learn that labeling helps only if the loading plan matches it. You can write “FRAGILE ARTWORK” in giant letters, but if the piece is buried under bedding, chairs, and a mirror from the hallway, the label becomes more of a sad historical document than a safety feature. The best moves happen when artwork is packed last, loaded intentionally, and unloaded first.
Finally, experienced movers learn when to stop being brave. There is a point where the smart move is not more tape, more cardboard, or more confidence. It is calling a professional. For valuable paintings, oversized pieces, antiques, and fragile works on paper, expert packing is not an indulgence. It is often the cheapest way to avoid a very expensive mistake.
Conclusion
If you want to pack and transport artwork for moving the right way, think like a cautious curator, not a hurried roommate. Protect the surface first, support the structure, guard the corners, eliminate movement inside the package, and keep the piece stable during loading and transport. That is the formula. Whether you are moving a favorite print across town or relocating a serious collection across the country, careful prep beats post-move regret every time.
In short, the best way to move artwork safely is to match the method to the medium, use proper packing materials, and know when a piece deserves professional handling. Art may be expressive, emotional, dramatic, and occasionally expensive. During a move, however, it prefers something much less glamorous: calm, boring, methodical protection.