Sound is sneaky. It can make a room feel peaceful, turn a party into a memory, help you spot a failing refrigerator, or quietly annoy your neighbors until everyone starts closing windows with dramatic flair. Learning how to measure sound levels gives you a practical way to understand noise instead of guessing, arguing, or saying, “It sounds loud-ish,” which is not exactly scientific.
Whether you are checking home office noise, measuring a lawn mower, evaluating classroom sound, troubleshooting HVAC rumble, recording podcast conditions, or figuring out whether your garage band is secretly a jet engine in denim, the process is surprisingly manageable. You need the right tool, the right settings, and a little patience. The most common measurement is the decibel, often shown as dB or dBA. The “A” in dBA means A-weighted decibels, a setting that roughly reflects how human hearing responds to different frequencies.
This guide explains how to measure sound levels in 10 clear steps, using real-world best practices from occupational safety, public health, and acoustic measurement guidance. No lab coat required. A clipboard helps, though. Clipboards make everything feel official.
What Sound Levels Actually Mean
Sound level is usually measured as sound pressure level, expressed in decibels. Decibels use a logarithmic scale, which means a small-looking increase can represent a big change in sound energy. A 3 dB increase is noticeable and represents roughly double the sound energy, while a 10 dB increase is commonly perceived as about twice as loud by many listeners. That is why 90 dBA is not just “a little louder” than 80 dBA. Your ears know the difference, even if your brain tries to negotiate.
For hearing risk, dBA is commonly used because it filters sound in a way that better matches human hearing sensitivity. C-weighted measurements, shown as dBC, are often useful for louder sounds and lower-frequency noise. Z-weighting, sometimes shown as dBZ, is flatter and less filtered. For most everyday checkshome noise, office noise, tools, appliances, traffic, and general exposuredBA is the setting you will use most.
How to Measure Sound Levels: 10 Steps
1. Decide Why You Are Measuring Sound
Before you touch a meter, define your purpose. Are you measuring noise for comfort, hearing protection, workplace exposure, equipment comparison, neighborhood documentation, or room acoustics? The answer changes how you measure.
For example, if you are checking whether a blender is annoyingly loud, a quick reading at ear height may be enough. If you are evaluating workplace exposure over a shift, a personal noise dosimeter is usually more appropriate because it follows the worker and tracks exposure over time. If you are checking a bedroom at night, you may care about average background sound, not just the loudest motorcycle that passes by like it has something to prove.
Write your goal in one sentence: “Measure the average sound level at my desk during work hours,” or “Compare the noise from two air conditioners from six feet away.” A clear goal prevents random readings from becoming a confusing little pile of numbers.
2. Choose the Right Measuring Tool
The best tool depends on accuracy needs. A professional sound level meter is the most reliable choice for serious measurements. For general surveys, a Type 2 or Class 2 sound level meter is commonly used. For more precise environmental, legal, or engineering work, a Type 1 or Class 1 meter may be preferred. These classes relate to performance standards for sound level meters.
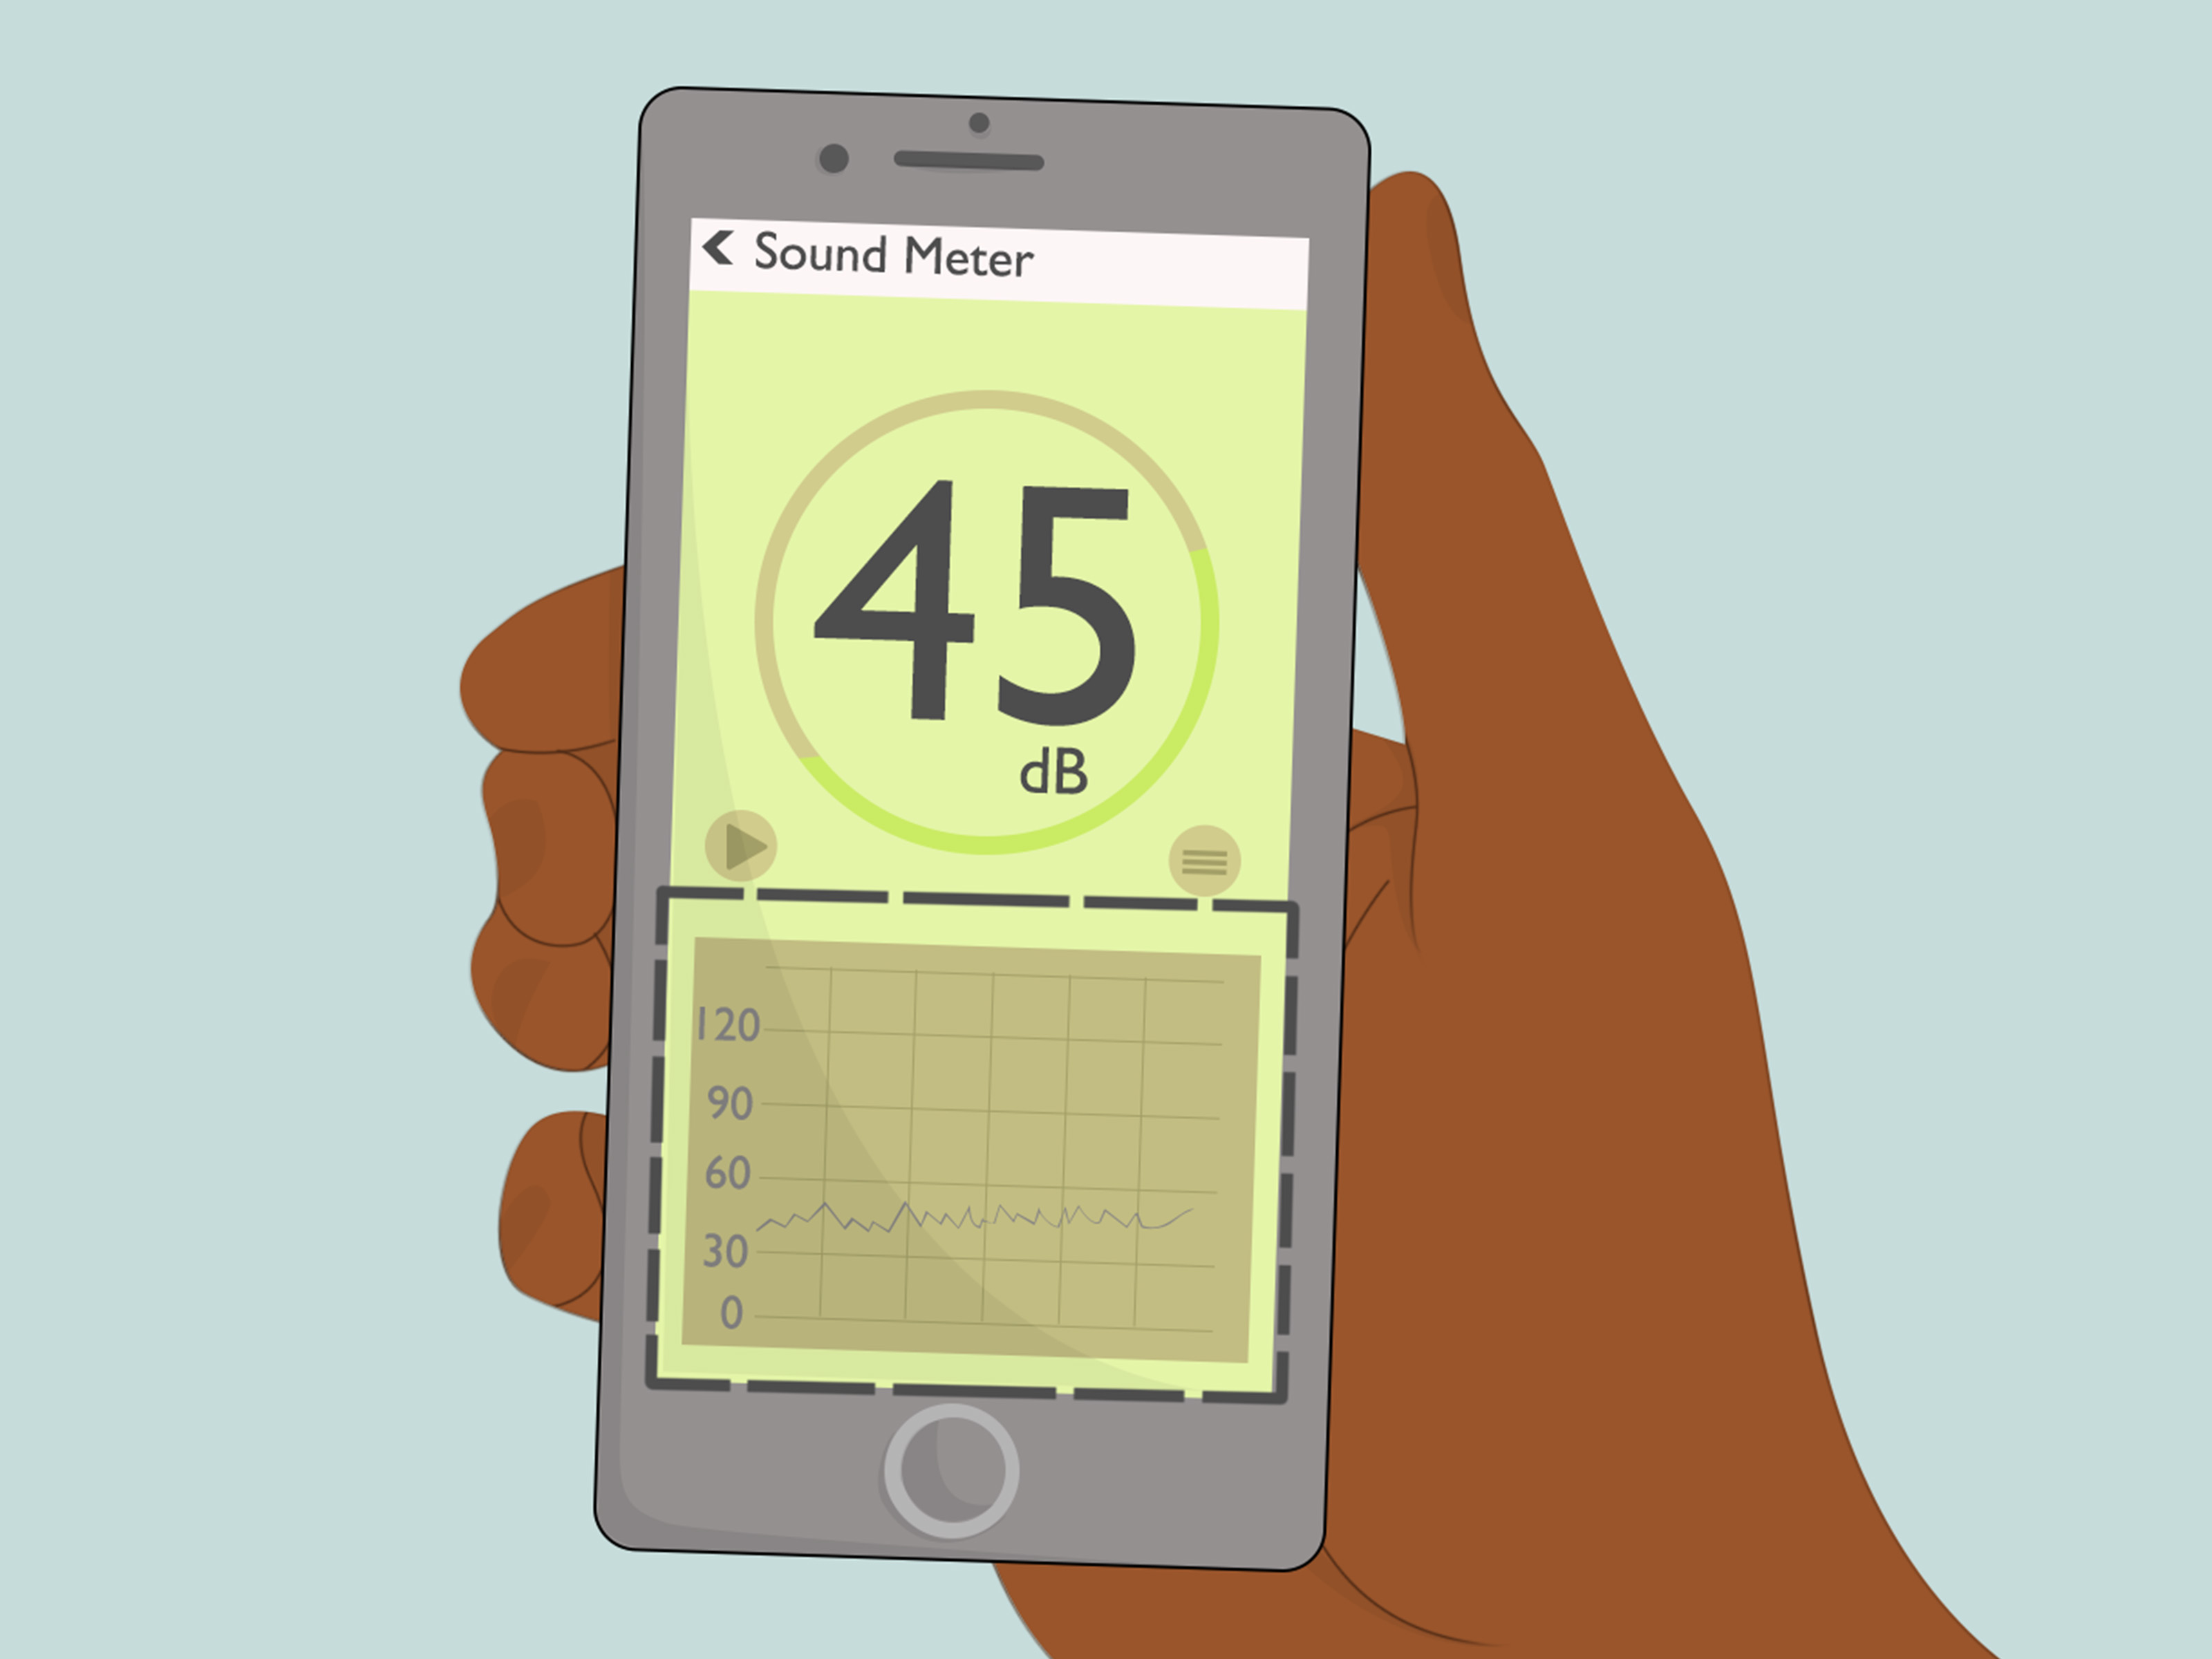
A smartphone app can be useful for informal checks, especially if it has been tested and can be calibrated. The NIOSH Sound Level Meter app, for example, was designed for workplace noise screening and includes measurements such as LAeq, maximum level, peak level, time-weighted average, and noise dose. Still, a phone microphone was not built mainly for acoustic science. It was built so your aunt can send voice messages from a grocery store. Treat app readings as helpful estimates unless you are using a calibrated external microphone and following proper methods.
For personal exposure over time, use a noise dosimeter. It clips to the person and places the microphone near the hearing zone, usually around the shoulder. For fixed-location checks, use a sound level meter placed or held near the listening position.
3. Check the Settings Before Measuring
Most sound level meters offer several settings. The most important are frequency weighting, time response, and measurement type.
Use A-weighting, or dBA, for general hearing-risk and comfort measurements. Use C-weighting when you want to capture more low-frequency energy or evaluate peak sound from loud sources. Use “Slow” response for steadier readings and “Fast” response when sound changes quickly. Many meters also offer Leq or LAeq, which means equivalent continuous sound level. This is an average sound level over a chosen time period and is often more useful than a single snapshot.
If your meter offers “Max,” “Min,” “Peak,” and “Average,” understand the difference. Max is the highest level during the measurement period. Peak captures very short impulse sounds. Average or Leq tells the broader story. A dog bark may spike high, but the average room level may still be modest. Unless the dog is holding a press conference.
4. Calibrate the Meter When Accuracy Matters
Calibration is how you confirm that your sound level meter is reading correctly. Professional users often check their meter with an acoustic calibrator before and after measurements. A calibrator produces a known sound level, often at a standard frequency such as 1 kHz, so the meter can be verified or adjusted.
If you are measuring for workplace documentation, compliance, research, or a formal report, calibration is not optional decoration. It is part of making the data trustworthy. If you are simply comparing two vacuum cleaners at home, calibration is less critical, though it still improves confidence.
With smartphone apps, use the app’s calibration feature if available. For more reliable results, pair the phone with a calibrated external microphone. Without calibration, your app may still be useful for trendssuch as “this room is louder than that room”but not for official conclusions.
5. Pick the Right Measurement Location
Where you place the microphone matters. Measure where people actually hear the sound. For a desk, place the microphone near seated ear height. For a bedroom, measure near the pillow area. For a machine operator, measure near the worker’s head or use a dosimeter microphone near the shoulder.
Avoid placing the microphone directly against walls, windows, floors, or large reflective surfaces unless that location is part of your test. Reflections can change readings. Also avoid blocking the microphone with your hand, body, clipboard, notebook, coffee mug, or dramatic measuring stance.
For outdoor measurements, keep the microphone away from large surfaces when possible and use a windscreen. Wind can create false low-frequency noise, making your meter think the breeze is a monster. A foam windscreen helps reduce that problem.
6. Set a Consistent Distance from the Sound Source
Distance affects sound levels dramatically. As you move away from a source, the level usually drops, especially in open spaces. That is why measuring a leaf blower at one foot and then comparing it with a dishwasher at ten feet is not a fair contest. The leaf blower may still win, but at least let the dishwasher defend itself properly.
Choose a repeatable distance. For appliances, you might measure at three feet or six feet. For tools, measure where the user’s ears would normally be. For speakers, measure from the listening position. For property-line noise, measure at the boundary or the affected area, depending on your purpose and local rules.
Record the distance with every reading. A sound level without distance is like a recipe that says “add some flour.” Technically information, but not enough to trust.
7. Measure for Long Enough
A single sound reading can be misleading. Noise changes from second to second, especially in real life. Traffic comes in waves, refrigerators cycle, people talk, printers wake up angry, and air conditioners hum differently throughout the day.
For steady sounds, 30 seconds to one minute may provide a useful snapshot. For variable noise, measure for several minutes or longer. For workplace exposure, measurements often need to reflect the full task or work shift. For community or sleep-related noise, you may need readings at different times of day.
Use LAeq when available because it captures the average energy over time. Also note the maximum level if sudden peaks matter. For example, a room may average 52 dBA, but if metal carts bang every five minutes at 85 dBA, the average alone will not explain why everyone looks mildly haunted.
8. Reduce Measurement Errors
Good sound measurement is partly about preventing silly mistakes. Keep the microphone pointed according to the manufacturer’s instructions. Do not talk during the reading unless speech is part of what you are measuring. Keep your body from shielding the microphone. Stay still. Avoid measuring during unusual events unless those events are the focus.
Watch for background noise. If you want to measure a fan but traffic outside is louder than the fan, your reading will mostly describe traffic. Turn off unrelated sound sources when possible, or document them if you cannot control them.
Temperature, humidity, wind, room reflections, microphone quality, and meter settings can all affect results. You do not need to become an acoustical engineer for everyday use, but you should be consistent. Same location, same distance, same settings, same time period. Consistency turns casual measurement into useful data.
9. Record the Details, Not Just the Number
A proper sound log includes more than “74 dB.” Write down the date, time, location, meter or app used, calibration status, weighting setting, response setting, distance from the source, measurement duration, average level, maximum level, and notes about conditions.
Here is a simple example:
- Location: Home office, desk position
- Source: Window air conditioner
- Distance: 5 feet from unit, microphone at seated ear height
- Settings: dBA, Slow, LAeq over 2 minutes
- Result: 56 dBA LAeq, 61 dBA Max
- Notes: Door closed, no conversation, light traffic outside
This kind of record lets you compare results later. It also helps someone else understand what you measured. Future you will appreciate it, especially because future you will not remember whether the dishwasher was running. Future you has enough going on.
10. Interpret the Results Carefully
Once you have readings, compare them with the right context. Normal conversation is often around 60 to 70 dBA. Many health sources describe sounds at or below about 70 dBA as generally unlikely to cause hearing loss from long exposure, while long or repeated exposure at or above 85 dBA can increase hearing-risk concerns. OSHA and NIOSH use occupational exposure limits and recommendations based on time-weighted averages, not just momentary readings.
For comfort, lower levels may still matter. A 55 dBA room may be safe for hearing but annoying for sleep. A 70 dBA workspace may not be hazardous, but it can make concentration harder. A 90 dBA tool may be tolerable for a short task but not something you should listen to all afternoon without thinking about protection.
When interpreting sound levels, remember three rules: louder sound is riskier, longer exposure is riskier, and closer distance is usually louder. If a reading surprises you, repeat the measurement. If the stakes are highworkplace safety, legal complaints, construction monitoring, or health concernsconsult a qualified professional.
Common Sound Level Examples
Every environment is different, but common examples can help you understand your readings. A quiet bedroom may be around 30 dBA. A refrigerator hum may sit around 40 to 50 dBA. Normal conversation often falls around 60 to 70 dBA. Busy traffic can be around 70 to 85 dBA depending on distance. Power tools, lawn equipment, concerts, and sirens can climb much higher.
These examples are not exact guarantees. Your blender may be louder than your neighbor’s blender because yours apparently has dreams of becoming a helicopter. Always measure your actual environment if the result matters.
Sound Level Meter vs. Noise Dosimeter
A sound level meter measures sound at a point in space. It is great for checking a room, machine, appliance, property line, or listening position. You point or place the microphone, choose settings, and take readings.
A noise dosimeter measures a person’s accumulated exposure over time. It is commonly used in workplaces because workers move around, use different equipment, and experience changing noise throughout a shift. The microphone is usually placed near the shoulder so it approximates sound near the ear. If you need to know what one person actually receives during the day, a dosimeter is often better than chasing them with a handheld meter like a very serious duckling.
Best Practices for Home, Office, and Outdoor Measurements
For Home Noise
Measure at the place where the noise bothers you most. If the issue is sleep, measure near the bed. If the issue is remote work, measure at your desk. Take readings with windows open and closed if outdoor noise is part of the problem. Track several days if the noise is inconsistent.
For Office Noise
Measure during typical working conditions, not during the one magical minute when everyone is quiet. Use LAeq over several minutes in different zones. Note special sources such as printers, HVAC vents, conference rooms, break areas, and that one keyboard that sounds like popcorn in a steel bucket.
For Outdoor Noise
Use a windscreen, avoid rain when possible, and document weather conditions. Measure at consistent locations and heights. Outdoor readings can change quickly because of wind, traffic patterns, buildings, trees, and ground surfaces.
When You Should Use Hearing Protection
If measurements repeatedly reach or exceed 85 dBA, start thinking seriously about reducing exposure time, increasing distance, lowering the source volume, adding barriers, or using properly fitted hearing protection. For short bursts of very loud sound, protection may be needed even if the average seems lower. Earplugs and earmuffs are not just for factory floors. They can be useful at concerts, sports events, woodworking sessions, yard work, motorcycle riding, and other loud activities.
The best hearing protection is the kind you will actually wear correctly. Foam plugs, reusable plugs, musician’s earplugs, and earmuffs all have different strengths. For music, filtered earplugs can reduce volume while keeping sound clearer. For tools, earmuffs may be easier to put on quickly. For very loud tasks, combining plugs and muffs may be appropriate.
Practical Experience: What Measuring Sound Levels Teaches You
After measuring sound levels in everyday places, one lesson becomes obvious: your ears are useful, but they are not precise instruments. They adapt quickly. A room that seemed loud at first may feel normal after ten minutes. A fan that seemed quiet during the day may become the main villain at midnight. Measuring gives you a number that cuts through the drama.
One practical experience is comparing appliances. Many people assume the loudest appliance is the biggest one, but that is not always true. A small countertop blender can easily overpower a large refrigerator. A bathroom exhaust fan may create more annoyance than an air conditioner because it has a sharper tone. When you measure at the same distance with the same settings, the results can be surprising. You may discover that the “quiet” device is not quiet at all; it is just consistent, and your brain has filed it under “background nonsense.”
Another useful experience is measuring a home office. A person may complain that they cannot concentrate, then discover the room averages only 45 to 50 dBA. The issue may not be loudness alone. It may be irregular sound: doors closing, cars passing, people talking, dogs barking, or phone notifications. In that case, the maximum readings and notes matter as much as the average. A steady 50 dBA fan may be easier to tolerate than a room averaging 45 dBA with sudden 70 dBA interruptions.
Measuring outdoor noise also teaches patience. If you stand near a road for two minutes, your reading may depend heavily on whether a bus, motorcycle, or delivery truck passes during that window. Longer measurements provide a better picture. It helps to measure at the same time on different days. Morning traffic, weekend activity, construction schedules, and weather can change everything. Wind especially likes to ruin neat little experiments.
In workshops and garages, sound measurement can change behavior quickly. A saw, compressor, impact driver, or shop vacuum may seem “normal” because you have heard it many times. But when a meter shows levels above 85 or 90 dBA, the risk becomes harder to ignore. The fix may be simple: wear hearing protection, move farther away when possible, close a door, maintain the machine, add vibration pads, or limit exposure time. The number turns a vague concern into a practical decision.
For musicians, podcasters, and video creators, measuring sound levels can improve quality. A recording space does not need to be silent, but it should be controlled. Measuring background noise before recording helps identify problems such as computer fans, air conditioning, street noise, or echo-heavy rooms. Once you know the baseline, you can test improvements: moving the microphone, adding soft furnishings, closing curtains, using rugs, or turning off noisy devices. The goal is not perfection. The goal is fewer audio gremlins.
The biggest lesson is that sound measurement works best as a habit, not a one-time stunt. Take multiple readings. Label them clearly. Repeat after changes. Compare averages and peaks. Over time, you build a useful sound map of your environment. That map can help protect hearing, improve comfort, reduce stress, and make smarter buying decisions. Also, it gives you excellent evidence the next time someone says, “It is not that loud.” Numbers are polite, but they are firm.
Conclusion
Measuring sound levels is not just for safety inspectors and acoustics professionals. Anyone can learn the basics with a reliable sound level meter, a calibrated app, or the right dosimeter for exposure tracking. The key is to measure with purpose: choose the right tool, use the correct settings, place the microphone properly, measure long enough, record your conditions, and interpret the results in context.
Sound affects comfort, focus, sleep, communication, and long-term hearing health. A simple dBA reading can help you decide when to quiet a room, repair a machine, change your setup, wear hearing protection, or call in a professional. In other words, measuring sound levels helps you stop guessing and start knowing. Your ears will thank you. Quietly, of course.
Note: This article is written for general educational and web publishing purposes. For legal, occupational compliance, environmental reporting, or health-sensitive measurements, use properly calibrated equipment and consult a qualified professional.