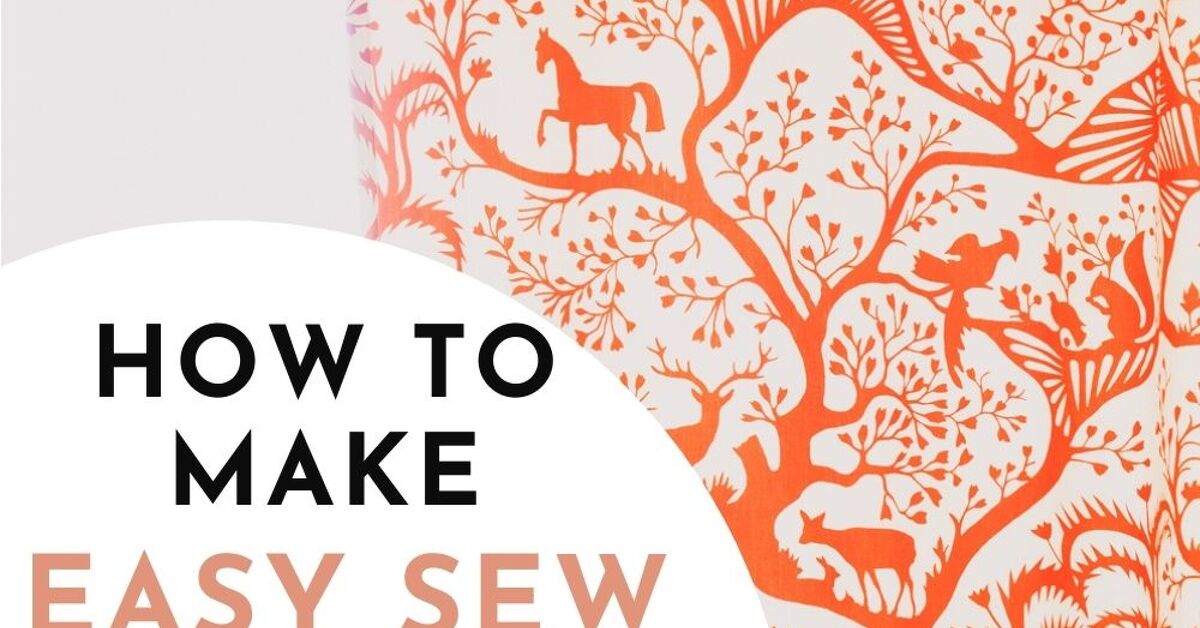
Custom curtains sound luxurious because custom prices are often luxurious enough to require a small emotional-support budget. The good news is that lined grommet curtains are surprisingly manageable to sew. Most of the construction uses straight seams; the real skill is careful measuring, pressing, and resisting the urge to cut grommet holes before checking everything twice.
This tutorial covers the complete process: choosing fabric and lining, calculating fullness, building a reinforced header, spacing the grommets evenly, finishing the hem, and correcting common problems. The result is a modern curtain panel that slides easily, hangs with clean folds, and looks polished from both inside and outside the room.
Why Choose Lined Grommet Curtains?
Grommets reinforce the openings through which the rod passes, helping the header resist stretching and fraying. They also create evenly repeated waves without hooks, clips, or pleating hardware. Lining adds body, improves privacy, protects the decorative fabric, and gives the back of the curtain a finished appearance. Standard lining softly filters light; blackout lining suits bedrooms and media rooms; thermal lining adds insulation but also more weight.
Materials and Tools
- Decorator fabric and compatible drapery lining
- An even number of curtain grommets for each panel
- A curtain rod narrower than the grommet opening
- Matching thread, sewing machine, and suitable needle
- Steel tape measure, long ruler, fabric marker, pins, and scissors
- Iron and ironing board
- Optional buckram, header tape, firm interfacing, and drapery weights
Large snap-together plastic curtain grommets are easiest for beginners because they usually include a template and need no special press. Metal grommets require the exact cutter and setting tool specified for their size. Test either style on a layered scrap before touching the finished panel.
Step 1: Position the Rod and Measure
Decide where the rod will sit before calculating the curtain size. Mounting it several inches above the trim can make the window appear taller. Extending it beyond the sides of the window lets open curtains stack away from the glass.
Finished Length
Measure from the planned top edge of the panel to the desired bottom edge. For practical floor-length curtains, finish about 1/2 inch above the floor. Remember that a grommet panel rises above the rod. If the top edge will sit 1 1/2 inches above the rod and the rod-to-floor distance is 82 1/2 inches, the finished panel length is 84 inches.
Finished Width and Fullness
Measure the usable rod span and multiply it by 1.5 to 2. Use less fullness for heavy fabric or a streamlined look and about twice the rod width for curtains that close fully while retaining attractive folds.
Example: A 48-inch rod span multiplied by 2 requires 96 inches of total finished curtain width. For two panels, each panel should finish at about 48 inches. With a 1-inch double-fold hem on both sides, cut each outer panel 52 inches wide.
Step 2: Calculate Fabric and Lining
For each outer panel, add allowances for the header and bottom hem:
Outer cut length = finished length + 10 inches
This allows a top header made with a 1-inch fold plus a 4-inch fold and a bottom hem made the same way. For a free-hanging lining, cut the lining about 4 inches narrower than the outer fabric and roughly 3 inches shorter than the finished curtain.
For one finished panel measuring 48 by 84 inches, cut the outer fabric approximately 52 by 94 inches and the lining approximately 48 by 81 inches. Many decorator fabrics are around 54 inches wide, so wider panels may require joined widths. Buy additional yardage when matching stripes, plaids, or a large pattern repeat.
Step 3: Prepare the Fabric
Prewash washable materials before cutting. Press both layers, remove selvages that pucker, and square the cut edges. For printed fabric, mark the top of each panel and align the same motif at the same height. If widths must be joined, match the pattern before sewing, press the seam open, and finish the raw edges.
Step 4: Sew the Lining and Side Hems
Hem the lining first by folding its bottom edge up 1/2 inch and then another 1 1/2 inches. Press and stitch.
Place the outer fabric wrong side up. Fold each long edge inward 1 inch, press, then fold it inward another 1 inch and press again. Open the second folds. Center the lining on the back, following the manufacturer’s guidance about which side should face the window. The lining should fit inside the side hems and end above the outer curtain hem.
Refold the side hems over the lining edges, pin, and stitch near the inner folded edges. Keep the lining smooth but do not pull it tight; slight ease allows the two fabrics to hang naturally.
Step 5: Reinforce the Header
Fold the top raw edge down 1 inch and press. Fold it down another 4 inches, enclosing the top of the lining. Lightweight fabric should receive buckram, header tape, or firm fusible interfacing inside this fold so the panel does not sag between grommets.
Stitch across the lower folded edge. Before cutting holes, temporarily pin the bottom hem and test-hang the panel. Check the length, header height, rod clearance, and panel width in the actual room. Floors and rods are not always perfectly level, despite their confident appearance.
Step 6: Mark Even Grommet Spacing
Use an even number of grommets on each panel. This makes the first and last folds turn toward the wall, hiding the outer edges. Place all centers on one straight horizontal line. For many oversized curtain grommets, that line falls about 2 1/2 to 3 inches below the top edge, but the included template is the final authority.
- Mark the first center 2 to 4 inches from one side.
- Mark the last center the same distance from the opposite side.
- Measure the distance between those marks.
- Divide by one fewer than the number of grommets.
If the first and last centers are 42 inches apart and the panel uses eight grommets, divide 42 by 7. The centers should be 6 inches apart. Spacing of roughly 6 to 8 inches works for many panels. Measure every center from the same edge rather than from the previous mark, or tiny errors may multiply across the header.
Step 7: Cut and Install the Grommets
Trace each opening with the hardware template. Pin around the circles so the layers cannot shift, then cut just inside each line on a protected surface. Start small and enlarge the opening one or two threads at a time. Fabric is wonderfully cooperative until you ask it to grow back.
For snap-on grommets, place one half beneath the opening and the other above it, align them, and press firmly until they lock. For metal hardware, use the matching die, cutter, anvil, or press. Inspect both sides: the fabric should lie flat, the ring should be fully engaged, and no raw threads should escape around the opening.
Step 8: Hang and Finish the Hem
Thread the rod through the grommets so the folds alternate forward and backward. Let the panels hang for several hours or overnight, especially if the fabric is heavy or loosely woven. Mark the final lower edge at several points.
Remove the panels. Turn the bottom edge up 1 inch and then another 4 inches, press, and stitch with a blind hem, hand slipstitch, or straight machine stitch. Optional drapery weights can be enclosed at the bottom corners to improve the fall of lightweight curtains or panels near air vents.
Common Problems and Quick Fixes
The Curtain Hangs Crooked
Recheck whether the header is square and whether the fabric grain is straight. Hang the panel and mark the hem in place rather than trusting an uneven floor or the original cut edge.
The Lining Shows at the Sides
The lining may be too wide or pulled too tightly. It should sit slightly inside the outer fabric so the decorative layer rolls toward the back.
The Header Sags
Use firmer interfacing, reduce the space between grommets, or choose lighter lining. Also confirm that the rod and support brackets can carry the panel’s weight.
The Grommets Will Not Close
The hole may be too small, the header may be too thick, or the halves may be misaligned. Trim cautiously and retry on a hard, flat surface. Random pliers are not a recognized school of drapery construction.
Practical Experience Notes: What Usually Happens on the First Try
The most useful lesson is that measuring is not a single event. The first measurement estimates yardage, the second confirms the rod position, the third checks the sewn header, and the fourth happens while the panel is hanging. Beginners often expect one heroic measurement to carry the entire project, but fabric changes after pressing, seaming, lining, and suspension. A test hang before the final hem prevents more disappointment than almost any specialized tool.
Large fabric panels also behave differently from small sewing projects. They can pull themselves off a table, stretch along one side, or rotate while appearing perfectly still. A clean floor or two tables pushed together may provide a better cutting surface than a narrow worktop. Pattern weights, books, and clips keep the layers aligned, although the household dictionary may object to being reassigned as sewing equipment.
Pattern matching deserves deliberate attention. A floral motif that is only half an inch higher on one panel can become obvious once both curtains are hanging side by side. Mark one visual reference as the top of every panel and calculate the repeat before cutting. With stripes or plaids, verify that the printed lines are square to the fabric grain; printing is not always perfectly aligned.
The most nerve-racking moment is cutting permanent grommet holes through an almost-finished curtain. A full header sample removes much of that anxiety. Layer scraps of face fabric, lining, and interfacing exactly as they appear in the curtain. Install one grommet, place it on the actual rod, and test its movement. This rehearsal confirms the hole size, header thickness, hardware orientation, and rod compatibility.
Spacing is where arithmetic and appearance must cooperate. A calculator may produce a less-than-friendly interval such as 6.37 inches. Mark every center from the same side edge so rounding does not accumulate. After marking the dots, step back and inspect the whole row before tracing circles. Moving a washable dot is considerably easier than relocating a two-inch hole.
Blackout lining can be bulky, coated, and reluctant to feed evenly through a sewing machine. A slightly longer stitch, a walking foot, and clips instead of pins can help. Avoid unnecessary needle holes in coated material because they may admit pinpoints of light. Use a pressing cloth and the heat setting recommended by the manufacturer; some blackout coatings dislike a hot iron with impressive intensity.
Finally, let the first panel teach the second. Record the exact header depth, centerline, spacing, stitch length, and hem measurement that worked. Do not rely on memory after an afternoon spent measuring and crawling around a curtain rod. The goal is not laboratory perfection. It is a coordinated pair that hangs evenly, opens smoothly, and looks intentional. When the finished curtains frame the window properly, nobody will inspect the hidden seam allowances. They will simply assume the panels were custom-madewhich, delightfully, they were.
Conclusion
Successful lined grommet curtains begin with an installed rod, enough fullness, a reinforced header, evenly spaced hardware, and a final hem marked after test-hanging. The sewing is mostly straight lines; the professional finish comes from square cuts, careful pressing, compatible materials, and patient measurement. Test the hardware on scraps, take one panel at a time, and you can achieve a custom look without custom-workroom prices.