If you’ve ever gathered your bath bomb ingredients, tied on your imaginary apron, and then realized you were out of citric acid, welcome to the club. The good news is that your DIY spa dreams do not need to collapse into a sad bowl of scented powder. You can absolutely make bath bombs without citric acid. The slightly less dramatic news is that they usually won’t fizz with the same big, theatrical “ta-da!” as classic bath bombs.
But that’s okay. Not every bath bomb needs to behave like a tiny science fair volcano. A citric-acid-free bath bomb can still smell lovely, feel soothing, soften bathwater, and turn your tub into something far more glamorous than “Tuesday with lukewarm regrets.” With the right ingredients, careful mixing, and a little patience, you can make sturdy, gift-worthy bath bombs that look great and hold together well.
This guide walks you through exactly how to make bath bombs without citric acid in 12 clear steps, plus ingredient tips, troubleshooting advice, skin-friendly options, and real-life experience notes so your first batch feels less like guesswork and more like a win.
Why Make Bath Bombs Without Citric Acid?
Traditional bath bombs rely on citric acid and baking soda for that signature fizz. Without citric acid, you’re changing the chemistry a bit, so the result is usually gentler and less bubbly. That said, a good alternative formula can still create a satisfying soak. Many citric-acid-free recipes use cream of tartar, cornstarch, Epsom salt, and a small amount of oil to help with structure, texture, and overall bath-time charm.
Some people skip citric acid because they do not have it on hand. Others want a simpler pantry-style recipe. Some just enjoy experimenting. And honestly, that may be the most fun reason of all. Bath bomb making is half craft, half kitchen chemistry, and one hundred percent an excuse to call self-care a project.
What You’ll Need
- 1 cup baking soda
- 1/4 cup cream of tartar
- 1/2 cup cornstarch
- 1/2 cup Epsom salt
- 2 to 2 1/2 tablespoons melted coconut oil
- 1 teaspoon water to start, plus a little more only if needed
- 10 to 20 drops essential oil, or skip fragrance for sensitive skin
- 1 to 2 drops water-based or bath-safe colorant, optional
- Silicone mold or bath bomb mold
- Large mixing bowl
- Small bowl or cup for wet ingredients
- Whisk and spoon
- Gloves, optional but helpful
Pro tip: Start light on scent and color. A bath bomb should feel relaxing, not like it got into a dramatic fight with a perfume counter.
How to Make Bath Bombs Without Citric Acid: 12 Steps
Step 1: Set up your space before you start
Measure everything in advance. Bath bomb mixtures can be fussy, and once you start combining wet and dry ingredients, you do not want to pause to hunt for your whisk like it has disappeared into another dimension. Use clean, dry bowls and keep moisture to a minimum.
Step 2: Whisk together the dry ingredients
Add the baking soda, cream of tartar, cornstarch, and Epsom salt to a large bowl. Whisk thoroughly until the mixture looks even and there are no lumps. This step matters more than people think. If the dry ingredients are uneven, your bath bombs may crack, crumble, or dry with odd weak spots.
Step 3: Melt the coconut oil gently
If your coconut oil is solid, warm it just until liquid. Do not overheat it. You want it melted, not auditioning for a lava role. Let it cool slightly so it blends smoothly without shocking the dry mix.
Step 4: Mix your wet ingredients separately
In a small bowl, stir together the melted coconut oil, essential oil, and optional colorant. Mixing the scent and color into the oil first helps distribute them more evenly. If you have sensitive skin, leave out the fragrance and go with a plain batch. Simple is underrated.
Step 5: Add the wet mixture slowly
Drizzle the wet ingredients into the dry ingredients a little at a time while whisking or stirring constantly. Do not dump everything in at once. Slow and steady wins this race and prevents premature fizzing or patchy clumps.
Step 6: Check for the “damp sand” texture
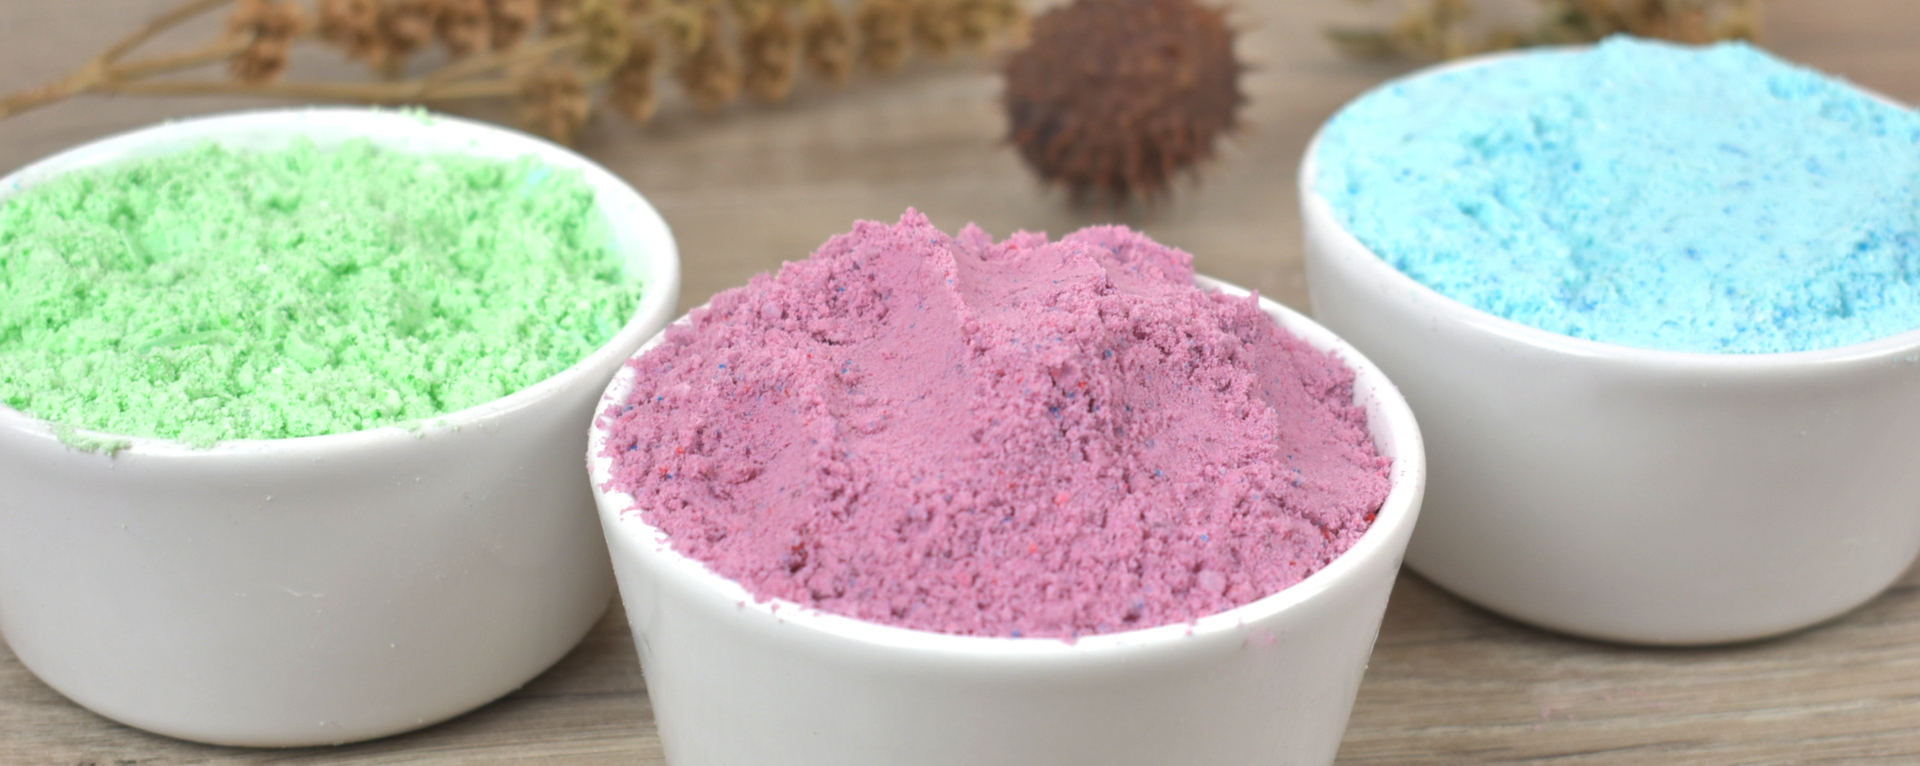
Pick up a small handful and squeeze it. The mixture should hold together like damp sand. If it falls apart immediately, add a tiny bit of water, about 1/4 teaspoon at a time, and mix again. Be careful here. Too much liquid too fast can wreck the texture and make the mixture expand, crumble, or harden oddly.
Step 7: Press firmly into your molds
Once the texture is right, pack the mixture tightly into silicone molds or bath bomb molds. Press harder than feels emotionally reasonable. A loose fill leads to weak bath bombs, and weak bath bombs break your heart in the unmolding stage.
Step 8: Smooth and compact the tops
Use the back of a spoon or your fingers to smooth the tops and compress the mixture even more. This helps reduce cracks and creates cleaner edges. If you’re using two-sided molds, slightly overfill each half before pressing them together.
Step 9: Let the molds set
Leave the filled molds alone for several hours. Some makers pop them into the fridge to help them firm up, especially if the room is warm. If your kitchen feels humid, a cooler spot can make a big difference.
Step 10: Unmold carefully
Gently remove the bath bombs from the molds once they feel firmer. Do not rush this part. If they still seem soft, give them more time. A bath bomb that is half-dry is like a cookie that came out of the oven too soon: technically real, emotionally disappointing.
Step 11: Dry them overnight
Place the unmolded bath bombs on a tray or sheet of parchment and let them dry overnight at room temperature. Good airflow helps. By the next day, they should feel more solid and ready for action.
Step 12: Test one, then store the rest properly
Drop one into a warm bath and see how it performs. Then store the rest in an airtight container away from humidity. Moisture in the air can slowly trigger the ingredients and make the bath bombs soften, weaken, or lose their charm before you ever use them.
What to Expect From a Citric-Acid-Free Bath Bomb
Here is the honest answer: do not expect the exact same big fizz you get from a traditional recipe. Without citric acid, you’re not using the classic fizz engine. Instead, you’re making a gentler version that focuses more on the soak experience than on dramatic bubbling.
That doesn’t mean it’s a bad bath bomb. It just means the goal shifts a little. You’re aiming for a soothing, nicely scented, skin-friendly bath treat that looks pretty, holds together well, and feels luxurious in the water. Think “spa weekend energy,” not “mini fireworks display.”
Best Ingredient Tips for Better Results
Use cream of tartar for structure
Cream of tartar is a common substitute in citric-acid-free bath bomb recipes because it helps the mixture hold together and can support a mild reaction when the bomb hits water. It is not identical to citric acid, but it is useful.
Keep cornstarch in balance
Cornstarch can improve texture and slow the reaction, which helps a bath bomb last longer in water. Too much, though, can make the result feel dull or overly powdery. Stick close to your recipe ratio.
Go easy on oils
Oil helps bind the ingredients and can make the bath feel more moisturizing, but too much can interfere with performance and leave the bomb softer than you want. Measure carefully.
Be cautious with essential oils
More is not always better. Strong essential oils can irritate skin, especially for people with dryness or sensitivity. Lavender, sweet orange, or chamomile are often gentler picks than intense oils like clove, cinnamon, or heavy peppermint blends.
Troubleshooting Common Problems
Your bath bombs are crumbling
The mixture is probably too dry or not packed tightly enough. Add a tiny bit more liquid next time and really press the mixture into the mold.
Your bath bombs feel soft
You may have added too much liquid or too much oil. Let them dry longer and reduce wet ingredients slightly in the next batch.
Your bath bombs do almost nothing in the tub
That can happen with citric-acid-free formulas. Use warm bath water, check your ratios, and remember that these bombs are usually subtler than standard ones.
Your mixture starts fizzing in the bowl
That usually means you added liquid too quickly or your room is humid. Work slower, reduce water, and keep ingredients as dry as possible before mixing.
Skin-Smart Safety Tips
If you have dry, reactive, or sensitive skin, choose fragrance-free ingredients and avoid overdoing colorants. A plain bath bomb can still feel fancy. For extra comfort, you can even skip scent altogether and enjoy a simpler soak.
Do not use these on broken skin, do not get the mixture in your eyes, and do not let small children treat them like candy from a magical spa bakery. They are adorable, yes. They are snacks, no.
If you know your skin dislikes heavily scented bath products, you can make a gentler version with no fragrance and pair it with a lukewarm bath instead of hot water. That often feels much better than trying to power through irritation in the name of relaxation.
Creative Variations to Try
- Oatmeal version: Add a spoonful of finely ground colloidal oatmeal for a calmer, more soothing bath experience.
- Gift version: Use heart or flower molds and wrap the finished bombs in tissue paper or a clear jar.
- Minimalist version: Skip dye and fragrance for a clean, simple bomb that is less likely to irritate skin.
- Spa version: Add a tiny amount of dried lavender on top after molding, but keep botanicals minimal so your drain does not file a complaint.
Real-World Experience: What It’s Actually Like to Make Bath Bombs Without Citric Acid
The first time most people make bath bombs without citric acid, there is usually a brief moment of suspicion. You stare at the bowl and think, “This is either going to become a charming handmade gift or a scented pile of failure.” That uncertainty is part of the experience. Citric-acid-free bath bombs can absolutely work, but they reward patience more than bravado.
One of the biggest surprises is how much texture tells you. Recipes sound simple on paper, but the mixture itself will tell you whether you’re on the right track. If it feels like dry dust, it needs a touch more liquid. If it starts puffing, clumping, or reacting too early, you moved too fast. It becomes a hands-on craft in the truest sense. You learn quickly that “just a little more water” is either a smart fix or the beginning of a tiny household tragedy.
Another common experience is discovering that silicone molds are far more forgiving than fancy round molds. Sure, the classic sphere looks beautiful, but simple shapes are often the friendlier option, especially for beginners. Hearts, flowers, and little rounds are easier to pack, easier to release, and less likely to break your spirit during unmolding.
There is also the scent lesson. Many first-timers are tempted to add lots of essential oil because more fragrance sounds more luxurious. In reality, lighter scent usually works better. A softly scented bath bomb feels elegant. An over-scented one feels like your bathtub wandered into a candle store and refused to leave.
People also notice that citric-acid-free bath bombs create a different kind of satisfaction. The payoff is less about dramatic fizz and more about the total bath experience. The water feels softer, the oil gives a bit of richness, and the whole ritual feels handmade in a way store-bought products often do not. It’s less “showtime” and more “quiet little victory.”
And then there is the troubleshooting phase, which every bath bomb maker eventually meets. Maybe one batch dries beautifully and the next one crumbles for no clear reason. Maybe the weather changed. Maybe the room was humid. Maybe you sneezed near the mixing bowl and the universe took that personally. Over time, you start noticing patterns. You learn your ideal texture, your favorite mold, your best scent level, and how long your bath bombs really need to dry in your space.
That learning curve is part of the charm. Making bath bombs without citric acid is not just about following a recipe. It is about getting comfortable with small adjustments and realizing that handmade things are allowed to have personality. A slightly rustic bath bomb is still a good bath bomb. If it holds together, smells pleasant, and turns your bath into a more relaxing place to be, it has done its job beautifully.
Conclusion
Making bath bombs without citric acid is completely doable, and it is a great option when you want a simpler ingredient list or just do not have citric acid in the house. The trick is to adjust your expectations, work carefully, and focus on texture, drying time, and skin-friendly choices. You may not get a giant fizzy show, but you can absolutely get a lovely, handmade bath treat that looks pretty, feels soothing, and makes your bathroom feel a little more like a spa and a lot less like a place where towels go to argue.
In other words, yes, you can skip the citric acid and still make something worth dropping into the tub.