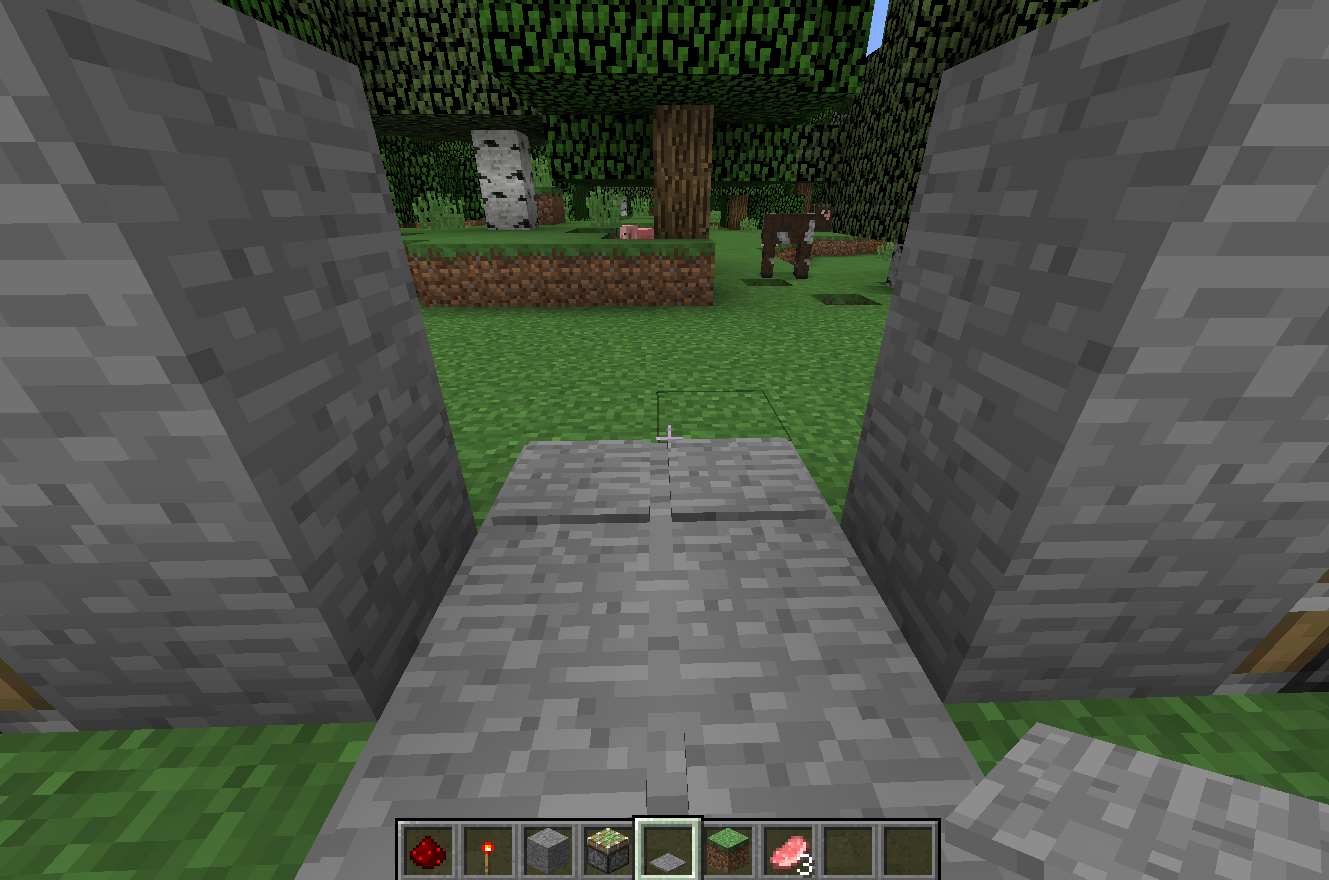
An automatic piston door in Minecraft is one of those builds that makes your base feel instantly smarter. One minute, you are walking into a plain dirt hut like a humble cave goblin. The next, two blocks slide open like you own a luxury bunker with a suspicious amount of diamonds inside. Best of all, this project is beginner-friendly, useful in Survival mode, and a perfect introduction to redstone logic without requiring a degree in blocky electrical engineering.
In this guide, you will learn how to make a simple 2×2 automatic piston door using sticky pistons, redstone dust, redstone torches, pressure plates, and building blocks. This design opens when you step on the pressure plates and closes automatically after you walk through. It works well for houses, underground bases, castles, storage rooms, villager trading halls, and secret entrances that are only secret until your friend sees the pressure plates and says, “Nice secret door.”
The focus here is practicality. We will build a clean, reliable piston door, explain why each part matters, cover common mistakes, and add upgrades for players who want a hidden entrance, better security, or a more stylish build. Whether you play Java Edition or Bedrock Edition, the core idea is the same: pressure plates send a redstone signal, the signal changes the state of the circuit, and sticky pistons move the door blocks out of the way.
What Is an Automatic Piston Door in Minecraft?
An automatic piston door is a redstone-powered entrance that opens without manually clicking a door. Instead of using a wooden door, iron door, button, or lever, the build uses pistons to move blocks. When the player steps on a pressure plate, redstone power travels through the circuit. That signal causes sticky pistons to retract or extend, moving the door blocks and creating a passage.
The classic version is a 2×2 piston door. It has two blocks on the left and two blocks on the right that meet in the middle. When closed, it looks like a solid wall or a doorway filled with blocks. When opened, the sticky pistons pull those blocks aside. The result is smooth, satisfying, and just fancy enough to make you feel like a redstone wizard.
Automatic piston doors are popular because they solve three problems at once: they look better than normal doors, they can be hidden inside walls, and they are fun to build. They are also a useful stepping stone toward more advanced redstone contraptions, such as vault doors, flush hidden entrances, trap rooms, secret bases, and giant piston doors that open with the drama of a movie villain’s lair.
Materials Needed for a Simple 2×2 Automatic Piston Door
Before you start, gather your materials. This basic design is affordable enough for most Survival worlds once you have access to slimeballs and redstone.
Required Materials
- 4 sticky pistons
- 4 pressure plates
- 2 redstone torches
- About 12 pieces of redstone dust
- 4 door blocks, such as stone, planks, deepslate, or concrete
- About 20 building blocks for the frame and circuit support
- A pickaxe or shovel for digging the wiring trench
Sticky pistons are the star of the show. Regular pistons can push blocks, but sticky pistons can pull many blocks back when they retract. That pulling action is what makes the door open and close cleanly. Pressure plates act as the automatic trigger. Redstone dust carries the signal. Redstone torches provide power and help invert the circuit, which is a fancy way of saying they make the door stay closed until the plates tell it to open.
Best Blocks to Use for the Door
You can use almost any full solid block for the door face. If you want a hidden door, use the same block as the surrounding wall. For example, use stone in a cave wall, oak planks in a wooden house, polished blackstone in a fortress, or smooth quartz in a modern mansion. Avoid blocks that pistons cannot move or that break when pushed. When in doubt, test the block in Creative mode before installing it in your Survival base.
Step-by-Step Guide: How to Make an Automatic Piston Door in Minecraft
This tutorial builds a simple 2×2 door that opens from both sides. It is compact, reliable, and easy to repair if something goes wrong. Build it first in Creative mode if you are new to redstone. Redstone has a special talent for making confident players suddenly whisper, “Why is this glowing but not working?”
Step 1: Choose the Door Location
Pick a flat area where you want your entrance. You need enough room for the door, the pistons, and the wiring underneath. A good minimum space is about 6 blocks wide, 4 blocks deep, and 3 blocks tall. The actual doorway will be 2 blocks wide and 2 blocks tall.
Mark the middle of your doorway. This is where the four door blocks will meet when closed. Leave two empty vertical spaces for the opening. You will place pistons on both sides of that opening, facing inward.
Step 2: Dig the Redstone Trench
Dig a trench under the doorway. Start with a 2-block-wide and 3-block-long space directly beneath where the pressure plates will sit. Make the trench 2 blocks deep so the redstone dust can be hidden under the floor.
Now extend the trench one or two blocks to the left and right sides where the pistons will stand. The goal is to create a hidden channel that connects the pressure plates to both sides of the door. If you are building inside a polished house, this is the messy construction phase. Do not panic. Every beautiful redstone build looks like a plumbing accident before it gets covered up.
Step 3: Place Redstone Dust in the Trench
Lay redstone dust along the bottom of the trench. Put dust beneath the blocks where your pressure plates will go and connect it toward both sides of the doorway. The redstone line should be continuous enough to send power from the plates to the side circuits.
Remember that redstone dust has a limited signal range. For this small build, range is not a problem. For larger piston doors, you may need repeaters to refresh the signal and add timing control. In this beginner version, keep the wiring short and symmetrical.
Step 4: Add Redstone Torches as Inverters
On each side of the trench, place a solid block at the end of the redstone line. Then place a redstone torch on top of each block. These torches will power the sticky pistons while the door is closed. When you step on a pressure plate, the redstone line powers the block beneath the torch, turning the torch off. That causes the pistons to retract, pulling the door blocks open.
This is the clever part of the design. The door is normally powered closed. The pressure plate does not directly push the door open; it turns off the power that keeps the pistons extended. That small inversion trick is one of the most useful redstone lessons in Minecraft.
Step 5: Place the Sticky Pistons
On the left side of the doorway, place two sticky pistons stacked vertically, facing toward the center. On the right side, place another two sticky pistons stacked vertically, also facing toward the center. There should be a 2-block-wide gap between the piston faces.
If the sticky green face is not pointing at the doorway, break the piston and place it again from the correct angle. Piston direction matters. A backward piston is not a door mechanism; it is just a very expensive wall decoration.
Step 6: Add the Door Blocks
Place your four door blocks in the 2×2 space between the sticky pistons. When the pistons are powered by the redstone torches, they should extend and push the blocks together, closing the doorway.
If the pistons do not extend, check whether the redstone torches are placed correctly and whether the blocks near the pistons are receiving power. If only one side works, compare the working side with the broken side. Redstone troubleshooting is often less about genius and more about noticing that one dust line is missing because you sneezed while placing blocks.
Step 7: Cover the Wiring
Once the pistons and redstone are working, cover the trench with floor blocks. Make sure not to break the redstone dust while covering it. Place pressure plates on both sides of the doorway, directly above the hidden redstone line.
Use pressure plates that match your floor if possible. Stone pressure plates blend nicely into stone floors. Wooden pressure plates look natural in plank floors, but they can also be triggered by items. If you do not want dropped items opening the door, stone pressure plates are often a better choice.
Step 8: Test the Automatic Door
Walk onto the pressure plates. The door should open. Step through, and after you leave the plates, the door should close behind you. Test both sides several times. Sprint through it, walk slowly, and try approaching at an angle. A good automatic piston door should not require acrobatics, prayer, or a written apology to the redstone gods.
How the Redstone Circuit Works
The automatic piston door uses three basic redstone ideas: input, signal transmission, and output. The pressure plates are the input. Redstone dust transmits the signal. Sticky pistons are the output because they physically move the door blocks.
The redstone torches add an important twist. A redstone torch normally provides power. However, when the block it is attached to becomes powered, the torch turns off. This lets the door stay closed by default. When you step on the pressure plate, the plate powers the dust below, the dust powers the torch-support block, the torch turns off, and the pistons retract. When you step away, the signal stops, the torches turn back on, and the pistons close the door.
This is why the design feels automatic. You do not need to press a button, flip a lever, or remember to close anything. The pressure plate handles the timing for you.
Java Edition vs. Bedrock Edition: What to Know
Most basic 2×2 automatic piston doors work in both Java Edition and Bedrock Edition, but redstone behavior is not always identical between versions. Java Edition has certain piston quirks, including quasi-connectivity, that can affect compact builds. Bedrock Edition handles some redstone updates differently, which means a door copied exactly from a Java tutorial may not always behave the same in Bedrock.
For this simple pressure-plate design, you should be fine in either version if you keep the circuit straightforward. If you build a more compact flush door, a 3×3 piston door, or a hidden Jeb door, always check whether the tutorial is designed for your edition. Minecraft redstone is powerful, but it occasionally behaves like two cousins who agreed on the family recipe and then used completely different spices.
Common Problems and Easy Fixes
The Pistons Do Not Move
First, confirm that you used sticky pistons, not regular pistons. Next, check whether the redstone torches are on. If the torches are off before you step on the pressure plate, your circuit may be powered constantly. Break and replace the dust lines, then test one side at a time.
The Door Opens Backward
If the doorway is open by default and closes when you step on the plates, your inversion is wrong. Make sure the redstone torches are powering the pistons when the plates are not pressed. The pressure plate signal should turn the torches off, not directly power the pistons.
Only One Side Opens
This usually means one side is missing redstone dust, a torch, or a solid support block. Compare both sides block by block. Symmetry is your friend. If the left side works and the right side does not, the right side is hiding the mistake like a sneaky creeper behind a tree.
The Door Closes Too Quickly
Pressure plates usually provide enough time to walk through a 2×2 door. If your layout is longer or your entrance is awkward, move the plates farther from the doorway or add repeaters to adjust timing. Repeaters can delay signals, which helps coordinate more complex doors.
Mobs Keep Opening the Door
Pressure plates can be triggered by players and mobs, depending on the type. If mobs are stepping on your plates, add fences, gates, lighting, or a small entry tunnel. You can also replace outside pressure plates with buttons for better security while keeping inside pressure plates for easy exit.
Design Upgrades for a Better Piston Door
Make It a Hidden Door
To make the door hidden, build it into a wall and use the same blocks for the door face and surrounding wall. Stone in a cave, bookshelves in a library, and deepslate in an underground base all work well. For a cleaner secret entrance, replace visible pressure plates with a hidden button, lever, sculk sensor, or item-frame trigger.
Add Buttons Instead of Pressure Plates
Buttons make the door more secure because mobs cannot usually press them by walking around. A button sends a short pulse, so you may need to adjust timing depending on your circuit. This option is excellent for bases in Survival mode, especially when you are tired of zombies treating your front entrance like a public bus station.
Use a Longer Entry Hall
If you want the door to feel grander, build a short hallway leading into it. Put pressure plates a block or two away from the pistons, then hide the wiring underneath. This gives the door time to open before you reach it and makes the entrance feel smoother.
Decorate the Frame
A piston door looks better when it belongs to the build. Add stairs, slabs, lanterns, trapdoors, copper bulbs, polished blocks, or banners around the entrance. Redstone may power the mechanism, but decoration powers the ego.
Survival Mode Tips
In Survival mode, the hardest material to get early may be slimeballs for sticky pistons. Slimes spawn in slime chunks below certain heights and in swamp biomes under the right conditions. If you cannot find slime yet, start with a normal iron door and pressure plates, then upgrade to sticky pistons later.
Redstone dust comes from redstone ore, usually found underground. Mine it with an iron pickaxe or better. Bring torches, food, and a shield because the redstone adventure often turns into a cave spider negotiation. Once you have redstone, use it carefully. A simple automatic piston door does not require much dust, but larger doors can become hungry little machines.
When building in Survival, keep a maintenance tunnel behind or beneath the door. If something breaks, you do not want to tear apart your whole wall just to replace one missing dust line. Smart builders hide access panels. Very smart builders label them. Extremely smart builders still forget where they put them.
Advanced Ideas After You Build the Basic Door
After you master the 2×2 automatic piston door, you can try more ambitious designs. A flush piston door hides the pistons completely so the entrance blends into the wall. A 3×3 piston door creates a larger opening but requires more precise timing. A vault door uses multiple pistons and delays for dramatic movement. A hidden staircase can open from the floor or wall and lead to a secret room.
You can also experiment with different triggers. Pressure plates are simple, but buttons, levers, tripwire hooks, daylight sensors, calibrated sculk sensors, lecterns, item frames, and target blocks can all become part of creative door systems. The more you understand redstone signals, the more Minecraft starts to feel like a giant sandbox for engineering mischief.
Personal Experience: Lessons Learned While Building Automatic Piston Doors
The first time many players build an automatic piston door, they expect it to be quick. Four pistons, a little dust, two pressure plateswhat could possibly go wrong? Then one piston refuses to move, the other side opens at the wrong time, and suddenly the floor looks like a raccoon tried to install internet cables. That is normal. Redstone is learned through testing, mistakes, and the occasional dramatic sigh.
One of the most useful experiences is building the door in Creative mode before committing to it in Survival. Creative mode lets you see the entire circuit from above, below, and inside the wall. You can break blocks freely, replace pistons quickly, and test different pressure plate positions. Once the design works, rebuilding it in Survival becomes much easier. Think of Creative mode as the blueprint table and Survival mode as the construction site where creepers are unpaid inspectors.
Another lesson is to leave more space than you think you need. Beginners often try to make the door too compact immediately. Compact redstone is impressive, but cramped wiring makes troubleshooting harder. A slightly larger circuit that works every time is better than a tiny one that only works when the moon is full and your character is facing northwest. After you understand the layout, you can shrink it later.
Pressure plate placement also matters. If plates are too close to the door, the pistons may open just as you reach the blocks, causing a tiny delay that feels clunky. Placing the plates one block farther away can make the entrance feel smoother. On the inside of a base, pressure plates are convenient because you can leave quickly. On the outside, they can be risky because mobs may trigger them. For that reason, many experienced players use a button outside and pressure plates inside.
Materials affect the mood of the build. A piston door made with dirt works, but it does not exactly scream “secure headquarters.” Matching the door blocks to the wall creates a hidden entrance. Contrasting blocks create a futuristic sliding door. For mountain bases, stone, andesite, or deepslate look natural. For modern houses, concrete, quartz, and tinted glass frames look clean. For castles, stone bricks and iron bars make the doorway feel fortified.
Lighting is another small detail that saves big headaches. If the area around your piston door is dark, mobs may gather near it. Then your automatic entrance becomes an automatic monster invitation. Add torches, lanterns, glowstone, sea lanterns, or hidden light blocks around the entrance. A well-lit piston door is safer, easier to find, and less likely to become the site of an accidental creeper renovation.
Finally, do not be afraid to rebuild the same door several times. Every rebuild teaches something: how redstone dust connects, how blocks carry power, how pistons respond, and how timing affects movement. The best redstone builders are not people who never make mistakes. They are people who know how to diagnose them. Once your automatic piston door opens and closes smoothly, it feels less like a simple entrance and more like proof that you have officially joined the redstone club.
Conclusion
Learning how to make an automatic piston door in Minecraft is one of the best beginner redstone projects because it is useful, satisfying, and expandable. With four sticky pistons, pressure plates, redstone dust, redstone torches, and a little patience, you can create a door that opens as you approach and closes behind you like a proper high-tech base entrance.
The key is understanding the circuit, not just copying the block placement. Pressure plates create the input, redstone dust carries the signal, torches invert the power, and sticky pistons move the blocks. Once that logic clicks, you can customize the build for hidden doors, secure entrances, larger piston systems, and stylish base designs. Start simple, test often, and remember: every redstone mistake is just a tutorial you discovered the hard way.