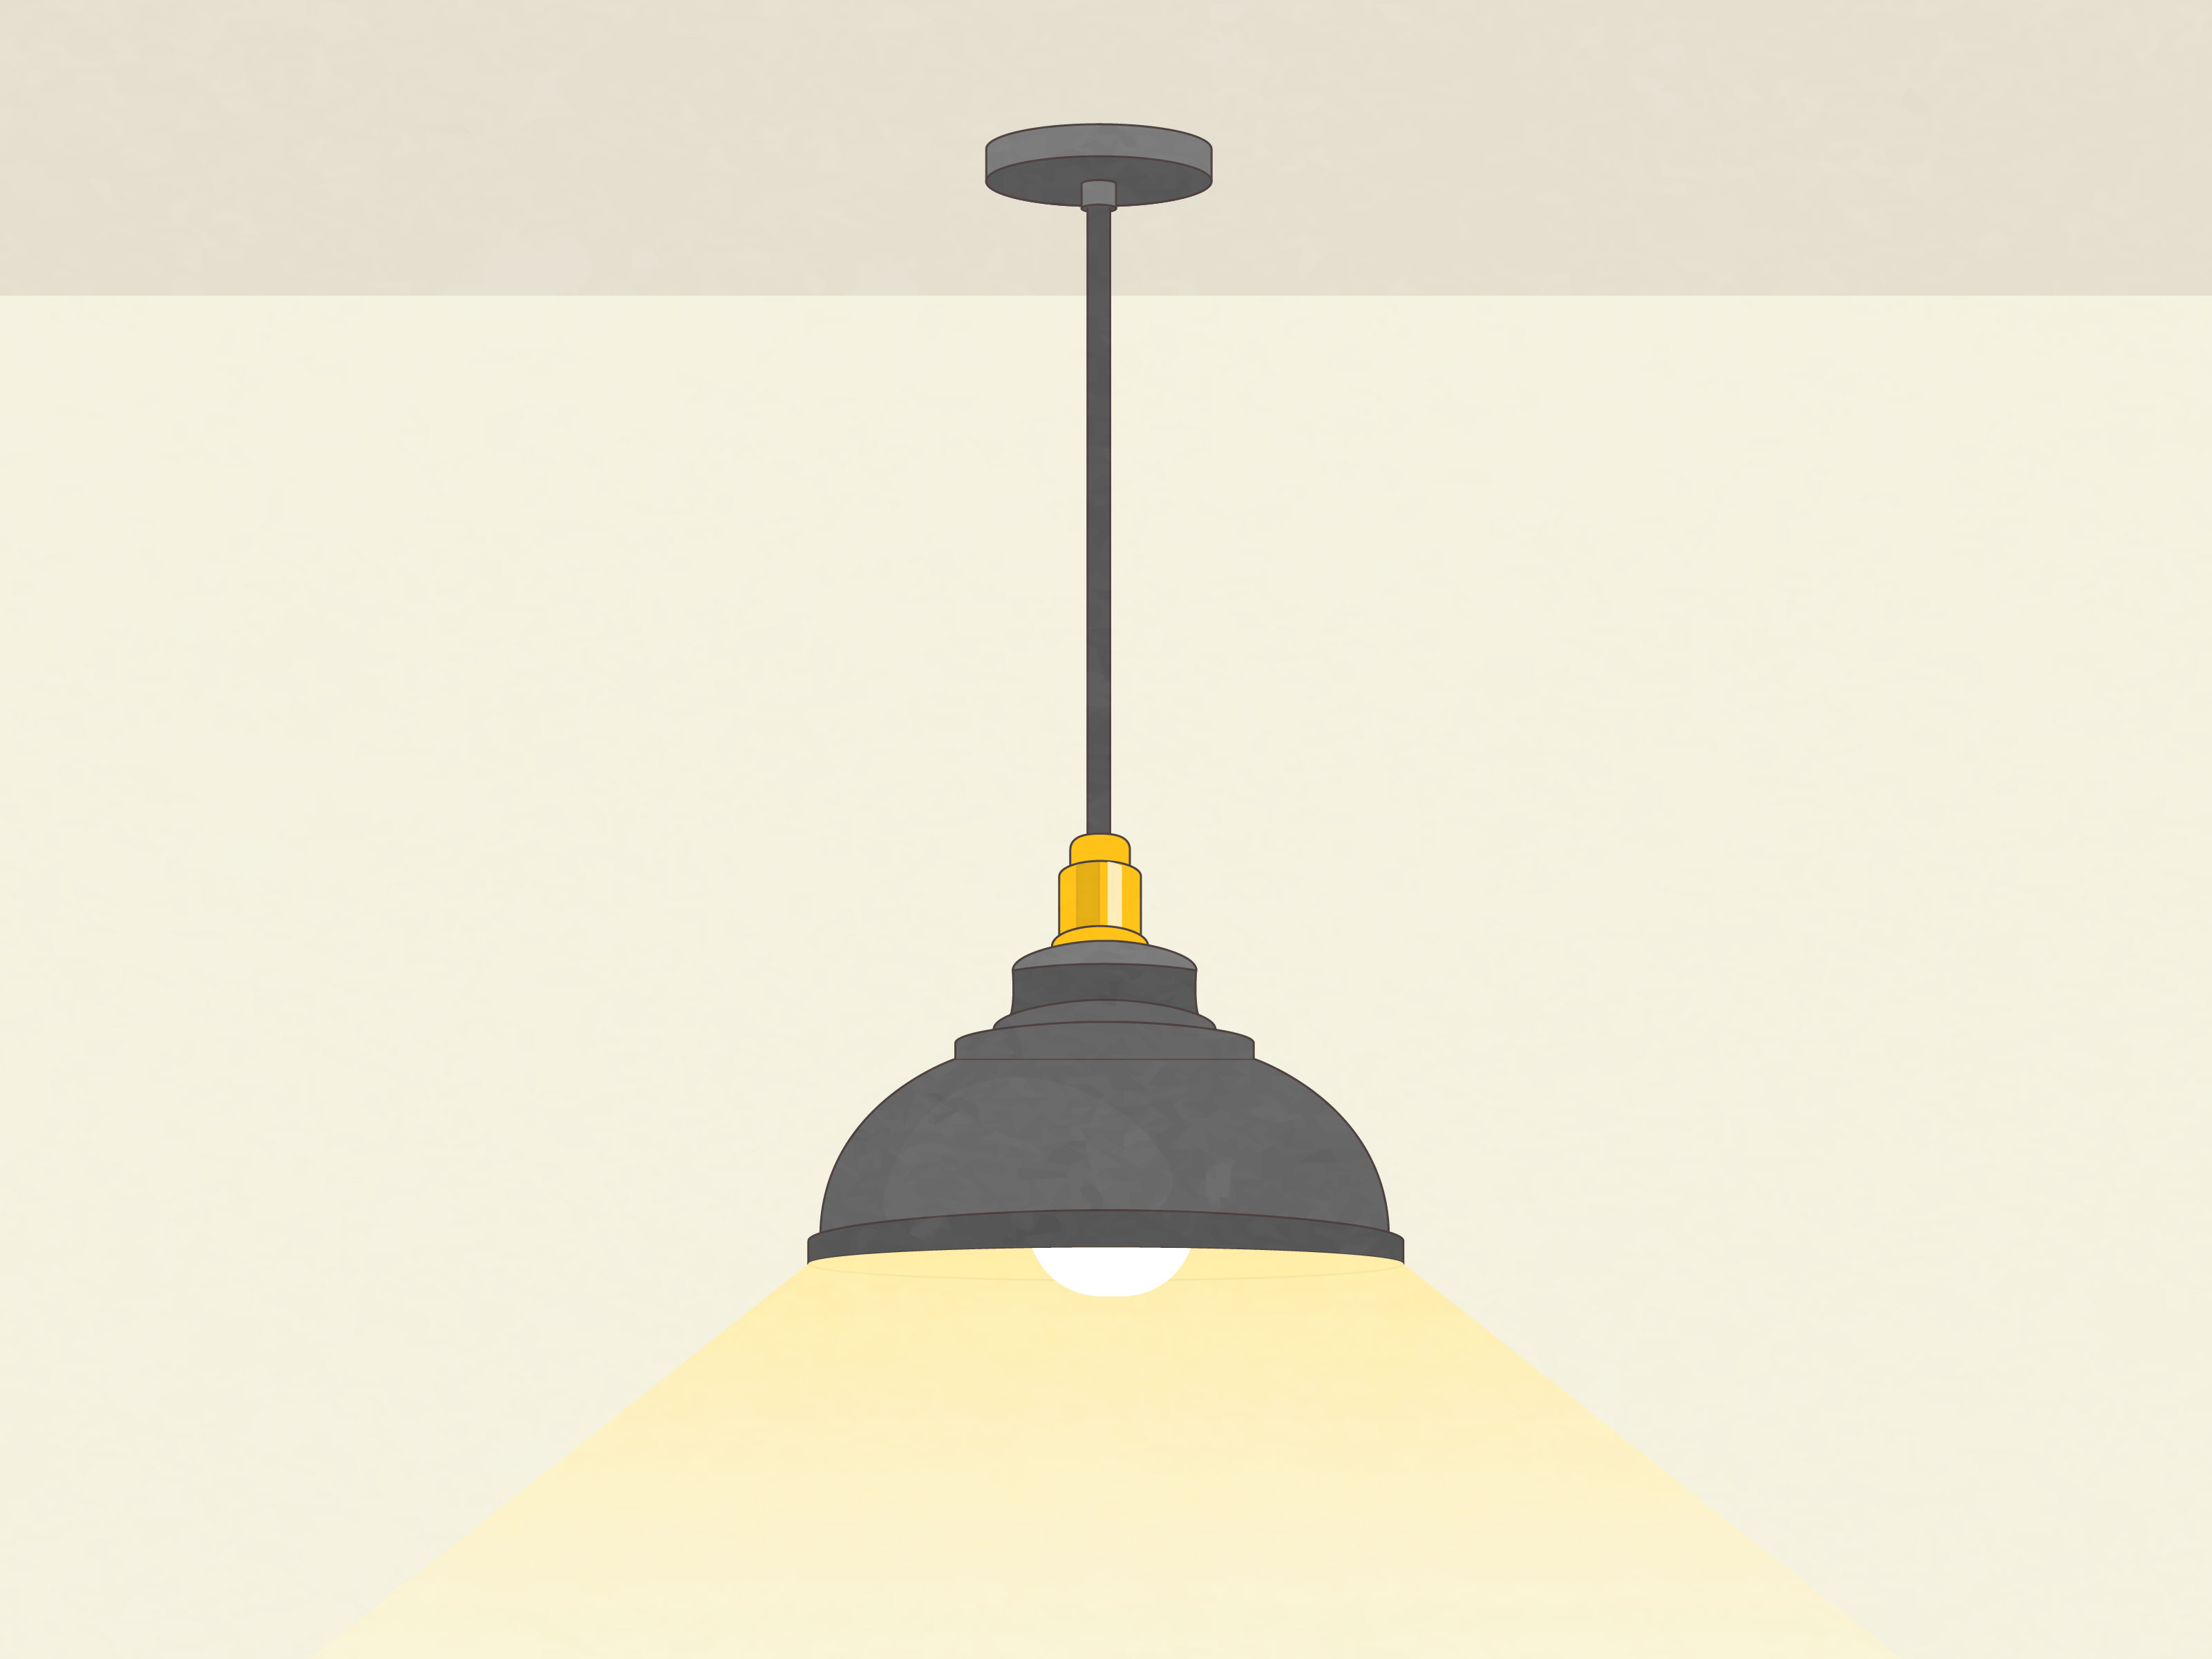
Installing a pendant light is one of those home upgrades that looks fancy, feels satisfying, and makes you wonder why the old fixture was allowed to live rent-free on your ceiling for so long. A pendant light can brighten a kitchen island, add charm above a dining table, create a cozy reading corner, or turn a plain hallway into something that looks like you hired a designer who owns very serious black-framed glasses.
The good news: replacing an existing ceiling light with a pendant light is often a manageable DIY project for careful homeowners. The important word is careful. Electrical work is not the place for “close enough,” creative guessing, or saying, “I saw a guy do this in a 47-second video.” This guide walks you through how to install a pendant light safely, simply, and confidently, using standard American English, practical examples, and common-sense advice.
Before we begin, one bright little disclaimer: electrical codes vary by location, and electricity can cause shock, fire, injury, or worse. If your home has old wiring, no grounding wire, aluminum wiring, damaged insulation, a loose ceiling box, or anything that makes you squint suspiciously, hire a licensed electrician. Your pendant light should hang from the ceiling, not from a bad decision.
What Is a Pendant Light?
A pendant light is a ceiling-mounted fixture that hangs down by a cord, chain, rod, or stem. Unlike flush-mount lights that hug the ceiling like they are shy, pendant lights drop lower into the room and often become part of the decor. They are popular above kitchen islands, breakfast bars, dining tables, nightstands, bathroom vanities, stair landings, and entryways.
Pendant lighting works well because it can provide three kinds of light. It can deliver task lighting for chopping vegetables, reading recipes, or pretending you are on a cooking show. It can create ambient lighting that gently fills a space. It can also serve as accent lighting, adding shape, texture, and personality to a room.
Before You Start: Safety Comes First
The most important step in any pendant light installation happens before you touch a screwdriver: turn off the power at the circuit breaker. Do not rely only on the wall switch. A switch can be wired in surprising ways, especially in older homes, and surprises are for birthday parties, not junction boxes.
After turning off the breaker, use a non-contact voltage tester or circuit tester to confirm that the wires in the ceiling box are not live. Test the device on a known working outlet first so you know the tester is actually working. If the tester indicates power is still present, stop immediately and call a professional.
You should also check the fixture instructions. Pendant lights may look similar, but manufacturers often have specific requirements for mounting plates, wire connections, chain length, cord strain relief, bulb type, maximum wattage, and dimmer compatibility. The instruction sheet is not decorative packaging confetti. It is part of the installation.
Tools and Materials You Will Need
Gather everything before you climb the ladder. Nothing ruins your DIY confidence faster than balancing on step three while realizing the wire strippers are in another room, probably hiding with your missing tape measure.
Basic tools
- Stepladder
- Non-contact voltage tester or circuit tester
- Phillips and flat-head screwdrivers
- Wire stripper or wire cutter
- Needle-nose pliers
- Adjustable wrench
- Electrical tape
- Measuring tape
- Pencil
- Safety glasses
Materials
- Pendant light fixture
- Mounting bracket or crossbar included with the fixture
- Wire connectors, often called wire nuts
- Mounting screws
- Light bulb approved for the fixture
- Optional dimmer switch compatible with the bulb and fixture
Step 1: Choose the Right Pendant Light
Before installation day, make sure your pendant light fits the room physically and visually. A tiny pendant over a large island can look like a teacup hanging in a basketball arena. A giant pendant in a small hallway can feel like the ceiling is wearing a helmet.
For kitchen islands, many homeowners use two or three pendants spaced evenly. A common starting point is to hang the bottom of the pendant about 30 to 36 inches above the countertop. For dining tables, the same general range works well, though the final height depends on ceiling height, fixture size, and sightlines. You want enough light on the surface without forcing guests to talk around a glowing UFO.
For open walking areas, make sure the bottom of the pendant is high enough for clearance. In many entries, halls, and foyers, the bottom of the fixture is commonly placed around 7 feet above the floor, especially where people walk underneath it. Taller ceilings may allow a longer drop, but the fixture should never become a forehead trap.
Step 2: Confirm the Ceiling Box Can Support the Fixture
A pendant light must be attached to a properly installed electrical box that is rated to support the fixture’s weight. This is a big deal. The canopy covers the box, so people often forget the box is doing the real work behind the scenes, like the stage crew at a concert.
If you are replacing a lightweight ceiling light with another lightweight pendant, the existing ceiling box may be adequate. But do not assume. Check whether the box is firmly attached to framing or an approved support. If the fixture is heavy, extra-large, or chandelier-like, you may need a box rated for heavier fixtures. Ceiling fan boxes are designed for fan loads, but that does not automatically mean every ceiling box is fan-rated or heavy-fixture-rated.
If the box wiggles, feels loose, is cracked, lacks mounting holes, is buried too deep, or appears unsupported, stop and fix the box before installing the pendant. A beautiful pendant light on a bad box is basically a ceiling piñata with wires.
Step 3: Turn Off Power at the Breaker
Go to your electrical panel and switch off the breaker that controls the existing light fixture. If the panel is not clearly labeled, you may need a helper to stand in the room and tell you when the light goes off. Label the breaker afterward. Future you will be grateful. Future you may even say nice things about present you.
Once the breaker is off, return to the fixture and flip the wall switch on and off. The light should remain off. Then remove the existing fixture cover or shade carefully enough to access the wires. Use your voltage tester to confirm the power is off before touching any conductor.
Step 4: Remove the Old Fixture
Support the old fixture with one hand while loosening the screws, nuts, or decorative cap that holds it to the mounting bracket. If the fixture is heavy or awkward, ask another person to help. This is not a test of upper-body strength. It is a lighting project.
Once the fixture is loose, gently lower it to expose the wiring. You will usually see three types of wires: a black or red hot wire, a white neutral wire, and a bare copper or green ground wire. Take a photo before disconnecting anything. That photo can be a helpful reference when connecting the new pendant light.
Remove the wire connectors by twisting them counterclockwise. Separate the fixture wires from the house wires. Then remove the old mounting bracket if the new pendant uses a different bracket. Most new fixtures include their own mounting hardware, and it is usually best to use the parts supplied by the manufacturer.
Step 5: Prepare the Pendant Light
Unpack the pendant light and lay out all parts on a soft surface. Check the canopy, shade, socket, cord or chain, mounting bracket, screws, decorative nuts, and wire connectors. Compare the parts with the instruction sheet. If anything is missing, damaged, or oddly mysterious, do not install the fixture until you resolve it.
Adjust the hanging length before wiring, especially for corded or chain-hung pendants. Measure from the ceiling to where you want the bottom of the fixture to sit. For example, if your kitchen island countertop is 36 inches high and you want the pendant bottom 34 inches above the counter, the fixture bottom should sit at about 70 inches above the floor. Subtract that from your ceiling height to estimate the drop length.
If the pendant uses a chain, remove extra links with pliers as directed. If it uses a cord, follow the manufacturer’s method for shortening and securing it. Do not simply stuff a huge pile of extra cord into the canopy unless the instructions allow it and the box has enough space. Electrical boxes are not storage lockers.
Step 6: Install the Mounting Bracket
Attach the new mounting bracket or crossbar to the ceiling box using the screws provided. The bracket should sit flat and tight against the box. If the screws do not fit, do not force random hardware into the box. Use proper fixture screws that match the electrical box threads.
Some pendant lights include a threaded nipple, collar loop, ground screw, or adjustable strap. Assemble these parts according to the instructions. The goal is to create a secure connection between the ceiling box and the pendant canopy. If the bracket feels unstable at this stage, it will not magically become stable after you add glass, metal, and gravity.
Step 7: Connect the Wires
With the power still off and verified, connect the pendant wires to the house wires. In a typical U.S. installation, black connects to black or red, white connects to white, and green or bare copper connects to ground. The ground wire may connect to a green ground screw on the bracket and also to the fixture’s ground wire, depending on the fixture design.
Hold the stripped ends of matching wires together and twist on an approved wire connector until tight. Gently tug each wire to confirm it is secure. No bare copper should be exposed below the connector, except for grounding conductors where appropriate. If too much bare wire is showing, remove the connector, trim or restrip as needed, and reconnect.
If your ceiling box has unusual wire colors, multiple cables, old cloth-insulated wiring, no visible ground, aluminum wiring, or connections that do not match the fixture instructions, stop and call a licensed electrician. Guessing which wire is hot is not DIY. It is electrical roulette, and the house always wins.
Step 8: Tuck Wires Into the Box
Carefully fold the connected wires into the ceiling box. Place the connectors so they are not pinched by the mounting bracket or canopy. This step requires patience, especially in smaller boxes. Think of it like packing a suitcase, except the suitcase is above your head and has legal consequences.
Do not crush the wires, leave connectors loose, or force the canopy into place. If the box is overcrowded, there may be a box-fill issue that needs professional attention. A safe installation requires enough room for the conductors and connectors inside the box.
Step 9: Attach the Canopy and Pendant
Raise the pendant canopy to the ceiling and secure it to the mounting bracket using the included screws, collar ring, cap nuts, or decorative hardware. Tighten everything until snug, but do not over-tighten. Over-tightening can crack delicate parts, strip threads, or make the canopy sit oddly.
Install the shade, globe, or diffuser as directed. If the pendant has glass, handle it carefully and avoid tightening retaining screws too hard. Glass shades can crack under pressure, and nothing says “home improvement drama” like sweeping up your new lighting before you ever turn it on.
Step 10: Install the Correct Bulb
Use a bulb that matches the fixture’s socket type and maximum wattage rating. The fixture label may say something like “Max 60W Type A” or specify an LED equivalent. Never exceed the listed wattage. Too much heat inside a fixture can damage wiring, discolor shades, or create a fire hazard.
LED bulbs are a smart choice for most pendant lights because they use far less energy and last much longer than traditional incandescent bulbs. For warm, cozy light in dining areas and living spaces, look for bulbs around 2700K to 3000K. For kitchens and task areas, many people prefer 3000K to 4000K. For brightness, shop by lumens, not just watts. Around 800 lumens is similar to a traditional 60-watt incandescent bulb.
If you plan to use a dimmer, confirm that both the bulb and dimmer are compatible. Not all LED bulbs dim smoothly on every dimmer. A mismatched dimmer can cause flickering, buzzing, or a light show you did not request.
Step 11: Restore Power and Test the Light
Once the pendant is fully assembled, tools are clear, and everyone is off the ladder, turn the breaker back on. Flip the wall switch and test the fixture. The light should turn on without flickering, buzzing, sparking, or smelling hot.
If the light does not work, turn the breaker off again before troubleshooting. Common issues include a loose wire connector, a bulb that is not seated properly, a tripped GFCI or breaker, or a wall switch problem. If the breaker trips repeatedly, leave it off and call an electrician.
Common Pendant Light Installation Mistakes
Ignoring the ceiling box
The most attractive fixture in the world is not worth much if the electrical box cannot hold it. Always verify support before installing the pendant.
Skipping the voltage test
Turning off the switch is not enough. Turning off the breaker is better. Testing the wires is best. This three-step habit can prevent serious injury.
Hanging the pendant too low
A pendant should illuminate the space, not interrogate your guests. If people have to duck, squint, or talk around it, adjust the height.
Using the wrong bulb
A bulb that is too bright, too cool, too hot, or not dimmer-compatible can make your new fixture feel like a mistake. Choose lumens, color temperature, and bulb type intentionally.
Over-tightening glass shades
Glass needs to be secure, not squeezed into submission. Tighten gently and evenly.
When to Call a Licensed Electrician
Many simple pendant replacements are DIY-friendly, but some situations deserve professional help. Call an electrician if you discover aluminum wiring, knob-and-tube wiring, damaged insulation, no grounding path, a loose or unsupported ceiling box, burned wires, water damage, repeated breaker trips, or confusing wire configurations.
You should also hire a pro if you want to install a pendant where no fixture currently exists. Running new wiring, adding a switch, cutting into ceilings, and installing a new electrical box involve more advanced work and local code requirements. A licensed electrician can make the installation safe, legal, and clean-looking.
Design Tips for Better Pendant Lighting
Pendant lighting is not only about installation. Placement and proportion matter. For a kitchen island, center pendants over the work surface rather than the entire room. Leave enough space between fixtures so the light feels balanced. If using three pendants, spacing them evenly across the island usually creates a polished look.
Consider shade material. Clear glass spreads light and keeps the room visually open, but it shows dust and fingerprints like a tiny museum display case. Metal shades direct light downward and work well for task lighting. Fabric shades soften the glow and add warmth. Woven or rattan shades bring texture but may cast patterned shadows.
Think about maintenance too. A complicated glass pendant above a greasy cooking area may become a cleaning hobby. A simple shade with accessible parts is easier to live with. In other words, choose a pendant for the person you are on a Tuesday night, not the fantasy version of yourself who dusts every morning while humming.
Cost Expectations
The cost to install a pendant light depends on the fixture, location, ceiling height, wiring condition, and whether you hire a professional. If you are replacing an existing fixture yourself, your cost may be limited to the pendant light, bulbs, and basic supplies. If you hire an electrician, labor adds to the price but also adds expertise, especially when wiring or support is uncertain.
New installations cost more because they may require running cable, installing a ceiling box, adding or moving a switch, patching drywall, and meeting local electrical code. For high ceilings, large fixtures, or multiple pendants, professional installation is often worth it.
Real-World Experience: What Installing a Pendant Light Teaches You
Installing a pendant light sounds like a small project, but it has a funny way of teaching big lessons. The first lesson is that lighting changes a room faster than almost anything else. Paint is powerful, furniture is important, but lighting is the mood director. Swap an outdated ceiling dome for a well-placed pendant and suddenly the kitchen feels intentional. The dining table looks more inviting. Even the takeout pizza appears more sophisticated. Congratulations, you have discovered the magic of illumination.
The second lesson is that measuring matters more than confidence. Many people hold the pendant up, say “that looks about right,” install it, step back, and realize it is either floating too high like a shy balloon or hanging too low like a courtroom lamp in a detective movie. A measuring tape saves you from this emotional roller coaster. Mark the planned height with painter’s tape or have someone hold the fixture while you view it from normal standing and sitting positions.
The third lesson is that ceilings are not always cooperative. Sometimes the electrical box is off-center from the table or island. Sometimes the old fixture was hiding a rough paint ring. Sometimes the ceiling texture has opinions. When that happens, do not panic. A larger canopy may cover cosmetic marks. A swag hook or adjustable pendant system may help with slightly off-center placement, if allowed by the fixture design and local code. For major box relocation, bring in an electrician.
The fourth lesson is that wire connectors deserve respect. A loose connection can cause flickering, heat, or failure. When the wires are properly stripped, aligned, twisted, capped, and gently tug-tested, the fixture feels more reliable. This small detail is one reason experienced installers move slowly during wiring. They are not being dramatic; they are preventing future drama.
The fifth lesson is that bulb choice can make or break the result. A beautiful pendant with the wrong bulb is like wearing a tuxedo with hiking boots. For a cozy dining room, a warm LED bulb can make dinner feel relaxed and flattering. For a kitchen island, brighter neutral light may be better for food prep. If the shade is clear glass, consider decorative filament-style LEDs so the bulb itself looks attractive. If the fixture is above a work zone, choose enough lumens to actually see what you are doing.
The sixth lesson is to clean as you go. Dust the canopy before it touches the ceiling. Wipe fingerprints off glass before turning the light on. Keep tiny screws in a bowl or cup, because they have a natural instinct to roll under appliances. The final five minutes of cleanup often decide whether the project feels polished or merely survived.
The best experience-related advice is simple: do not rush the safety steps. Turning off the breaker, testing for voltage, checking the box, and reading the instructions may feel slower than jumping straight to the fun part. But they are what make the fun part possible. When the pendant finally lights up and the room glows exactly the way you imagined, the patience pays off. You get a better-looking space, a useful new skill, and the right to casually say, “Oh, that light? I installed it.” Try not to say it too smugly. Or do. You earned a little glow.
Conclusion
Installing a pendant light is a practical DIY upgrade that can make a room brighter, more stylish, and more functional in a single afternoon. The process is straightforward when you replace an existing fixture: choose the right pendant, turn off power at the breaker, verify the wires are safe, remove the old fixture, install the mounting bracket, connect hot to hot, neutral to neutral, and ground to ground, secure the canopy, install the bulb, and test the light.
The key is to respect both design and safety. A pendant should hang at the right height, suit the scale of the room, use the correct bulb, and attach to a properly supported electrical box. If anything looks damaged, outdated, unsupported, or confusing, call a licensed electrician. The goal is not just a pretty light. The goal is a pretty light that works safely for years.
Note: This article is for general educational purposes. Always follow the pendant light manufacturer’s instructions, local electrical code, and basic electrical safety practices. Hire a licensed electrician when wiring, grounding, ceiling box support, permits, or circuit conditions are uncertain.