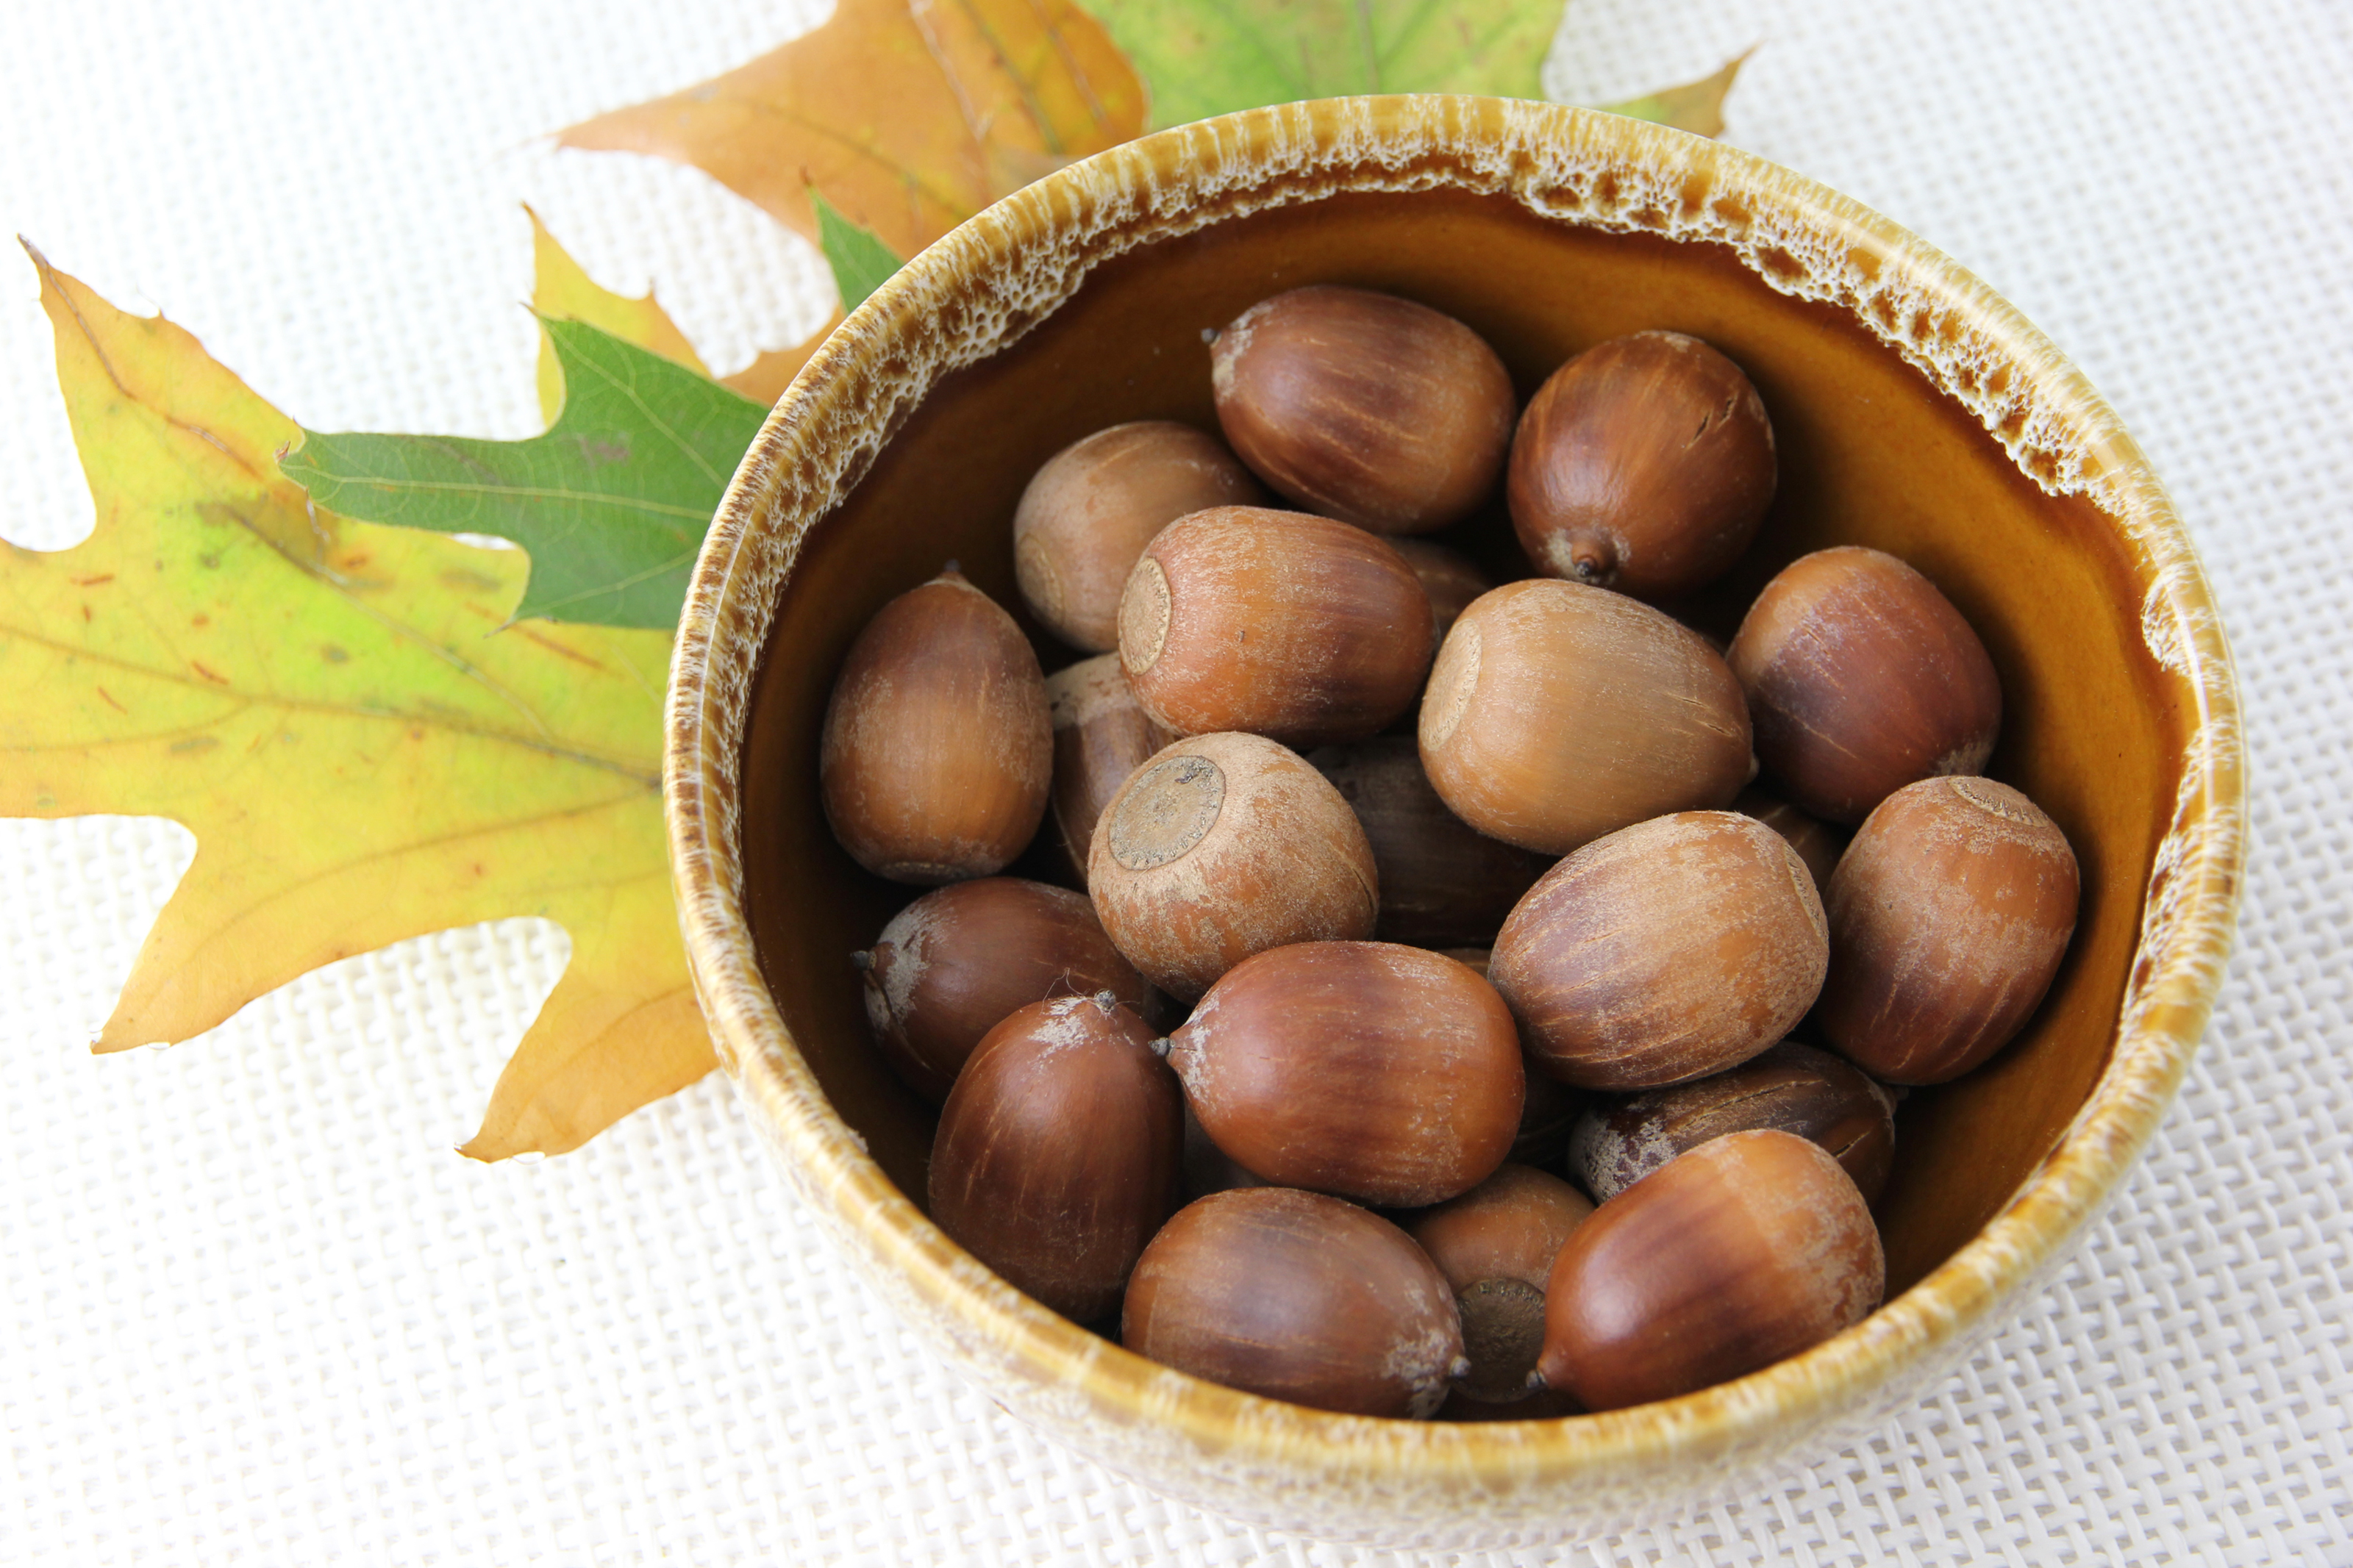
Acorns are practically nature’s craft beads: small, charming, free, and conveniently available in colors ranging from caramel brown to “tiny woodland espresso.” Unfortunately, freshly collected acorns can also carry dirt, moisture, mold spores, and the occasional acorn-weevil larva that did not receive your invitation to craft night.
Learning how to dry acorns for crafts solves those problems before they reach your wreath, centerpiece, garland, ornament, or jar display. The process is simple, but skipping a step can leave you with cracked shells, loose caps, musty odors, or a surprise bug crawling across the dining table. This eight-step guide explains how to collect, clean, oven-dry, seal, and store acorns so they remain attractive and usable for seasonal projects.
Important: These instructions prepare acorns for decorative use only. Do not use craft-treated acorns for eating, animal feed, planting, or food-contact projects.
Why You Should Dry Acorns Before Crafting
An acorn may look dry when you pick it up, yet its shell and nutmeat can still hold significant moisture. If you place untreated acorns in a closed jar, glue them to a wreath, or paint them immediately, that trapped moisture may support mold or cause the shell to shrink unevenly. The result can be a project that looks lovely on Monday and suspiciously fuzzy by Friday.
Acorns can also contain insect larvae. Acorn weevils lay eggs in developing nuts, and the larvae feed inside before chewing round exit holes. A visibly hole-free acorn is usually a better candidate, but appearance alone cannot guarantee that the interior is empty. Gentle heat helps dry the nut and reduces the risk of hidden insects emerging later.
Drying also improves craft performance. A properly dried acorn is lighter, accepts paint more consistently, bonds better with glue, and is less likely to stain fabric, paper, or unfinished wood. Preparation is not glamorous, but neither is discovering that your Thanksgiving centerpiece has become a studio apartment for beetles.
Supplies You Will Need
- Freshly fallen acorns
- A bucket, bowl, or colander
- Warm water
- A small amount of mild dish soap or distilled white vinegar
- An old toothbrush or soft nail brush
- Clean towels or paper towels
- A rimmed baking sheet
- Parchment paper or aluminum foil
- An oven thermometer, if available
- Hot glue or craft glue for loose caps
- Optional clear acrylic sealer
A rimmed sheet pan matters because acorns are round, ambitious, and surprisingly talented at rolling off flat surfaces. Line the pan for easier cleanup, especially when working with acorns that release a little residue while warming.
How to Dry Acorns for Crafts in 8 Steps
Step 1: Collect Fresh, Firm Acorns
Gather acorns soon after they fall, preferably during dry weather. Choose firm, well-shaped specimens with intact shells. Brown acorns are usually easier to prepare than green ones, although green acorns can be dried and will generally darken in the oven.
Avoid muddy areas, standing water, roadsides, and lawns recently treated with chemicals. Collect more than your project requires because some pieces will fail inspection. Take only a modest share; acorns are valuable food for wildlife, and some should remain to become future oak trees.
Step 2: Sort and Inspect Every Acorn
Spread the acorns on a light towel and discard any that are soft, blackened, crushed, moldy, badly cracked, or leaking. Remove acorns with obvious round exit holes or powdery debris, both of which can indicate insect damage.
A water-float check can provide an extra clue: hollow or damaged acorns often float, while denser ones commonly sink. It is not a perfect test, so always combine it with visual inspection.
Step 3: Remove Loose Caps
Gently test each cap. If it is already loose, remove it and sort it into a separate container. Caps often detach during washing or baking, so handling unstable ones now prevents them from disappearing down the drain or across the kitchen floor.
Group caps and acorn bodies by general sizesmall, medium, and large. You can match them later without worrying about restoring every original pair. Leave firmly attached caps alone.
Step 4: Wash Away Dirt
Place the acorns in warm water with a few drops of mild dish soap, then swish gently. Use an old toothbrush to clean soil from textured caps and shell creases. A diluted white-vinegar bath is another option; use at least as much water as vinegar, and a milder one-to-two or one-to-three mixture is sufficient for routine cleaning.
Soak for roughly 15 to 20 minutes, rinse well, and discard anything that turns soft or reveals hidden damage. Washing cleans the surface, but heat is the more important step for reducing the risk of insects inside.
Step 5: Surface-Dry the Acorns
Spread the washed acorns in one layer on clean towels. Pat dry, then leave them exposed to air for at least one hour; two to four hours is better in humid weather. Rotate them once so water does not remain trapped underneath or inside deep cap grooves.
Do not pile wet acorns in a bowl or seal them in plastic. Removing surface moisture first reduces oven time and helps prevent steaming.
Step 6: Bake Low and Slow
Preheat the oven to about 175 degrees Fahrenheit. If your oven cannot maintain that setting, use its lowest temperature and monitor it with an oven thermometer. Arrange the acorns in a single, uncrowded layer on a lined, rimmed baking sheet.
Bake on the center rack for approximately 90 minutes to two hours. Check every 20 to 30 minutes and roll the acorns so they dry evenly. Large, green, or freshly fallen specimens may need more time; small acorns may finish sooner. Stop if the shells smell scorched, become excessively dark, or crack rapidly.
A convection setting can improve airflow. Some crafters slightly open the oven door to release moisture, but that is unsafe around children or pets and may not suit every appliance. Follow the manufacturer’s instructions and never leave the oven unattended.
Step 7: Cool and Reattach Caps
Remove the tray and let the acorns cool completely in a single layer. Do not place warm acorns in a container because trapped vapor can condense. Inspect the batch again and discard anything musty, fragile, badly split, or newly damaged.
Reattach dry caps with a small dot of hot glue or strong craft glue. Use minimal adhesive so it does not squeeze out around the edge. Loose caps are normal, not proof that your acorns have organized a rebellion.
Step 8: Seal or Store
The cooled acorns are now ready to paint, glue, drill, or display naturally. For longer-lasting decor, apply a light coat of clear acrylic sealer. Matte keeps a woodland look, while satin or gloss deepens the color. Spray outdoors or in a well-ventilated area and follow the label directions.
Store leftovers in a clean, dry container in a dark, climate-controlled closet. Label the preparation date and check the container after one week. Condensation, mold, or a musty odor means the batch was not fully dry, and affected pieces should be discarded.
Air-Drying Acorns Without an Oven
Acorns can be air-dried, although the process takes longer and provides less certainty about hidden insects. After washing and towel-drying, spread them in a single layer on a screen, wire rack, or paper-lined tray. Place the tray in a warm, dry, well-ventilated indoor area away from direct sunlight and moisture.
Turn the acorns daily and allow one to three weeks, depending on humidity and size. Replace damp paper promptly. This method works best in dry climates and for small batches. It is less suitable in humid basements, garages, or closed containers, where mold can develop before the interior is fully dry.
Freezing is sometimes used to address insects in natural materials, but it does not remove moisture. Frozen acorns still require thorough drying afterward and must return to room temperature without becoming covered in condensation. For most home crafters, carefully monitored low oven heat is the simpler all-in-one approach.
Common Mistakes When Preparing Acorns
Using High Heat to Finish Faster
More heat does not automatically produce better acorns. High temperatures can scorch shells, create unpleasant odors, darken the surface unevenly, and increase cracking. A patient, low-temperature bake is safer and more predictable.
Skipping the Second Inspection
Washing and heating can expose damage that was difficult to see at first. Always sort the acorns again after cooling. One moldy acorn stored with a clean batch can create a much larger problem.
Sealing Before the Acorns Are Fully Dry
Clear sealer locks in the condition of the material beneath it. If the acorn still contains excess moisture, the coating does not magically convert it into a stable craft supply. Let the batch cool and rest before sealing.
Storing Acorns in a Humid Location
A dry acorn can absorb moisture from damp air. Avoid garages, sheds, bathrooms, and basements that regularly feel humid. A climate-controlled closet is usually a better home for leftover craft materials.
Collecting Every Acorn Under the Tree
Crafting does not require stripping the landscape. Wildlife relies on oak mast, and some acorns contribute to natural regeneration. Take what you need, choose high-quality specimens, and leave the rest of the buffet outdoors.
Craft Ideas for Dried Acorns
Prepared acorns can be painted, glittered, gilded, wrapped, drilled, glued, or displayed naturally. Use them in autumn wreaths, miniature garlands, napkin rings, place-card holders, shadow boxes, fairy-garden accessories, felt ornaments, bowl fillers, and woodland table centerpieces.
For painted acorns, apply a bonding primer or test your paint on one sample. Acrylic craft paint works well for most decorative projects. Metallic gold, copper, and champagne finishes create elegant holiday accents, while bright colors turn acorns into cheerful decorative beads. Adults should handle ovens, hot glue, spray sealers, and drilling tools.
Keep dried acorns away from toddlers and pets because their small size creates a choking risk. Decorative acorns should also stay away from candles, fireplaces, heating vents, and food-serving surfaces.
Practical Experience: What Real Acorn-Drying Batches Teach You
The first lesson from almost any batch is that collection quality matters more than collection quantity. A bucket filled in five enthusiastic minutes may shrink to half its size after sorting. That is not wasted effort. It is far better to reject questionable acorns before they become permanently attached to a wreath that took three evenings to assemble.
Batch size also changes the outcome. A crowded pan dries unevenly because the acorns touch, trap moisture, and receive less circulating air. Two lightly filled trays processed separately usually produce better results than one acorn mountain. When scheduling a project, plan the preparation day before the decorating day. Washing, air-drying, baking, cooling, gluing caps, and sealing can occupy most of an afternoon, even though none of the individual steps is difficult.
Mixed oak species create another surprise. Some acorns are long and narrow, some are almost round, and some have deep, dramatic caps that look as though they were designed by a tiny fashion house. They do not always dry at the same rate. Smaller acorns may finish first, while large specimens remain heavier and cooler at the center. Sorting the tray by approximate size makes checking easier and reduces the chance of overbaking the smallest pieces.
Loose caps are not a failure. In a typical batch, several caps detach during soaking, turning, or cooling. The practical solution is to treat caps and nuts as interchangeable components. Keep them sorted by size and glue them after all heat treatment is complete. Trying to preserve every original pairing creates extra work with no visible benefit, unless your acorns have somehow developed legal identities.
Color change is normal too. Greenish acorns often become brown, pale shells may deepen, and glossy areas can turn matte after washing. This is useful information when planning a precise color palette. Prepare the acorns first, then choose paint, ribbon, felt, or floral materials based on their final appearance. Designing around freshly collected colors can lead to mismatched results after drying.
Another recurring lesson is to keep a “reject bowl” beside the workspace. Any acorn that cracks, smells odd, shows a hole, or feels soft goes directly into it. This prevents doubtful pieces from wandering back into the clean batch. At the end, dispose of the rejects outdoors or in a closed trash bag rather than leaving them on a workbench.
Finally, make a small test batch before processing hundreds of acorns for an event or product line. Ovens vary, local humidity varies, and oak species vary. Twenty test acorns will reveal the best time and temperature for your conditions, show how many caps detach, and confirm whether your chosen sealer changes the color. A test batch may feel slow, but it is much faster than explaining why 150 wedding-place-card acorns smell like burnt popcorn.
Conclusion
Knowing how to dry acorns for crafts turns a free natural material into a dependable supply for fall decor, holiday ornaments, classroom projects, and woodland-inspired DIYs. The key is not complicated equipment; it is careful sorting, gentle washing, thorough surface drying, low controlled heat, complete cooling, and dry storage.
Follow the eight steps, reject damaged specimens, and resist the urge to speed things up with high heat. Your finished acorns will be cleaner, more stable, easier to paint or glue, and far less likely to introduce an unplanned six-legged guest to your craft table.