Granite is gorgeous, durable, heat-resistant, and tough enough to make your average drill bit question its career choices. That strength is exactly why homeowners love granite countertops, granite tiles, stone backsplashes, and vanity tops. It is also why drilling through granite requires the right tools, patience, and a healthy respect for the material.
The good news? You can drill through granite cleanly when you use a diamond drill bit or diamond hole saw, keep the bit cool with water, work slowly, and avoid brute force. The bad news? If you rush, use the wrong bit, drill too close to an edge, or forget dust control, you may end up with chips, cracks, overheated tools, or a hole that looks like it was made by an angry squirrel.
This guide explains how to drill through granite in eight practical steps, whether you are making a small anchor hole, installing a faucet, adding a soap dispenser, routing a water-filter line, or creating a clean opening in granite tile. The process is simple in theory: mark, cool, guide, drill, clean. The secret is doing each part carefully.
Before You Start: Should You Drill Granite Yourself?
Drilling granite is not the same as drilling wood, drywall, or even soft masonry. Granite is hard, brittle, and expensive to replace. A small mistake near a sink cutout or countertop edge can create a crack that travels faster than gossip in a group chat.
DIY drilling may be reasonable if you are making a small hole in granite tile, drilling a non-critical spot, or adding a faucet hole in a countertop you understand well. However, call a professional stone fabricator if the slab is newly installed, the hole is close to an edge, the countertop has a warranty, the stone is thin or unsupported, or the hole is larger than a typical faucet opening. A pro has core drills, templates, water control, dust protection, and experience reading the stone before cutting into it.
Tools and Materials You’ll Need
Gather everything before touching the drill. Once water, stone slurry, and power tools are involved, you do not want to pause mid-hole to hunt for painter’s tape.
- Variable-speed drill, preferably cordless for wet drilling
- Diamond drill bit for small holes
- Diamond hole saw or diamond core bit for larger holes
- Drill guide, template, or scrap wood guide
- Painter’s tape or masking tape
- Marker or grease pencil
- Spray bottle, sponge, water dam, or water-delivery guide
- Plumber’s putty for forming a small water ring
- Safety glasses, hearing protection, gloves, and a suitable dust mask or respirator
- HEPA vacuum or wet-cleanup materials
- Towels or plastic sheeting to protect cabinets and floors
Do not use hammer mode. Do not use a standard twist bit. Do not try to “push harder” when the bit slows down. Granite is drilled by grinding, not by bullying.
How to Drill Through Granite: 8 Steps
Step 1: Inspect the Granite and Plan the Hole Location
Start by checking where the hole needs to go. Measure twice, then measure again while imagining how annoying it would be to live with a faucet that is half an inch off-center forever.
For countertops, look underneath if possible. Check for cabinet rails, sink clips, support brackets, plumbing, electrical lines, and seams in the stone. Avoid drilling too close to an edge, corner, sink cutout, or existing crack. Granite is strong under compression, but edges and narrow strips are vulnerable to cracking.
If you are drilling for a faucet or soap dispenser, confirm the required hole size from the fixture manufacturer. Many kitchen faucet and accessory holes are around 1 3/8 inches, but you should never guess. A hole that is too small creates extra work; a hole that is too large creates a design feature nobody requested.
Step 2: Choose the Correct Diamond Bit or Hole Saw
The bit matters more than the drill. For small holes, use a diamond-tipped drill bit designed for stone, tile, porcelain, marble, or granite. For larger holes, use a diamond hole saw or diamond core bit. The diamond edge grinds the stone instead of slicing it like a wood bit.
A carbide masonry bit may scratch granite, but it often overheats, wanders, or dulls before doing useful work. A standard metal or wood bit is even worse. It may spin dramatically while achieving almost nothing, like a tiny helicopter with commitment issues.
Match the bit diameter to the job. Use a small diamond bit for anchor holes or hardware screws. Use a diamond hole saw for plumbing, faucets, cable pass-throughs, and dispenser openings. If the hole is large, deep, or in a high-value countertop, rent professional equipment or hire a stone fabricator.
Step 3: Mark the Hole and Protect the Surface
Place painter’s tape over the drilling area. The tape helps you see your mark clearly and may reduce tiny surface scratches around the hole. Mark the exact center point with a marker or grease pencil.
If you are using a hole saw without a pilot bit, a guide is extremely helpful. Diamond hole saws can skate across polished granite when they first touch the surface. A drill guide, suction guide, or scrap board with a pre-cut hole can hold the bit in place until it forms a groove.
For a quick guide, clamp or tape a piece of scrap plywood with the correct-size guide hole over the mark. On vertical granite tile, use a commercial guide or strong tape. The goal is simple: keep the bit from wandering during the first few seconds.
Step 4: Set Up Water Cooling and Slurry Control
Water is your friend when drilling granite. It cools the diamond bit, reduces friction, helps prevent overheating, and keeps much of the stone dust from becoming airborne. It also creates slurry, which is the fancy word for “wet stone mud that wants to go everywhere.”
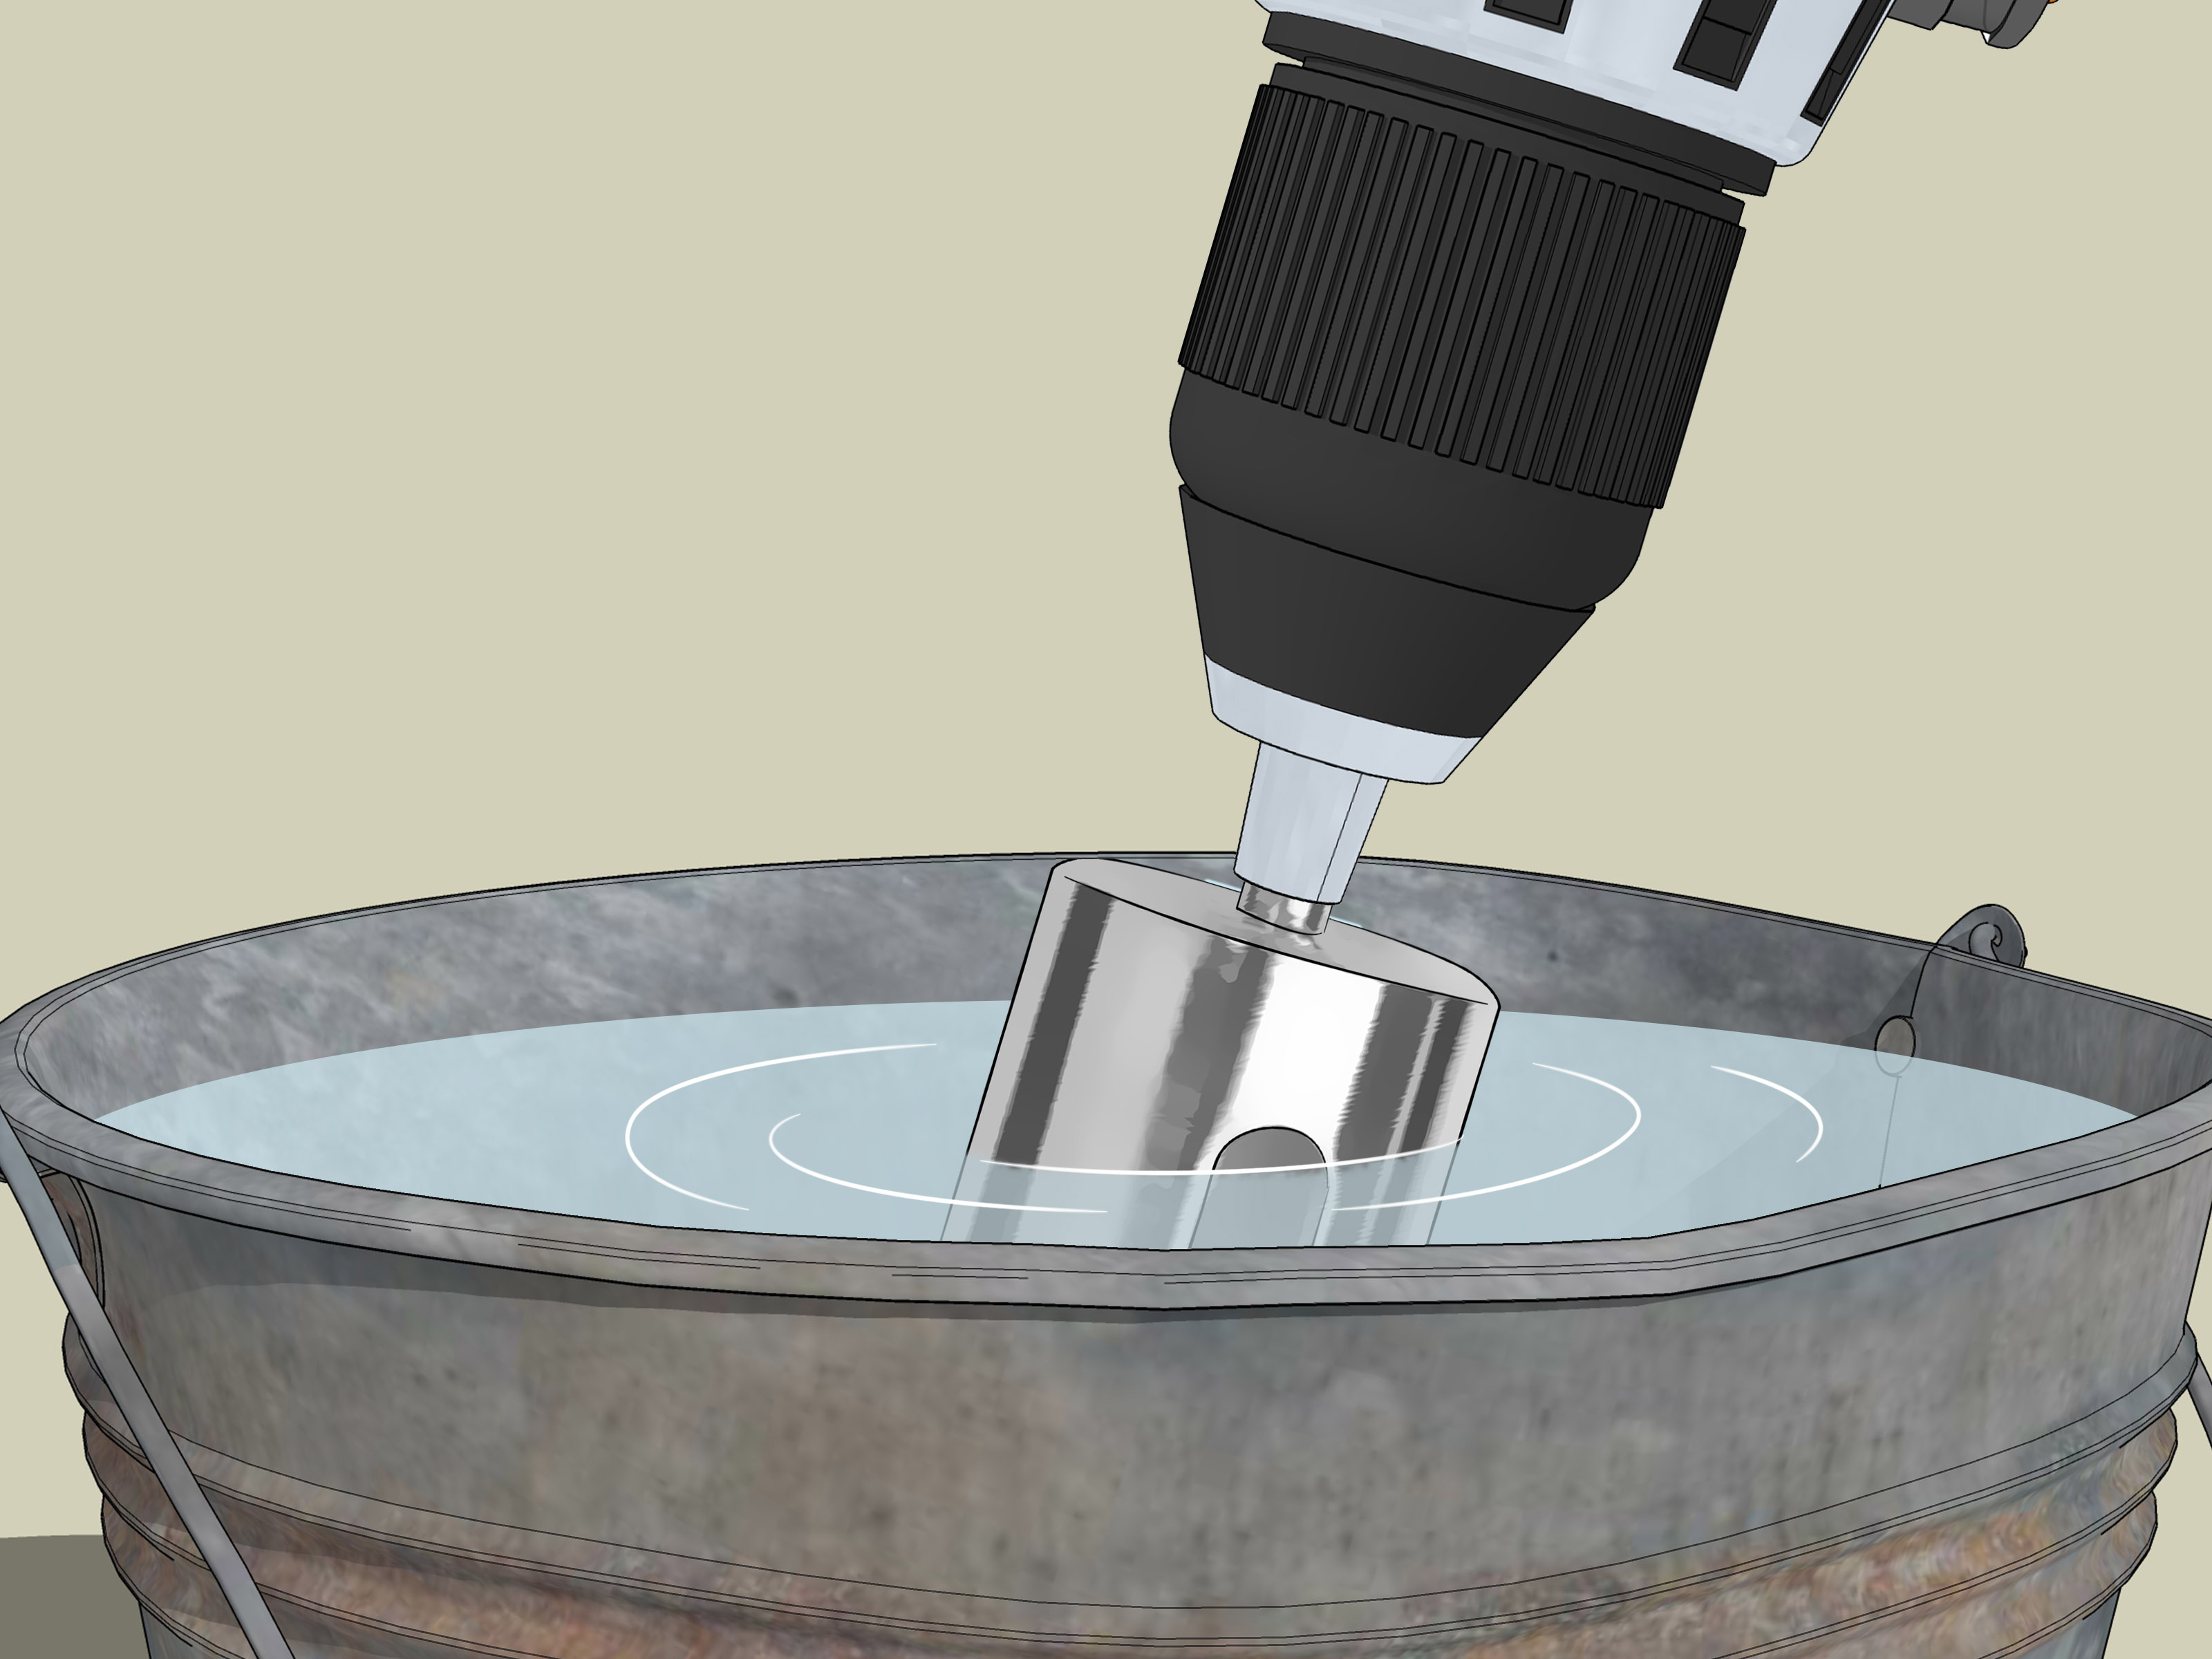
For horizontal surfaces, form a small ring of plumber’s putty around the mark and add a little water inside. You can also use a sponge, spray bottle, or water-delivery hole saw guide. For vertical surfaces, spray frequently and let a helper manage water if the setup is safe.
Use caution with electricity. A cordless drill is safer for wet drilling than a corded tool. Keep standing water away from outlets, extension cords, and power strips. Protect cabinets, drawers, and floors with towels or plastic sheeting before the first drop of water appears.
Step 5: Start Slowly at an Angle or Use a Guide
If you have a stable drill guide, place the bit squarely over the mark and begin at low speed. If you do not have a guide, many diamond hole saws can be started at a slight angle. Touch one edge of the hole saw to the granite first, let it grind a small crescent-shaped groove, then gradually bring the drill upright as the rim settles into the cut.
This is not the moment for full speed. Start slowly and keep the drill steady. Once the bit has created a shallow groove, it will be much easier to hold the line. Keep your hands balanced, your shoulders relaxed, and your pressure light.
Never use hammer mode. Hammer action can chip or crack stone. Granite needs steady rotation, cooling water, and patience.
Step 6: Drill With Light Pressure and Constant Cooling
Let the diamond bit do the work. Push too hard and you create heat, wear out the bit, strain the drill, and increase the chance of chipping. Use light to moderate pressure and a controlled speed. Larger hole saws generally need slower speeds than smaller bits, but always follow the bit manufacturer’s recommendations.
Keep the drilling area wet. If the water turns into thick paste, pause and add more. If the bit begins squealing, smoking, or refusing to cut, stop. It may be overheating, clogged with debris, or glazed over. Lift the bit slightly every so often to let water reach the cutting edge and wash away slurry.
A gentle rocking or slight circular motion can help clear debris when using a hole saw, but do not wobble wildly. The goal is to help water and slurry move, not to carve an oval hole that your fixture trim barely covers.
Step 7: Slow Down Near Breakthrough
The final part of the hole is where chips often happen. As the bit nears the underside of the granite, reduce pressure. If you can access the bottom side, support the area with a scrap board or tape. For loose granite tile, drilling from both sides can help reduce breakout, but only if you can align the holes accurately.
For installed countertops, you usually drill from the top only. In that case, take your time as the bit approaches the bottom. Do not punch through aggressively. Keep water flowing, ease up on pressure, and let the last thin layer of stone grind away gradually.
If the stone plug remains inside the hole saw, remove it carefully after the tool is off and cool. Some hole saws have side slots that make plug removal easier. Wear gloves because the bit and plug may be hot or sharp.
Step 8: Clean, Smooth, Test-Fit, and Seal if Needed
After drilling, wipe away slurry before it dries. Use wet cleanup methods or a HEPA vacuum suitable for fine dust. Do not blow granite dust around with compressed air. That turns cleanup into a room-wide event and may increase dust exposure.
Test-fit your fixture, anchor, grommet, or pipe. If the hole is slightly tight, use the correct diamond tool to refine it gently. Do not jam metal hardware into the stone. If the edge is sharp, smooth it lightly with a diamond hand pad or appropriate stone-finishing tool.
For countertops, check whether the drilled edge needs stone sealer, especially if the hole will be near water. Granite varies in porosity, and some stones benefit from sealing exposed edges. Once everything is clean and dry, install the fixture according to its instructions.
Common Mistakes to Avoid When Drilling Granite
Using the Wrong Drill Bit
Granite is not impressed by ordinary bits. A wood bit, metal bit, or low-quality masonry bit can overheat, skate, dull, or damage the surface. Use diamond tools rated for granite or hard stone.
Drilling Too Fast
High speed creates heat. Heat shortens bit life and can stress the stone. A smooth, controlled pace usually produces a cleaner hole than racing through the job.
Skipping Water
Dry drilling may be possible with specific dry-rated diamond tools, but it creates more dust and heat. For most DIY granite holes, wet drilling is cleaner, cooler, and kinder to the bit.
Pressing Too Hard
More pressure does not mean faster progress. It often means more heat, more vibration, more chips, and more regret. Let the diamond grit grind steadily.
Drilling Near Weak Spots
Edges, corners, seams, sink openings, and narrow stone strips are risky. If the hole must be placed in a questionable location, get professional advice before drilling.
Best Uses for Drilling Through Granite
Homeowners commonly drill granite for faucet holes, reverse osmosis drinking-water systems, soap dispensers, sprayers, cable pass-throughs, bathroom accessories, mounting brackets, and tile installations. Each use has a slightly different requirement.
For a soap dispenser or water-filter faucet, the hole must be clean but will usually be covered by a trim plate. For visible hardware, the hole needs to be especially accurate. For anchors, depth matters more than diameter, and the fastener should match the weight of the item being mounted.
When drilling granite tile, support the tile fully from underneath. Loose tile can crack if it vibrates. Installed tile should be checked for hollow spots before drilling, because unsupported areas are more likely to chip or break.
How Long Does It Take to Drill Through Granite?
A small hole may take a few minutes. A larger faucet hole through a thick countertop may take longer, especially if you pause often to cool the bit. Time depends on granite hardness, slab thickness, bit quality, drill power, water flow, and your comfort level.
Do not judge success by speed. A slow, clean hole is better than a fast, chipped one. Granite rewards patience. It does not reward dramatic tool noises.
Safety Tips for Drilling Granite
Wear eye protection because small chips and slurry can fly. Use hearing protection because drilling stone is loud. Wear gloves when handling tools, plugs, and sharp stone edges, but keep gloves clear of spinning parts.
Granite dust may contain crystalline silica, so dust control matters. Wet drilling helps reduce airborne dust, but it does not magically erase every risk. Use proper ventilation, wet cleanup, and a suitable dust mask or respirator when needed. For larger jobs or repeated drilling, professional silica controls are important.
Keep your work area organized. Cords, puddles, towels, tools, and stone slurry can turn a simple project into a slapstick routine. Unfortunately, slapstick is less funny when a countertop is involved.
Extra Experience Notes: What Real Granite Drilling Teaches You
The first thing you learn when drilling granite is that confidence is useful, but overconfidence is expensive. Granite does not care that you watched three videos, bought a shiny diamond hole saw, and announced to the kitchen that you are now “basically a fabricator.” The stone responds only to the correct bit, steady water, light pressure, and a calm hand.
One practical experience is that the beginning of the hole feels harder than the middle. A polished granite surface is slippery, so the bit wants to wander before it creates a groove. This is why a guide is not just a nice accessory; it can be the difference between a centered hole and a crescent-shaped scratch that you will notice every morning while making coffee. If you do start at an angle, be patient. Let one edge of the diamond rim bite gently before rolling the drill upright.
Another lesson is that water control matters almost as much as drilling technique. Too little water and the bit heats up. Too much water and you may soak cabinets, flooring, or electrical areas. A small putty dam works well on flat countertops because it keeps water right where the bit needs it. A spray bottle works, too, but it requires attention. The bit should stay wet, but the job should not become an indoor swimming pool.
Granite slurry also dries faster than you expect. If you leave it sitting, it can become gritty residue that is harder to clean. Wipe as you go. Keep a towel nearby. If you are drilling over cabinets, cover drawer slides and stored items before starting. Stone mud has a talent for finding places where it absolutely does not belong.
Bit quality is another major factor. A cheap diamond hole saw may complete one hole, but it may cut slowly or wear out quickly. A better bit often feels smoother, stays cooler, and leaves a cleaner edge. That does not mean every homeowner needs professional-grade tooling, but it does mean the bit should be rated for granite and sized correctly for the fixture.
Near the end of the hole, resist the urge to celebrate early. Breakthrough is where chips happen. Ease up, keep the bit wet, and let it finish gently. If the stone plug drops out cleanly, excellent. If it sticks inside the hole saw, turn the drill off, wait for the bit to cool, and remove it carefully.
The final experience-based tip is simple: practice if you can. A scrap piece of granite, stone tile, or similar hard material teaches you how the bit sounds, how much water it needs, and how slowly the tool should move. Five minutes of practice can save a very permanent mistake. Granite is beautiful because it lasts. Your drilled hole will last, too, so make it one you are proud to look at.
Conclusion
Learning how to drill through granite comes down to preparation, patience, and the right diamond tool. Choose the correct bit or hole saw, mark carefully, guide the bit, keep everything cool with water, drill at a controlled speed, and slow down near breakthrough. Whether you are installing a faucet, adding a soap dispenser, or drilling granite tile, the same rule applies: let the diamond do the work.
If the project involves a costly countertop, a risky location, or a large hole, hiring a stone professional is not defeat. It is wisdom wearing safety glasses. But for smaller, well-planned jobs, the eight steps above can help you create a clean, accurate hole without turning your granite into an expensive lesson.