A firewood rack is the difference between “I have firewood” and “I have a damp, bug-friendly outdoor sculpture that occasionally collapses.”
Done right, it keeps logs off the ground, encourages airflow, helps wood dry faster, and turns your yard into the kind of place where people
assume you own at least one flannel shirt on purpose.
Below is a practical, in-depth guide to building a sturdy DIY firewood rack using simple materials (often just 2x4s), with options that keep
cutting and power-tool drama to a minimum. You’ll also get storage and stacking tips so your wood burns hotter, cleaner, and with less smoke.
What a Firewood Rack Actually Does (Besides Making You Look Responsible)
Firewood has three enemies: ground moisture, trapped humidity, and the slow chaos of gravity. A good rack solves all three by elevating the
stack, leaving space for air to move, and keeping your pile stable enough that it doesn’t tip over the moment someone grabs a log like
they’re playing a Jenga speedrun.
The payoff is real: drier wood lights faster, produces more heat, and makes less smoke (and less creosote risk in chimneys). If you’ve ever
tried to start a fire with damp logs that hiss like an angry cat, you already understand the mission.
Quick Safety Note (Especially If You’re Under 18)
Building a rack is a doable project, but cutting lumber and using power tools can be dangerous. If you’re a minor, have a parent/guardian or
another responsible adult handle any cutting, drilling, or power-tool work. One easy workaround: ask the store to cut lumber to length, or
choose a bracket-style rack kit designed for simple assembly with straight cuts.
This guide focuses on safe planning and straightforward assembly. Wear eye protection, keep hands clear of pinch points, and don’t build on a
slope unless you enjoy slapstick.
Before You Build: Pick a Size That Matches Your Fire Habit
Know your units: cords, face cords, and “a truckload”
In the U.S., a full cord of firewood is typically 128 cubic feet (often described as a stacked pile 4 feet high × 4 feet deep ×
8 feet long). A “face cord” is commonly 4 feet high × 8 feet long, but only about one log length deep (often 16 inches), so it’s smaller.
When in doubt, measure in cubic feet and you’ll never get bamboozled by vague listings like “generous pile.”
A simple capacity math trick
Estimate rack capacity with:
(length in feet × height in feet × depth in feet) ÷ 128 = cords.
Example: an 8-foot rack that’s 4 feet tall and 16 inches deep (1.33 feet) holds about:
(8 × 4 × 1.33) ÷ 128 ≈ 0.33 cordsroughly one-third of a cord.
How much should you store?
If you light occasional weekend fires, a rack sized for a fraction of a cord is usually plenty. If you heat primarily with wood, you’ll want
multiple racks or a longer system. Many people prefer two racks: one “ready-to-burn” rack near the house (kept modest in size), and a larger
seasoning stack farther away.
Materials and Tools
Rack materials (choose what fits your setup)
- 2×4 lumber (pressure-treated for outdoor use, or rot-resistant wood like cedar)
- Optional: firewood rack bracket kit that accepts standard 2x4s (great for simple builds)
- Exterior-rated screws or lag screws (galvanized or coated for outdoor projects)
- Optional: metal angle brackets for extra stiffness
- Pavers, concrete blocks, or gravel for a stable, elevated base
- Optional: roof panel, plywood strip, or tarp to cover the top (not the sides)
- Outdoor wood sealer/stain (optional but helpful in wet climates)
Tools (keep it simple)
- Tape measure, pencil, and a level
- Work gloves and eye protection
- Wrench or socket set (for some bracket kits)
- Screwdriver or drill/driver (if drilling, have an adult handle it)
- Clamps (nice to have, not mandatory)
How to Build a Firewood Rack: 15 Steps
Step 1: Decide your “wood lifestyle” (and pick a target capacity)
Be honest: are you burning a cozy fire once a week, or are you basically a woodland creature with a wood stove? Use the capacity formula above
to choose a rack size you can actually keep filled without making it a second job.
Step 2: Choose a rack style: bracket-kit build or simple wood frame
The easiest approach is a bracket-style rack that uses standard 2x4s. Many are designed so assembly is beginner-friendly and cuts are simple
(often straight 90-degree cuts only). A fully custom frame can be very sturdy too, but usually involves more measuring, cutting, and fastening.
Step 3: Pick the right location (dry, breezy, and not against your house)
Look for level ground with good airflow and some sun exposure. Avoid tucking the rack tightly between a fence and a shedshade and stagnant air
are moisture’s favorite roommates. Also, don’t store large stacks against your home or garage: wood can attract pests, and a big pile near a
structure can be a fire risk.
Step 4: Plan for distance and convenienceuse the “two-pile method”
A smart compromise is to keep the main seasoning stack farther out, while storing only a small, short-term supply closer to the house. That
way you’re not hauling logs across your yard in freezing rain, but you’re also not inviting termites to a housewarming party.
Step 5: Build a solid base that keeps wood off the ground
Ground contact speeds up rot and invites insects. Set pavers, concrete blocks, or a compacted gravel strip under the rack feet/rails.
Your goal is stable and elevatedthink “patio vibe,” not “mud spa.”
Step 6: Decide your rack dimensions (a practical example)
A very common DIY firewood rack size is 8 feet long, 4 feet high, and 16–18 inches deep.
That holds roughly a third of a cord, depending on how tightly you stack. If your logs are longer (20–24 inches), increase depth accordingly.
Step 7: Get lumber cut safely (or have the store cut it)
If you’re using a bracket kit, you often only need straight cuts: rails, uprights, and optional braces. If you’re under 18, have an adult
handle cutting, or request store cuts when you buy the lumber. You’ll get cleaner cuts, fewer mistakes, and way less “why is this piece
mysteriously 3 inches shorter than reality?”
Step 8: Dry-fit the pieces before fastening anything
Lay everything out on the ground in the shape of the rack. This is the part where you discover whether your “4-foot upright” is actually
3-foot-10 because somebody measured from the wrong end of the tape. Better now than later.
Step 9: Assemble the end frames (the rack’s “bookends”)
Your rack needs two sturdy ends to keep the stack from slumping sideways. With a bracket kit, this usually means inserting uprights and base
rails into the brackets. With a wood frame, it means fastening uprights to base rails and adding a crosspiece. Keep the end frames square and
stableyour future self will thank you every time you pull a log.
Step 10: Connect the ends with long rails (and check level)
Connect the two end frames using long bottom rails (and top rails if your design includes them). Use a level to make sure the rack sits flat.
If the rack rocks, shim with small paver pieces or adjust the base. “Close enough” is how racks become modern art.
Step 11: Add bracing so the rack doesn’t sway
The biggest DIY rack complaint is wobble. A simple bracelike diagonal supports on the back or short stiffeners between uprightscan make a huge
difference. If your kit supports extra bracing, do it. If you’re building from lumber, add at least one diagonal brace on each end.
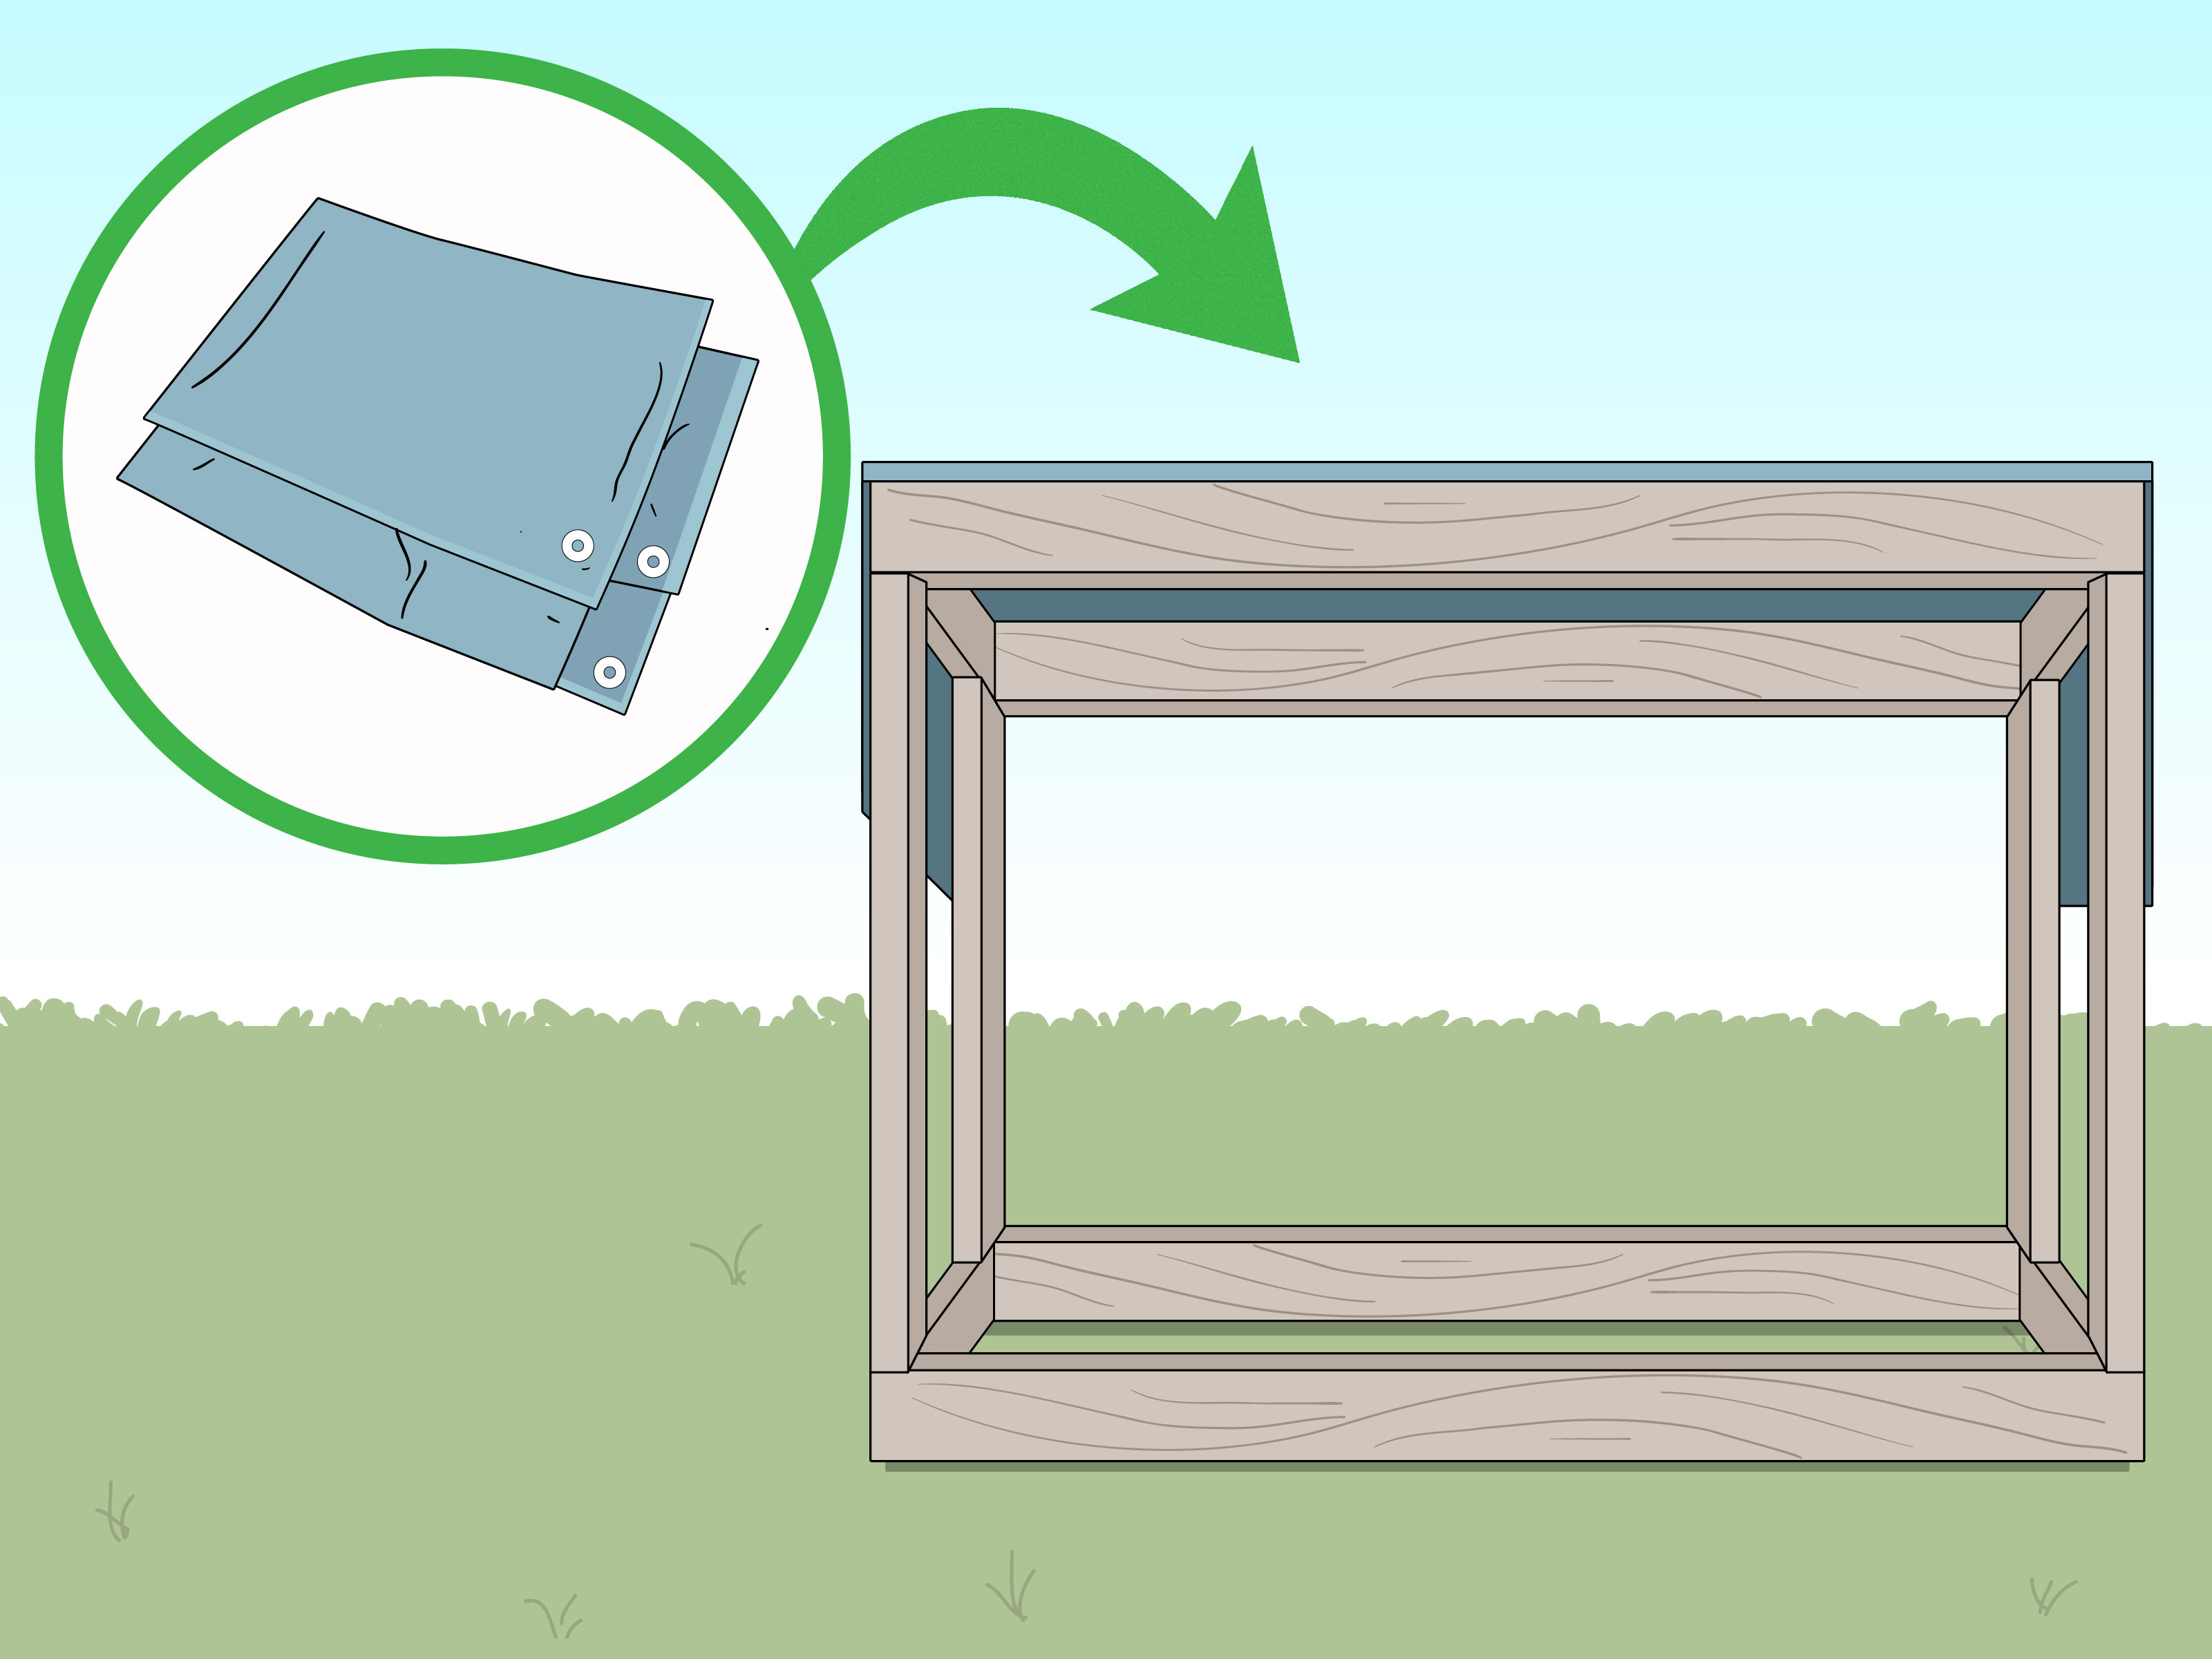
Step 12: Add a smart top cover (optional, but highly recommended)
Protecting the top of the pile helps keep rain and snow from soaking the stack. The key is to cover only the topnot wrap the
sidesso air can still move through the wood. A simple strip of roofing panel, plywood with a slight slope, or a tarp secured over the top can
work well.
Step 13: Seal or finish the rack for outdoor life
If you used untreated lumber outdoors, consider an exterior sealer or stain. If you used pressure-treated wood, you can still seal it after it
dries out a bit. This step extends rack life, especially in rainy or snowy climates.
Step 14: Load the rack correctly (yes, there’s a right way)
Start with the biggest, most uniform pieces on the bottom. Stack loosely enough that air can travel through small gaps, but not so loosely
that the pile leans like it’s trying to escape. Keep the stack height reasonablemany storage guides recommend staying around 4 feet
for stability and easy access.
Step 15: Rotate your wood and maintain the area
Use the oldest wood first. Keep weeds and debris away from the stack so airflow stays strong and pests have fewer hiding places. Every so often,
check fasteners and braces, and re-level the base if frost heave or soil settling has shifted things.
Stacking and Storing Firewood Like You Want It to Burn Well
Keep it dry (but don’t suffocate it)
Wood dries best with sun and airflow. Cover the top to shed rain and snow, but keep the sides open. Wrapping the entire pile
traps moisture and turns your stack into a slow-motion compost project.
Keep it off the ground
Elevation matters. Even a few inches helps reduce moisture wicking up into the bottom row. Pavers, pallets, pressure-treated runners, or a rack
base all workjust aim for stable and supported.
Mind pests and placement
Firewood piles can shelter insects and rodents. Many extension and home guidance sources recommend keeping the main stack away from structures,
and only bringing in small amounts of wood when you’re ready to burn.
Burn wood that’s actually ready
Seasoned firewood typically burns best when moisture content is below about 20%. If you want a simple “no gadgets required”
check: dry wood often shows visible end checks (cracks), feels lighter, and makes a sharper “clack” when two pieces are knocked together.
Common Mistakes That Turn Good Firewood Into Bad Firewood
- Stacking too close to the house: convenient, but it can invite pests and increases fire risk.
- Storing directly on soil: moisture + bugs + rot = a pile you won’t want to carry indoors.
- Wrapping the whole pile in a tarp: the sides need airflow, or your wood stays damp longer.
- Stacking too tightly: airflow is the pointsmall gaps help wood dry and stay dry.
- Stacking too high: unstable piles are safety hazards; keep it manageable and reachable.
- Using pesticides on firewood: not worth the riskburning treated wood can release nasty fumes.
FAQ: Real Questions People Ask After They Build One Rack
Should I use pressure-treated lumber?
For outdoor racks, pressure-treated lumber holds up well against moisture, especially for parts close to the ground. Cedar and other naturally
rot-resistant woods can also work, usually at a higher cost. If the rack will live outdoors year-round, durability matters.
Can I put the rack right against a wall or fence?
You can, but it’s usually not ideal. You want airflow, and tight placement can trap moisture and slow drying. If you must place it near a wall,
leave a few inches of gap so air can move and the wall doesn’t get damp.
Do I need a roof over the rack?
A top cover helps a lot in wet or snowy areas. The “golden rule” is to shed water from above while leaving the sides open for ventilation.
How long will a DIY rack last?
With a solid base, exterior fasteners, bracing, and a little maintenance, a rack can last for years. The biggest rack killers are ground contact,
constant wetness, and wobble that loosens joints over time.
Experiences and Real-World Lessons From Firewood Rack Life (Extra )
The funny thing about building a firewood rack is that you don’t really learn what you built until you live with it through a season. On day one,
everything looks perfect: squared corners, tidy rails, a neat rectangle of possibility. Then reality shows up wearing muddy boots and carrying a
wheelbarrow.
Lesson one: the ground is never as level as you think it is. Even if your rack looks fine empty, loading it reveals tiny tilts that turn into big
leaning problems. People who are happiest long-term tend to overbuild the base: pavers that don’t wiggle, gravel that’s compacted, and supports
that keep the rack from rocking. If you can nudge the rack with one hand and it moves, your stack is going to “wander” over timeusually in the
direction of your nicest shoes.
Lesson two: bracing isn’t optional, it’s adulthood. A rack without bracing can feel sturdy until you start removing wood unevenly. You’ll pull
logs from the middle (because it’s easiest), and suddenly the stack behaves like a tired bookshelf. Builders who add diagonal bracingor at least
stiffeners that stop side-to-side swayend up with a rack that still looks intentional in February, not like a half-finished art project.
Lesson three: top-cover strategy matters more than you’d expect. A fully wrapped tarp seems smart until you peel it back and discover you’ve been
steaming your firewood like vegetables. The “cover the top, leave the sides” approach feels slightly wrong until you realize it’s the only way
water gets shed while airflow still does its job. In rainy stretches, a simple sloped panel on top can outperform an expensive tarp job, because
it doesn’t sag into puddles that drip right where you least want them.
Lesson four: convenience beats perfection every single time. The best rack design on paper is useless if you hate using it. People who actually
burn wood regularly tend to keep a small “grab-and-go” supply closer to the house, then restock it from the main pile farther out. It reduces
pest risk while still keeping winter from turning firewood collection into a daily endurance sport.
Lesson five: your rack will teach you what size logs you really use. Maybe you thought you were a “big log” person. Then you discover that
splitting smaller or stacking more uniformly makes everything easier: quicker stacking, fewer weird gaps, and less chance of a log rolling onto
your toes. Over time, people naturally start sorting: straighter pieces for the bottom, uglier chunks for the middle, and oddballs saved for
shoulder-season fires when you’re not trying to heat the whole universe.
In the end, the best firewood rack is the one that quietly does its job: keeps wood dry, keeps your pile stable, and makes it easy to rotate
stock so you’re always burning the oldest, driest pieces. Build it once with smart airflow, a solid base, and bracingand your future self can
spend winter enjoying the fire instead of re-stacking it.