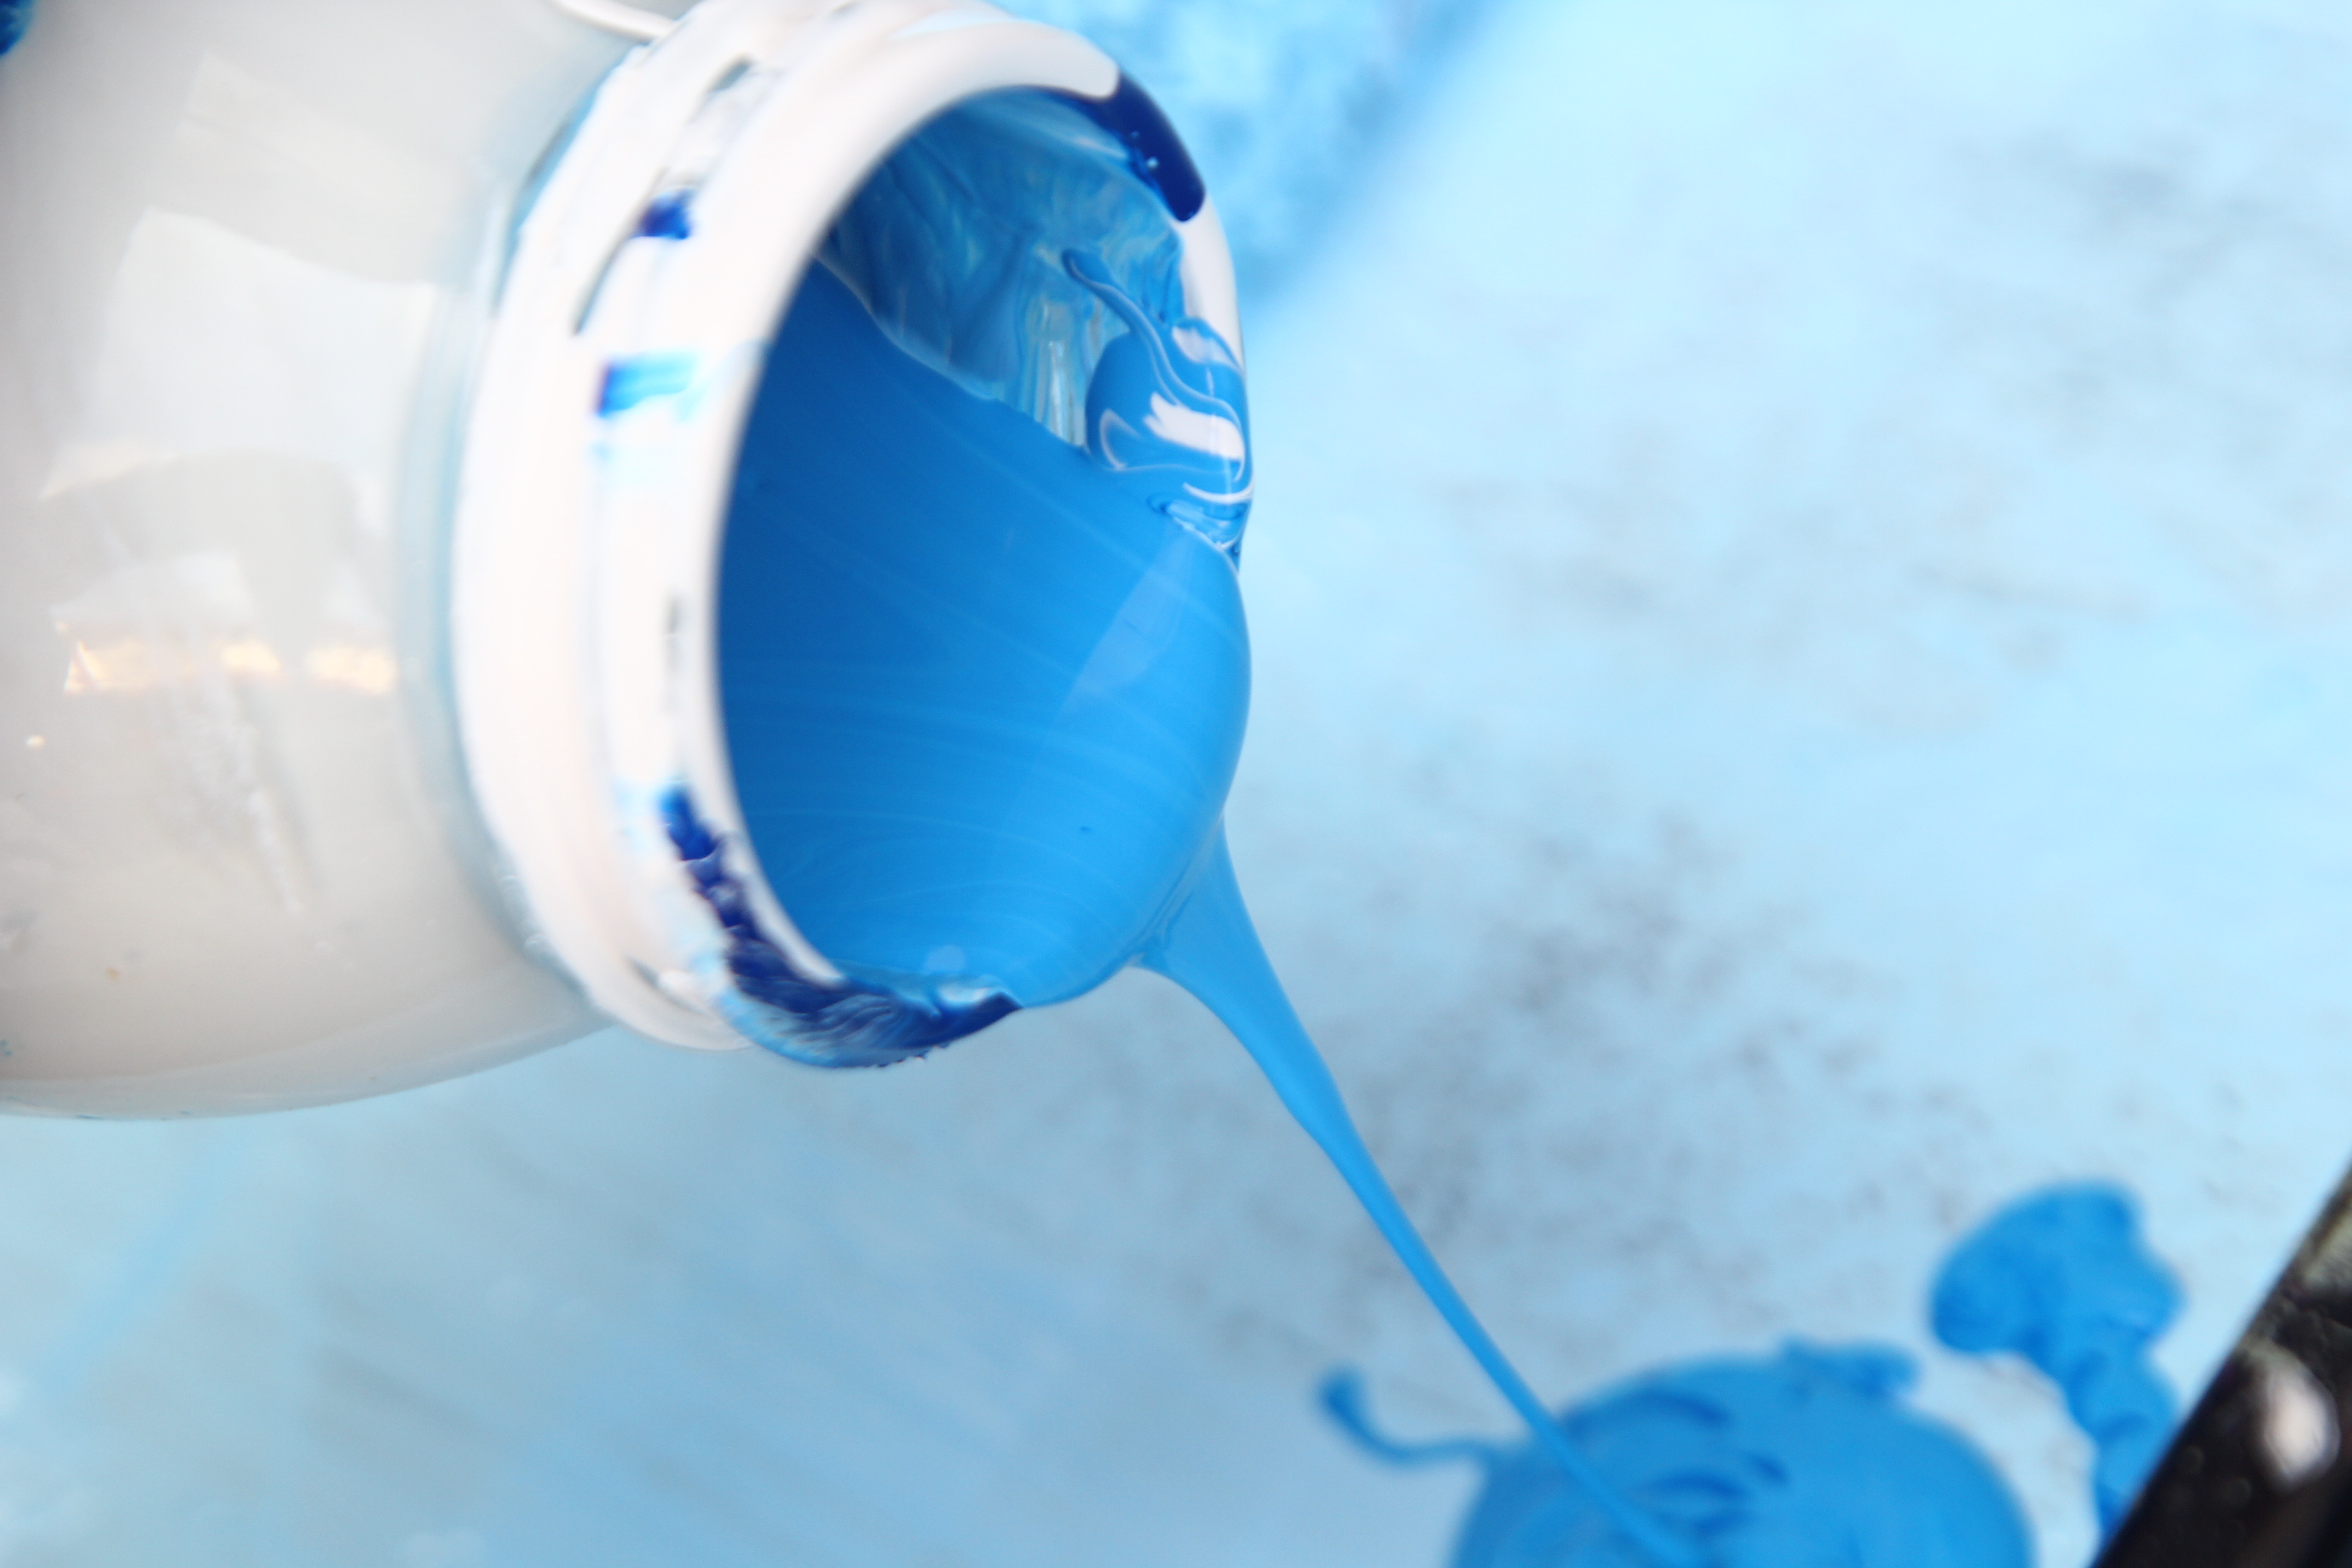
Elastomeric paint is the overachiever of the exterior coating world. Regular exterior paint shows up with a nice outfit and decent manners. Elastomeric paint arrives wearing a raincoat, work boots, and a tiny superhero cape. It is thicker, more flexible, and especially useful on stucco, masonry, concrete block, brick, and other exterior vertical surfaces that expand, contract, and occasionally develop those annoying little hairline cracks that make homeowners stare at walls like detectives at a crime scene.
But here is the catch: elastomeric paint is not “regular paint, but fancier.” It behaves differently. It needs better prep, heavier application, the right weather, and enough drying time to do its job. Apply it too thin and you lose the crack-bridging benefit. Apply it over dirty, chalky, damp, or failing paint and you may accidentally create a very expensive peeling blanket. Nobody wants that.
This step-by-step tutorial explains how to apply elastomeric paint the right way, from surface inspection to final touch-ups. Whether you are painting a stucco home, refreshing a masonry wall, or coating exterior concrete block, the process below will help you get a smooth, durable, water-resistant finish without turning your weekend project into a neighborhood cautionary tale.
What Is Elastomeric Paint?
Elastomeric paint is a high-build, flexible coating designed to stretch and move with exterior surfaces. Most products used on homes are water-based acrylic elastomeric coatings. They form a thicker film than standard exterior paint, helping bridge small hairline cracks and reduce water intrusion on properly prepared vertical masonry surfaces.
The word “elastomeric” comes from elasticity. In simple terms, the coating can expand and contract as the wall moves with temperature changes, wind, moisture, and normal building movement. This is why elastomeric paint is commonly used on stucco, concrete, tilt-up walls, concrete block, and brick. It is especially popular in climates with wind-driven rain, strong sun, humidity, or repeated wet-dry cycles.
Best Surfaces for Elastomeric Paint
Elastomeric paint is usually a good fit for:
- Exterior stucco walls
- Concrete block and cinder block
- Poured concrete walls
- Brick masonry, when the product is approved for brick
- Vertical exterior masonry surfaces
- Previously painted masonry in sound condition
It is usually not the best choice for walking surfaces, horizontal ledges that hold water, rotted wood, active leaks, structural cracks, or damp walls with trapped moisture. Always check the product label because “elastomeric” is a category, not a single magic potion.
Before You Begin: Know What Elastomeric Paint Can and Cannot Do
Elastomeric paint can bridge tiny hairline cracks, but it is not a substitute for proper repairs. If you have cracks wider than a hairline, crumbling stucco, soft masonry, bulging walls, or water entering from behind the surface, fix those problems first. Think of elastomeric paint as a weather-resistant jacket, not a spine surgeon.
It also creates a thicker film than standard paint, which can be a strength or a weakness. On a suitable surface, that thick film improves durability and water resistance. On a damp or poorly prepared surface, it may trap moisture and lead to blistering or peeling. The best results come from pairing the right product with the right wall.
Tools and Materials You Will Need
Gather everything before opening the paint. Elastomeric coatings are thick, and once you start, you do not want to discover your roller cover is too thin or your ladder is hiding in a neighbor’s garage.
- Elastomeric paint approved for your surface
- Masonry primer or conditioner, if required by the product
- Elastomeric patching compound or masonry crack filler
- Exterior-grade caulk for joints and trim transitions
- Pressure washer or garden hose with scrub brush
- Mildew remover or masonry cleaner
- Paint scraper and wire brush
- Drop cloths and painter’s tape
- Heavy-nap roller cover, often 3/4 inch to 1 1/2 inches depending on texture
- Quality nylon/polyester brush
- Roller frame and extension pole
- Airless sprayer, optional
- Wet film thickness gauge, highly recommended
- Paint grid or large bucket
- Protective eyewear, gloves, and work clothes
Step 1: Inspect the Surface Carefully
Start with a slow walk around the project area. Look for peeling paint, chalky residue, mildew, efflorescence, cracks, soft stucco, loose mortar, water stains, rusting metal accessories, and gaps around doors or windows. Mark repair areas with painter’s tape or chalk so you do not miss them later.
Pay special attention to the bottom of walls, parapets, window sills, roof-wall intersections, and areas near sprinklers. These places often collect moisture, and moisture is the villain in many failed coating stories. If the wall feels damp or powdery, do not paint yet. Find the cause and correct it.
Step 2: Check for Lead Paint on Older Homes
If the home was built before 1978, assume old paint may contain lead unless testing proves otherwise. Scraping, sanding, or pressure washing lead-based paint can create hazardous dust and chips. For older homes, use lead-safe practices or hire an EPA-certified professional. This is not the part of the project where you “wing it” with a dust mask and positive thinking.
Step 3: Clean the Wall Until It Is Actually Clean
Elastomeric paint needs a clean, dry, sound surface. That sounds simple, but exterior walls are basically giant collection boards for dust, pollen, chalk, spider condos, mildew, and mystery grime. Remove loose dirt with a brush or rinse. For chalky surfaces, power washing may be necessary. For mildew, use a mildew-removing cleaner and rinse thoroughly. For grease or oily dirt, use a masonry-safe degreaser.
If you pressure wash, avoid blasting the wall like you are trying to erase it from history. Too much pressure can damage stucco, open cracks, force water behind the surface, or scar masonry. Use the lowest effective pressure, keep the nozzle moving, and let the wall dry fully afterward.
Step 4: Let New Masonry or Stucco Cure
New stucco, concrete, mortar, and masonry need curing time before coating. Many masonry coatings recommend waiting at least 30 days before painting new stucco or masonry. Some specialized products allow earlier application under certain conditions, but the label wins every argument. If the coating says wait, wait. Fresh masonry can be too alkaline or moist, which may cause adhesion failure, discoloration, or premature peeling.
Step 5: Repair Cracks, Holes, and Damaged Areas
Elastomeric paint can bridge small hairline cracks, but larger cracks should be repaired before painting. Use elastomeric patching compound, masonry crack filler, or a product recommended by the coating manufacturer. For gaps around windows, doors, trim, vents, and penetrations, use a quality exterior sealant that remains flexible.
For stucco repairs, match the texture as closely as possible. A smooth patch on rough stucco will stand out like a tuxedo at a beach barbecue. Let all repairs cure according to the patching product instructions. Do not rush this step. Painting over uncured filler can lead to shrinking, cracking, or soft spots under the coating.
Step 6: Remove Loose Paint and Feather the Edges
Scrape away peeling, flaking, or blistered paint. A coating is only as strong as what it sticks to. If old paint is barely hanging on, elastomeric paint will not politely convince it to behave. It will simply peel off with it later.
After scraping, feather rough edges where possible so the final finish looks smoother. On masonry and stucco, you may not get a perfectly invisible transition, but you can reduce sharp ridges. Brush away dust before priming or painting.
Step 7: Decide Whether You Need Primer
Some elastomeric coatings are direct-to-masonry. Others require primer on bare, porous, chalky, patched, or previously painted surfaces. Use the primer recommended by the paint manufacturer, especially for bare masonry, high-pH surfaces, or patched areas.
Primer helps with adhesion, seals uneven porosity, and improves color uniformity. On concrete block, a block filler may be recommended before elastomeric coating because block is porous and full of tiny voids. Without the right base, your first coat may disappear into the wall like coffee into a Monday morning.
Step 8: Choose the Right Weather Window
Weather matters. Most elastomeric paints should be applied only within the temperature range stated on the label. A common range is around 50°F to 90°F for air and surface temperature, though some products vary. Avoid painting in direct hot sun, high wind, fog, heavy humidity, or when rain or heavy dew is expected.
Remember that surface temperature can be hotter than air temperature. A dark wall in afternoon sun can become much hotter than the thermometer says. Paint early enough in the day for the coating to set before evening dew arrives, but not so early that the surface is still damp. In other words, elastomeric paint likes “pleasant picnic weather,” not “desert skillet” or “swamp sauna.”
Step 9: Mix the Paint Correctly
Elastomeric paint is thick and must be stirred thoroughly before use and occasionally during application. If you are using multiple cans of the same color, intermix them in a larger container to avoid slight color differences from one can to another.
Do not thin elastomeric paint unless the manufacturer specifically allows it. The coating depends on proper film thickness. Adding water may make it easier to roll, but it can reduce performance. That is like watering down soup and then wondering why it tastes like regret.
Step 10: Apply the First Coat
Use a heavy-nap roller cover for textured masonry or stucco. A 3/4-inch nap may work for smoother surfaces, while rough stucco or concrete block may require 1 inch to 1 1/2 inches. Load the roller generously and work in manageable sections. Push the coating into pores, cracks, and texture rather than skimming over the surface.
If using an airless sprayer, choose the spray tip recommended on the product label and back-roll while the coating is still wet. Back-rolling helps force material into voids and evens out the film. Spraying without back-rolling on rough masonry can leave thin spots, pinholes, and uneven coverage.
Work from top to bottom. Keep a wet edge. Avoid stretching the paint too far. Elastomeric coatings usually cover fewer square feet per gallon than standard exterior paint because they must be applied much thicker. If the label says the gallon covers 75 to 125 square feet, believe it. This is not the moment to prove you can paint an entire wall with three tablespoons and optimism.
Step 11: Check Film Thickness
Film thickness is the secret sauce of elastomeric paint. Too thin, and it behaves more like ordinary paint. Too thick, and it may sag, skin over, or dry improperly. Use a wet film thickness gauge to check your work, especially if the product specifies a target wet mil thickness.
A wet film gauge is inexpensive and simple. Press it into the wet coating, pull it away, and read the last marked tooth touched by paint. This tells you whether you are applying enough material. Professional painters often rely on these gauges because coverage estimates alone can be misleading on rough, porous, or uneven surfaces.
Step 12: Allow Proper Drying Time
Elastomeric paint is applied in heavy coats, so it often needs more drying time than regular exterior paint. Dry time depends on temperature, humidity, airflow, film thickness, and surface porosity. Cool temperatures and high humidity slow everything down.
Follow the label for recoat time. Some elastomeric coatings may be ready to recoat in a few hours, while others require much longer. When in doubt, wait. Applying a second coat too soon can trap moisture between layers and extend cure time. The surface may feel dry to the touch while the deeper film is still soft.
Step 13: Apply the Second Coat
Many elastomeric systems perform best with two coats, especially on rough stucco, block, or patched areas. Apply the second coat at the recommended spread rate. For best coverage, roll the second coat in a direction that helps fill missed texture from the first coat. If the first coat was rolled vertically, use a combination of vertical and cross-rolling on the second coat where practical.
Inspect for pinholes, skipped spots, thin edges, and areas where texture is still showing through. Corners, edges, and trim transitions often need brush work. Keep the coating even, but avoid building heavy ridges at overlaps.
Step 14: Remove Tape and Clean Up
Remove painter’s tape before the coating becomes too hard. Pull it slowly at an angle to reduce tearing. Clean tools according to the product label. Water-based acrylic elastomeric paint usually cleans up with soap and water while wet, but once it dries, it becomes much more stubborn. Elastomeric paint on a good wall is excellent. Elastomeric paint dried into your best roller frame is modern art nobody asked for.
Step 15: Inspect the Finished Surface
After the coating has dried, inspect the wall in different light. Morning and afternoon light reveal different imperfections. Look for missed areas, thin spots, sagging, pinholes, and uneven sheen. Touch up carefully using the same method used for the main application. On textured surfaces, dabbing with a brush or small roller often blends better than brushing long strokes.
Common Mistakes to Avoid
Applying It Too Thin
This is the most common mistake. Elastomeric paint must be applied at the proper thickness to bridge hairline cracks and resist water. If you spread it like regular paint, you paid for superhero paint and used it like a basic T-shirt.
Painting Over Damp Surfaces
Damp masonry can cause blistering, peeling, and adhesion problems. Let the wall dry after rain, cleaning, or pressure washing. If moisture keeps returning, solve the water problem before coating.
Ignoring Cracks and Failed Caulk
Do not expect paint to repair every defect. Larger cracks, open joints, and failed sealant need dedicated repair products before painting.
Using the Wrong Roller
A thin roller cover will not carry enough material into textured stucco or block. Use a heavy-nap roller that matches the surface texture.
Skipping the Label
Every product has its own spread rate, temperature range, recoat time, primer requirement, and approved surfaces. Read the label and technical data sheet before starting. Yes, it is less thrilling than a movie trailer, but it can save your project.
Maintenance After Applying Elastomeric Paint
Once cured, elastomeric paint is relatively low-maintenance, but it is not maintenance-free. Rinse dirt from the surface occasionally, keep sprinklers from spraying walls, trim plants away from the coating, and inspect caulked joints once or twice a year. If small cracks appear, repair them early before water gets behind the coating.
Also watch for stains near rooflines, window sills, and gutters. These may indicate drainage problems rather than paint failure. Elastomeric paint can resist weather, but it cannot fix a gutter that dumps water down the same wall every Tuesday like it has a grudge.
Field Experience: What Applying Elastomeric Paint Is Really Like
The first thing most DIYers notice about elastomeric paint is the weight. A full bucket feels serious, and the paint itself has a thick, pudding-like body. That thickness is exactly why it protects so well, but it also changes the rhythm of the job. You load the roller more often. You move slower. You press into the texture instead of skating over it. If standard exterior paint is a jog, elastomeric paint is more like hiking uphill with groceries.
On stucco, the biggest challenge is getting consistent coverage in the valleys. From straight on, the wall may look covered. Then you step sideways and suddenly see tiny unpainted shadows hiding inside the texture. This is where back-rolling, cross-rolling, and patience matter. A good trick is to inspect the wall from several angles while the paint is still wet. Side light reveals skipped spots before they become tomorrow’s touch-up session.
Another real-world lesson is that prep takes longer than painting. Cleaning, scraping, patching, masking, and waiting for surfaces to dry can consume most of the project time. That is normal. In fact, if the painting part feels like the biggest part of the job, you may have rushed the prep. Elastomeric coatings reward boring discipline. Clean wall, sound repairs, correct primer, good weather, proper thickness. Not glamorous, but neither is peeling paint.
It also helps to plan your stopping points. Because elastomeric paint is thick, lap marks can show if you stop in the middle of a highly visible wall. Work to natural breaks such as corners, control joints, downspouts, trim lines, or architectural changes. If you are painting a large wall, have one person cut in while another rolls close behind. This keeps the edge wet and the finish more uniform.
Do not underestimate weather. A wall that looks dry in the morning may still hold moisture from overnight dew. Afternoon sun can make the paint drag, skin, or dry too quickly on the surface. Wind can turn spraying into an unplanned gift for the neighbor’s car. The best painting days are mild, dry, and boring. Boring weather is beautiful weather when you are coating masonry.
Finally, expect the finished surface to look slightly different from standard paint. Elastomeric coatings can have a heavier, more filled-in appearance, especially on porous stucco or block. That is part of the protective build. If applied evenly, the result looks clean, solid, and refreshed, with small imperfections softened. The wall may not look like smooth drywall, and it should not. It should look like well-protected masonry wearing a durable exterior shell.
Conclusion
Applying elastomeric paint is not difficult, but it does demand respect. The winning formula is simple: choose the right product, prepare the surface thoroughly, repair cracks properly, watch the weather, apply the coating at the correct thickness, and allow enough drying time. When done well, elastomeric paint can give stucco, brick, concrete, and masonry walls a flexible, weather-resistant finish that looks sharp and works hard.
In short, do not treat elastomeric paint like ordinary paint. Treat it like a protective coating system. Your wall will thank you, your future self will thank you, and your ladder may even forgive you for dragging it around all weekend.