Waterline eyeliner can make lashes look fuller, sharpen a smoky eye, or create dramatic definition in about 30 seconds. Unfortunately, it also has a habit of disappearing before lunchor migrating under your eyes as though it booked a vacation without telling you.
The problem is not necessarily your technique. The waterline is naturally moist, moves whenever you blink, and sits next to the tear film and oil-producing glands along the eyelid. Ordinary eyeliner was not built for this tiny, humid obstacle course.
Long-lasting results come from choosing the right formula, applying it in thin layers, controlling moisture, and protecting the surrounding makeup from transfer. Eye safety matters just as much as staying power, so this guide also explains when waterline eyeliner should be skipped. Follow these nine practical steps to keep waterline eyeliner from smudging while helping your eyes remain comfortable.
Why Does Eyeliner Disappear From the Waterline?
Your waterline is the narrow strip of tissue between your eyelashes and the surface of your eye. Unlike the skin on your eyelid, it stays moist because it is in close contact with tears. Every blink adds movement, while natural oils gradually soften cosmetic pigments.
Research on eye cosmetics has found that pencil particles migrate into the tear film more readily when liner is applied behind the lash line than when it is placed outside the lashes. This is especially relevant for people with dry eyes, sensitive eyes, or contact lenses. The goal, therefore, is not to bury as much pigment as possible inside the eyelid. It is to use a suitable product sparingly and precisely.
What You Will Need
- A waterproof or water-resistant gel eyeliner pencil labeled for the eye area
- A clean eyeliner sharpener, if the pencil is not retractable
- Clean cotton swabs or a soft, lint-free tissue
- Eye primer or a small amount of translucent setting powder for the surrounding skin
- A clean, small detail brush for makeup outside the waterline
- A gentle eye-makeup remover for the end of the day
Step 1: Make Sure Your Eyes Are Ready for Makeup
Start by checking your eyes in good light. Do not apply eyeliner to the waterline if you have redness, unusual tearing, swelling, pain, discharge, a stye, or a suspected eye infection. Makeup cannot negotiate a peace treaty with an irritated eye. It usually makes the situation worse.
Wash and dry your hands before touching your eyelids. If you recently had eye surgery or an in-office eye procedure, follow your eye-care professional’s instructions about when makeup can be used again.
People who regularly experience dry-eye symptoms or contact-lens discomfort may do better placing liner immediately outside the lash line instead of directly on the waterline. This creates similar definition with less opportunity for pigment to enter the tear film. Contact-lens wearers should be particularly alert to blurry vision, grittiness, or residue on their lenses.
Step 2: Choose an Eyeliner Made for a Moist Environment
The best eyeliner for the waterline is generally a creamy gel pencil that glides without tugging and then sets into a water-resistant film. A pencil that is too hard may scratch or require excessive pressure. One that remains extremely soft can transfer quickly and turn a precise line into abstract art.
Check the product label rather than relying only on words such as “long-wear.” Ideally, the manufacturer should indicate that the pencil is appropriate for the eye area or waterline. Waterproof, transfer-resistant, and smudge-resistant claims are useful, although no formula is completely blink-proof.
Products to Avoid on the Waterline
- Liquid liner unless the manufacturer specifically approves that use
- Lip pencils or other cosmetics not intended for the eye area
- Chunky glitter, metallic flakes, or loose pigments
- A pencil that smells unusual, has changed texture, or irritates your skin
- Unregulated traditional kohl, kajal, or surma products that may contain unsafe color additives or heavy metals
“Ophthalmologist-tested” and “hypoallergenic” may be helpful shopping clues, but they do not guarantee that every person will tolerate a formula. If your eyes sting, water excessively, or become red, remove the product instead of attempting to out-stubborn your eyeballs.
Step 3: Start With a Fresh, Clean Pencil Tip
Sharpen a traditional pencil before application. This improves precision and removes the exposed surface that has collected old makeup, oil, dust, and other debris. Wipe the sharpener clean regularly and allow it to dry completely before using it again.
For a retractable pencil, wipe the tip gently with a clean tissue and expose only a small amount of product. Extending half the pencil may feel ambitious, but it usually ends with a broken tip and a tiny moment of mourning.
Never share eyeliner, even with someone you know well. Eye cosmetics can transfer microorganisms from one person to another. Store pencils tightly capped at room temperature and replace them according to the manufacturer’s directions. Discard any eye product used during an infection rather than inviting the problem back for an encore.
Step 4: Control Moisture Without Scrubbing the Waterline
Complete most of your base makeup before lining your eyes. Apply a thin layer of eye primer to the eyelid and, if needed, a very small amount beneath the lower lashes. Keeping the surrounding skin dry helps stop transferred pigment from spreading into a dark semicircle later.
Immediately before applying the liner, look upward and lightly touch a clean cotton swab or folded lint-free tissue to the lower waterline. This briefly absorbs excess moisture so the pencil can adhere. Use a fresh swab for each eye, apply almost no pressure, and never rub back and forth.
The waterline will naturally become moist again, so there is no reason to chase laboratory-level dryness. One quick blot is enough. Avoid placing facial setting powder directly inside the eye; loose particles can cause irritation and do not belong in the tear film.
Step 5: Use a Stable Position and Gentle Technique
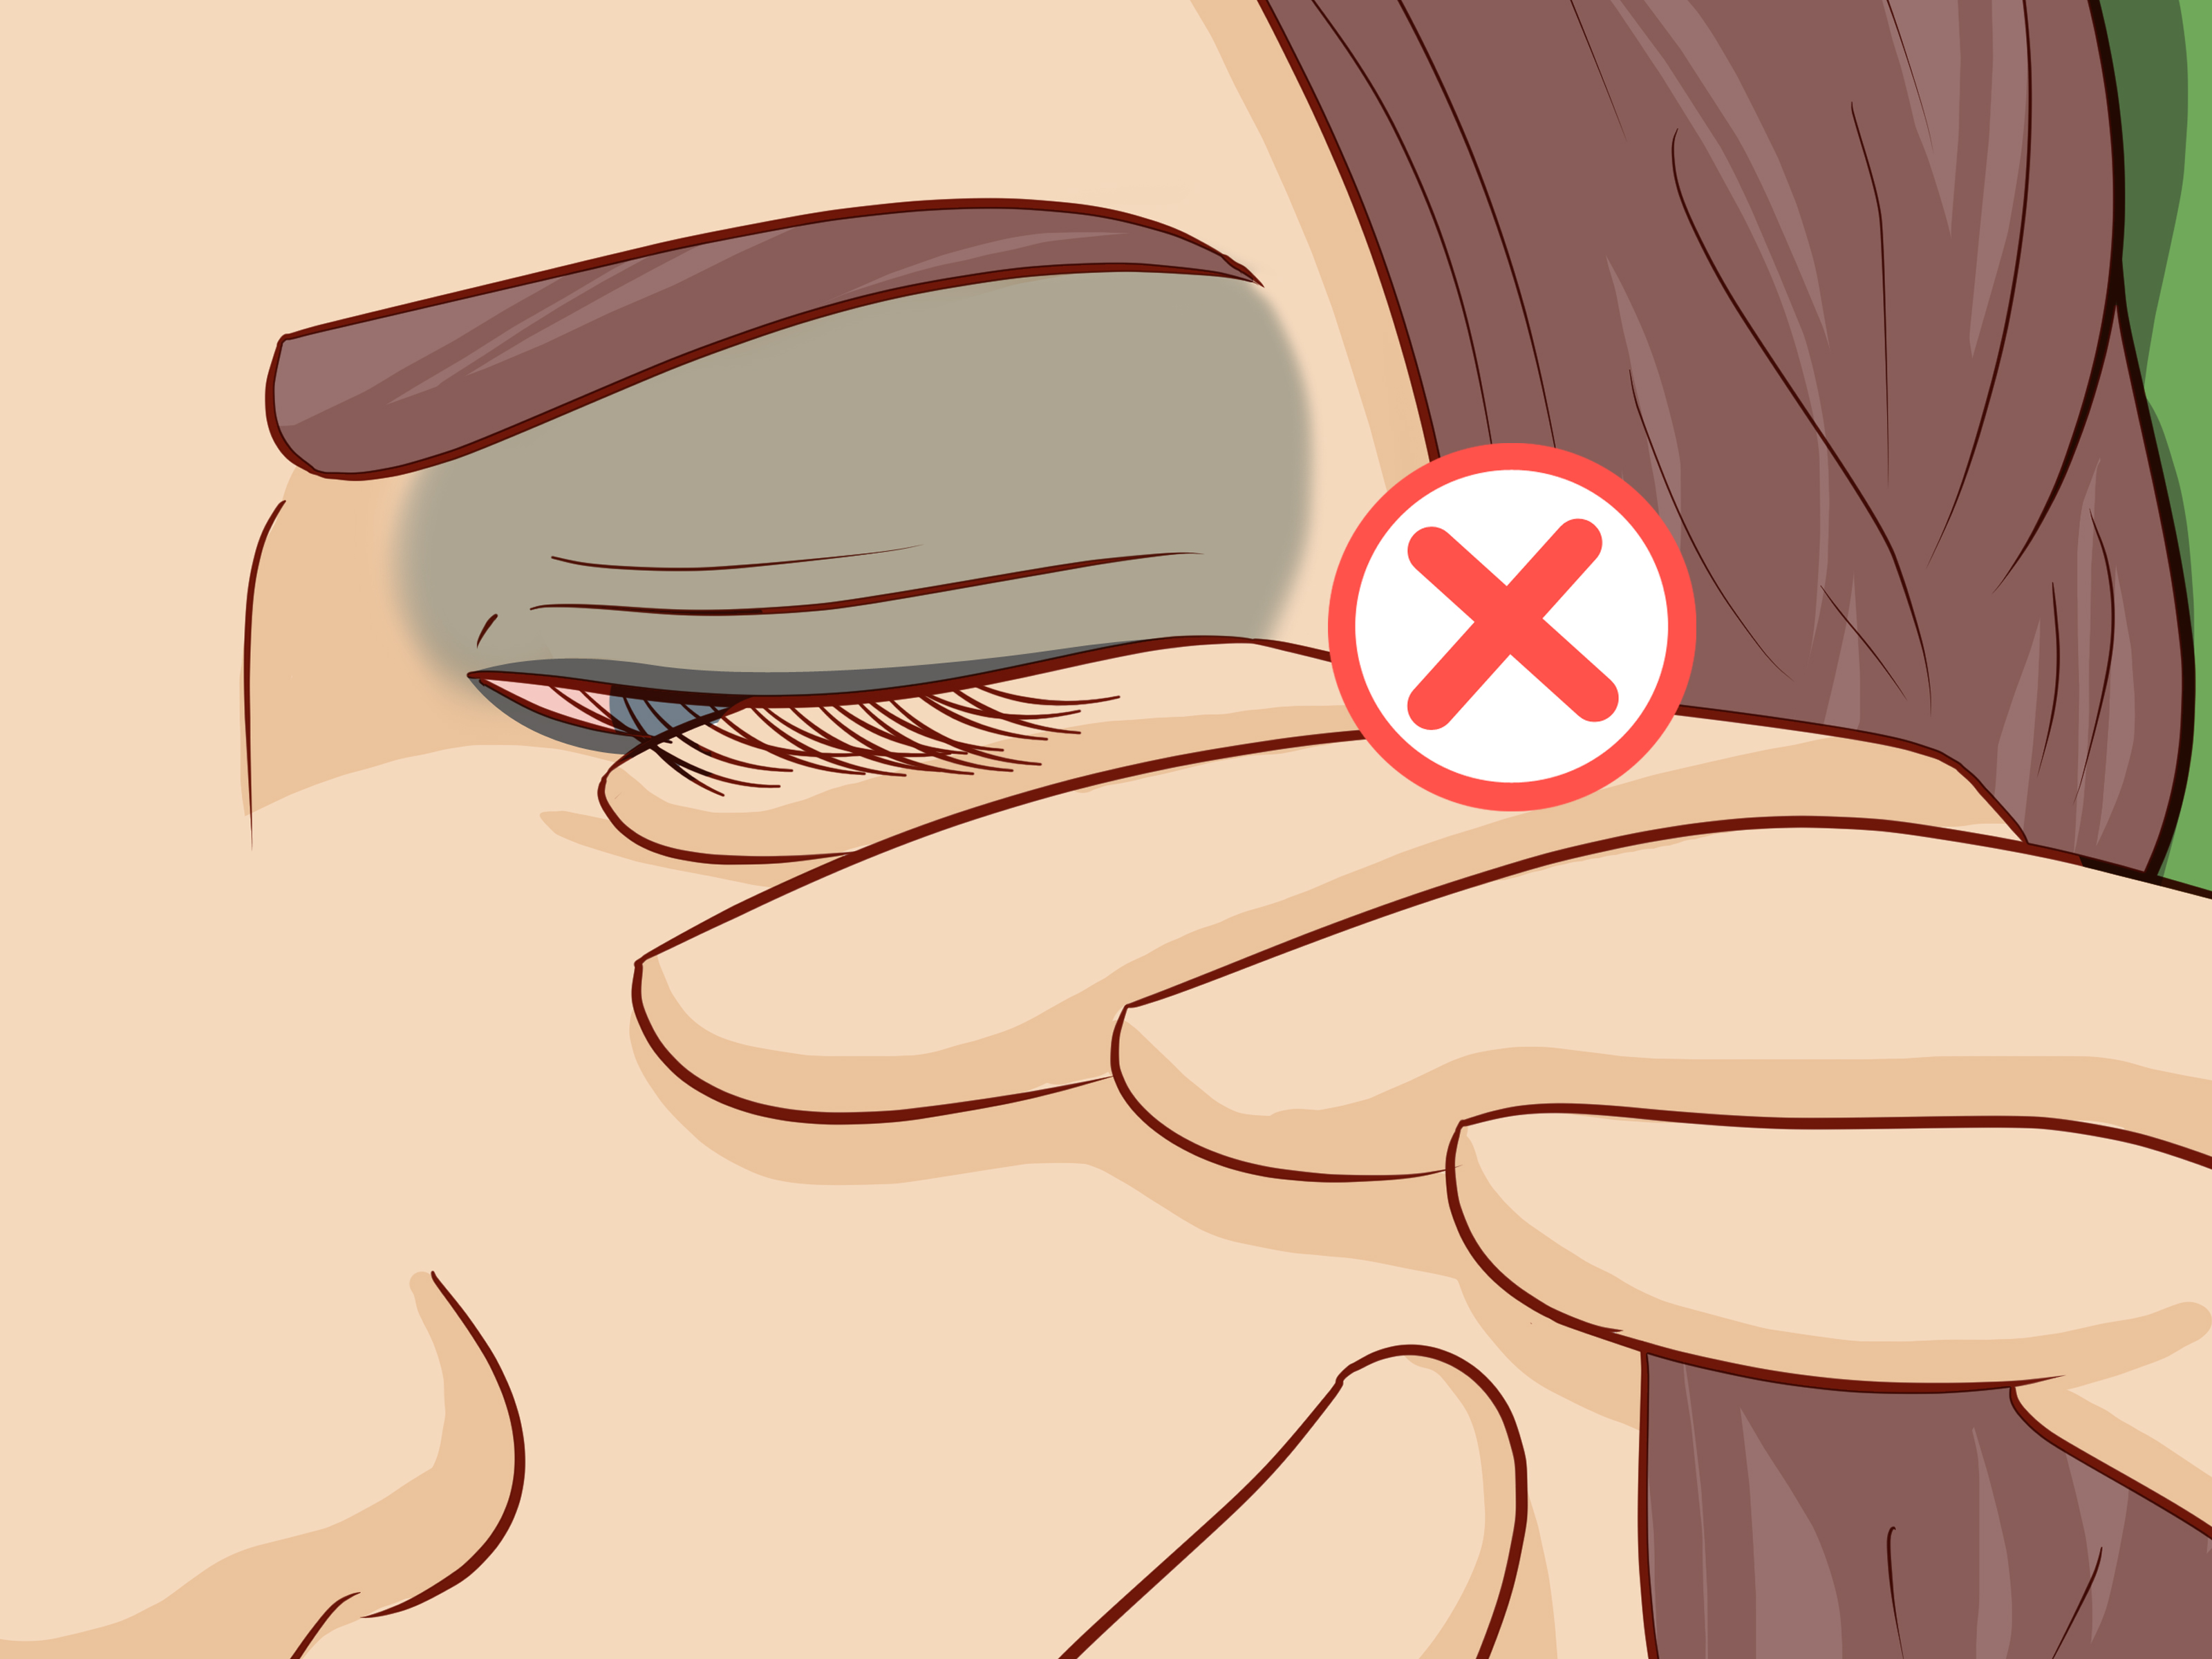
Sit or stand in front of a well-lit mirror. Rest your elbow on a counter if your hand tends to shake. Tilt your chin slightly upward, look up, and gently lower the skin beneath the eye with a clean fingertip to expose the lower waterline. Do not stretch the lid aggressively.
Apply eyeliner only while stationary. The FDA advises against using eye cosmetics in a moving vehicle because a sudden stop or bump can push an applicator into the eye and scratch the cornea. Your eyeliner can wait until you arrive; it does not have an appointment.
For the upper waterline, look downward and carefully lift the upper lid. Beginners should master the lower waterline before attempting upper tightlining because it is harder to see the pencil’s position.
Step 6: Apply Short, Thin Strokes
Glide the pencil across the waterline using short strokes and light pressure. Begin near the outer corner and work inward. Stop before the tear duct, especially if lining this area makes your eyes water. The inner corner is frequently where liner becomes wettest and starts to break apart first.
A single controlled pass often lasts longer than several thick passes. Heavy layers remain creamy beneath the surface, transfer more easily, and can form small clumps. If the pencil skips, warm the tip against the clean back of your hand for a few seconds rather than pushing harder against the eyelid.
Black eyeliner produces maximum drama, but deep brown, charcoal, navy, and plum can define the eyes with a softer effect. A beige or skin-toned waterline pencil may make the eyes appear more open. Bright white creates stronger contrast but can look theatrical in daylightwhich is perfect if theatrical is the assignment.
Step 7: Let the First Layer Set Before Adding More
After the first pass, keep your gaze steady for approximately 20 to 30 seconds. Avoid squeezing your eyes shut because that can transfer fresh pigment from the lower waterline to the upper one. Once the liner has set, inspect the result and add a second thin pass only where color looks uneven.
This pause is one of the easiest ways to make waterline eyeliner last longer. Waterproof gel pencils typically need a short setting period. Immediately layering more product can disturb the first coat and leave a thick, slippery line.
Some makeup tutorials recommend pressing matching eye shadow directly over waterline liner. Although powder may improve wear, loose particles close to the eye can also cause irritation. A safer compromise is to press a small amount of matching matte shadow immediately beneath the lower lashesnot onto the wet inner rim. This reinforces the color while keeping powder farther from the tear film.
Step 8: Smudge-Proof the Surrounding Eye Makeup
Waterline eyeliner often appears to be running when the real culprit is oil, concealer, or mascara around the eye. Use thin layers of complexion products and lightly set the skin beneath the lower lashes. Avoid piling rich eye cream directly under makeup immediately before application.
Run a small brush with matching eye shadow along the outer lower lash line. This creates a controlled transition, so any tiny amount of transfer blends into the design instead of looking like an accidental fingerprint. Keep the shadow out of the waterline itself.
If mascara tends to smudge below your eyes, use a water-resistant or tubing formula on the lower lashesor skip lower-lash mascara. Curling the upper lashes can also make the eyes look more defined without requiring an extremely heavy waterline.
A Quick Transfer Test
Wait two minutes, blink normally, and check beneath each eye with a clean cotton swab. If pigment appears, gently remove it and set only the surrounding skin. Do not keep adding liner in response. More product is rarely the solution to too much product.
Step 9: Protect the Look and Remove It Properly
Once your eyeliner is set, avoid rubbing your eyes or repeatedly pulling down the eyelid to admire your work. Waterline liner will gradually fade because tears and blinking perform essential cleaning functions. A little fading is normal and preferable to irritating the eye in pursuit of permanent darkness.
If a touch-up is necessary, wash your hands, blot once with a fresh swab, and add one thin pass. Never apply over visible debris or a clump of old pigment. Stop using the product immediately if you develop burning, pain, persistent redness, light sensitivity, discharge, or blurry vision. Seek professional eye care when symptoms are severe or do not resolve after the makeup is removed.
At night, remove contact lenses before taking off eye makeup. Use a gentle remover suitable for the eye area, hold a saturated pad against the closed lid briefly, and wipe without aggressive scrubbing. Finish by cleansing the eyelid margins gently. Sleeping in waterline eyeliner gives pigment, oil, and microorganisms several extra hours to mingleand they are terrible overnight guests.
Common Waterline Eyeliner Problems and Solutions
| Problem | Likely Cause | Practical Fix |
|---|---|---|
| Liner disappears within an hour | The formula is too creamy or the waterline was very wet | Try a fast-setting waterproof gel pencil and blot gently before applying |
| Black marks appear under the eye | Oily skin, heavy concealer, or lower-lash mascara is moving | Use thinner base layers and lightly set the skin beneath the lashes |
| The pencil skips | The tip is dry, blunt, or too hard | Sharpen it and warm the tip briefly on the back of a clean hand |
| Eyes begin watering | Too much pressure, inner-corner application, or formula sensitivity | Remove the liner, switch formulas, or line outside the lashes |
| Color transfers to the opposite waterline | The liner has not set or was applied too thickly | Use one thin layer and keep the eyes relaxed for 20 to 30 seconds |
Experience Notes: What a Full-Day Waterline Routine Teaches You
A realistic waterline wear test usually begins with an ambitious idea: apply the blackest pencil available, make three passes, and trust the word “waterproof” with your whole heart. By midmorning, the liner may be lighter at the inner corners and suspiciously darker beneath the outer lashes. The first lesson is that waterproof does not mean tear-proof, oil-proof, blink-proof, and absolutely-everything-proof at the same time.
The routines that perform best tend to feel almost underwhelming during application. The pencil is sharpened, the waterline gets one quick blot, and the color goes on in short strokes. The first layer looks slightly less intense than expected, but it has time to set. A second pass is added only to small gaps. Ten minutes later, that restrained application usually looks cleaner than a thick line because it has not collected in the corners.
Another useful observation appears when comparing both eyes. If one eye waters more, applying the same amount of liner to each side may not produce matching wear. It can be smarter to stop farther from the tear duct on the watery eye. Makeup symmetry is about the visible result, not performing identical motions like a very glamorous robot.
Product texture also matters more than price. An expensive pencil that stays creamy for several minutes may create beautiful smoky liner on the eyelid but transfer quickly on the waterline. A modestly priced gel pencil that glides smoothly and sets within half a minute may last much longer. Testing a pencil on the back of the hand provides a clue: draw a line, wait one minute, and rub it gently. If it immediately smears into a cloud, it may behave similarly around the eyes.
Long days reveal that surrounding products can sabotage an otherwise good liner. Rich concealer, dewy foundation, facial oil, and traditional mascara may combine below the eye and make migrated pigment more noticeable. Using less concealer and setting only the outer lower lash line can improve the overall result without placing extra powder on the waterline.
Weather changes the experience too. In an air-conditioned office, liner may remain crisp but feel less comfortable if the eyes become dry. Outdoors in heat or humidity, natural oils can create more transfer around the lashes. Carrying a clean cotton swab is often more useful than carrying five extra makeup products. Removing one tiny smudge can restore the look without adding another layer.
The most important lesson is knowing when to abandon the technique for the day. If a pencil causes immediate stinging, repeated tearing, or blurry residue, no setting trick will turn it into the correct product. Removing it and placing a soft line outside the lashes can preserve the style while treating the eyes with considerably more respect.
At the end of a successful wear test, some fading at the inner corners is still normal. The goal is attractive, controlled wearnot forcing pigment to remain untouched on living tissue for 14 hours. A liner that fades evenly, removes gently, and leaves the eyes comfortable is a better performer than one that survives until midnight but requires an archaeological excavation to remove.
Conclusion
To keep eyeliner on your waterline all day, focus on preparation and precision rather than piling on pigment. Choose an eye-area-safe waterproof gel pencil, keep the tip clean, briefly control excess moisture, and apply thin strokes with gentle pressure. Give each layer time to set and manage oil or transfer on the skin surrounding the lashes.
Remember that the waterline is part of a sensitive ocular environment. Do not share cosmetics, apply makeup in a moving vehicle, use questionable pigments, or continue wearing a product that causes discomfort. When your eyes are irritated, lining just outside the lashes is the smarter beauty moveand it can look every bit as polished.