A small yard does not mean you are sentenced to growing one lonely basil plant on a windowsill. With a smart plan, a few boards, and one free weekend, even a compact outdoor space can become a productive garden packed with vegetables, herbs, flowers, and considerably more optimism than your average lawn ornament.
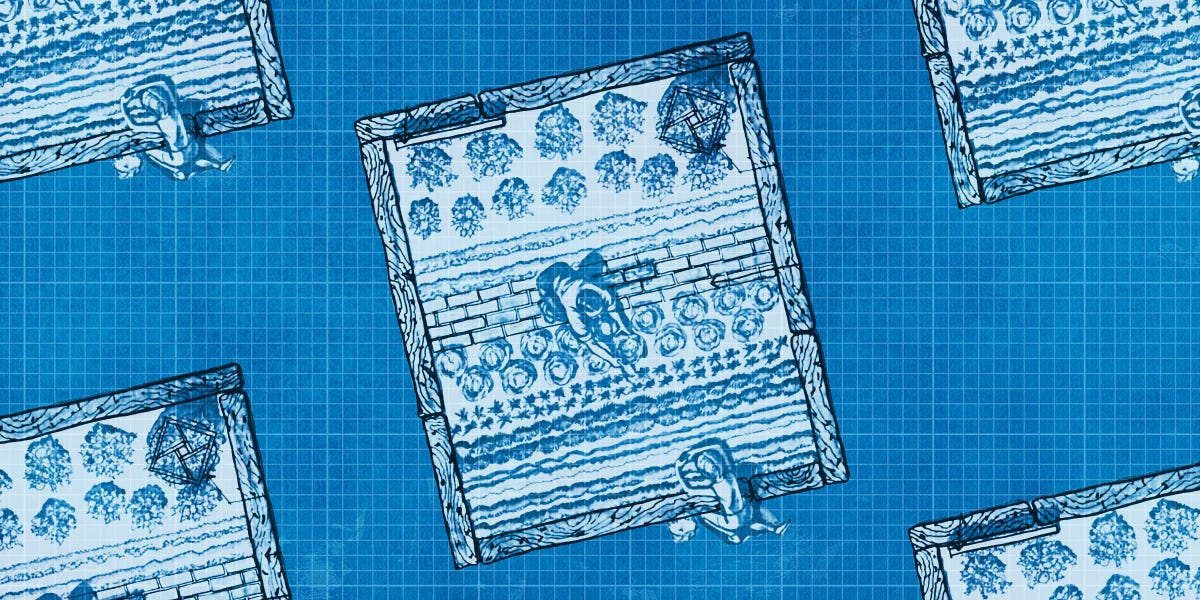
This DIY small garden plan combines a raised garden bed with a sturdy vertical trellis. The finished structure measures approximately 3 feet wide by 6 feet long, giving plants enough room to grow while keeping everything within easy reach. The integrated trellis uses vertical space for cucumbers, peas, pole beans, compact tomatoes, and flowering vines.
The design is simple enough for a beginner, flexible enough for an experienced gardener, and attractive enough that your neighbors may assume you hired someone. You are under no obligation to correct them.
Why Build a Small Garden Structure?
A defined garden structure turns an awkward patch of ground into an organized growing area. Raised beds provide control over soil quality, improve drainage in difficult sites, reduce foot traffic around plant roots, and make maintenance more comfortable. They can also create a longer growing window because elevated soil often warms earlier in spring.
Adding a trellis makes the structure even more useful. Vining plants grow upward instead of sprawling across valuable soil. Vertical growth can improve air movement, make produce easier to see and harvest, and reduce the amount of fruit resting on damp ground.
Most importantly, a small garden is manageable. It requires less soil, less water, less weeding, and fewer dramatic conversations with an out-of-control zucchini plant.
The Small Garden Plan at a Glance
This plan creates a rectangular raised bed with a trellis installed along its northern side. Placing the trellis on the north side helps keep tall plants from shading shorter crops during much of the day.
- Bed size: 3 feet wide by 6 feet long
- Bed height: Approximately 11 inches
- Trellis height: 5 to 6 feet above the soil
- Growing area: 18 square feet
- Estimated soil volume: About 16.5 cubic feet
- Best location: Level ground receiving at least six hours of direct sunlight
- Recommended access: Both long sides and at least one short side
A 3-foot-wide bed is narrow enough for most adults to reach the center without stepping into the soil. Avoiding foot traffic protects soil structure and prevents compaction around plant roots. If your bed will sit against a wall or fence and can be reached from only one side, reduce its width to approximately 18 to 24 inches.
Plan the Location Before Buying Materials
Watch the Sun
Vegetable gardens generally perform best with six or more hours of direct sunlight per day. Fruiting crops such as tomatoes, peppers, beans, cucumbers, and squash are especially hungry for sunshine. Leafy greens and many herbs tolerate some afternoon shade, particularly in hot climates.
Observe the proposed location during the morning, midday, and afternoon. Remember that nearby trees will produce different shadows as the season changes. A sunny spot in March may become a leafy cave by June.
Stay Close to Water
Place the structure within convenient reach of a hose or irrigation line. Raised beds can dry more quickly than in-ground gardens, especially during hot, windy weather. A garden located 150 feet from the nearest faucet may seem charming on paper, but its charm fades while you are carrying the seventh watering can.
Check Drainage and Surface Level
Choose a site where rainwater does not collect for long periods. The bed should be reasonably level from side to side and end to end so irrigation is distributed evenly. Correct minor slopes by removing high spots rather than stacking scrap wood beneath the frame.
Before digging, verify that the site is clear of underground utility lines. Also check local rules, rental agreements, and homeowners association requirements when applicable.
Know Your Growing Conditions
Use the USDA Plant Hardiness Zone Map as a general guide for selecting perennial plants that can survive local winter temperatures. For vegetables and annual flowers, local frost dates and regional planting calendars are usually more important. A beautiful garden plan is less impressive when the tomatoes are planted three weeks before the final freeze.
Tools and Materials
Recommended Lumber
For an approximately 11-inch-high wooden bed, use two horizontal courses of 2-by-6 lumber. Cedar, redwood, black locust, or another naturally decay-resistant species can provide a longer service life than untreated pine. Untreated pine is less expensive but usually deteriorates sooner where it remains in contact with moist soil.
Modern pressure-treated lumber is also used in raised-bed construction. Gardeners who prefer to limit direct soil contact can line the interior sides with heavy plastic while leaving the bottom open for drainage. Do not reuse railroad ties, painted demolition lumber, or boards of unknown origin around edible crops.
Shopping List
- Three 2-by-6 boards, each 12 feet long, or equivalent shorter boards
- One exterior-rated 4-by-4 post for four corner blocks
- Two 6- to 8-foot trellis posts
- One 6-foot crossbar for the top of the trellis
- Galvanized welded-wire panel, livestock panel, or heavy-duty trellis netting
- Exterior structural screws, approximately 3 to 3 1/2 inches long
- Exterior screws and washers or fencing staples for attaching wire
- Cardboard without glossy coatings, tape, or staples
- Topsoil and finished plant-based compost
- Drip tubing or a soaker hose
- Organic mulch such as shredded leaves, clean straw, or untreated wood chips
Tools
- Tape measure
- Pencil and carpenter’s square
- Circular saw or miter saw
- Drill and driver bits
- Level
- Shovel and garden fork
- Post-hole digger or digging bar
- Wire cutters and work gloves
- Eye and hearing protection
How to Build the Small Garden Structure
Step 1: Cut the Boards
Cut four boards to 6 feet for the long sides and four boards to 3 feet for the ends. This produces two stacked courses around the perimeter.
Next, cut four corner blocks from the 4-by-4 post. Make each block about 10 1/2 to 11 inches long so it fits inside the completed frame without extending above the walls.
Measure the actual lumber before cutting. A board sold as a 2-by-6 is normally smaller than its nominal dimensions, and lumber has never felt obligated to explain itself.
Step 2: Assemble the First Course
Place two long boards and two end boards on a flat surface to form a rectangle. Position one corner block inside each corner. Drill pilot holes near the ends of the boards to reduce splitting, then fasten the boards to the blocks with exterior structural screws.
Measure diagonally from corner to corner in both directions. When the two measurements match, the frame is square. Tighten the screws and confirm that the corners remain aligned.
Step 3: Add the Second Course
Place the remaining boards on top of the first course. Stagger the fasteners so the new screws do not collide with the screws below. Attach the upper boards to the corner blocks and, where practical, fasten the two courses together.
Long beds may bow outward under the pressure of wet soil. A 6-foot bed is relatively compact, but adding a central brace across the interior provides inexpensive insurance. Use untreated lumber or a rot-resistant board and install the brace below the final soil level.
Step 4: Prepare the Ground
Set the frame in its permanent location and mark the perimeter. Remove thick sod and aggressive perennial weeds. Loosen the native soil beneath the bed with a garden fork, particularly when the ground is compacted.
Place the frame back into position and check it with a level. Remove soil beneath high corners until the frame sits firmly. Do not bury the wooden walls more deeply than necessary because constant soil contact accelerates decay.
Lay overlapping sheets of plain cardboard across the bottom to suppress remaining grass. Wet the cardboard before adding soil. Leave the bottom otherwise open so water can drain and plant roots can eventually enter the soil below.
Step 5: Install the Trellis Posts
Install two sturdy posts along the north side of the bed, either immediately outside the frame or securely fastened to it. For a permanent trellis, posts set approximately 18 to 24 inches into the ground provide greater stability than posts attached only to thin bed walls.
Keep the posts plumb, then attach the top crossbar. Fasten welded wire, livestock panel, or durable outdoor netting between the supports. A grid with openings around 4 inches wide allows vines to climb while leaving enough room for harvesting.
Design the trellis for mature plants, not adorable seedlings. A wall of wet cucumber vines and fruit becomes surprisingly heavy after a summer storm.
Step 6: Fill the Bed
Use a light, well-drained blend containing quality topsoil and finished compost. A practical starting mixture is roughly two parts topsoil to one part plant-based compost. Avoid filling the entire structure with compost, manure, or lightweight container potting mix.
Add several inches of the mixture, work it gently into the loosened native soil, and then continue filling. Blending the transition area helps prevent a sharp soil layer that could interfere with root growth or water movement.
Fill the bed to within 1 or 2 inches of the top. The mixture will settle after watering. Test the soil for pH and nutrients before automatically adding fertilizer. More fertilizer is not the gardening equivalent of more enthusiasm.
Step 7: Add Efficient Irrigation
Lay drip tubing or a soaker hose across the bed before planting. Root-zone irrigation applies water slowly where plants need it and reduces evaporation, runoff, and unnecessary wetting of foliage.
For a 3-foot-wide bed, two or three parallel drip lines generally provide better coverage than a single line through the center. Exact spacing depends on the soil and the type of emitter. Sandy mixtures may require closer spacing because water tends to move downward quickly, while finer soils spread moisture farther sideways.
After planting, cover the soil with 2 to 3 inches of organic mulch. Keep mulch slightly away from young stems. Mulch moderates temperature, slows evaporation, suppresses weeds, and makes the garden look impressively finished before anything has grown.
A Productive Planting Plan
The Trellis Zone
Plant climbing crops along the north edge beneath the trellis. Good choices include pole beans, snap peas, small cucumbers, indeterminate cherry tomatoes, and lightweight flowering vines. Train new shoots through the trellis while they are flexible.
Do not crowd every climbing plant into one season. Two cucumber plants or several pole beans can cover a 6-foot panel quickly. Large melons and winter squash may overwhelm this structure unless fruit is supported with slings.
The Middle Zone
Use the center for compact peppers, bush beans, Swiss chard, kale, basil, parsley, dwarf zinnias, or determinate tomatoes. Choose compact varieties developed for containers or small-space gardens whenever possible.
The Edge Zone
Plant quick crops around the accessible edges. Leaf lettuce, spinach, radishes, green onions, cilantro, thyme, and small flowers fit well here. Trailing nasturtiums can spill over the sides without stealing much interior space.
Practice succession planting to keep the small bed productive. Spring peas can be replaced by warm-season beans. Radishes can be followed by basil. After summer crops decline, plant lettuce, spinach, or another locally appropriate cool-season vegetable.
Seasonal Maintenance
Check soil moisture with a finger rather than watering automatically. If the upper inch or two feels dry, water deeply enough to moisten the root zone. Raised beds may need more frequent attention during hot weather, but constantly saturated soil can be just as damaging as drought.
Inspect the trellis after strong winds and tighten loose fasteners. Tie plants with soft reusable straps, leaving room for stems to expand. Remove diseased foliage, harvest frequently, and replace missing mulch as it decomposes.
At the end of the season, remove exhausted annual plants and clean reusable supports. Add a modest layer of finished compost when a soil test or plant performance indicates it is needed. Check wooden corners for movement, replace damaged screws, and cover bare soil with mulch or a suitable cover crop.
Common Small-Garden Mistakes
Making the Bed Too Wide
A wide bed may appear to offer more planting space, but the unreachable center soon becomes a wilderness of weeds and overripe cucumbers. Keep the width within comfortable arm’s reach.
Using Weak Trellis Supports
Decorative bamboo stakes are useful for light peas but may not hold mature tomatoes, gourds, or cucumbers. Build for the combined weight of vines, fruit, rainwater, and wind.
Overfilling With Compost
Compost improves soil, but it is not automatically a complete raised-bed soil. Excessive organic matter can cause nutrient imbalances, rapid settling, and inconsistent water behavior. Blend compost with mineral topsoil and test the finished mixture.
Planting Too Densely
Seedlings create a dangerous illusion: they are small, innocent, and apparently eager to become roommates. Mature plants need airflow, sunlight, and root space. Follow realistic spacing for the chosen varieties.
Forgetting the Path
Leave enough room to kneel, carry tools, and move a wheelbarrow around the garden. A productive bed surrounded by an ankle-twisting obstacle course is not a successful design.
Practical Experience: What a First Small-Garden Build Really Teaches You
A typical first build begins with a sketch that looks perfectly simple: four sides, some dirt, a few vegetables, done. The first useful lesson arrives at the lumber store, where nominal board sizes, warped boards, hardware choices, and delivery logistics turn a rectangle into a minor engineering project.
Experienced DIY gardeners inspect every board before buying it. A slightly curved board may be forced into position, but starting with straight lumber makes the frame easier to square. They also buy a few extra exterior screws because dropping one in grass makes it invisible until the exact moment a bare foot finds it.
Site preparation usually takes longer than frame assembly. Removing sod, loosening compacted soil, and leveling four corners are not glamorous jobs, yet they determine whether the bed remains stable. A frame that is only slightly uneven may become noticeably crooked after irrigation settles the soil. Spending an additional 20 minutes with a level can prevent years of staring at one suspiciously low corner.
Soil delivery is another memorable part of the project. Garden soil is much heavier than it appears in online photographs. Calculating volume before ordering prevents both extremes: buying too little and leaving the bed half empty, or buying enough to establish a second garden in the driveway.
The soil should be added in stages and watered lightly between layers. This helps it settle naturally and exposes low areas before planting. Filling the bed to the rim on a dry afternoon often results in several inches of settlement after the first heavy rain.
The first growing season also demonstrates why the trellis must be installed before the vines need it. Waiting until cucumber plants are already sprawling creates a wrestling match involving leaves, tendrils, wire, and regret. Installing supports during construction allows plants to be trained upward from the beginning.
Plant labels are more useful than many beginners expect. Several weeks after planting, one leafy seedling can look remarkably similar to another. Labels also help with record keeping, especially when comparing varieties or planning crop rotation for the following season.
Watering habits usually improve through observation. A new gardener may sprinkle the bed briefly every day, keeping only the surface damp. A better method is to check beneath the mulch and water more deeply when the root zone begins to dry. Drip irrigation makes this easier, but it still requires inspection. Emitters can clog, tubing can shift, and enthusiastic pets can redesign the system overnight.
The most valuable experience is learning not to fill every available inch. A small garden performs better when harvesting paths remain clear and plants have enough airflow. It is easier to add a late-season lettuce plant than to remove half of a cucumber jungle in July.
Finally, the structure will evolve. After one season, you may add a removable shade-cloth frame, hooks for tools, a narrow ledge for coffee, or a second drip zone. That evolution is not evidence that the original plan failed. It means the garden is becoming tailored to the person who uses itwhich is the entire point of building it yourself.
Conclusion
A successful small garden structure does not require a huge yard, professional carpentry skills, or a truckload of decorative accessories. It needs a sunny and well-drained location, reachable dimensions, durable materials, healthy soil, dependable irrigation, and a trellis strong enough for mature plants.
The 3-by-6-foot raised bed in this plan provides an efficient foundation for vegetables, herbs, and flowers while remaining easy to maintain. Start with a modest selection of plants, observe how sunlight and water move through the bed, and adjust the layout each season. Before long, that overlooked corner of the yard may become the most productiveand most visited18 square feet on the property.
Research note: The recommendations in this guide were synthesized from current U.S. government and university-extension resources covering raised-bed dimensions, soil preparation, drainage, sunlight, material selection, vertical gardening, irrigation, crop planning, and regional growing conditions.