If you have ever looked at a tired floor and thought, “You know what this room needs? Less sadness, more fake oak,” laminate flooring may be your new best friend. It gives you the look of wood without the price tag that makes your wallet lie down dramatically on the kitchen floor. Better yet, many laminate products are made for floating installation, which means the planks lock together instead of being nailed into the subfloor. Translation: this is one of the more beginner-friendly flooring projects a determined DIYer can actually finish without starting a lifelong feud with their house.
That said, laminate installation is not just a matter of clicking boards together and hoping for the best. A good-looking floor depends on careful prep, a flat subfloor, the right underlayment, proper expansion gaps, and a layout plan that does not leave you with a final row the width of a breadstick. The good news is that once you understand the rhythm of the process, the project becomes surprisingly satisfying. One row leads to another, the room transforms fast, and you start walking around telling everyone to admire your “floating floor engineering.”
Below is a practical, in-depth guide to laying laminate flooring in 13 steps, followed by real-world experience notes that explain what the job actually feels like once the measuring, cutting, kneeling, and muttering begin.
Before You Start: Tools, Materials, and Reality Checks
Before you open the first box, gather everything you need. Typical supplies include laminate planks, underlayment if your product does not include it, a moisture barrier for concrete if required, spacers, tape, a tapping block, pull bar, rubber mallet, tape measure, pencil, straightedge, utility knife, saw, pry bar, and transition pieces. Safety gear matters too. Kneepads will save your knees, and eye protection will save you from a surprise meeting with airborne laminate dust.
Also, buy a little extra flooring. A smart rule is to purchase around 10 percent more than your measured square footage so you have room for cuts, mistakes, and the occasional board you ruin while feeling overly confident. If the room is oddly shaped or you plan a diagonal layout, you may need even more.
How to Lay Laminate Flooring in 13 Steps
Step 1: Measure the Room and Plan for Waste
Measure the length and width of the room, then multiply to get the square footage. Do not stop there. Check closets, alcoves, doorways, and any funny little corners your house has added for character. Once you have the total square footage, add roughly 10 percent for cutting waste and extra planks.
This is also the moment to think about layout. If possible, try to avoid ending with a super narrow last row. Many installation guides recommend planning ahead so the first and last rows are balanced, which usually looks better and performs better. In plain English: do math now so you do not cry later.
Step 2: Let the Flooring Acclimate
Laminate flooring needs time to adjust to the room’s temperature and humidity. For many products, that means letting the unopened or properly unpacked planks sit in the room for about 24 to 48 hours. Some newer products have different instructions, so always read the manufacturer’s guide before you begin.
Why does this matter? Because flooring expands and contracts. If the boards are installed cold, damp, or fresh off a delivery truck and then suddenly meet your climate-controlled home, they can shift in ways you do not enjoy. Buckling is not a design feature.
Step 3: Remove Baseboards, Trim, and Problem Flooring
Take off shoe molding or baseboards if you want the cleanest finished look. Work carefully if you plan to reuse them. Remove old flooring if necessary, especially carpet and pad, which are not suitable under laminate. Some hard existing floors can remain if they are flat, secure, and approved by the laminate manufacturer.
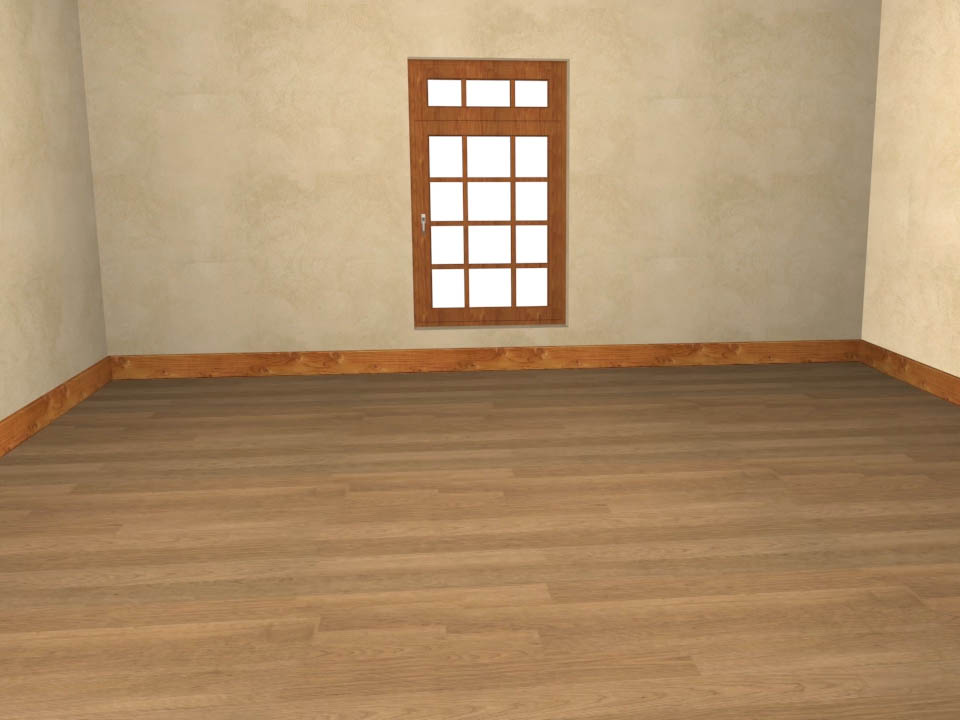
Clear the room completely. This is not the time to “just work around” a bookshelf, desk, or mysterious decorative ladder nobody has touched since 2022. An empty room makes the project faster, safer, and far less annoying.
Step 4: Inspect, Repair, and Level the Subfloor
A beautiful laminate floor starts with a boring subfloor. That is the goal. Boring. Flat. Clean. Dry. Structurally sound. If the floor underneath is uneven, cracked, soft, or dirty, the finished laminate will announce those flaws to everyone who walks across it.
Check the floor with a long level or straightedge. Fill low spots with leveling compound, grind or sand high spots, and repair damaged areas. Vacuum thoroughly. Even little bits of grit can telegraph through the floor or interfere with the locking system. Think of subfloor prep as the broccoli of flooring projects: not exciting, but absolutely necessary.
Step 5: Install the Moisture Barrier and Underlayment
What goes under laminate depends on the product and the subfloor. If your laminate has attached padding, you may not need separate underlayment. If you are installing over concrete, a vapor barrier is commonly required unless the attached underlayment already includes one and the manufacturer says that is enough. Over wood subfloors, a simple foam underlayment is often appropriate, but again, follow the product instructions.
Roll out the material neatly, keep it flat, and tape seams as directed. Do not overlap underlayment unless the manufacturer specifically says to do so. Overlapping can create ridges, and ridges are just speed bumps for your floating floor.
Step 6: Decide the Flooring Direction and Snap a Layout Plan
Many people run laminate parallel to the longest wall or in the same direction as the main source of natural light. There is no single magic rule, but both approaches usually look clean and intentional. More important than tradition is consistency and planning.
Dry-calculate how many rows you will need. If the last row will be too narrow, trim the first row so the first and last rows share the difference more evenly. This small planning move can make the room look more polished and save you from awkward slivers at the far wall.
Step 7: Undercut Door Jambs and Prep Tricky Areas
Before laying boards, undercut door casings and jambs so the laminate can slide underneath. This creates a cleaner look than cutting every plank to fit around trim. Use a scrap piece of laminate and underlayment as a height guide, mark the jamb, and cut carefully.
Also locate floor vents, pipes, fireplace edges, transitions, and other obstacles in advance. Laminate installation gets much easier when you spot the future troublemakers before you reach them with a half-installed room behind you.
Step 8: Set Spacers and Build the First Row
Use spacers around the perimeter to maintain the expansion gap recommended by the manufacturer. In many cases this gap is around 3/8 inch, though some brands call for a little more or less. The important thing is consistency. The floor needs room to expand and contract without pressing into the walls.
Most installers start along the straightest wall. For the first row, you may need to remove the tongue edge that faces the wall so the planks sit cleanly. Lock the end joints carefully and make sure the row stays straight. The first row sets the tone for everything that follows. If it wanders, the rest of the installation will wander right along with it like a confused parade.
Step 9: Start the Second Row with a Staggered Joint Pattern
Staggering end joints is not just about appearance. It also improves stability and helps distribute stress across the floor. A common rule is to offset seams by at least 12 inches, though some brands may specify a range such as 8 to 16 inches. Check your instructions, then keep the pattern varied so the floor looks natural.
The easiest method is to use the cut-off piece from the prior row if it is long enough. That saves material and keeps the pattern random. Avoid lining up seams every other row unless you are trying to make the floor look like it was designed by a spreadsheet.
Step 10: Continue Installing Rows and Keep Checking Alignment
As you build out the room, connect the long side first or the short side first depending on your product’s locking system. Some planks angle in; others tap together. Use a tapping block and pull bar when needed, but do not beat the boards like they owe you money. Too much force can damage the locking edges.
Every few rows, step back and check the floor. Make sure joints are tight, rows are straight, and the expansion gap is still in place. Clean away debris as you go. Tiny scraps hiding in the joint can prevent boards from locking fully, and that can turn into visible gaps later.
Step 11: Cut Around Vents, Pipes, and Doorways
For floor vents, lay the plank over the opening, mark the cut lines, and cut carefully before installation. For pipes, mark the center point, drill a hole slightly larger than the pipe to allow for expansion, then make a relief cut so the board can fit into place. The small cut-out piece can often be glued back behind the pipe for a cleaner look.
At doorways, plan your transition molding before making cuts. Laminate is a floating floor, so it needs room to move. Transitions are there to create a clean visual break while allowing that movement to happen without drama.
Step 12: Rip the Final Row to Fit
The last row almost always needs to be cut lengthwise. Measure from the wall to the previous row in several spots, subtract the required expansion gap, and mark the plank. If the wall is uneven, scribe the shape rather than assuming it is perfectly straight. Houses, as it turns out, are often enthusiastic supporters of “close enough.”
Use a pull bar to help lock the final row into place. This is one of those moments where patience beats muscle. Once the last row clicks in and looks clean, you get the first real glimpse of the finished room, and it is a beautiful thing.
Step 13: Finish with Trim, Transitions, and Cleanup
Remove the spacers. Install transition strips, reducers, or T-moldings where needed. Reinstall baseboards or shoe molding to cover the expansion gap, but attach the trim to the wall, not the laminate. The floor must remain free to float.
If your product is approved for wet areas and the manufacturer calls for perimeter sealing in kitchens, bathrooms, laundry rooms, or entry areas, use the specified sealant method. Finish by vacuuming, wiping the floor as directed, and admiring your work with the slightly smug satisfaction of someone who now notices every other floor they walk on.
Common Mistakes to Avoid
The biggest laminate flooring mistakes are surprisingly predictable. Skipping acclimation, ignoring moisture requirements, laying planks over an uneven subfloor, forgetting the expansion gap, and locking boards together over debris are the classics. So is rushing the first row. If the first row is crooked, every row after it becomes a longer and more expensive version of the same problem.
Another common mistake is using the wrong underlayment or assuming every laminate product installs the same way. Some have attached pads, some require specific underlayment, and some waterproof models need special sealing steps around edges and fixed objects. Read the instructions for your exact product, not your cousin’s leftover flooring from a different brand and a different decade.
What the Experience Really Feels Like: of Real-World Laminate Flooring Lessons
Laying laminate flooring sounds simple when you read the box. It says things like “easy click installation,” which is technically true in the same way that making pancakes is easy if you ignore batter on the ceiling. The actual experience is a mix of satisfying progress, surprise geometry, and a lot of kneeling.
The first thing most people notice is that the prep work takes longer than expected. You think you are signing up to install flooring, but really you are also signing up to become a part-time vacuum enthusiast, trim detective, and floor-leveling philosopher. You spend a solid chunk of time crawling around looking for humps, dips, squeaks, and old staples that have apparently been in the subfloor since the previous century. None of this is glamorous, but all of it matters.
Then comes the first row, which feels weirdly emotional for a line of boards. It either goes together smoothly and fills you with hope, or it fights back and makes you question your ability to operate a tape measure. The first row teaches humility. It is slow. You check the wall, the gap, the joints, the alignment, the wall again, and then stare at it from across the room like a coach reviewing game footage. Once it is straight, though, the project begins to click in a very literal way.
Somewhere around rows three to six, the job becomes almost meditative. Measure, cut, click, tap, slide, repeat. You develop a rhythm. You stop looking at each plank as an individual object and start seeing the floor as a system. This is usually the part where a DIYer starts feeling invincible. That confidence is nice. Keep it. But do not let it meet a doorway.
Door jambs are where laminate flooring suddenly gets personal. They are small, stubborn, and always seem to require just a little more finesse than expected. A board that fit perfectly in the open part of the room now needs three precise cuts and a pep talk. Floor vents are similar. Pipes are worse. None of these details are impossible, but they are where the difference between “pretty good” and “that looks professionally done” really shows.
Another very real part of the experience is how physical the job is. Even in a modest room, you are standing, kneeling, carrying boxes, moving tools, and getting up and down approximately nine thousand times. Kneepads are not optional if you value your future. Neither is taking breaks. Tired people make bad cuts, and bad cuts have a way of becoming decorative regrets.
But here is the best part: laminate flooring rewards consistency. You do not need magician-level skills. You need patience, careful measuring, and the willingness to fix small mistakes before they become large ones. And once the final row is in, the trim is back on, and the room is clean, the transformation is huge. The space looks brighter, newer, and more intentional. It is one of those rare DIY projects where the result really can look far more expensive than it was.
In other words, laying laminate flooring is not just a flooring project. It is a short-term relationship with your subfloor, your saw, and your own attention span. Handle all three well, and the room will thank you every single day.
Conclusion
If you want a floor that looks polished without requiring a luxury-budget meltdown, laminate is a smart choice. The key is not speed. It is sequence. Measure carefully, prep thoroughly, protect against moisture, leave expansion space, stagger seams, and finish with trim that lets the floor float the way it was designed to. Follow those fundamentals, and your laminate flooring project can go from intimidating to impressively doable.