There are two kinds of people in this world: those who peel hard-boiled eggs like they’re unwrapping a gift, and those who peel them like they’re defusing a tiny, oval-shaped bomb. If you’ve ever lost half the egg white to the shell (RIP, smooth exterior), this guide is for you.
Here’s the good news: “easy-peel eggs” aren’t a myth, a marketing scheme, or something only available to restaurant kitchens with mysterious equipment. You can get clean, satisfying peels at homeconsistentlyby using the right heat method, a proper chill, and one peeling move that feels almost unfair.
The Real Reason Eggs Don’t Peel
The eggshell has two membranes under it (think: nature’s cling wrap). When egg whites cook, they can bond tightly to those membranesespecially in very fresh eggsso peeling becomes a messy negotiation.
Fresh eggs vs. older eggs (yes, age helps)
Very fresh eggs tend to be harder to peel because the whites sit at a lower pH and cling more stubbornly to the membrane. As eggs age a bit in the fridge, the internal chemistry shifts and the air pocket grows slightly, making it easier to get under the membrane and lift the shell away in bigger pieces.
Translation: if you’re making deviled eggs for a party, don’t use eggs laid five minutes ago by a hen named Susan. Use eggs that have been in your fridge for several days.
Why “hot start” cooking makes peeling easier
Starting eggs in already-hot cooking (steaming or lowering them into boiling water) helps the whites set quickly near the shell, which can reduce bonding to the membranes. Cold-start methods can still work, but hot-start methods are typically more reliable for clean peelingespecially when you care about consistency.
The Pro Chef Method: Steam-Then-Shock (Most Reliable)
If you want the method that most often produces shells that practically surrender, steaming is your best friend. It’s gentle, efficient, and remarkably consistent. Bonus: you don’t need fancy gearjust a pot, a lid, and a steamer basket (or insert).
What you need
- Large pot with a tight-fitting lid
- Steamer basket/insert (metal or silicone)
- Eggs (older is easier, but any eggs can work with good technique)
- Ice + a bowl for an ice bath
- Slotted spoon or spider (to lower and lift eggs safely)
Step-by-step: easy-peel steamed eggs
- Boil the water: Add 1 inch of water to the pot. Bring it to a steady boil (you want visible steam and real bubbling).
- Load the steamer: Place eggs in the steamer basket in a single layer if possible. (Stacking is okay in a pinch, but single layer is more even.)
- Steam with the lid on: Cover tightly and start the timer immediately.
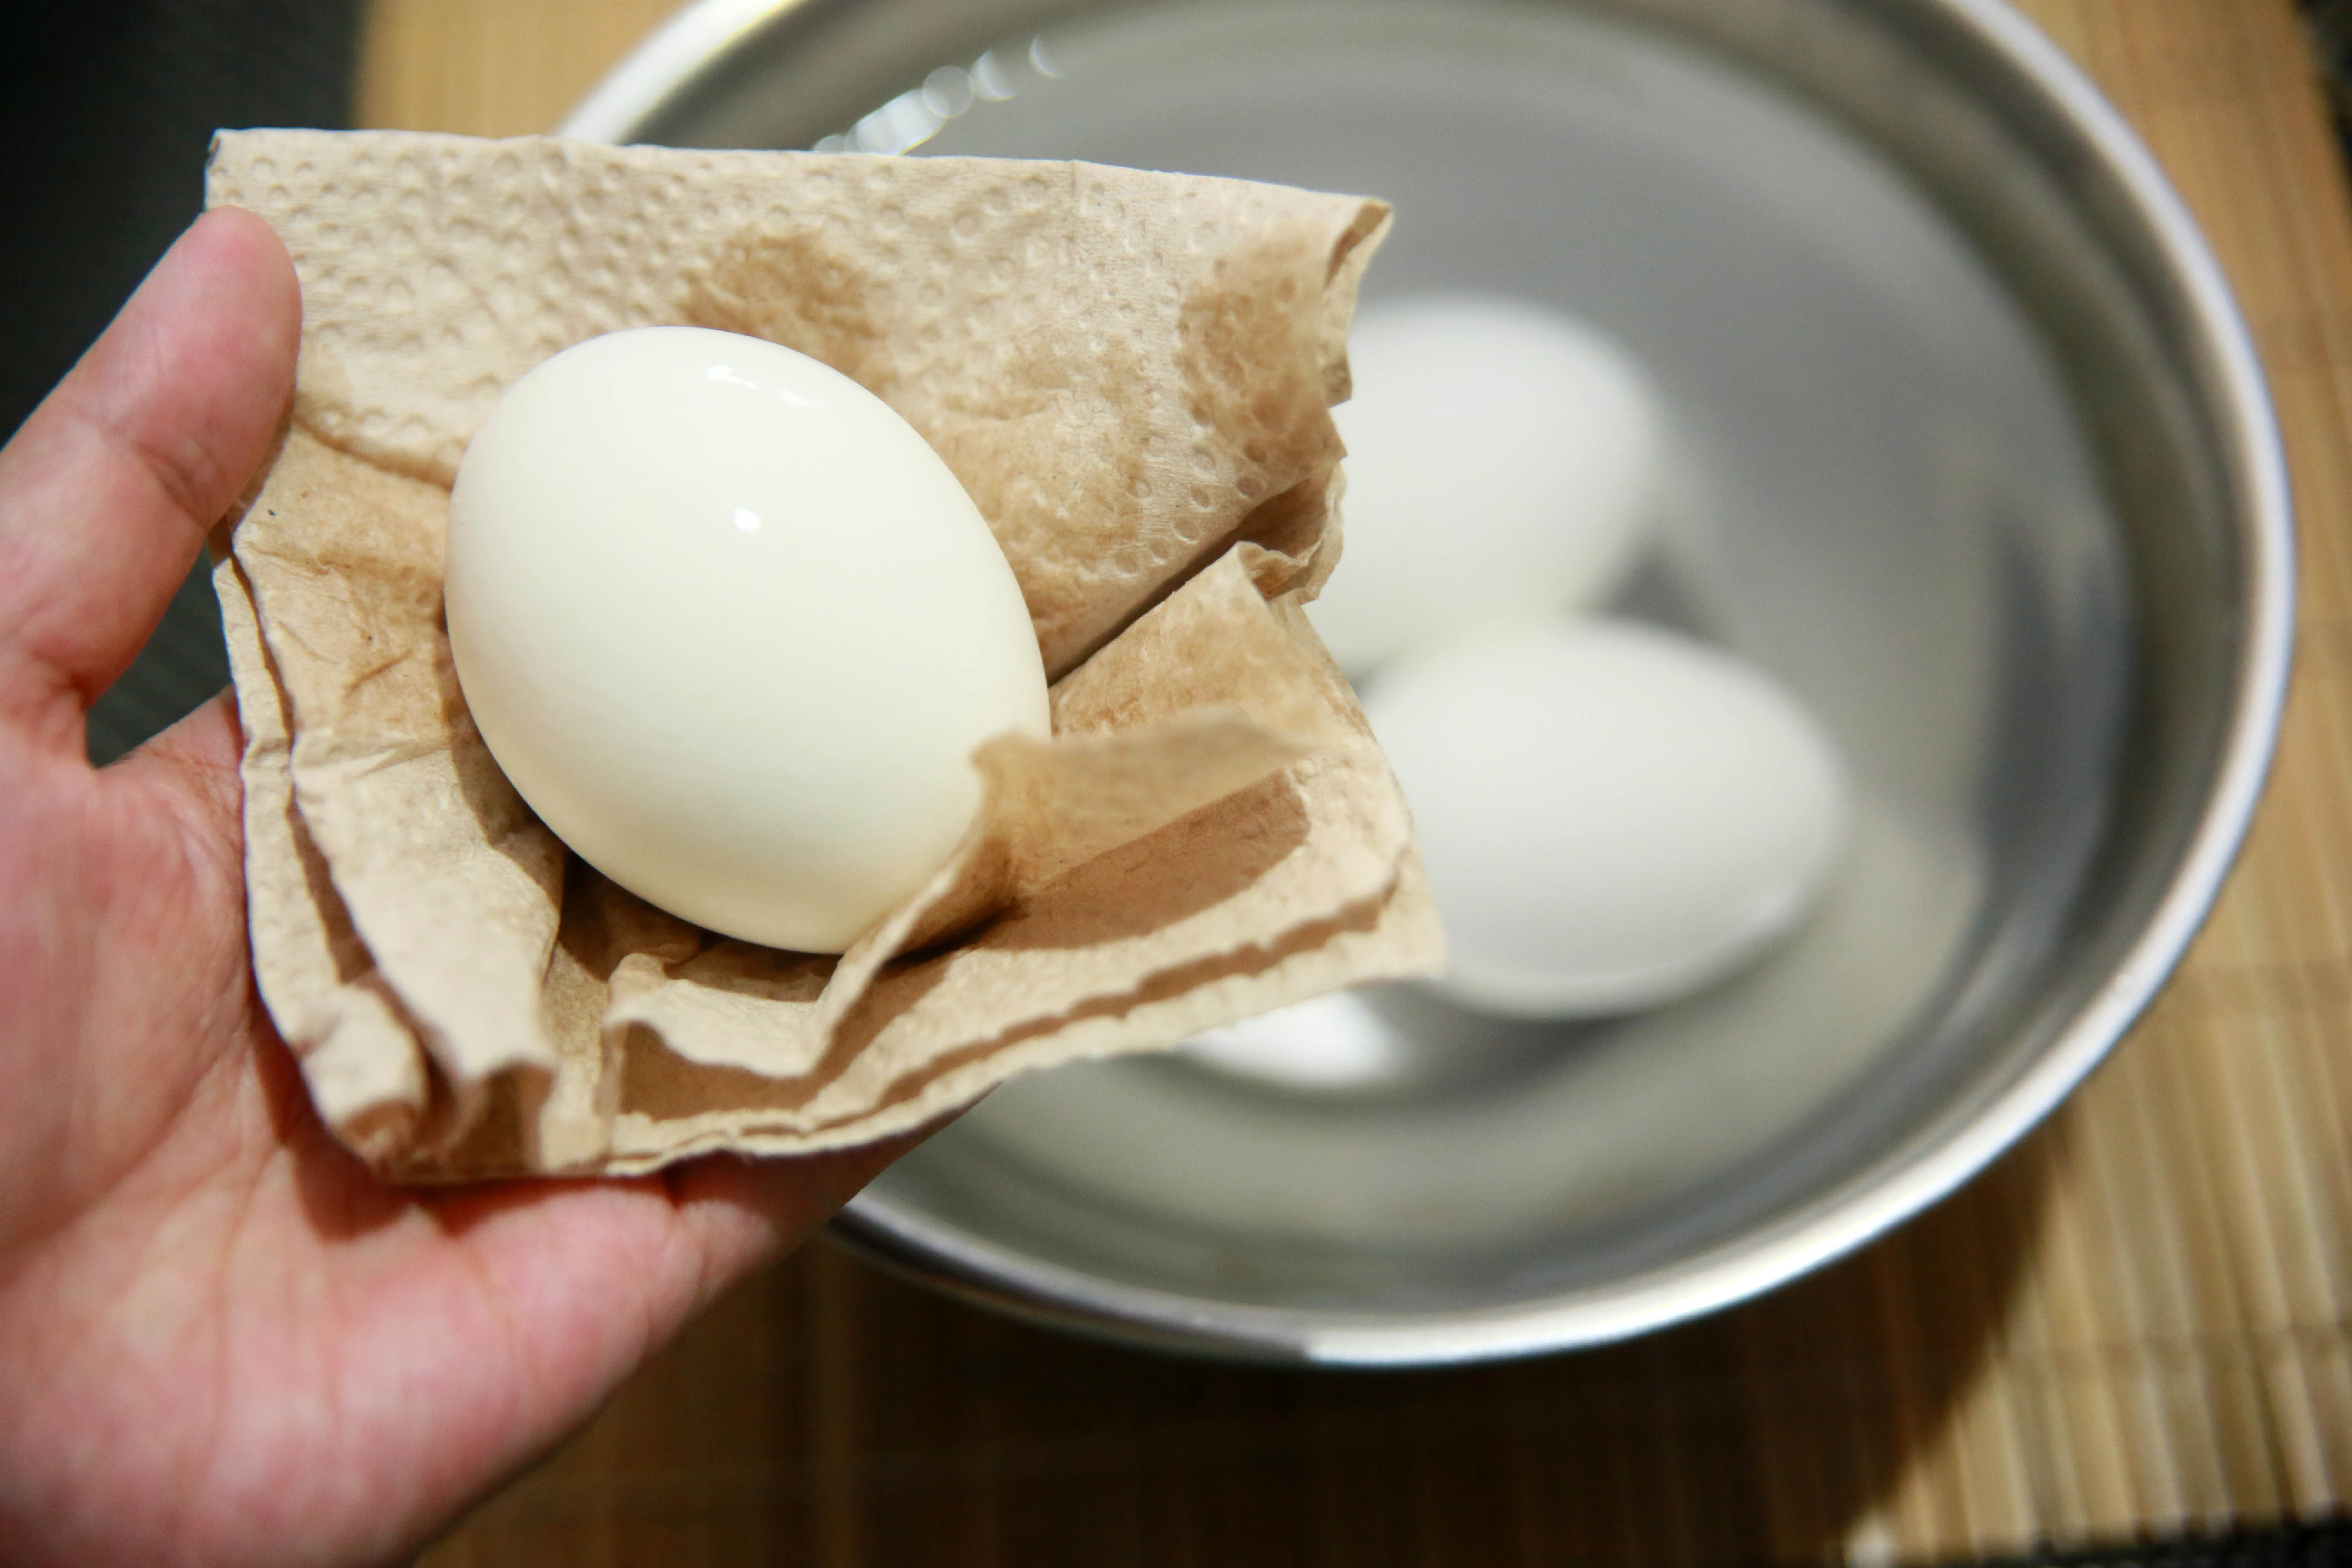
- Ice bath immediately: When time’s up, transfer eggs straight into a large ice bath.
- Cool fully before peeling: Let them chill until completely coldat least 10–15 minutes. For the easiest peeling, let them get truly cold, not “kinda cool-ish.”
Steaming time chart (large eggs)
Times vary a little by stove power, egg size, and how cold your eggs are, but these are solid starting points.
| Doneness | Yolk texture | Steam time | Best uses |
|---|---|---|---|
| Soft | Runny center | 6 minutes | Toast, breakfast bowls |
| Jammy | Set edges, creamy middle | 7–8 minutes | Ramen, grain bowls, soy-marinated eggs |
| Medium | Mostly set, slightly creamy | 9–10 minutes | Salads, snack eggs |
| Hard | Fully set | 11–12 minutes | Deviled eggs, egg salad, meal prep |
Want a restaurant-smooth hard-boiled egg? Start at 11 minutes, then adjust by 30–60 seconds next time if your yolks are too soft or too firm.
Alternate “Hot Start” Method: Lower Eggs Into Boiling Water
No steamer basket? No problem. The next-best approach is to bring water to a boil first, then gently lower the eggs in. The key is controlled heatthink “calm simmer,” not “washing machine.”
Step-by-step: boiling-water start (large eggs)
- Boil: Bring a pot of water to a boil (enough water to cover eggs by about 1 inch).
- Lower gently: Use a slotted spoon to lower eggs into the water (don’t drop them like you’re making a wish).
- Reduce to a gentle simmer: Once eggs are in, lower heat so bubbles are steady but not aggressive.
- Cook: Use the timing below as a guide.
- Ice bath: Transfer immediately to an ice bath to stop cooking and help with peeling.
Boiling-water timing guide (large eggs)
- Soft: 4–6 minutes (depending on how runny you like the yolk)
- Jammy: 7 minutes
- Medium: 8–9 minutes
- Hard: 10–12 minutes
Timing is more precise with a hot start because you’re not waiting for cold water to heat up. This is why jammy eggs turn out more predictably with this method.
The Ice Bath Isn’t Optional (If You Want Easy Peeling)
An ice bath does two jobs: it stops cooking fast (preventing that chalky, overcooked yolk) and helps the egg cool and contract slightly, which can make it easier to separate from the shell.
Use a big ice bath: plenty of ice, plenty of water. If you only use two lonely cubes, they’ll melt and give you “sad bath water,” not a proper shock.
Peel Like a Pro: The 60-Second Technique
Here’s the peeling method that separates “I made eggs” from “I made eggs that look like they belong in a cookbook.”
1) Crack thoroughly (don’t be shy)
Tap the egg all overtop, bottom, sidesuntil the shell looks like a spiderweb of cracks. You want lots of entry points for water and air to slip between shell and membrane.
2) Start at the wide end
The wider end usually has the air pocket, which makes it easier to get under the membrane. If you start there, you’re more likely to peel in big, satisfying sheets rather than confetti.
3) Peel under running water (or in a bowl of water)
A thin stream of cool running water can help get between the membrane and the egg, lifting the shell away. If you’re trying to be water-wise, peel in a bowl of cool water and swish the egg occasionally.
4) Use “roll and lift” for speed
Gently roll the cracked egg under your palm to loosen the shell, then peel in larger sections. Think “unwrap,” not “scrape.”
Troubleshooting: When Eggs Still Fight Back
Problem: The shell sticks like glue
- Cause: Eggs are very fresh, or they weren’t cooled long enough.
- Fix: Steam next time (or use a boiling-water start), then cool longer. Peel under running water and start at the wide end.
- Emergency save: Crack the egg and let it sit in cool water for a couple minutes; water can work its way under the membrane.
Problem: Green ring around the yolk
- Cause: Overcooking or slow cooling. The green/gray ring is harmless but not pretty.
- Fix: Shorten cook time slightly and use a real ice bath immediately.
Problem: Eggs crack while cooking
- Cause: Rapid temperature change, rough handling, or too-violent boiling.
- Fix: Lower eggs gently with a spoon, reduce to a simmer, and avoid overcrowding. If steaming, make sure eggs sit stable in the basket.
Problem: You want “perfect peel” for a huge batch
- Best move: Steam in batches. Overcrowding can cause uneven cooking.
- Workflow tip: Set up an ice bath before you start cooking so you can transfer eggs fast.
Smart Shortcuts and “Hacks” (Worth It vs. Skip It)
The internet loves egg hacks the way toddlers love stickers: enthusiastically and with no regard for long-term consequences.
- Worth it: Steaming, hot-start boiling, full ice bath, peeling under running water.
- Sometimes useful: A quick crack-and-soak in water if shells are stubborn.
- Mostly unnecessary: Adding random ingredients to the water (you can, but the biggest wins come from heat method + cooling + peeling technique).
Food Safety and Storage (Because Eggs Are Not Immortal)
Once cooked, eggs should be cooled and refrigerated promptly. For meal prep, store hard-cooked eggs in the fridge and keep them cold until you’re ready to eat.
- Refrigerate within 2 hours of cooking (1 hour if the room is very hot).
- Store up to 7 days in the refrigerator for plain hard-cooked eggs (peeled or unpeeled).
- Tip: Keep them in a covered container so your fridge doesn’t start smelling like “egg vibes.”
What to Do With Your Perfect, Easy-Peel Eggs
Now that you can peel eggs without losing half the white, you’ve unlocked a surprising number of meal upgrades:
- Deviled eggs: Smooth whites = prettier presentation and less filling heartbreak.
- Egg salad: Chop, mix with mayo/mustard, add dill or celery, and pretend you’re a lunch genius.
- Ramen topper: Jammy egg + soy sauce + a little sesame oil = instant glow-up.
- Protein snack: Sprinkle with salt, pepper, and a pinch of paprika or everything seasoning.
- Salads: Quartered eggs make even a basic salad feel intentional.
Chef-Style Experience Section (Extra ): The Egg-Peeling Lessons Everyone Learns Eventually
If you cook long enough, you start collecting “egg stories.” Not dramatic, headline-grabbing storiesmore like the quiet, everyday kitchen moments where you realize a tiny change (like when you add the eggs to the water) can save you a ridiculous amount of annoyance. Here are some real-world experiences and scenarios that show why the technique matters.
1) The deviled-egg deadline panic
Picture this: you’re making deviled eggs for a potluck. You’re already running late, and you’ve promised “the good deviled eggs,” not the sad tray that looks like it lost a fight with a lawnmower. If you cold-start the eggs and they come out stubborn, you’ll spend precious minutes picking off shell shards while muttering things you wouldn’t say in front of polite company.
The fix is boringbut life-changing: steam (or hot-start boil), ice bath, then peel under running water. When the shells come off in larger pieces, you get smooth whites that pipe beautifully. Suddenly you’re not “the person who brought deviled eggs,” you’re “the person who brought DEVILED EGGS.”
2) The ramen egg that turned into a shell disaster
Jammy eggs are a vibe. They’re also timing-sensitive. A lot of people try to make ramen eggs, then peel too soon because they’re hungry, and the egg is still warm. Warm eggs can peel badlyespecially if they’re freshbecause the membrane hasn’t fully loosened and the white hasn’t fully set. The result: a cratered egg that looks like it was attacked by tiny wolves.
A better experience: steam for 7–8 minutes, then give the egg a full chill. Yes, it’s annoying to wait when your noodles are ready. But if you chill properly, you’ll peel cleanly, marinate evenly, and slice a glossy, photo-worthy egg that makes your bowl look restaurant-level.
3) The “healthy snack prep” era
Many people batch-cook eggs for quick snacks and lunchesthen stop because peeling feels like a chore. This is where the pro workflow pays off. Make a dozen eggs, set up a big ice bath, and peel a few right away under running water. Leave the rest unpeeled for later. When you know peeling won’t ruin your mood, eggs become a reliable, grab-and-go protein instead of a once-a-month project.
4) The kid-lunch reality check
If you’re packing lunches, presentation matters more than we like to admit. A smooth peeled egg is easy to slice neatly, season lightly, and tuck into a lunchbox without it looking like “mystery protein.” The trick that makes this experience better is consistency: same pot, same method, same timing, same ice bath. Eggs respond well to routinekind of like people, except eggs don’t ask for Wi-Fi.
5) The holiday egg coloring and “how long was this out?” question
Around holidays (especially when dyed eggs are involved), eggs can sit out during decorating or hiding. The experience most households eventually have is someone asking, “Is this still okay to eat?” The practical habit: keep cooked eggs cold, don’t leave them out for long stretches, and return them to the fridge promptly. If eggs have been sitting at room temperature too long, it’s safer to skip eating them. Your stomach deserves peace.
The big takeaway from all these experiences is simple: the method isn’t just about peeling. It’s about saving time, reducing waste, and making eggs feel like an easy win instead of a recurring annoyance. Once you find your timing, you’ll stop “hoping” eggs peel well and start expecting it.
Conclusion: Your Easy-Peel Egg Checklist
- Pick slightly older eggs when you can.
- Use a hot start: steam or lower into boiling water.
- Cool fast and fully in a real ice bath.
- Crack all over and start at the wide end.
- Peel under running water (or in a bowl of water) for the cleanest results.
Do this, and you’ll peel eggs with the calm confidence of someone who has their life together (at least in this one very specific, very satisfying area).