If you have ever tried to install a development build on an iPhone and been greeted by the digital equivalent of a locked door, welcome to the club. Apple’s developer ecosystem is powerful, polished, and occasionally dramatic. One of the most common reasons a build will not install on a physical device is simple: that device has not been added to your Apple Developer account yet.
This guide walks you through exactly how to add a new device to your Apple Developer Portal in 14 clear steps. Along the way, we will cover what a UDID is, why device registration matters, when you actually need it, and what to do after the device is added. Whether you are a solo iOS developer, part of a startup team, or the unlucky hero managing QA devices, this walkthrough will save you time, confusion, and at least a little muttering at your screen.
If your goal is to run a development build, create an Ad Hoc test build, or troubleshoot provisioning profile issues, this is the process you need. Let’s get your device invited to the party.
Why You Need to Add a Device to the Apple Developer Portal
Before diving into the steps, it helps to understand why Apple makes you do this at all. For development and Ad Hoc distribution, Apple restricts installation to registered devices. That means your iPhone, iPad, Apple TV, Apple Watch, or eligible Mac needs to be known to your team account before the provisioning profile can authorize the app to run there.
In plain English: no registered device, no happy testing.
This matters most when you are:
- Testing an app directly from Xcode on a real device
- Sharing an Ad Hoc build outside the App Store
- Updating provisioning profiles for new testers
- Managing internal QA hardware across multiple Apple platforms
If you use TestFlight for broader beta testing, you usually do not need to collect every tester’s UDID. That is one reason so many teams prefer TestFlight once they move beyond a small internal device list.
Before You Start
Make sure you have these basics ready before opening the portal:
- A paid Apple Developer Program membership for the team
- The correct permissions, usually Account Holder or Admin, for manual device registration
- The device name
- The device UDID
- Access to the Apple Developer website
One quick reality check: if your team uses Xcode automatic signing, Xcode can often register a connected device for you. Still, knowing the manual process is useful because teams, CI systems, Ad Hoc builds, and portal cleanup rarely stay simple for long.
How to Add a New Device to Your Apple Developer Portal: 14 Steps
Step 1: Confirm that your Apple Developer account has the right access
Not every team member can register devices manually. If you sign in and can look around but cannot add anything, that is not a plot twist; it is a permissions issue. Confirm that you are signed into the correct team and that your role allows device management.
Step 2: Decide whether you are registering one device or several
If you only need to add one iPhone or one test iPad, the manual single-device method is the fastest path. If your QA lead just dropped a spreadsheet of ten new devices into your inbox, the bulk-upload option may be smarter. For this article, we are focusing on the single-device flow.
Step 3: Connect the device to your Mac
Use a cable or, once already trusted and paired, a wireless connection through Xcode. Connecting the device makes it easier to confirm the device name and pull the UDID without guessing. Guessing and Apple provisioning profiles are not friends.
Step 4: Find the device UDID
This is the most important piece of information in the whole process. On modern Macs, you can often find the UDID in Finder when the connected device appears in the sidebar. In Xcode, you can also open the device management area and inspect the connected hardware. Copy the UDID carefully. One wrong character and you are suddenly registering a device from an alternate universe.
If you are adding a Mac, especially an Apple silicon Mac for development, pay close attention and use the correct provisioning UDID rather than assuming every identifier will work.
Step 5: Sign in to the Apple Developer website
Open the Apple Developer site and sign in with the Apple Account tied to your developer team. If your organization has multiple teams, double-check that you are entering the right one. It is shockingly easy to add a device to the wrong account and then wonder why nothing works.
Step 6: Open Certificates, Identifiers & Profiles
Once signed in, go to the account area and open Certificates, Identifiers & Profiles. This is the command center for code signing, app IDs, provisioning profiles, and device registration. It is not flashy, but it is where the magic and the headaches both live.
Step 7: Click Devices in the sidebar
In the left navigation, choose Devices. This section shows the devices already registered to your team across supported Apple platforms. If your organization has been around a while, prepare for a museum of old iPhones.
Step 8: Click the add button
Look for the + button near the top-left area of the Devices page. Clicking it starts the registration flow for a new device. If you do not see it, you likely do not have the necessary permissions, or you are in the wrong team context.
Step 9: Select the correct platform
Choose the platform that matches the hardware you are registering. This matters because Apple organizes device registration by product family. An iPhone is not treated the same way as an Apple TV or a watchOS test device, and your annual limits are tracked by product family.
Step 10: Enter a clear device name
Give the device a useful name. “John’s iPhone” is okay. “QA-iPhone-15-Pro-Max-Blue-01” is better if you work on a team. Good naming makes profile updates, audits, and troubleshooting much easier later. Future you will be grateful. Future coworkers might even buy you coffee.
Step 11: Paste in the UDID
Paste the copied UDID into the identifier field. Slow down here. The most common registration failure is not some mysterious Apple backend event. It is a bad paste, a wrong ID, or a copied serial number instead of the UDID.
Step 12: Click Continue
After entering the platform, device name, and UDID, click Continue. Apple will show you a review screen so you can verify the details before saving the registration.
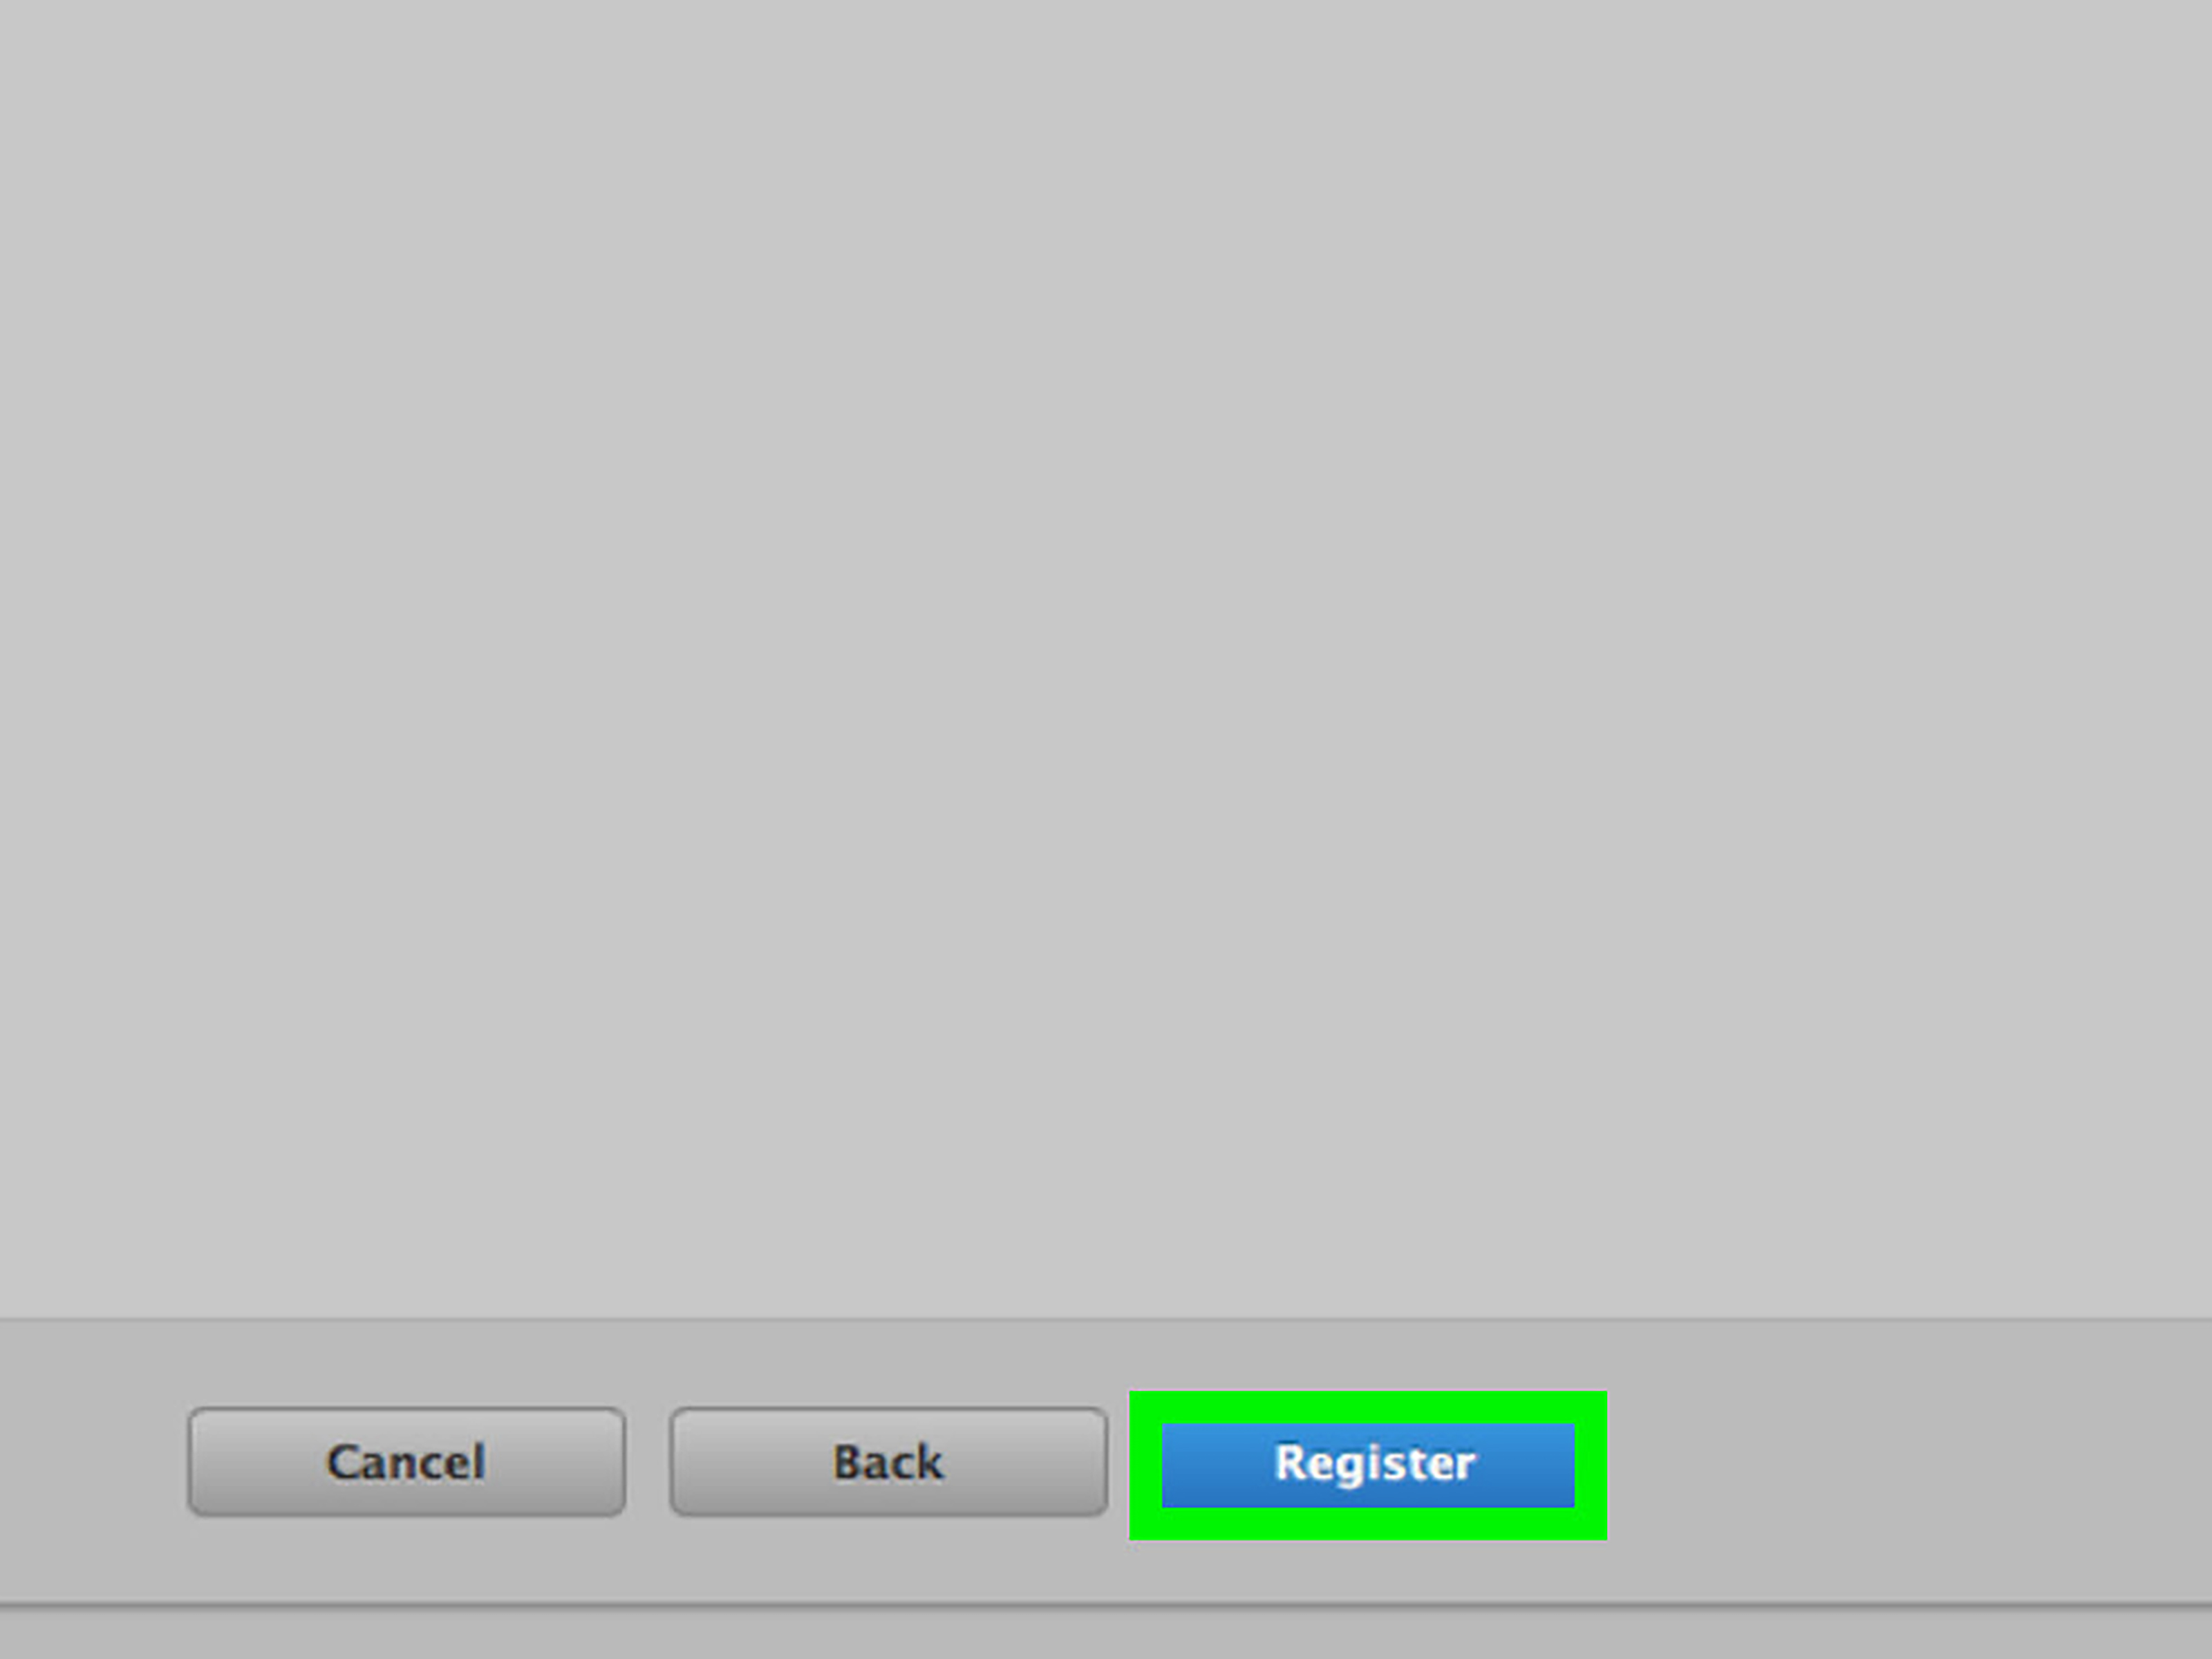
Step 13: Review and click Register
Check the device name, platform, and UDID one last time, then click Register. At this point, the device is added to your developer account. Cue the tiny internal victory parade.
Step 14: Update your provisioning profile and rebuild if needed
This final step is the one people forget. Adding the device to the portal does not automatically update every provisioning profile already in use. If you are using a manual development or Ad Hoc profile, edit the relevant profile, include the new device, download or refresh the profile, and rebuild the app if necessary. If you skip this step, the device is technically registered but still cannot run the build you care about.
What to Do After the Device Is Added
Once registration is complete, your next move depends on your workflow.
If you are using Xcode automatic signing
Xcode may refresh the required provisioning assets for you, especially in simpler setups. Connect the device, select it as the run destination, and let Xcode do its thing. If the device still does not run the build, refresh signing settings and verify the team selection in your target.
If you are using manual signing
Go to Profiles in the portal, open the relevant development or Ad Hoc provisioning profile, select the new device, regenerate the profile, then download and install it. Rebuild the app using the updated profile.
If you are testing on iOS 16 or later
Remember that device registration is not the only requirement. Developer Mode may also need to be enabled on the device before locally installed apps can run for development and debugging. In other words, if the portal part is correct but the app still refuses to launch, this is one of the first things to check.
Common Mistakes That Cause Device Registration Problems
- Using the wrong identifier: A serial number is not the same as a UDID.
- Forgetting the provisioning profile update: Registration alone does not fix old profiles.
- Working in the wrong team: Very common if you belong to multiple Apple teams.
- Insufficient permissions: Some roles can build apps but cannot add devices manually.
- Hitting device limits: Apple imposes annual limits per product family for registered devices.
- Assuming TestFlight works the same way: It does not. TestFlight usually avoids the whole UDID collection dance.
Best Practices for Managing Devices in the Apple Developer Portal
If your device list grows beyond a handful of phones, chaos can arrive wearing a very official lanyard. A few habits make life easier:
- Use consistent naming conventions for team devices
- Review unused devices before membership renewal periods
- Prefer TestFlight for larger beta groups
- Document who owns which device and what build it is meant to test
- Use bulk registration when onboarding many devices at once
- Keep your provisioning profiles organized by environment and purpose
Teams that ignore device hygiene tend to spend more time debugging code signing than debugging actual code. That is not the glamorous developer life anyone signed up for.
Real-World Experiences: What Adding Devices Actually Feels Like
On paper, adding a device to the Apple Developer Portal sounds wonderfully simple: get the UDID, paste it in, click Register, move on with your day. In real life, it often feels like a tiny administrative side quest that somehow turns into the main quest. Developers usually encounter this process at the exact moment they are trying to test a build urgently, which gives the task a level of emotional intensity it probably does not deserve.
For solo developers, the experience is usually a mix of relief and annoyance. Relief, because once the device is added correctly, testing on real hardware becomes much smoother. Annoyance, because the task interrupts actual development work. You sit down to test a feature, then realize the phone is not registered, the profile is outdated, and Xcode has decided this is a wonderful time to be mysterious. It is the software equivalent of trying to leave the house and realizing your keys are in yesterday’s jacket.
For small teams, the process becomes less about one device and more about coordination. One developer has admin access, another has the phone, QA needs the build by the afternoon, and someone is asking in chat whether the “blue iPhone” is already on the portal. This is where device naming conventions suddenly stop sounding boring and start sounding brilliant. A well-named device list can save an entire team from confusion.
In agencies and startups, adding a new device often happens in waves. A client sends over test hardware. A product manager wants to see a demo on their personal phone. A new QA contractor joins and needs access today, preferably ten minutes ago. The portal can handle it, but the pressure comes from the surrounding workflow. The technical steps are not hard; the context around them is what creates stress.
Another common experience is the false finish. You add the device, see it in the portal, and naturally assume you are done. Then the build still fails to install because the provisioning profile was not regenerated. This is such a classic Apple development rite of passage that it should probably come with a commemorative sticker. The lesson is simple: device registration and provisioning profile updates are related, but they are not the same step.
There is also a weirdly satisfying side to the process. Once you understand how the Apple Developer Portal, signing, device limits, and provisioning profiles fit together, a lot of iOS testing suddenly feels less random. Instead of poking buttons and hoping for mercy, you start to see the system. That moment is useful. It turns the portal from an intimidating maze into a predictable tool.
Experienced developers eventually build a rhythm: collect the UDID, label the device properly, register it, update the profile, rebuild, test, and move on. It becomes muscle memory. The first few times may feel fussy, but later it is just part of a professional workflow. Not fun, exactly. More like flossing. You may not wake up excited to do it, but you are glad when it is handled.
Final Thoughts
Adding a new device to your Apple Developer Portal is not the flashiest part of app development, but it is one of those foundational tasks that keeps real-device testing moving. Once you know the 14-step process, it becomes much easier to manage development builds, Ad Hoc testing, and provisioning profile updates without losing half a day to code-signing confusion.
The short version is this: collect the correct UDID, register the device in Certificates, Identifiers & Profiles, then update the relevant provisioning profile. Do that consistently, and you will avoid most of the classic “why won’t this build install?” headaches.
And if the whole thing still feels a little fussy, well, congratulations. You are having the authentic Apple developer experience.
Note: Apple occasionally tweaks labels and layout inside the developer portal, so the wording you see may vary slightly even when the underlying process stays the same.