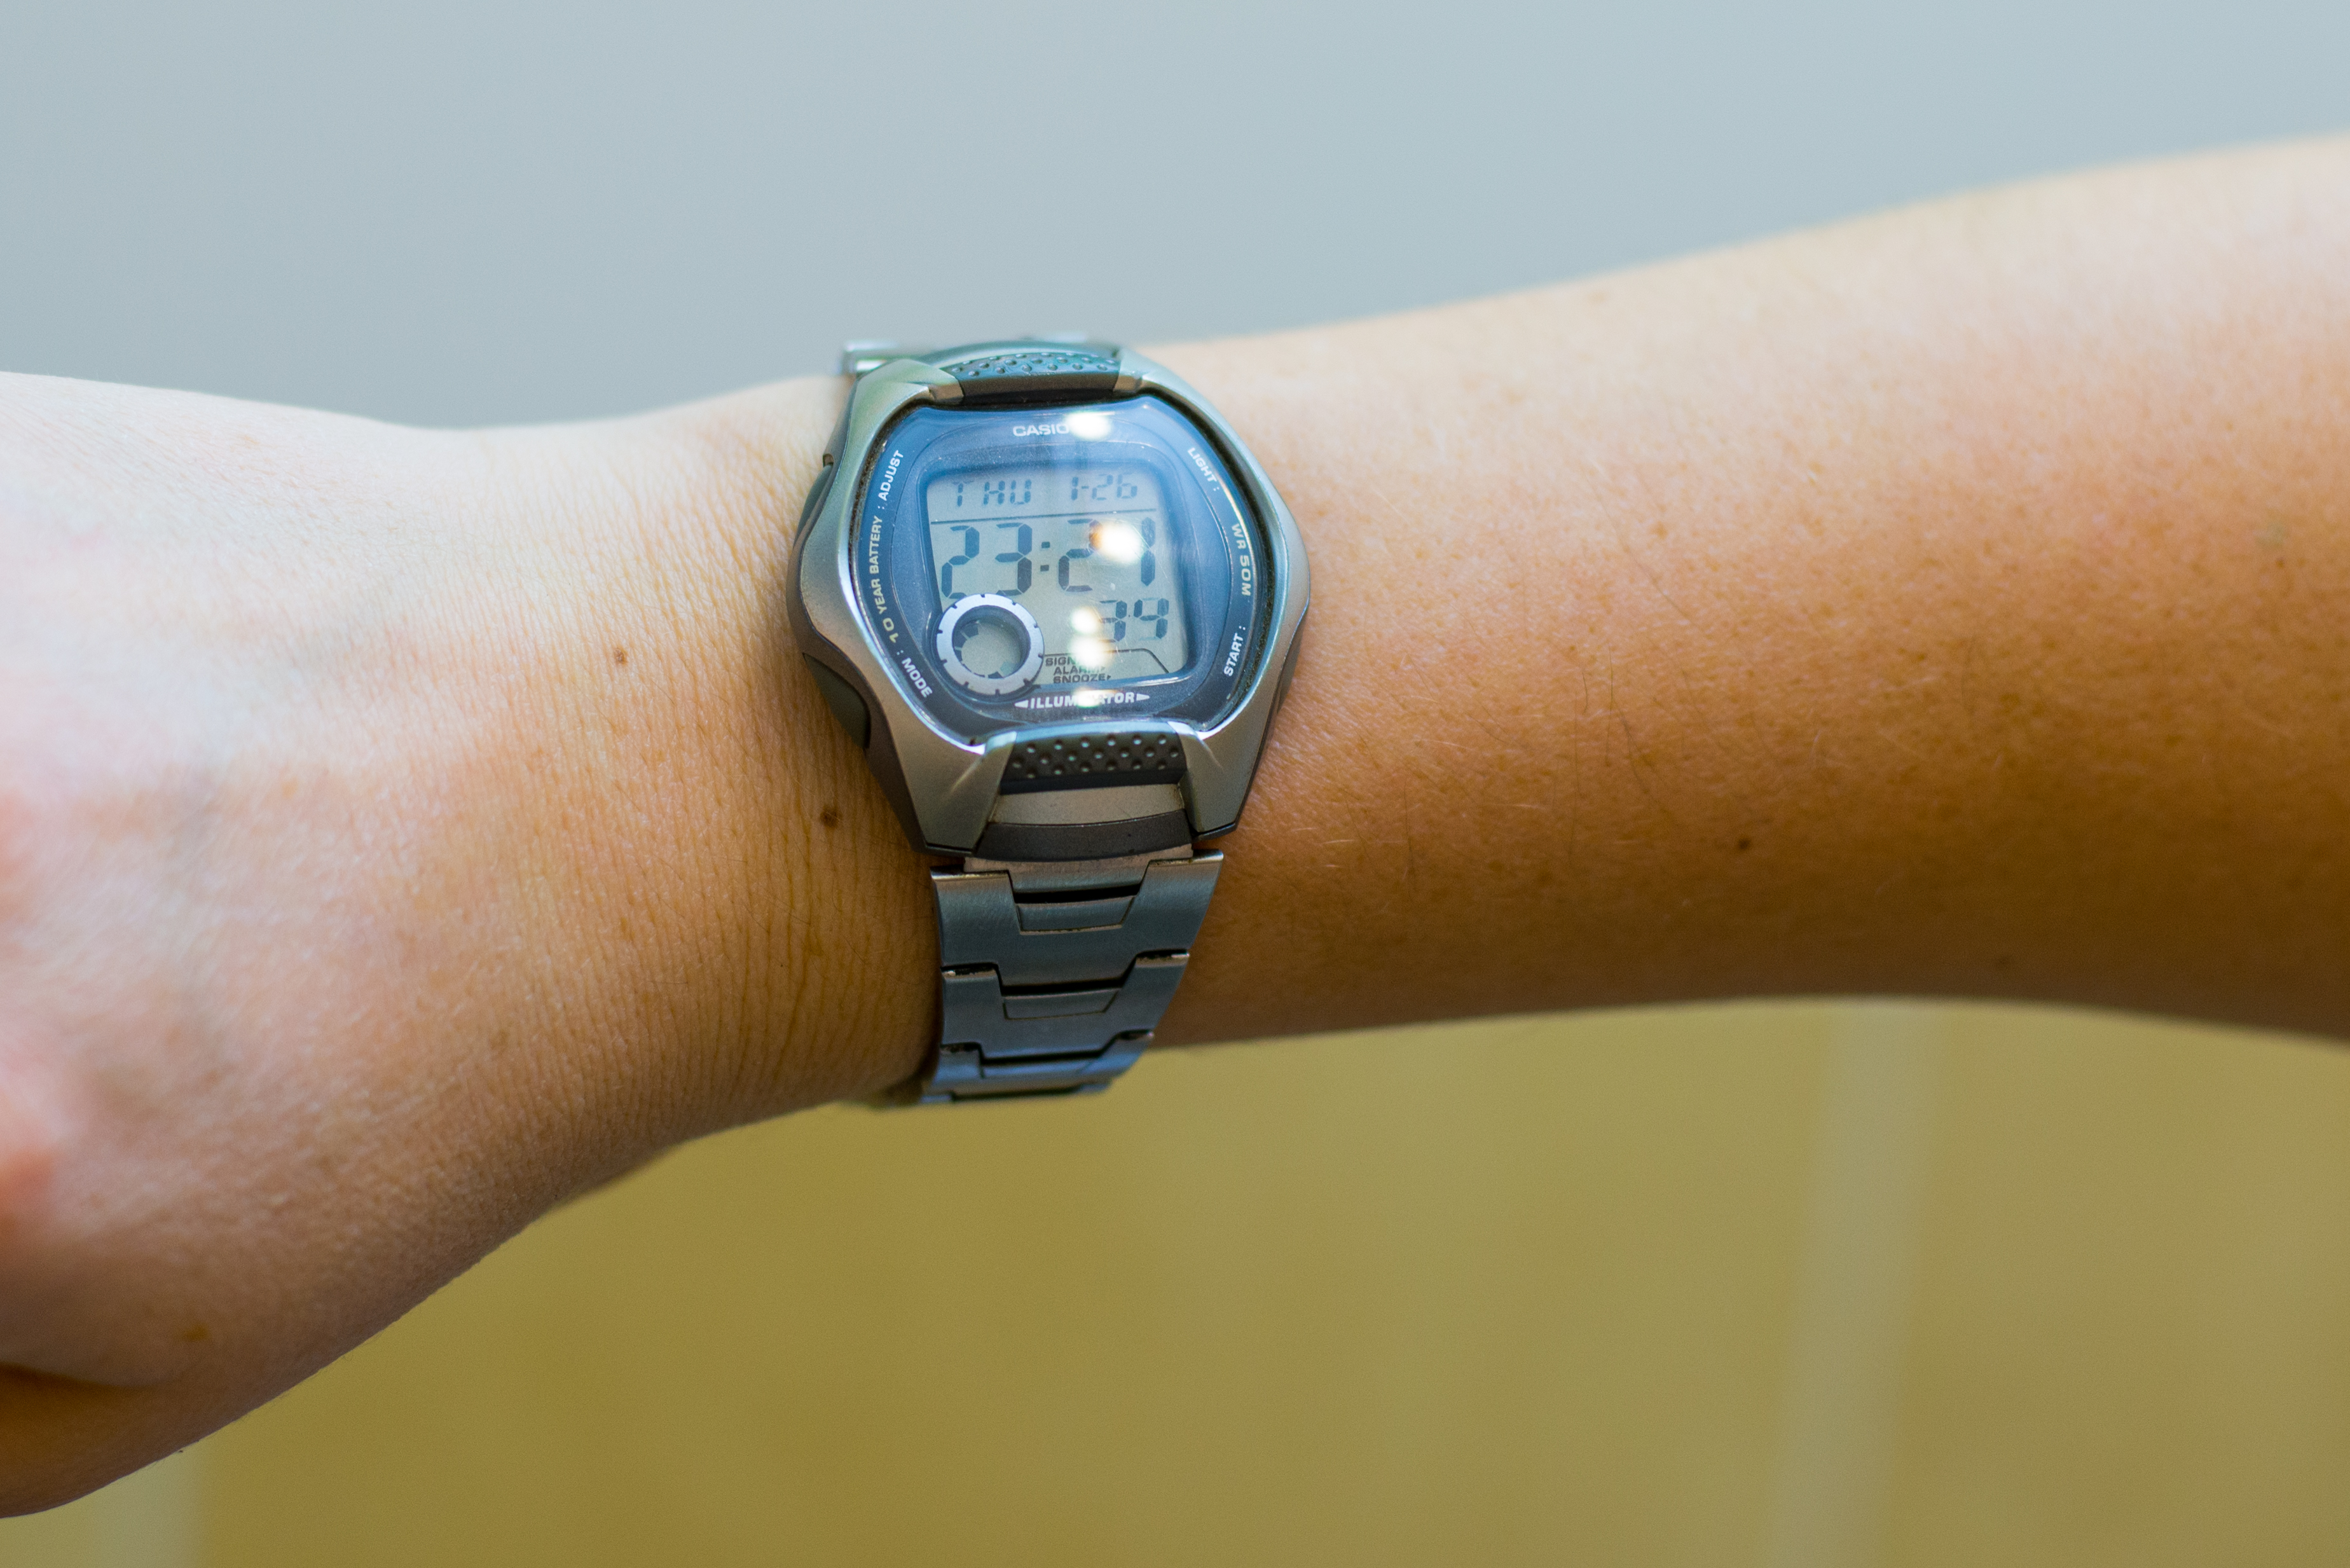
A Casio metal wristband looks sharp, feels durable, and has that wonderful “I know what time it is and I also know how to use a screwdriver” energy. The only problem? A brand-new metal bracelet often fits like it was designed for a friendly robot with slightly different wrists than yours.
The good news is that sizing a Casio metal wristband is usually very doable at home. The even better news is that you do not need a full watchmaker’s lab, a velvet cape, or a dramatic soundtrack. In many cases, all you need is a soft surface, a measuring tool, patience, and the ability to not launch tiny metal pins into another dimension.
This guide breaks down exactly how to size a Casio metal wristband in 11 clear steps. It also explains the different kinds of Casio metal bands you may run into, common mistakes to avoid, and when it makes more sense to let a jeweler or service center handle the job. Whether you are adjusting a classic vintage Casio, a mesh bracelet model, or a metal-link bracelet with pins, this guide will help you get a cleaner, more comfortable fit.
Before You Start: Know What Kind of Casio Metal Band You Have
Not every Casio metal wristband adjusts the same way. That is the first big secret. Some Casio models use a simple adjustable clasp that slides along the bracelet. Some mesh-style bands also use a sliding clasp. Others have removable links held together by pins. A few metal bracelets may also have a micro-adjustment area on the clasp for small changes.
That means the words “size a Casio metal wristband” can describe a couple of different jobs. Sometimes you are just moving a clasp. Sometimes you are removing links. Sometimes you are doing both. So before you poke, push, tap, or mutter at the bracelet, identify the system first.
Basic tools that help
- A soft cloth or microfiber towel
- A tape measure, or string plus a ruler
- A small pin pusher, thumbtack, or watch-link tool
- A small hammer or light tapping tool
- Tweezers or needle-nose pliers
- A tiny tray or bowl for pins and links
- Good lighting and a little patience
If you do not have proper tools, you can still learn the process here first. Then you can decide whether to do it yourself or head to a jeweler. That is not quitting. That is strategic brilliance.
How to Size a Casio Metal Wristband: 11 Steps
-
Step 1: Identify the adjustment style
Turn the watch over and look at the bracelet closely. If you see arrows on the underside of certain links, your Casio likely uses removable pins. If you see a clasp that appears to lock onto the band and can slide along it, you probably have an adjustable or slide clasp. Mesh bracelets often use this style. Some bracelets also include fine adjustment points on the clasp for smaller fit changes.
This step matters because the wrong method can scratch the bracelet, bend the clasp, or leave you staring at the watch like it has personally betrayed you.
-
Step 2: Check your model instructions if possible
If you still have the paperwork, great. If not, look up your Casio module number or model on the official support page. Casio manuals and support resources can help you confirm whether your watch uses a slide clasp, removable links, or another system.
This is especially smart if your bracelet looks unusual or you own a model with a dressier mesh band. Two Casios can look similar from across the room and still adjust in totally different ways once you flip them over.
-
Step 3: Measure your wrist the right way
Wrap a flexible tape measure around your wrist where you normally wear the watch. No tape measure? Use a piece of string, mark the overlap point, and measure that length with a ruler. Write the number down.
Do not cinch it tight like you are trying to secure cargo. The goal is a natural wrist measurement. A watch should feel secure, but it should not leave an imprint that looks like you lost an argument with a toaster.
-
Step 4: Decide how you want the watch to fit
Some people like a snug fit that keeps the watch in one place. Others prefer a slightly looser fit with a little movement. Try the watch on as-is and pinch the extra band length together to estimate how much needs to go.
In general, the watch should stay centered on your wrist and slide only slightly. If the case spins around to the underside of your arm every time you move, the bracelet is too loose. If the clasp digs in when you bend your wrist, it is too tight.
-
Step 5: Protect your work area before touching the bracelet
Lay a soft cloth on your table before you start. This helps prevent scratches on the case, bracelet, and crystal. Set up a small bowl or tray for tiny parts. Those tiny parts are masters of escape. If a link pin rolls off the table, it will immediately develop Olympic-level speed.
Good lighting helps too. Metal bracelets do not become easier to adjust just because you squint at them with determination.
-
Step 6: Adjust the clasp first if your Casio uses a sliding or self-adjustable clasp
If your bracelet has a slide clasp, open the clasp carefully and look for the locking plate. With a small flat tool, gently lift the clasp lock just enough to move it. Then slide the clasp forward or backward along the band until the watch fits better. Press the lock back down securely.
This style is common on some Casio vintage and mesh designs, and it is wonderfully convenient because you often do not have to remove links at all. Make small adjustments, try the watch on, and repeat until the fit feels balanced.
-
Step 7: Remove links if your bracelet uses pins
If your Casio has removable links, turn the band over and find the arrows on the back of the bracelet. These arrows usually show the direction the pins should be pushed out. Position the bracelet in a holder or steady it on a soft surface, place your pin tool against the correct end of the pin, and gently tap or push it out.
Remove links evenly from both sides of the clasp whenever possible. That keeps the watch head centered on your wrist instead of drifting off to one side like it is trying to leave the conversation. Start small. Remove one or two links, test the fit, and then decide whether more are needed.
-
Step 8: Keep every link and pin you remove
Put removed links, pins, and any tiny collars or sleeves into a safe container right away. Even if the bracelet feels perfect today, you might want those parts later if your fit preference changes, if the watch is passed along, or if you sell it in the future.
This step sounds obvious right up until the moment someone says, “I definitely put that extra link somewhere safe,” which is usually the beginning of a very unhelpful treasure hunt.
-
Step 9: Reconnect the bracelet carefully
Once you have removed the needed links, line the bracelet sections back up and insert the pin in the opposite direction of the arrow. Press or tap it back into place until it sits flush and secure. If your bracelet uses a split pin, make sure it is fully seated.
Do not force a pin that is going in crooked. Pull it back out, realign the bracelet, and try again. A bent pin can cause a weak connection, and nobody wants their watch to detach in public like it is making a dramatic exit.
-
Step 10: Fine-tune the fit with clasp adjustments if available
After removing links, try the watch on again. If it is almost perfect but not quite there, check whether the clasp offers a final small adjustment. Some bracelets give you a little extra room to fine-tune without removing another full link.
This is where a good fit becomes a great fit. A bracelet that is one tiny notch better can feel completely different during a full day of wear.
-
Step 11: Wear-test the watch before declaring victory
Put the watch on for at least a few minutes and move your wrist naturally. Type, reach, bend your hand, and let your wrist do normal wrist things. Make sure the watch stays centered, the clasp feels secure, and the bracelet does not pinch.
If the fit still feels off, make one more small adjustment. If the bracelet seems unusually stubborn, uses unfamiliar hardware, or you are worried about damage, stop and let a jeweler or watch repair professional take over. That is a smart finish, not a defeat.
Common Mistakes to Avoid
Removing too many links at once
This is the classic beginner move. Take out too much, and suddenly the bracelet fits a very stylish child-sized mannequin. Make adjustments gradually.
Ignoring bracelet symmetry
If you remove all the links from one side, the clasp can sit off-center and the watch head may not rest properly on your wrist. Balance matters.
Pushing the pin in the wrong direction
If there are arrows on the bracelet, pay attention to them. They are not decorative. They are tiny metal road signs.
Working on a hard surface
A bare tabletop can scratch the bracelet and case. Use a soft cloth every time.
Forgetting to save extra parts
Keep every link and pin in a labeled bag. Future you will appreciate the effort.
When a Jeweler Is the Better Option
There is absolutely no shame in taking your Casio to a jeweler, watch kiosk, or service center. In fact, it is often the best move if the bracelet uses a tricky pin-and-collar system, if you are dealing with a dress watch you do not want to scratch, or if the watch is brand new and you are worried about damaging the finish.
A professional can usually size a metal bracelet quickly and often for a small fee. That fee may be worth every penny if it saves you from bent pins, scuffed links, or an afternoon spent crawling around the floor looking for a piece of metal the size of a grain of confidence.
How a Proper Fit Should Feel
A properly sized Casio metal wristband should feel secure without squeezing. You should be able to move your wrist normally. The watch case should stay mostly centered. The bracelet should not slide halfway down your hand, and it should not pinch every time you flex your wrist.
Temperature can affect fit too. Wrists tend to swell slightly in heat and shrink a bit in cold weather. That is one reason many people prefer a fit that is comfortably secure rather than ultra-tight. Watches are accessories, not commitment tests.
Real-World Experiences With Sizing a Casio Metal Wristband
One of the most common experiences people have when sizing a Casio metal wristband is surprise. They assume every metal bracelet works the same way, then realize one Casio model has a sliding clasp while another needs links removed. That moment of confusion is normal. It is also why the first few minutes of the process should be spent studying the bracelet instead of attacking it with tools like an overconfident movie detective.
Another common experience is discovering that the bracelet only looked easy to adjust until the first pin refused to move. This happens a lot. Link pins are meant to stay in place during everyday wear, so they can feel stubborn. The solution is usually not brute force. It is better alignment, steadier support, the correct direction, and a little patience. In real life, gentle precision beats aggressive enthusiasm almost every time.
Many first-time Casio owners also notice that tiny adjustments make a surprisingly big difference. A bracelet that feels only “a little loose” can become annoying after a full day at work. A bracelet that feels “just a touch snug” in the morning can feel much tighter later in the afternoon. That is why experienced watch wearers often recommend making small changes and testing the fit before removing additional links. The goal is not just to get the watch on your wrist. The goal is to forget about the fit while wearing it.
There is also the classic experience of thinking the job is finished, putting the watch on, and realizing the clasp now sits slightly off-center. That usually means the removed links were not balanced well on both sides. It is a harmless mistake, but it teaches a valuable lesson: comfort is not only about total bracelet length. It is also about how the bracelet is distributed around the wrist.
People who buy vintage-style Casio watches often have a more pleasant surprise. Some models with adjustable clasps are much easier to size than expected. Instead of knocking out pins, they simply move the clasp and lock it down again. That can make the whole process feel delightfully civilized. No hammer taps, no runaway pins, no dramatic sighing.
Finally, one of the most relatable experiences is deciding halfway through the project that a jeweler suddenly sounds like a genius. That is also normal. DIY sizing can be satisfying, especially once you understand the bracelet type and take your time. But plenty of smart watch owners reach a point where they say, “You know what? For ten bucks, someone else can absolutely handle this.” Honestly, that may be the most practical watch-sizing wisdom of all.
Conclusion
Learning how to size a Casio metal wristband is one of those small skills that pays off immediately. A properly fitted bracelet looks better, feels better, and makes the watch more enjoyable to wear every day. The trick is to slow down, identify the bracelet style, make small adjustments, and keep everything organized.
If your Casio uses a slide clasp, the job may be quick and painless. If it uses removable links, the process takes a little more care, but it is still manageable with the right setup. And if the bracelet fights back like it has a personal grudge, a jeweler can finish the job without the drama. Either way, the end result is the same: a Casio that actually fits your wrist instead of hovering around it like a shiny metal suggestion.