Your car’s upholstery sees everything: coffee splashes, French fry confetti, mystery smudges, pet hair tumbleweeds, and the occasional “I swear that wasn’t there yesterday” stain. The good news is that cleaning car upholstery is not some secret ritual performed only by detailing wizards under a full moon. With the right tools, the right cleaner, and a little patience, you can make cloth, leather, and vinyl seats look dramatically better without turning your car into a soggy science experiment.
If you have been searching for how to clean car seats, how to clean car upholstery, or the best way to remove car seat stains, this guide breaks it all down into seven practical methods that actually make sense. We will cover how to prep the interior, how to clean different upholstery types, how to handle odors, and how to avoid the classic mistake of over-wetting everything until your car smells like a damp basement.
The best approach depends on what your seats are made of, how dirty they are, and whether you are dealing with a quick freshen-up or a full-on rescue mission. Let’s get into it.
What You Need Before You Start
- Vacuum with brush and crevice attachments
- Microfiber cloths
- Soft-bristle upholstery or detailing brush
- Fabric-safe upholstery cleaner or foaming cleaner
- Leather-safe cleaner and conditioner, if needed
- Mild soap and water for certain surfaces
- Spray bottle with clean water
- Wet/dry vacuum or portable extractor, if available
- Activated charcoal or odor absorber for lingering smells
1. Identify the Upholstery Before You Clean Anything
This step is not glamorous, but it will save you from expensive mistakes. Car interiors can include cloth, genuine leather, synthetic leather, vinyl, suede-like trim, and mixed materials on the same seat. That means the “spray first, ask questions later” method is a terrible life choice.
Before using any car upholstery cleaner, check your owner’s manual or seat care label if available. A cleaner that works beautifully on cloth can leave leather dry and sad. A harsh household product may seem like a cheap shortcut, but it can fade color, strip protective coatings, or stiffen the material. In other words, your seat may become clean-ish and also offended.
Why this matters
Cloth upholstery can usually handle foaming or fabric-safe cleaners and light agitation with a soft brush. Leather needs a gentler touch and often benefits from conditioning afterward. Vinyl is easier to wipe down, but it still should not be blasted with random harsh chemicals. When in doubt, test any product on a hidden area first.
Best practice
Do a spot test on the side or back of a seat before cleaning an entire panel. Wait for it to dry fully so you can check for discoloration, residue, or texture changes.
2. Vacuum First Like You Actually Mean It
If you skip vacuuming and go straight to liquid cleaner, you are basically turning loose dirt into muddy soup. Always remove dry debris first. That includes crumbs, grit, pet hair, sand, salt, dust, and whatever fossilized snack bits have settled into the seat seams.
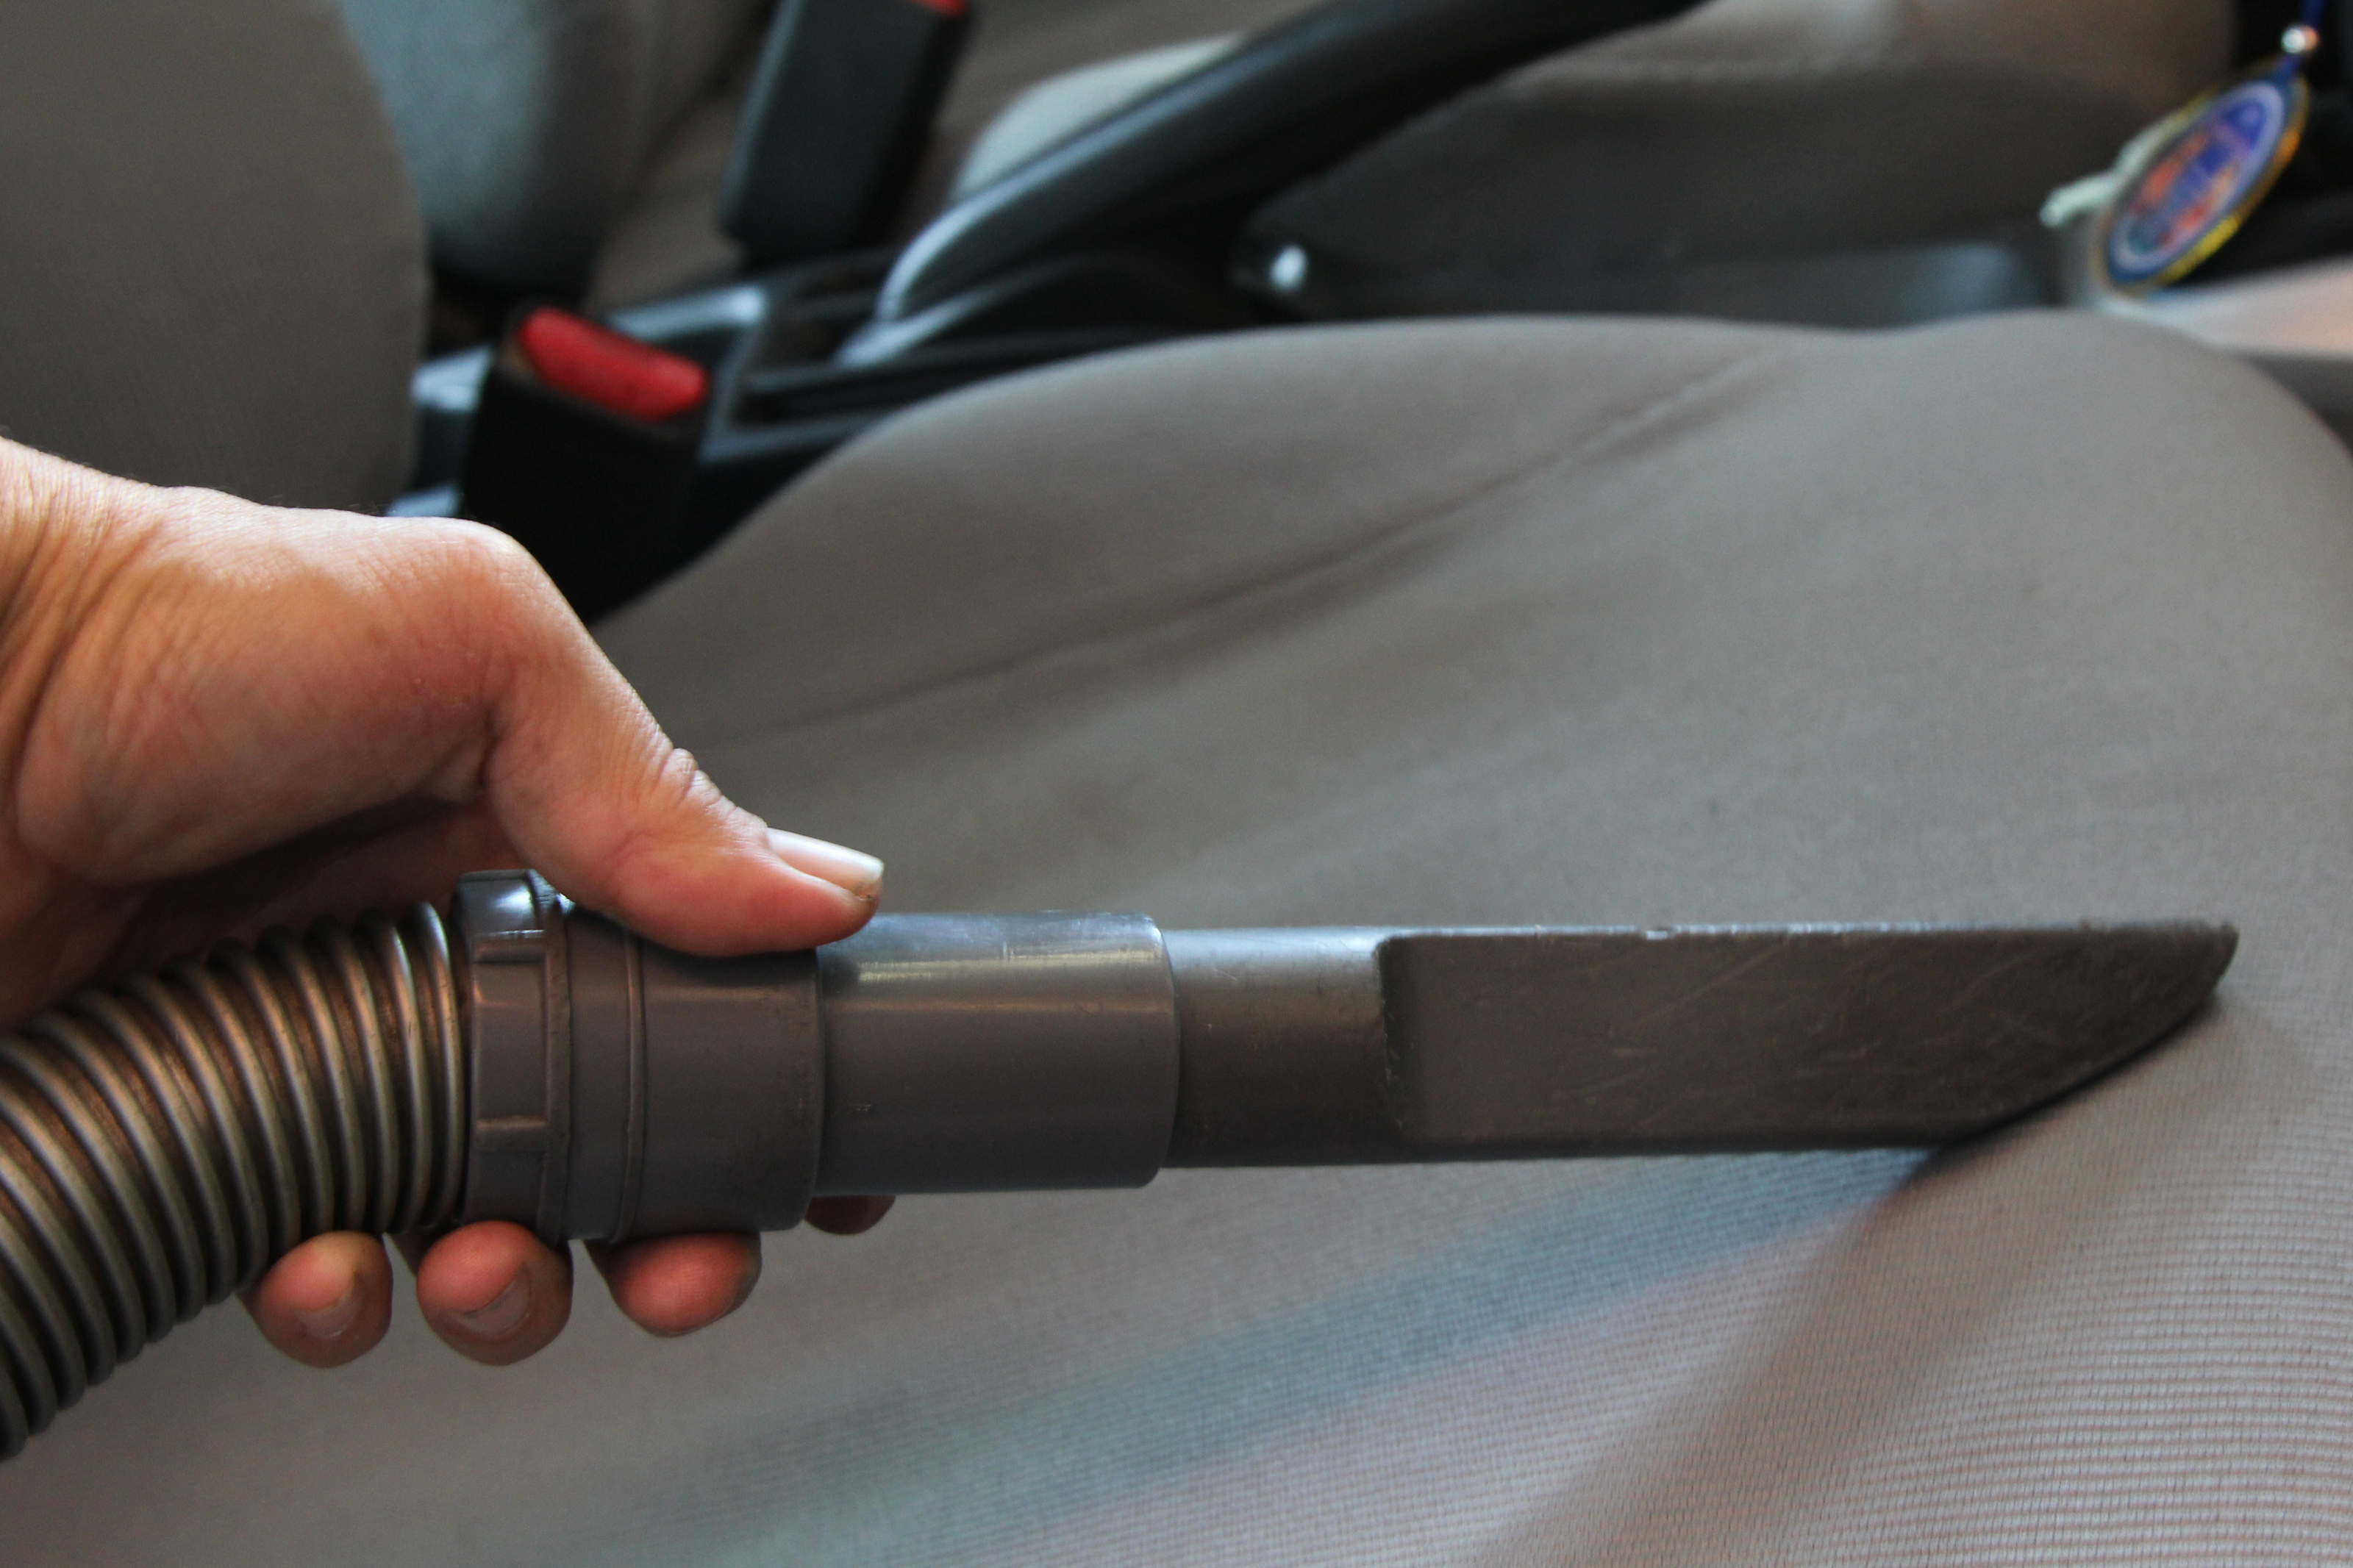
Use a crevice tool to get into seams, seat tracks, edges, and between the seat and center console. A soft brush attachment works well on fabric and delicate surfaces. For stubborn pet hair, a rubber brush or pet hair tool can help loosen what the vacuum misses.
This step does more than make the car look tidier. It also prevents you from grinding abrasive debris deeper into the fabric or scratching the surface of leather while you scrub. If your vehicle has floor mats, remove and clean them separately. Otherwise, you are just doing a beautiful deep clean while the mats sit nearby plotting their dusty revenge.
Pro tip
If the interior is especially dusty, vacuum twice. The first pass removes the obvious mess. The second one gets the sneaky stuff hiding in seams and textured fabric.
3. Blot Fresh Spills and Spot-Treat Stains Fast
The longer a spill sits, the more it settles into the upholstery fibers. So if iced coffee tips over, your first move is not panic. Your first move is blotting.
Use a clean microfiber cloth or paper towel to blot, not rub. Rubbing spreads the stain and pushes it deeper into the material. Once most of the liquid is lifted, use a small amount of the appropriate cleaner on the affected area. For light messes on cloth seats, a fabric-safe upholstery cleaner or a mild soap solution can work well. For leather, use a leather-safe cleaner or a lightly damp microfiber cloth with mild soapy water.
Focus on the stain, not the entire seat, if the rest of the upholstery is relatively clean. Use a soft brush only if needed, and keep your motion gentle. Aggressive scrubbing may rough up cloth fibers or wear the finish on leather. Your goal is to lift the stain, not start a turf war with the seat.
Common stain types
- Food and coffee: Blot quickly, then use fabric cleaner or mild soap solution.
- Mud: Let it dry first, vacuum it up, then treat the remaining mark.
- Grease: Use an upholstery cleaner designed for oily stains rather than soaking with water.
- Water rings: Clean the entire panel lightly so the area dries evenly.
4. Deep-Clean Cloth Upholstery With a Fabric-Safe Cleaner
If your cloth seats look dull, smell stale, or have multiple stains, it is time for a deeper clean. This is one of the most effective ways to clean cloth car seats without replacing them or hiding them forever under those floppy universal seat covers nobody really likes.
Spray a foaming upholstery cleaner or fabric-safe cleaner lightly across one section at a time. Do not drench the fabric. That is the fastest route to extended drying time, water marks, and mildew. Let the product sit according to the directions, then work it in gently with a soft upholstery brush. Focus on high-contact areas such as the driver’s seat bottom, seat back, armrest area, and visible spots.
After that, blot with a clean microfiber towel to pull up loosened dirt and moisture. If you own a wet/dry vacuum or a portable carpet extractor, this is where it earns its keep. Extraction helps remove dirty moisture from the seat and shortens drying time. If you do not have one, extra towels and patience can still get the job done.
How to avoid over-wetting fabric
Work in small sections. Spray cleaner onto the brush or towel for lightly soiled areas instead of spraying the seat directly. Use just enough product to clean the fibers, then blot thoroughly. Fabric seats should feel slightly damp when you are done, not as if they survived a monsoon.
When cloth seats need a second round
Heavily used cars, rideshare vehicles, family SUVs, and older interiors often need more than one pass. That is normal. A second controlled cleaning is better than one overly aggressive first attempt.
5. Clean Leather Upholstery Gently and Condition It Afterward
Leather can make a car interior look upscale, but it also demands a little respect. Heat, sunlight, friction, and harsh cleaners can dry it out over time. If you want to clean leather car seats properly, think gentle, controlled, and slightly fancy.
Start by vacuuming with a soft brush attachment, paying attention to seams and creases. Dirt trapped there can act like sandpaper when rubbed across the surface. Next, apply a leather-safe cleaner to a microfiber cloth or directly to the cloth rather than flooding the seat. Wipe in small sections using light circular motions or smooth passes. For textured areas or stitched seams, a soft detailing brush can help loosen grime.
Once the seat is clean, wipe away residue with a dry microfiber towel. Then apply a leather conditioner if your product and upholstery type call for it. Conditioning helps replenish moisture and can reduce the risk of cracking, fading, and that brittle feel nobody wants in a daily driver.
What not to use on leather
Avoid bleach, hydrogen peroxide, harsh alcohol-based products, or anything overly abrasive. Leather is not a kitchen counter. It does not want your strongest disinfecting fantasy. It wants a mild cleaner, low friction, and a little post-cleaning hydration.
6. Clean Vinyl, Trim, and Mats So the Whole Interior Matches
Even spotless seats can look underwhelming if the surrounding interior still looks grimy. Door panels, seat edges, plastic trim, center consoles, and floor mats all influence how clean the upholstery feels overall. Think of them as the supporting cast that can absolutely steal the scene.
Vinyl upholstery is usually easier to maintain than cloth or leather. In many cases, a suitable interior cleaner and microfiber cloth are enough to lift dirt and residue. Use a separate clean cloth for drying so you do not smear grime around. For tight creases and seams, a small detailing brush helps without requiring aggressive scrubbing.
Floor mats deserve their own cleaning session. Remove them from the vehicle first. Carpet mats can be vacuumed, lightly shampooed, agitated with a brush, then blotted and air-dried. Rubber or vinyl mats can usually be scrubbed with mild soap and rinsed clean. Just make sure everything is fully dry before it goes back into the car.
Why mats matter
Mats collect mud, salt, grit, and odors that easily migrate back into freshly cleaned upholstery. Cleaning them separately helps keep the whole cabin from feeling like it is one spilled latte away from chaos.
7. Dry Thoroughly, Deodorize Smartly, and Prevent the Next Mess
The final step is where a good upholstery cleaning becomes a great one. If seats stay damp too long, you risk mildew, musty odors, or that clammy feeling that makes every drive weird. Open the doors, park in a shaded but ventilated area, and let air circulate. Fans help. So does a wet/dry vacuum or extractor if you used one earlier.
For odors, clean first and deodorize second. Air fresheners can make the cabin smell like “mountain rain” or “mysterious citrus spaceship,” but they do not remove the source of the funk. If the interior still smells off after cleaning, use an odor absorber such as activated charcoal or a product made for fabric odors. On dry cloth surfaces and mats, some people also use a light sprinkle of baking soda before vacuuming, but only if the material and product directions make that a safe choice.
Prevention is the least exciting advice and the most effective. Vacuum regularly. Wipe up spills immediately. Keep a microfiber towel in the glove box. Do not let trash set up permanent residence in the back seat. And if you park outside, use a sunshade to reduce heat damage and help protect leather and vinyl from drying out over time.
Extra Tips for Better Results
Work one seat or section at a time
This keeps product from drying before you can blot it and helps you stay in control of moisture levels.
Use multiple microfiber cloths
One for applying cleaner, one for blotting, and one for drying is a smart setup. A single filthy rag is not a cleaning strategy. It is just mobile regret.
Do not rush drying time
Even if the upholstery looks clean right away, let it dry fully before reinstalling mats, putting on seat covers, or loading the car back up.
Know when to call a pro
If your seats have set-in stains, mold, flood damage, or deep odor issues, a professional detailer or upholstery specialist may be the smarter move. Some problems need extraction tools, specialty chemicals, or repair work that a DIY approach cannot safely replace.
Conclusion
Learning how to clean car upholstery is less about brute force and more about using the right method for the right material. Vacuum first, treat stains quickly, deep-clean cloth carefully, handle leather gently, and always dry thoroughly. Those seven habits can make a major difference in how your car looks, smells, and holds up over time.
The best part is that you do not need a full detailing studio to get impressive results. A vacuum, a few microfiber cloths, a good upholstery cleaner, and some patience can take your interior from “rolling snack drawer” to “surprisingly respectable” in one afternoon. And once you see the difference, keeping up with regular maintenance gets a whole lot easier.
Experience-Based Notes: What Cleaning Car Upholstery Actually Feels Like in Real Life
Anyone can say “vacuum first” or “blot the stain,” but the real experience of cleaning car upholstery is much more human than that. It usually starts with a moment of denial. You notice a coffee spot on the passenger seat and think, “That is probably not too bad.” Then sunlight hits the interior at the exact wrong angle and suddenly the entire seat looks like it has been through a difficult season of life.
One of the most common experiences people have is underestimating how much dirt is hiding in the seams. You think the seat is moderately dusty, then you run the crevice attachment along the edge and discover enough crumbs to assemble half a granola bar. It is both satisfying and slightly humbling. Car upholstery has a special talent for storing evidence.
Another familiar moment comes with cloth seats. At first, nothing seems to happen. You spray the cleaner, brush gently, blot with a towel, and think the stain is winning. Then, as the area starts to dry, the fabric lightens and the seat suddenly looks several years younger. It is one of those rare cleaning jobs where patience really pays off. The transformation is not always instant, but it is often dramatic.
Leather brings a different experience altogether. Cleaning it feels less like scrubbing and more like careful restoration. You notice how quickly dust builds up in the stitching, how body oils collect on the driver’s seat bolster, and how a simple wipe with the right cleaner can bring back a more even finish. Adding conditioner afterward often changes the whole feel of the seat. It goes from dry and slightly tired to smooth and cared for, which is deeply satisfying in a very grown-up way.
Families with kids usually have the most dramatic upholstery stories. Sticky juice, crushed crackers, melted chocolate, mystery smears that cannot be identified without emotional consequences; these are not rare events. In those situations, cleaning the seats becomes less of a beauty project and more of a rescue mission. The biggest lesson most people learn is that fast cleanup matters. A fresh spill is annoying. A week-old spill that baked in the sun becomes a personality trait.
Pet owners know a different battle: hair and odor. Dog hair somehow weaves itself into fabric like it signed a lease. Even after vacuuming, a brush or rubber tool often reveals another whole layer. But once the hair is gone and the upholstery is cleaned, the interior feels noticeably fresher. It is not just about appearance. It changes the entire driving experience.
There is also a small psychological reward to a clean car interior that is easy to underestimate. When the upholstery looks fresh, the whole vehicle feels better maintained. You sit differently. You notice less visual chaos. Even short drives feel calmer. It is not magic, but it is close enough for a Tuesday.
In the end, cleaning car upholstery is one of those chores that starts as a practical task and ends up feeling like a reset. You remove stains, lift odors, clear clutter, and reclaim the space a little. And once you have done it properly one time, you are much more likely to keep a towel, a vacuum attachment, and a little dignity nearby for the next spill.