A torque wrench is not just a fancy ratchet with a confidence problem. It is a precision measuring tool designed to apply a specific amount of rotational force to a fastener. Whether you are tightening wheel lug nuts, engine components, bike hardware, machinery bolts, or anything else that should not be “pretty tight, probably,” accuracy matters.
Learning how to calibrate a torque wrench helps you understand whether your tool is still delivering the torque value shown on its scale. It also helps you decide when a simple accuracy check is enough and when the wrench needs professional recalibration. Because there is a big difference between checking a tool and certifying that it meets a recognized calibration standard.
This guide explains torque wrench calibration in a practical, workshop-friendly way. You will learn what equipment is required, how calibration testing works, how to interpret results, when to send a wrench to a calibration service, and how to keep it accurate afterward.
Why Torque Wrench Calibration Matters
Torque is the turning force applied to a fastener. It is commonly measured in foot-pounds, inch-pounds, or Newton-meters. When a bolt is tightened to the correct torque specification, it creates the intended clamping force between parts.
Too little torque can allow a fastener to loosen from vibration, heat cycles, or normal movement. Too much torque can stretch bolts, strip threads, damage aluminum components, crack parts, or warp brake rotors. In other words, both under-tightening and over-tightening can turn a quick repair into a surprisingly expensive life lesson.
A torque wrench can slowly drift out of specification because of repeated use, accidental drops, rough storage, internal spring fatigue, dirt, moisture, corrosion, or misuse. Using a torque wrench to break loose stuck bolts is especially rough on its internal mechanism. A breaker bar is built for arguments; a torque wrench is built for diplomacy.
Calibration vs. Accuracy Checking: Know the Difference
People often use the words checking and calibrating as though they mean the same thing. They are related, but not identical.
Torque wrench accuracy check
An accuracy check compares the torque setting on the wrench with the torque measured by a tester or analyzer. For example, you may set a wrench to 100 ft-lb and discover that the tester records 96 ft-lb when the wrench clicks. That tells you the wrench is delivering 4 percent less torque than its setting.
An accuracy check is useful for routine garage work, preventive maintenance, and deciding whether a tool needs more attention. It is often the first step before sending the wrench out for service.
Torque wrench calibration
True calibration is more controlled. It uses a properly calibrated torque tester, documented procedures, repeatable loading, recorded results, and comparison against the wrench manufacturer’s stated accuracy tolerance. Professional calibration services may also adjust the wrench, retest it, and issue a certificate showing the tool’s serial number, test points, date, direction, and final results.
For safety-critical work, commercial automotive shops, aviation, industrial assembly, manufacturing, and quality-controlled maintenance programs, professional calibration is usually the better route.
What You Need to Calibrate a Torque Wrench Properly
A reliable torque wrench calibration setup requires more than a vise, a bathroom scale, and blind optimism. The basic equipment typically includes:
- A torque analyzer, torque tester, or calibrated torque transducer.
- A secure test fixture or bench designed to hold the tester safely.
- Correct drive adapters and sockets for the wrench being tested.
- A record sheet, spreadsheet, or calibration software.
- The torque wrench manufacturer’s accuracy specification and service instructions.
- A clean, stable work area away from vibration, moisture, and temperature extremes.
The tester should be appropriate for the torque range being measured. Testing a 250 ft-lb wrench with a tiny low-range adapter is not a precision strategy. Likewise, testing a small inch-pound torque wrench with a massive industrial torque meter is like weighing a paperclip on a truck scale.
Understand Your Torque Wrench Type Before Testing
Different torque wrench designs behave differently, so the correct calibration method depends on the tool.
Click-type or micrometer torque wrenches
These are the most common adjustable torque wrenches. You set the desired torque value, pull the handle slowly, and stop immediately when the wrench clicks. Their internal spring-and-release mechanism must be checked carefully because the click point may change over time.
Beam torque wrenches
Beam-style torque wrenches use a pointer and scale. They do not rely on a spring-loaded click mechanism, so their behavior is different. They can remain accurate for a long time if the beam is not bent, damaged, or distorted, but the pointer must remain properly aligned with the scale.
Split-beam torque wrenches
Split-beam designs often have less internal spring tension at rest than traditional micrometer models. Many can be stored without being turned back to the lowest torque setting, but you should still follow the manufacturer’s instructions for your specific model.
Electronic torque wrenches
Digital torque wrenches use sensors and electronics to display or signal torque values. They may offer different accuracy levels in clockwise and counterclockwise directions. Battery condition, zeroing procedures, display mode, sensor health, and firmware settings can all affect testing.
How to Calibrate a Torque Wrench Step by Step
Step 1: Inspect the torque wrench before testing
Before calibration begins, inspect the wrench for visible damage. Look for cracks, worn ratchet teeth, bent handles, loose parts, corrosion, damaged locking collars, or a scale that is difficult to read.
If the wrench has been dropped, used as a breaker bar, exposed to water, left outdoors, or driven over by a rolling toolbox, do not assume it is accurate. Treat it as a tool that needs inspection before returning it to service.
Step 2: Confirm the wrench range and stated tolerance
Find the wrench’s torque range and stated accuracy specification in the owner’s manual or on the manufacturer’s documentation. Many click-type torque wrenches are rated around plus or minus 4 percent in the clockwise direction, but this is not universal.
Some tools are only rated for accuracy within part of their operating range. For example, a wrench may be most accurate between 20 percent and 100 percent of its capacity. That means using a 250 ft-lb wrench at 20 ft-lb is not always ideal. Use a smaller wrench when working at lower torque values.
Step 3: Mount the torque tester securely
Secure the torque tester or analyzer to a stable bench or fixture according to its instructions. The tester must not move, twist, or shift while you apply torque. A moving fixture can create inconsistent readings and make a good wrench appear bad.
Use the correct drive adapter and make sure it seats fully. Avoid stacking unnecessary adapters, extensions, universal joints, or improvised hardware during calibration. Every extra connection adds another opportunity for flex, play, and confusion.
Step 4: Exercise the wrench before recording measurements
Many click-type torque wrench calibration procedures call for exercising the tool before collecting official readings. This usually means operating the wrench several times near its maximum rated torque without using those first pulls as recorded test results.
This process helps stabilize the internal mechanism. Think of it as asking the wrench to stretch before race day. A cold wrench may not behave exactly like a wrench that has been cycled a few times.
Step 5: Test multiple torque points
A common calibration approach for click-type torque wrenches uses three points across the wrench’s range: approximately 20 percent, 60 percent, and 100 percent of capacity. At each point, the wrench is set to the chosen value and applied to the tester several times.
For example, a 150 ft-lb torque wrench may be tested at:
- 30 ft-lb, representing 20 percent of capacity.
- 90 ft-lb, representing 60 percent of capacity.
- 150 ft-lb, representing 100 percent of capacity.
At each setting, pull slowly and steadily at the handle grip. Do not yank, bounce, jerk, or pull beyond the click. When the wrench clicks, stop. Continuing to pull after the click can add extra torque and ruin the reading.
Step 6: Record at least several readings at each test point
Take multiple readings at each target torque value. Five readings per test point is common in structured calibration procedures. Record the target torque, the actual torque shown by the tester, the direction of rotation, and the average result.
For example, if a wrench is set to 100 ft-lb and the tester records 97, 98, 97, 98, and 97 ft-lb, the average actual torque is 97.4 ft-lb.
You can calculate percentage error with this formula:
Percentage Error = ((Actual Torque – Target Torque) ÷ Target Torque) × 100
Using the example above:
((97.4 – 100) ÷ 100) × 100 = -2.6%
The negative number means the wrench is applying less torque than the setting indicates. Whether that is acceptable depends on the manufacturer’s specified tolerance.
Step 7: Check repeatability, not just average accuracy
A torque wrench can have an acceptable average reading but still behave inconsistently from pull to pull. If one test reads 100 ft-lb, the next reads 93 ft-lb, and the next reads 106 ft-lb, the average may look harmless while the wrench behaves like it drank too much espresso.
Repeatability matters because the wrench should deliver similar results every time it is used correctly. Wide variation between readings can indicate internal wear, contamination, ratchet problems, damaged components, or poor testing technique.
Step 8: Adjust only if the manufacturer supports adjustment
Some torque wrenches have a service adjustment mechanism, while others are designed to be calibrated only by an authorized service center. Do not assume that a hidden screw or cap is an invitation to start turning things.
If your manufacturer provides a documented adjustment procedure, follow it exactly. After any adjustment, repeat the full testing sequence at all required torque points. One successful reading is not enough. The wrench must remain accurate across its usable range.
If the adjustment method is not clearly documented, send the wrench to a reputable calibration service or replace it. Precision tools are not the best place for mystery surgery.
How Often Should You Calibrate a Torque Wrench?
A common guideline is to have a torque wrench checked or recalibrated every 5,000 cycles or every 12 months, whichever comes first. However, the correct interval depends on how often the wrench is used, how it is stored, the type of work being performed, and how critical the fasteners are.
A wrench used occasionally for wheel rotations may not need the same testing schedule as a wrench used every day in a repair shop or production environment. On the other hand, a wrench used on engine internals, suspension components, aircraft hardware, pressure systems, or industrial equipment deserves more cautious treatment.
Consider immediate inspection or recalibration if the wrench has been dropped, overloaded, used to loosen stuck fasteners, stored in high humidity, exposed to chemicals, or showing inconsistent clicks or readings.
How to Keep a Torque Wrench Accurate
Calibration is important, but good habits are what keep the wrench accurate between tests.
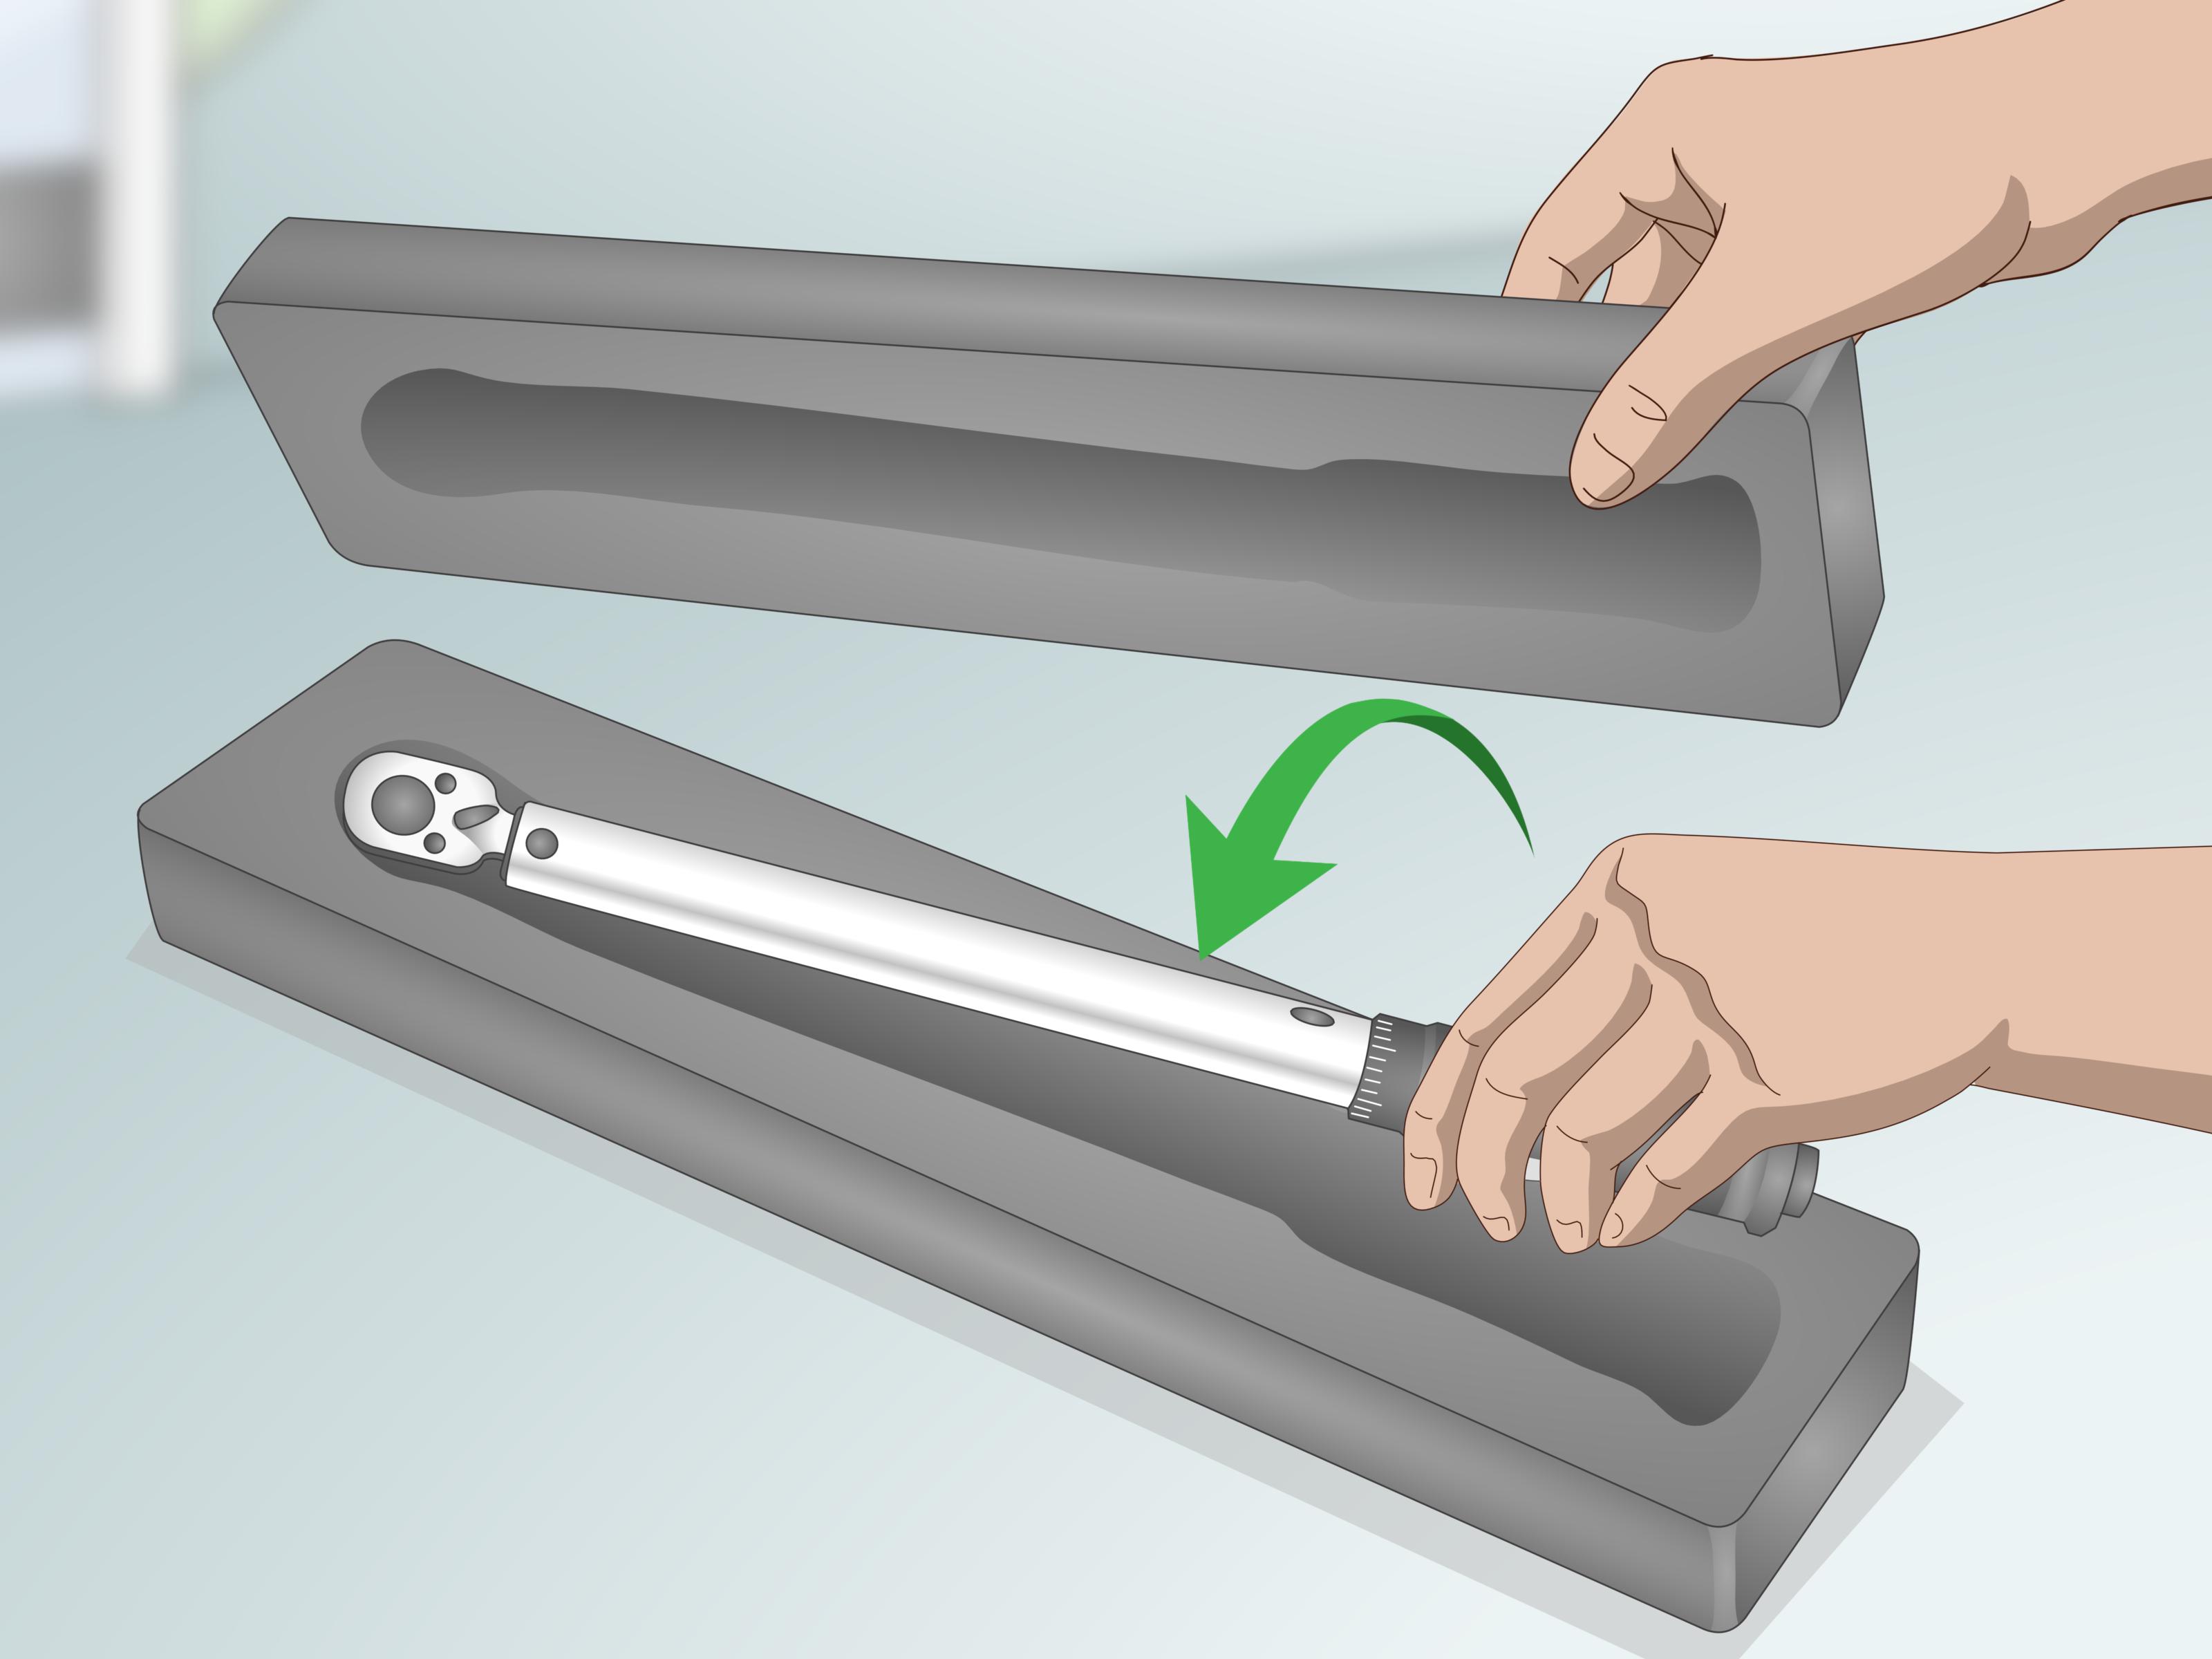
Store click-type torque wrenches at the lowest marked setting
For most click-type and micrometer torque wrenches, return the adjustment to the lowest value printed on the scale before storage. Do not turn the wrench below its minimum setting. This helps reduce unnecessary tension on the internal spring.
Split-beam torque wrenches may follow different storage rules, so check the manual before automatically resetting everything to zero.
Use the torque wrench only for final tightening
Break loose stubborn fasteners with a breaker bar or standard ratchet. Use the torque wrench only for the final tightening process. It is a measuring instrument, not a medieval battering ram.
Pull slowly and from the correct handle position
Most torque wrenches are designed to be gripped around the center of the handle. Pulling closer to the ratchet head or extending the handle can change the effective leverage and affect the torque applied.
Keep it clean and dry
Store the torque wrench in its protective case in a clean, dry location. Avoid soaking it in fluids, leaving it in a wet truck bed, or storing it near corrosive chemicals. Precision and rust have never been best friends.
Use torque extensions and crowfoot adapters carefully
Adapters that increase the effective length of the torque wrench can change the torque delivered to the fastener. A straight extension positioned in line with the wrench can alter the effective lever arm and may require a corrected wrench setting.
Always use the adapter correction method recommended by the torque wrench manufacturer. Standard socket extensions generally do not change the wrench length in the same way, but special crowfoot tools and offset adapters can.
When Professional Torque Wrench Calibration Is Worth It
Professional calibration is especially valuable when the wrench is used for safety-related, high-value, legal, commercial, or quality-controlled work. A professional service can provide traceable results, proper adjustment, repeatability testing, documented tolerances, and a calibration certificate.
For a home mechanic, an accuracy check with a reputable tester may be enough for many routine jobs. But if the wrench is questionable, dropped, very old, inconsistent, or needed for critical engine, braking, suspension, or wheel work, professional calibration is cheap insurance compared with damaged threads or failed hardware.
Practical Experiences: What Torque Wrench Calibration Teaches You
One of the most useful lessons from torque wrench calibration is that precision tools often fail quietly. A torque wrench rarely wakes up one morning and announces, “Good news, I am now 12 percent inaccurate.” Instead, it may still click, still look clean, and still feel perfectly normal while delivering torque that is slightly high or low.
This is why experienced mechanics and technicians do not judge a torque wrench only by whether it clicks. The click is simply the tool’s signal. The important question is whether that signal occurs at the correct torque value. A wrench that clicks too early can leave fasteners under-tightened. A wrench that clicks too late can apply more load than intended.
Another common experience is discovering that technique affects results more than expected. Pulling smoothly at the handle center produces more consistent readings than pulling quickly, using a different hand position, or applying force in short bursts. A torque wrench is not impressed by dramatic wrestling moves. It prefers calm, steady pressure.
Calibration testing also reveals why tool range matters. A large 1/2-inch drive torque wrench may be excellent for wheel lug nuts, axle nuts, suspension bolts, and other high-torque work. It may be a poor choice for small fasteners such as valve cover bolts, spark plugs, intake hardware, or bicycle components. Trying to use one giant wrench for every task is like using a leaf blower to dry a coffee mug: technically possible, not especially elegant.
Many people are surprised to learn that storage habits can influence long-term performance. Leaving a click-type wrench set near maximum torque for months can keep unnecessary tension on the internal spring. Storing it in a damp garage can introduce corrosion. Tossing it loose into a toolbox can damage the scale, handle, ratchet head, or mechanism.
Another practical takeaway is that inexpensive torque adapters and digital testers can be helpful for routine checks, but they are not automatically proof of certified accuracy. The tester itself must be trustworthy. If the reference tool is inaccurate, the resulting calibration result is simply a very confident guess wearing safety glasses.
Calibration work also makes people more careful with fastener specifications. A torque value is not a universal suggestion. The correct value depends on the bolt size, material, thread condition, lubrication, flange design, clamping load, and manufacturer requirements. A torque specification for a dry steel bolt may not apply to a lubricated bolt, a coated fastener, or an aluminum engine component.
Finally, torque wrench calibration encourages a healthier approach to tool ownership: treat precision tools as instruments rather than indestructible objects. A torque wrench should be inspected, stored properly, used only within its range, protected from impacts, and checked periodically. That small amount of care can extend its useful life and help make every repair more reliable.
Conclusion
Knowing how to calibrate a torque wrench starts with understanding that calibration is a measurement process, not a guessing game. Use a suitable torque tester, inspect the tool first, test multiple points across its range, record repeated readings, compare the results against the manufacturer’s tolerance, and avoid unauthorized adjustments.
For many home users, routine accuracy checks and careful storage are enough to keep a quality torque wrench dependable. For professional, commercial, or safety-critical work, documented calibration by a qualified service is the smarter choice. A properly calibrated torque wrench helps protect threads, components, wheels, engines, and your future self from the phrase, “Why is this bolt suddenly doing that?”