Flexing looks simple from the outside. You tighten a muscle, make a face like you just remembered you left the oven on, and hope someone notices. But real flexing is more than showing off in a mirror or sending a gym selfie with suspiciously perfect lighting. Flexing is the ability to intentionally contract, control, display, and use your muscles safely.
Whether your goal is to pose better, improve body awareness, add isometric strength work to your routine, or simply learn how not to cramp your biceps while trying to impress a camera, this guide breaks flexing into four practical methods. You will learn how to flex your arms, core, legs, and full body with better technique, safer breathing, and a little more confidence.
The key idea is simple: a good flex is controlled tension. You are not trying to squeeze your soul out through your deltoids. You are learning how to activate the right muscles, hold posture, breathe normally, and relax afterward. Done correctly, flexing can improve muscle awareness, support strength training, and make you look more polished when you want to show your progress.
What Does It Mean to Flex?
To flex a muscle means to contract it intentionally. In exercise science, a muscle contraction can happen while the joint moves or while it stays still. Flexing for a pose is usually an isometric contraction, meaning the muscle creates tension without obvious movement. Think of a plank, wall sit, or holding your arm in a biceps pose. The muscle is working, even if you are not lifting a dumbbell.
Flexing can serve several purposes. It can help you practice mind-muscle connection, which is your ability to feel and control a specific muscle. It can help you pose for photos, bodybuilding, dance, sports, or general confidence. It can also be used in certain isometric exercises to build stability and muscular endurance. However, flexing alone is not a complete fitness plan. For best results, combine it with resistance training, mobility work, aerobic exercise, recovery, and enough sleep to keep your body from filing a formal complaint.
1. Flex Your Arms the Right Way
When most people hear the word “flex,” they immediately think of the classic biceps pose. It is the universal symbol for “I carried all the groceries in one trip.” Arm flexing is popular because it is easy to see, but doing it well requires more than bending your elbow and hoping for drama.
How to Flex Your Biceps
Start by standing tall with your feet about shoulder-width apart. Keep your chest lifted, shoulders relaxed, and core lightly engaged. Raise one or both arms to the side, bend your elbows, and bring your fists toward your shoulders. Rotate your wrists slightly inward or outward until your biceps look full and rounded. Then tighten the front of your upper arms without shrugging your shoulders up to your ears.
Hold the flex for five to ten seconds while breathing normally. If your face turns the color of a tomato with ambition, you are probably holding your breath. Relax, shake your arms out, and repeat two or three times.
How to Make Your Arm Flex Look Better
Small adjustments matter. Keep your elbow slightly higher than shoulder level for a stronger biceps peak. Pull your shoulder blades gently back to open your chest. Avoid collapsing your wrist, because a limp wrist can make even a strong arm look confused. Good lighting helps too, but let us not pretend we are above that.
You can also flex your triceps by straightening your arm and tightening the back of your upper arm. For a side triceps pose, place one arm down along your body, press it lightly against your side, and contract the triceps while keeping your chest tall. This creates a clean, athletic look without needing to wrestle yourself into a bodybuilding stage pose.
Arm Flexing Mistakes to Avoid
Do not squeeze so hard that you cramp. Do not hold your breath. Do not hunch your shoulders forward. And please, do not flex cold muscles aggressively. A few arm circles, light pushups, or easy resistance band curls can warm the area before posing or practicing.
2. Flex Your Core for Strength and Definition
Core flexing is not just about making your abs appear for a photo and then disappear like a shy celebrity. Your core includes your abdominal muscles, obliques, lower back, diaphragm, and deep stabilizing muscles. Learning to flex your core can improve posture, support lifting technique, and help you feel more stable during daily movement.
How to Brace Your Core
Stand tall or lie on your back with your knees bent. Take a slow breath in. As you exhale, gently tighten your midsection as if you are preparing for someone to poke your stomach. The goal is not to suck your belly in as hard as possible. Instead, imagine creating a firm cylinder around your torso. Your ribs should stay down, your lower back should not arch dramatically, and your breathing should continue.
Hold this brace for five to ten seconds. Relax. Repeat several times. This type of core flexing is useful before squats, deadlifts, pushups, planks, and even carrying a suitcase that seems personally offended by airport stairs.
How to Flex Your Abs for a Photo
For a visible abdominal flex, posture is everything. Stand tall, slightly rotate your torso toward the light, exhale gently, and tighten your abs without crunching forward. Pull your shoulders back, keep your neck long, and avoid forcing your stomach inward so aggressively that you look uncomfortable. A natural-looking flex beats a dramatic one every time.
If you want your obliques to show, twist slightly from the rib cage and tighten the side of your waist. Keep the movement subtle. Over-rotating can make the pose look strained, and nobody wants their proud fitness photo to say, “I may need a chiropractor.”
Core Flexing Exercises
Planks, side planks, dead bugs, hollow holds, and bird dogs all teach controlled core tension. These exercises train your body to maintain stability while your limbs move or while gravity tries to humble you. Start with short holds of ten to twenty seconds and build gradually. Quality beats time. A clean twenty-second plank is better than a two-minute plank that looks like a collapsing bridge.
3. Flex Your Legs and Glutes
Leg flexing often gets ignored because arms steal the spotlight. But strong legs create balance, athleticism, and the quiet confidence of someone who does not fear stairs. Flexing your quads, hamstrings, calves, and glutes can help you better understand lower-body muscle control.
How to Flex Your Quads
Stand with one leg slightly forward. Straighten the front leg without locking the knee painfully. Press your foot into the floor and tighten the muscle on the front of your thigh. You may see the quadriceps become more defined. Keep your hips level and your upper body tall.
Another option is to sit on the floor with one leg straight. Tighten the thigh by pushing the back of your knee gently toward the floor. Hold for five seconds, then relax. This simple movement is often used to teach quad activation because it is controlled and easy to feel.
How to Flex Your Calves
To flex your calves, rise onto the balls of your feet and squeeze the muscles at the back of your lower legs. Hold for two to five seconds, then lower slowly. For a posing version, place one foot slightly behind the other, press the toes into the floor, and tighten the calf. This creates shape without bouncing around like you are trying to see over a fence.
How to Flex Your Glutes
Glute flexing is simple but easy to overdo. Stand tall, keep your ribs stacked over your pelvis, and squeeze your glutes gently. Avoid arching your lower back. The goal is to contract the glutes, not audition for a dramatic lower-spine documentary.
Glute bridges are a great way to practice. Lie on your back with knees bent and feet flat. Press through your heels, lift your hips, and squeeze your glutes at the top. Hold for two seconds, then lower with control. This teaches you to activate the muscles without relying on your lower back.
Lower-Body Flexing Exercises
Wall sits, split squats, calf raises, glute bridges, and step-ups all help train lower-body strength and control. Wall sits are especially useful because they are isometric: your thighs work hard while your body holds a still position. Keep your knees stacked over your ankles, your back against the wall, and your breathing steady.
4. Flex Safely With Full-Body Control
The most useful way to flex is not one dramatic pose. It is learning full-body control. A good full-body flex teaches you how to create tension where you need it and release tension where you do not. That skill helps in strength training, sports, posture, and everyday movement.
Practice the Full-Body Flex
Stand tall with your feet planted. Lightly tighten your calves, thighs, glutes, core, chest, back, shoulders, and arms. Keep your jaw relaxed. Breathe slowly. Hold for five seconds, then release everything from head to toe. Repeat three to five times.
This drill builds awareness. You may notice one side feels easier to activate than the other. That is normal. Most people have a dominant side. The goal is not perfection; it is better communication between your brain and muscles.
Use Flexing as an Isometric Tool
Isometric exercises involve muscle tension without visible joint movement. Examples include planks, wall sits, hollow holds, static lunges, and pushing your palms together in front of your chest. These exercises can help improve stability and muscular endurance, especially when added to a balanced routine.
Try this beginner-friendly isometric circuit:
- Wall sit: Hold for 20 seconds.
- Forearm plank: Hold for 15 to 30 seconds.
- Glute bridge hold: Hold for 20 seconds.
- Palms-together chest press: Press for 10 seconds.
- Rest: Take 30 to 60 seconds, then repeat once or twice.
Keep the effort moderate at first. If you have high blood pressure, heart concerns, joint pain, or a recent injury, talk with a qualified healthcare professional before adding intense isometric holds. Also, never hold your breath during a flex or static hold. Breathing is not optional equipment.
Balance Flexing With Stretching
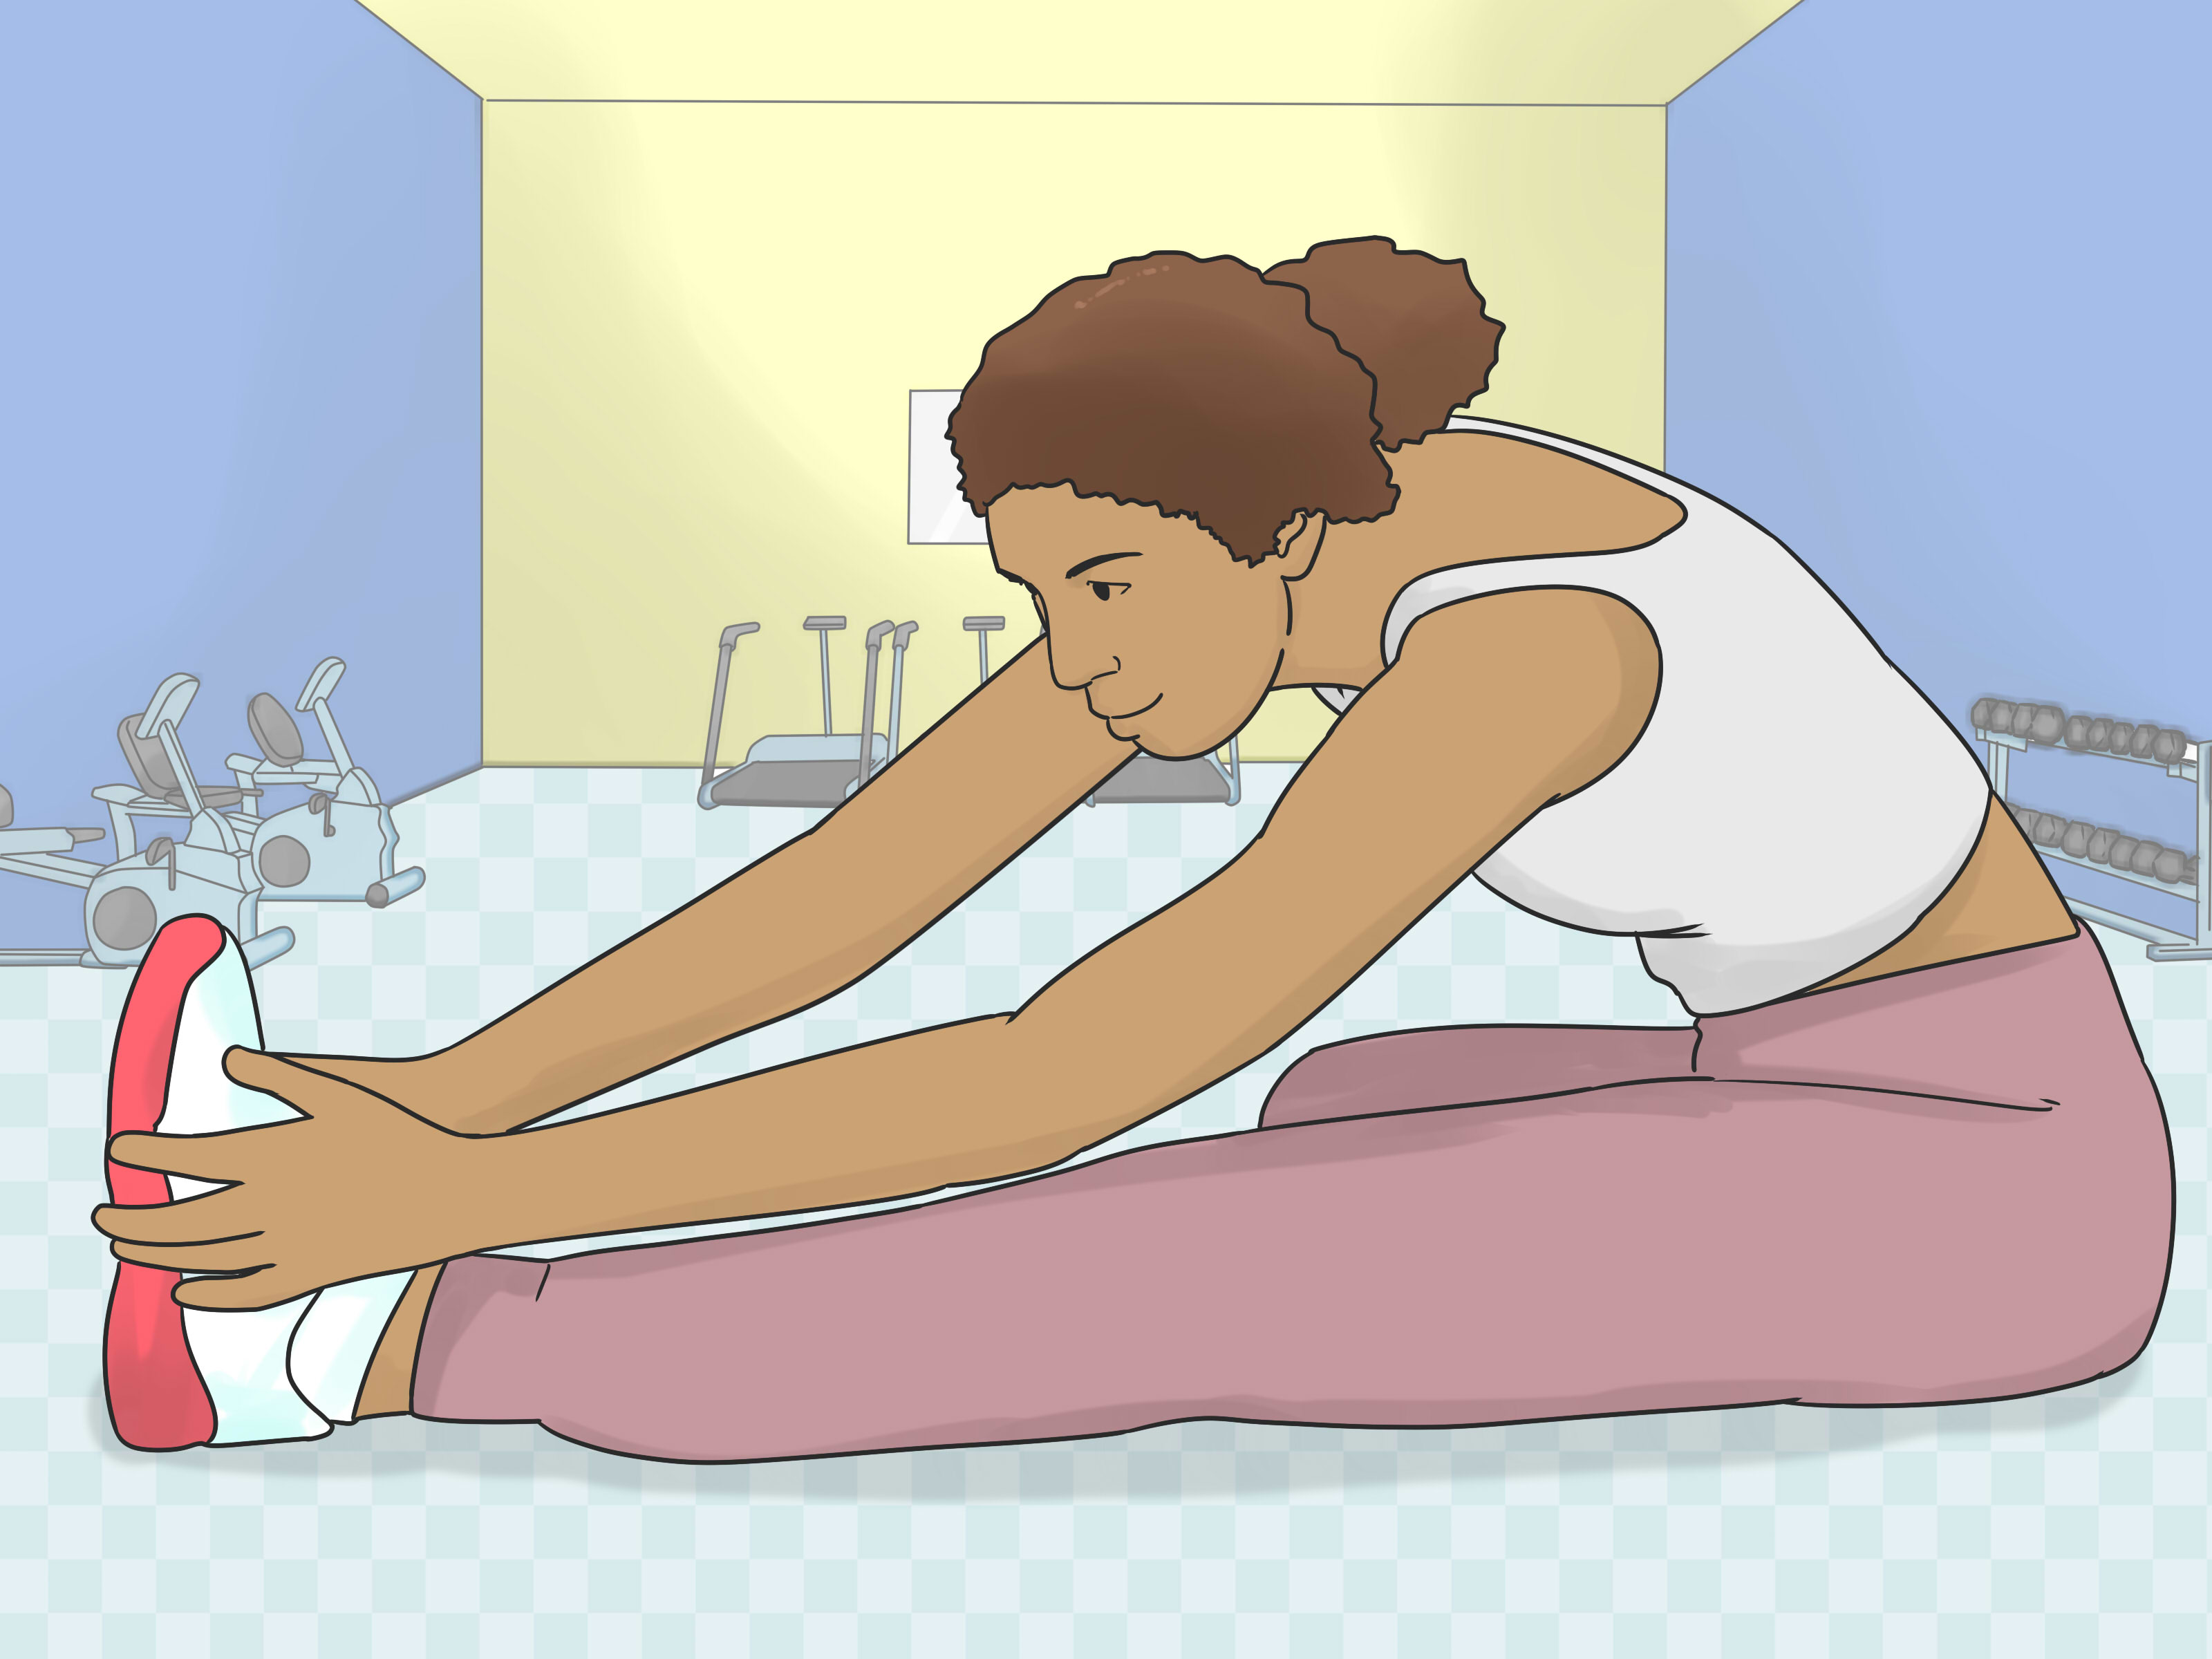
Flexing creates tension. Stretching helps restore range of motion and comfort. A balanced routine should include both. Dynamic movements, such as arm circles, hip circles, and walking lunges, work well before exercise. Static stretches, such as hamstring stretches, quad stretches, chest stretches, and calf stretches, are often better after a workout or during a separate mobility session.
Stretch only to mild tension, not sharp pain. Hold stretches calmly, breathe slowly, and avoid bouncing. Your muscles are not stubborn jar lids; they do not need violent persuasion.
How Often Should You Practice Flexing?
You can practice light flexing almost daily if it feels comfortable. For posing or muscle-control practice, a few minutes at a time is enough. Try five to ten minutes after a workout, when your muscles are warm and easier to activate.
For isometric strength exercises, start with two or three sessions per week. Choose a few holds, keep the intensity manageable, and gradually increase time or difficulty. Combine this with regular strength training, cardio, flexibility work, and rest days. Your body improves through training and recovery, not through flexing in the mirror every time you pass a reflective microwave.
Common Flexing Problems and Fixes
You Cramp When You Flex
You may be squeezing too hard, holding too long, or flexing without warming up. Reduce the intensity, shorten the hold, hydrate normally, and practice after light movement.
You Cannot Feel the Right Muscle
Use touch, slower movement, and simpler positions. For example, place your fingers lightly on your biceps while bending your elbow, or on your glutes during a bridge. This helps your brain locate the target muscle.
Your Flex Looks Awkward
Check your posture first. A strong pose starts with your feet, hips, spine, and shoulders. Relax your face, breathe, and use a mirror to adjust angles. Confidence matters, but so does not looking like you are fighting an invisible backpack.
You Get Tired Quickly
That is normal. Flexing uses energy, especially if you are contracting multiple muscle groups. Build gradually. Short, high-quality holds are better than long, shaky ones.
Real-Life Experiences: What Practicing “4 Ways to Flex” Actually Feels Like
The first time many people practice flexing seriously, they discover two things. First, they have muscles they did not know existed. Second, those muscles may not answer emails promptly. You tell your lats to flare, and your shoulders shrug instead. You try to flex your abs, and suddenly your neck gets involved like an unpaid intern. This is completely normal.
A helpful beginner experience is to practice after a regular workout. Your muscles are warm, blood flow is higher, and it is easier to feel contractions. After a simple session of pushups, rows, squats, and planks, stand in front of a mirror and practice the four methods: arms, core, legs, and full-body control. Do not judge the first attempt. Your first flexing session is not supposed to look like a fitness magazine cover. It is supposed to teach awareness.
For example, when practicing an arm flex, you may notice one biceps peaks more easily than the other. That does not mean one arm is lazy and needs a motivational podcast. It usually means your dominant side has better coordination. Slow practice helps even things out. Flex both arms, hold for five seconds, relax, and repeat. Over time, the weaker-looking side often becomes easier to activate.
Core flexing can feel surprisingly technical. Many beginners suck in their stomachs and hold their breath, thinking that is the same as bracing. It is not. A better experience is to lie down, place one hand on your stomach and one hand on your ribs, then practice tightening your midsection while breathing slowly. Once you feel that firm but controlled brace, try it while standing. Then try it during a plank. Suddenly, “flex your core” becomes useful instead of vague gym advice shouted by someone holding a gallon water bottle.
Leg flexing can be humbling in the best way. Quad sets, calf raises, and glute bridges reveal whether you are actually using the intended muscle or letting nearby muscles take over. Many people discover that glute bridges go straight into the lower back at first. The fix is to lower the height, tuck the pelvis slightly, press through the heels, and squeeze the glutes gently at the top. Once the right muscle turns on, the movement feels smoother and safer.
The full-body flex is the most interesting because it teaches contrast. You create tension, then release it. After a few rounds, you may realize how much unnecessary tension you carry in your jaw, shoulders, hands, or lower back. Learning to relax after flexing is just as valuable as learning to contract. In workouts, sports, and daily life, efficient movement depends on using effort only where it belongs.
One practical routine is to spend five minutes three times per week practicing flex control. Start with two biceps holds, two core braces, two quad or glute contractions, and three full-body flex-and-release rounds. Keep breathing steady. Smile if you want. Laugh if the pose looks ridiculous. Fitness should leave room for being human.
Over several weeks, the experience becomes less awkward. You stand taller. You understand your workouts better. You may even notice that lifting weights feels more focused because you can sense the target muscle working. That is the real flex: not just looking stronger for five seconds, but building a better connection with your body every time you train.
Conclusion
Flexing is more than a quick pose. It is a skill that blends muscle control, posture, breathing, confidence, and safety. By learning how to flex your arms, core, legs, and full body, you can improve body awareness and make your training feel more intentional. Use short holds, breathe normally, warm up first, and balance muscle tension with stretching and recovery.
The best flex is not the loudest one. It is the one you can control. Practice consistently, stay patient, and remember: mirrors are useful tools, but they are not the boss of you.