Paint is the little black dress of home improvement: affordable, transformative, and somehow able to make a sad room look like it got eight hours of sleep. But even the most magical can of paint has limits. Some household features should never be painted because paint can block safety functions, trap moisture, ruin natural materials, create maintenance nightmares, or make future buyers quietly whisper, “Who hurt this house?”
That does not mean paint is bad. In fact, paint is one of the best ways to update walls, trim, cabinets, doors, and furniture when the surface is suitable and properly prepared. The trouble begins when enthusiasm grabs the brush and charges at smoke alarms, outlets, brick fireplaces, shower tile, original hardwood, or hot appliances like a caffeinated raccoon with a Pinterest board.
Home pros tend to agree on one big rule: paint should improve a surface, not interfere with how it works. A wall exists to stand there and look pretty. A smoke alarm exists to detect danger. Brick exists to breathe. Tile in a shower exists to survive daily water exposure. Original woodwork exists to make your home look charming without needing a full personality transplant. Paint the right things, and your home feels refreshed. Paint the wrong things, and you may inherit peeling, chipping, moisture damage, safety issues, and a weekend project that turns into a three-act drama.
Below are five household features you should never paint, according to the practical wisdom of painters, preservation pros, electricians, designers, and renovation experts. Consider this your friendly warning label with better jokes.
1. Smoke Alarms and Carbon Monoxide Detectors
If there is one feature that should never meet a paintbrush, it is your smoke alarm or carbon monoxide detector. These devices are not decorative ceiling buttons. They are safety equipment, and their openings, sensors, and air pathways need to stay clear to work properly.
Painting a smoke alarm can clog the vents that allow smoke particles to enter the device. Painting a carbon monoxide alarm can also interfere with its ability to detect air conditions accurately. Even a “light mist” from overspray is a bad idea. Paint can dry inside small openings, block sensor access, or make the alarm less responsive. A detector that matches your ceiling perfectly but does not detect danger is not a design win. It is a very committed piece of plastic.
What to do instead
If the bright white device bothers your design-loving soul, replace it with a newer model that has a cleaner, lower-profile appearance. Some modern alarms look sleeker than the bulky units of the past. You can also position lighting, ceiling color, and room styling so the alarm is less visually noticeable. But do not cover it, coat it, hide it behind décor, or paint it to “blend in.” Safety devices should be visible, accessible, and functional.
Also check the age of your alarms. Many smoke alarms should be replaced after about 10 years, and batteries should be tested regularly. A fresh coat of wall paint is nice, but a working alarm is the real home upgrade. It may not photograph well for Instagram, but it does a much more important job than a trendy accent wall.
2. Electrical Outlets, Switches, and Their Working Parts
Painted outlets are common in older homes, rental properties, and rushed renovations. They are also one of those “small” mistakes that can create very annoying and potentially unsafe problems. Paint on the face of an outlet may seem cosmetic, but paint inside the slots can interfere with plug contact. Poor contact can lead to looseness, heat, arcing, or malfunction. That is not the kind of warm and cozy atmosphere anyone wants in a living room.
Switches have similar concerns. Paint can gum up the moving parts, make switches sticky, cover screws that need to remain accessible, and hide signs of wear or damage. GFCI outlets are especially important to keep clean and functional because their test and reset buttons need to move freely. Painting over them because the white plastic offends your color palette is like putting frosting on a smoke detector. Creative? Yes. Wise? Absolutely not.
Can you paint outlet covers?
In many cases, removable outlet covers or switch plates can be painted if they are removed from the wall first, cleaned, lightly scuffed, and coated carefully. But the actual receptacle, switch mechanism, slots, buttons, and electrical components should not be painted. The safest and cleanest option is usually to replace old plates with new ones in a better color or finish. Modern wall plates come in many styles, including white, ivory, black, brass, nickel, matte, screwless, and designer finishes.
If an outlet or switch has already been painted over, do not scrape aggressively while power is on. Turn off the circuit if you are doing any work near electrical devices, and call a licensed electrician if paint has entered the slots or the device looks damaged, hot, loose, cracked, scorched, or unreliable. A $3 plate replacement is cheaper than turning your DIY makeover into a cautionary tale.
3. Natural Brick and Stone Fireplaces or Exteriors
Painted brick can look beautiful in photos. It can also become a long-term maintenance contract with your future self. Brick and many forms of masonry are porous, which means they absorb and release moisture. When you coat them with the wrong paint, especially non-breathable paint, you can trap moisture inside the material. Over time, that trapped moisture may contribute to peeling paint, flaking brick faces, mildew, deterioration, and a fireplace or exterior wall that starts looking like it regrets every choice you made together.
Historic brick is especially risky. Older brick may be softer than modern brick, and improper coatings can accelerate damage. Once brick is painted, returning it to its original look is difficult, expensive, and sometimes impossible without damaging the surface. Removing paint from brick can involve chemical strippers, careful testing, gentle methods, and a level of patience normally reserved for assembling furniture with missing instructions.
Natural stone has its own issues. Stone has texture, mineral variation, depth, and character. Paint can flatten that character under a chalky or plastic-looking surface. It may also be hard to remove cleanly, and some stripping methods can stain, etch, or damage stone. Fireplaces, in particular, are focal points. Painting stone because it feels “too earthy” today may look dated when design trends swing back toward natural materials tomorrow. Trends are moody. Stone is patient.
What to do instead
For brick fireplaces, start with cleaning. Soot, dust, and old residue can make brick look darker or dingier than it really is. Repointing damaged mortar, updating the mantel, changing the wall color around the fireplace, or adding better lighting can dramatically improve the look without coating the masonry.
For exterior brick, talk to a masonry professional before painting. If the brick is already painted and failing, you may need specialized repair. If you want a lighter look, consider limewash or mineral-based masonry finishes that are more breathable than standard paint, but only after confirming they suit the brick and climate. The key is not simply “never change brick.” The key is to avoid trapping moisture or making a permanent change because one weekend you got emotionally bullied by beige.
4. Original Hardwood Floors, Stained Woodwork, and Historic Trim
Original wood is one of the most valuable features in many homes. Hardwood floors, built-ins, stair rails, pocket doors, mantels, window casings, and thick old baseboards can bring warmth and craftsmanship that modern materials often try very hard to imitate. Painting them can be tempting, especially when the wood looks tired, orange, scratched, or out of step with your current décor. But home pros often urge caution before covering natural or historic wood with paint.
Why? Because paint is not just color; it is a coating that can obscure grain, hide craftsmanship, and make future restoration harder. On floors, paint can chip, scratch, and wear unevenly in high-traffic areas. On doors and trim, layers of paint can build up in corners, soften profiles, make hardware fit poorly, and turn crisp millwork into something that looks dipped in pancake batter. Lovely? Not exactly.
There is also resale value to consider. Many buyers love original hardwood floors and natural wood details. While not every piece of wood must remain sacred forever, painting rare, high-quality, or historically significant wood can reduce character. A room with original oak trim may feel timeless. The same room with thick white paint over every groove may feel like a flip that ordered its personality in bulk.
What to do instead
Try cleaning, polishing, refinishing, staining, or repairing before painting. Floors can often be sanded and refinished if enough wood remains. Trim may respond beautifully to cleaning, gentle restoration, or a new stain. If the wood is damaged beyond saving, previously painted, low-quality, or mismatched, painting can make sense. The warning is not against all painted wood. It is against rushing to paint irreplaceable wood before exploring better options.
If your home was built before 1978, be extra careful with old painted trim, doors, and windows because older layers may contain lead-based paint. Sanding or scraping can create hazardous dust. In older homes, consult lead-safe renovation guidance or hire certified professionals before disturbing old coatings. Fresh color should not come with a side order of unsafe dust.
5. Shower Tile, Bathtubs, Countertops, and Heat-Prone Appliances
This category is where many DIY dreams go to peel. Tile, tubs, countertops, sinks, and appliances often look like tempting paint candidates because replacing them can be expensive. And yes, specialty coatings exist. Some projects can work when handled by professionals using the right products, preparation, ventilation, and curing time. But for many homeowners, these high-use and high-moisture surfaces are risky places to paint.
Shower tile is the classic example. A tile backsplash in a dry kitchen area may be paintable with proper prep. Shower tile, however, faces water, steam, soap, cleaning products, and daily temperature changes. Paint on shower tile can chip, bubble, stain, or peel, especially on grout lines and corners. Shower floors are even worse because they also receive foot traffic and standing water. That bargain makeover may look great for a month and then start shedding like a nervous golden retriever.
Bathtubs and sinks also take abuse. They are exposed to water, cleaners, body oils, dropped shampoo bottles, and scrubbing. DIY paint kits can sometimes improve appearance temporarily, but they may not last like factory finishes or professional reglazing. If a tub is structurally sound but ugly, professional refinishing may be worth considering. If it is cracked, leaking, rusting, or badly damaged, replacement may be smarter.
Countertops are another caution zone. Painted counters can be attractive in photos, especially faux marble designs, but they need serious prep and durable topcoats. Even then, hot pans, knives, water, acidic foods, and everyday cleaning can shorten their lifespan. Painting a lightly used laundry counter is very different from painting the kitchen island where homework, dinner prep, coffee spills, and mysterious sticky spots all happen before 8 a.m.
Appliances require even more caution. Appliance paint may be suitable for some exterior metal surfaces, such as the outside of a refrigerator or washer, but it is not meant for oven interiors, stovetops, burners, surfaces exposed to high heat, or areas that contact food. Heat can discolor coatings, damage finishes, or create odors. If your stove looks dated but works well, try cleaning, replacing knobs, updating surrounding finishes, or budgeting for replacement rather than painting hot surfaces.
What to do instead
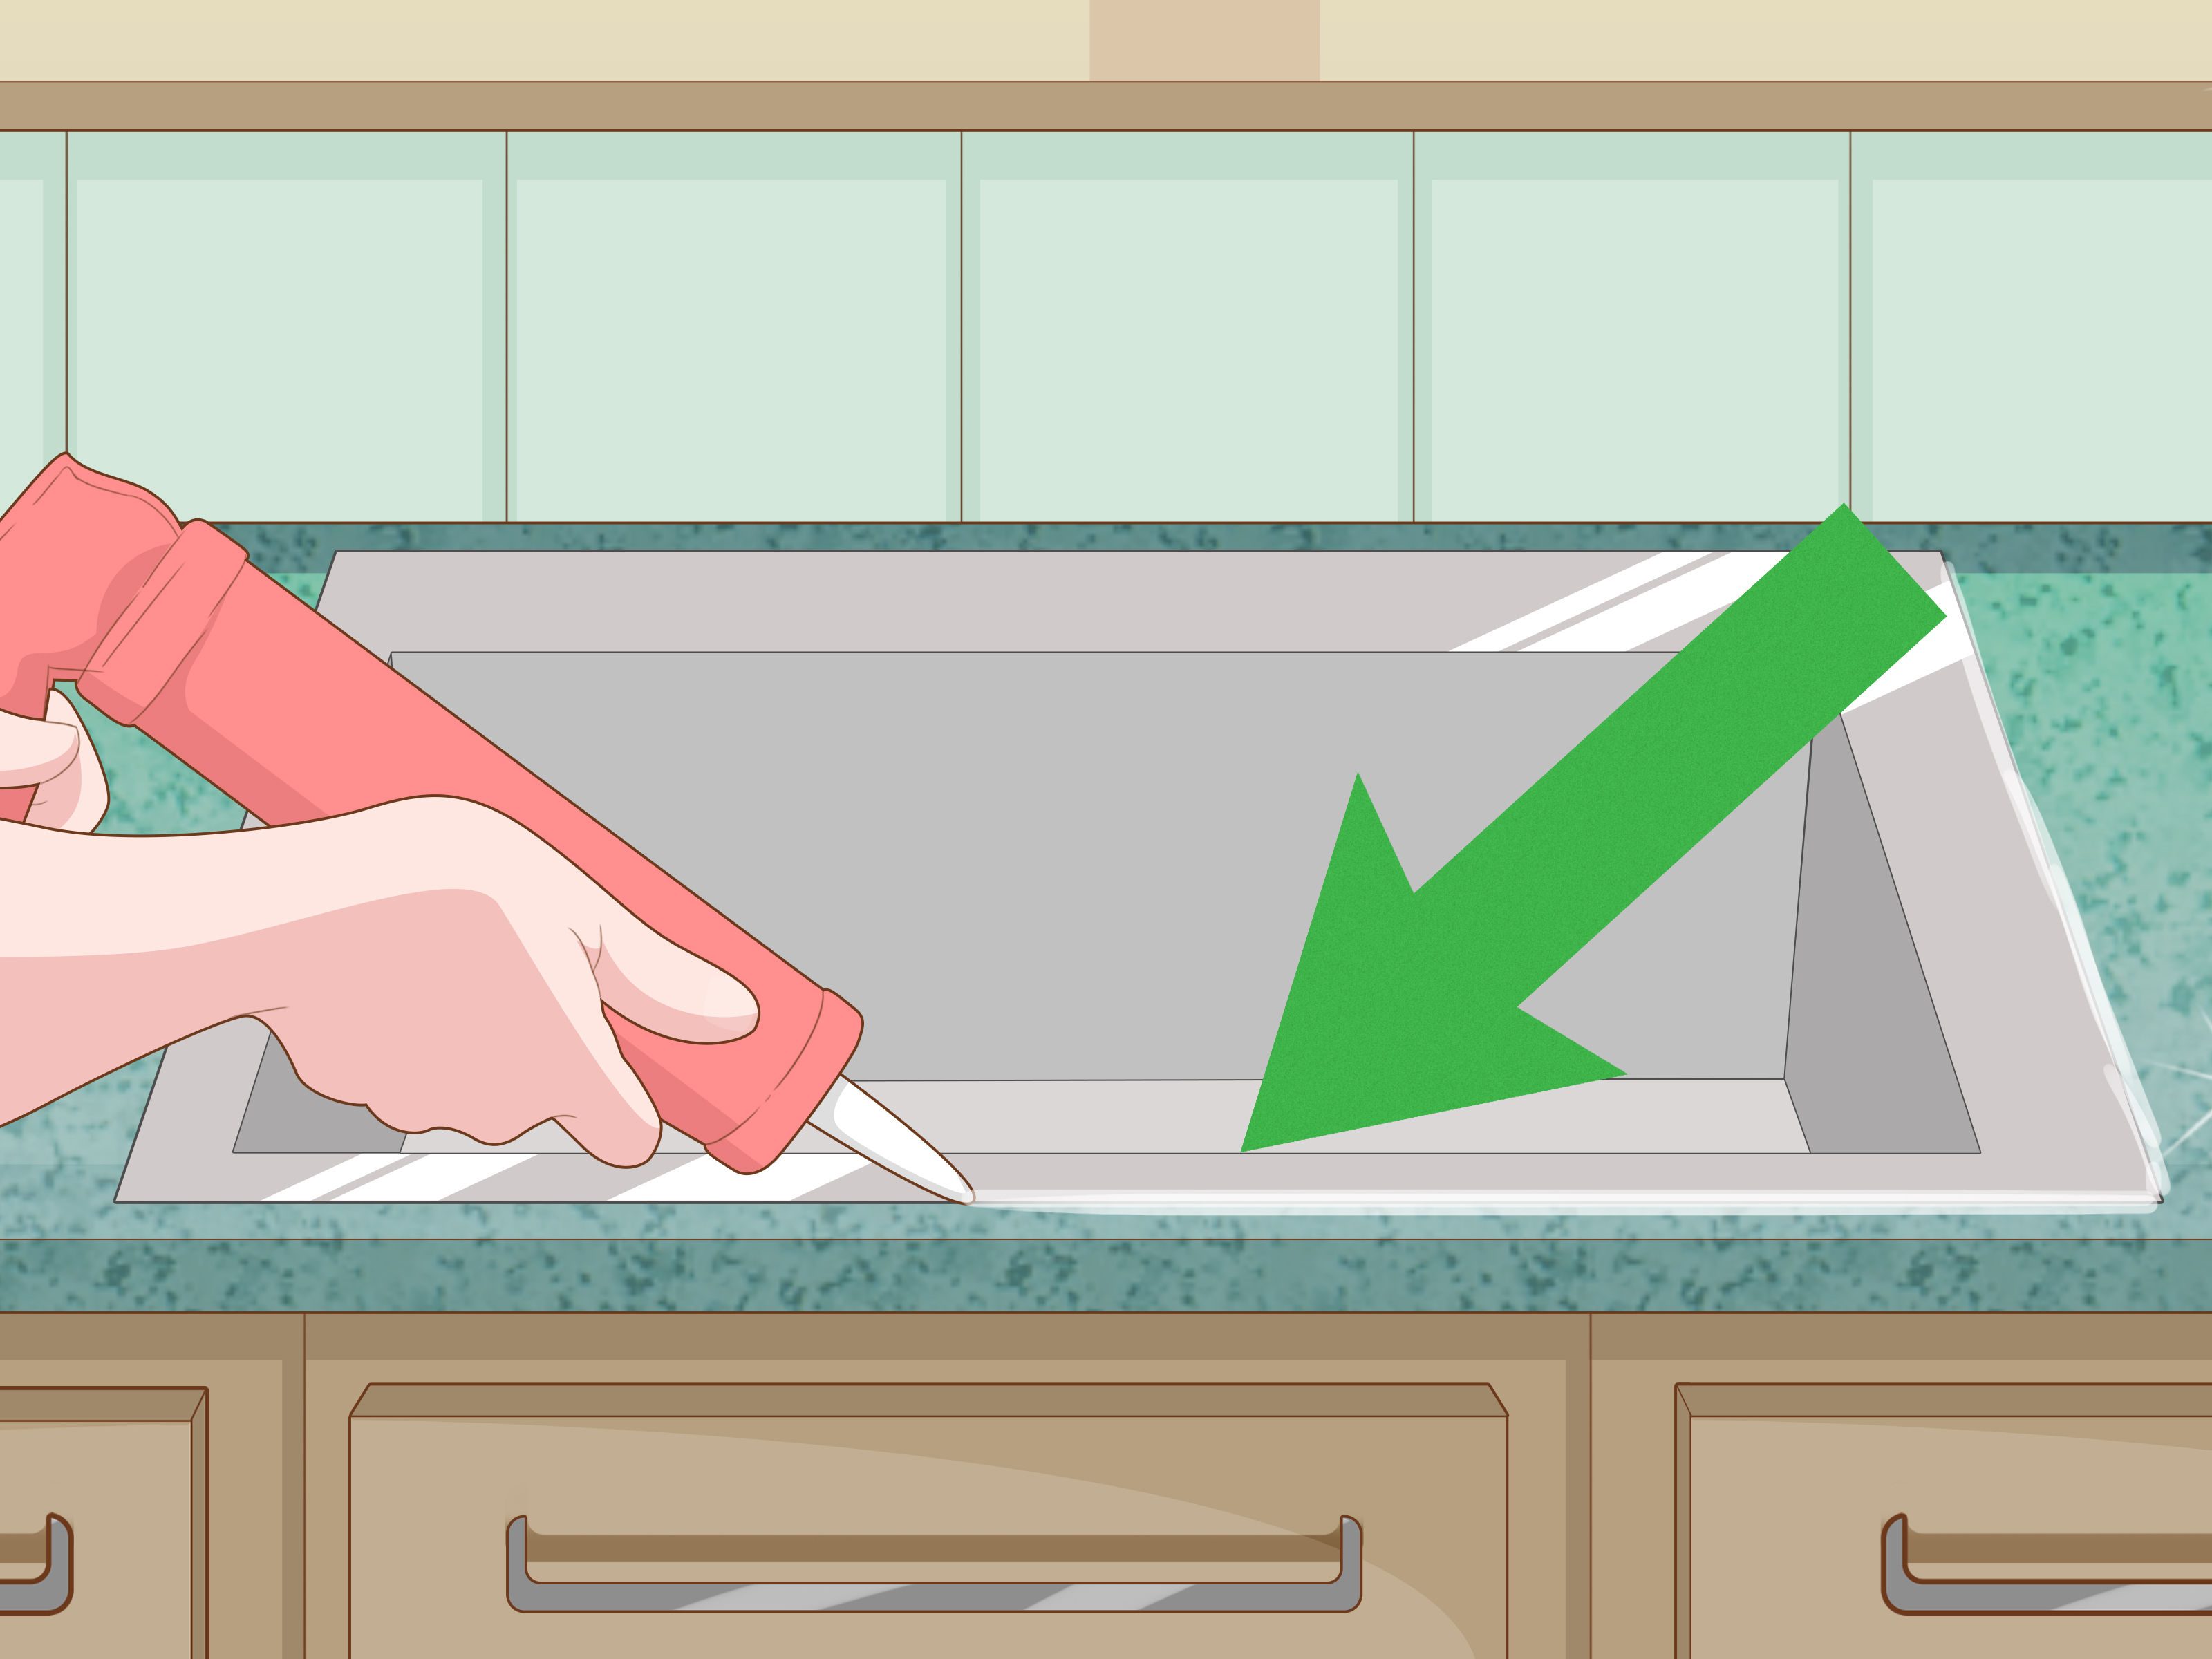
For shower tile, deep clean grout, re-caulk, replace damaged grout, or update fixtures and lighting. For countertops, consider resurfacing, replacement, butcher block, laminate, quartz remnants, or professional refinishing depending on budget. For appliances, use manufacturer-approved touch-up products only where appropriate, and never coat heat surfaces or interiors. For tubs and sinks, compare professional refinishing with replacement. Sometimes the cheaper DIY option is only cheaper until you have to redo it twice.
Why Home Pros Are So Cautious About “Paint Everything” Makeovers
The internet loves dramatic before-and-after projects. A dated fireplace turns white. A bathroom floor becomes a checkerboard. A refrigerator becomes matte black. A countertop pretends to be marble with the confidence of a community theater actor. These projects can be creative and sometimes successful, but the best home pros look beyond the first photo. They ask: Will it last? Is it safe? Can the material still breathe? Will it resist water, heat, abrasion, cleaning, and daily use? Can future repairs be made?
Paint performs best when it bonds to a clean, dull, stable surface that is suitable for coating. Walls, primed drywall, many wood surfaces, doors, trim, and properly prepared cabinets can be excellent paint projects. Slick, wet, hot, moving, porous, safety-critical, or historically significant surfaces need more caution. The problem is rarely color. The problem is compatibility.
There is also the matter of reversibility. Painting a wall is easy to undo. Painting original brick, stone, or antique wood is not. Painting an outlet or detector can interfere with function. Painting a shower can create a maintenance loop. The more difficult a surface is to restore, the more carefully you should think before coating it.
Smart Alternatives to Painting Problem Features
Clean before you coat
Many surfaces look bad because they are dirty, oxidized, stained, or poorly lit. Before painting brick, stone, tile, metal, or wood, clean it with a material-safe method. You may discover that the “ugly” feature was just wearing ten years of dust and cooking grease like a tiny villain cape.
Replace small parts instead of painting them
Outlet covers, switch plates, cabinet knobs, appliance handles, vent covers, and light fixtures can often be replaced affordably. New hardware may solve the visual problem without coating functional parts.
Use reversible design tricks
Area rugs, art, lighting, curtains, peel-and-stick accents, removable wallpaper, updated grout color, and decorative screens can shift attention away from a feature you dislike. These changes are easier to reverse than paint on masonry or tile.
Call the right pro
For masonry, consult a mason or preservation specialist. For electrical devices, call an electrician. For tubs and tile, talk to a refinishing professional. For old homes, ask about lead-safe practices. The right expert can tell you whether paint is a good idea, a bad idea, or a “please put down the brush and step away slowly” idea.
Personal Experience: What Real Homes Teach You About Painting the Wrong Things
Almost every homeowner eventually learns that paint is powerful, but not magical. In real life, the surfaces that cause the most regret are usually the ones people painted because they wanted a fast fix. The fireplace looked too dark. The bathroom tile looked too dated. The outlet covers interrupted the wall color. The old wood trim felt too traditional. The appliance did not match the new kitchen. So the brush came out, the music went on, and hope did what hope often does during DIY projects: it ignored the instructions.
One common experience is the painted outlet problem. At first, it seems harmless. The wall looks seamless, the outlet disappears, and everything feels stylish. Then a plug does not sit tightly. A switch feels sticky. A GFCI reset button refuses to move smoothly. Suddenly that “clean look” feels less like design and more like a tiny electrical mystery. The fix is usually replacement, which means turning off power, removing painted-in plates, and sometimes discovering that the previous painter sealed the screws under layers of latex. Nobody feels glamorous scraping paint from a screw slot with a utility knife.
Another familiar regret is painted brick. It can look bright and modern immediately after painting, especially in photos. But after a few seasons, the finish may show stains, chips, soot marks, bubbling, or peeling. Brick fireplaces are especially tricky because soot and heat patterns can discolor paint. Exterior brick faces weather, rain, humidity, and freeze-thaw cycles in some regions. Once the paint fails, touching it up rarely looks perfect. Removing it is a much bigger job than applying it. Many homeowners discover too late that the original brick had more character than the flat painted surface that replaced it.
Painted shower tile is another lesson in patience. It often looks fantastic right after the final coat cures. The bathroom appears fresh, clean, and budget-friendly. Then daily showers begin. Water finds edges. Steam softens weak spots. Shampoo bottles scrape corners. Grout lines telegraph through the finish. A tiny chip becomes a bigger chip. Soon the homeowner is treating the shower like a museum exhibit: no harsh cleaners, no dropped razors, no aggressive scrubbing, no fun. That is not how a shower should live.
Original wood also teaches a quieter lesson. People sometimes paint wood trim to make a room feel brighter, only to realize later that the natural grain gave the space depth. Painted wood may still look beautiful when done well, but thick layers can hide profiles and make doors or windows stick. Stripping paint from detailed trim is slow work. It requires time, ventilation, safety precautions, and commitment. If old coatings contain lead, it becomes even more serious. In many homes, cleaning or refinishing would have preserved more value and charm.
The best experience-based rule is simple: paint what paint is good at improving. Leave safety devices, working electrical parts, breathable masonry, rare wood, wet surfaces, food-contact areas, and hot appliance parts alone unless a qualified pro says otherwise. A smart home update should make life easier, not create a maintenance subscription you never meant to sign up for.
Conclusion: Paint With Confidence, Not Chaos
Paint can absolutely transform a home, but good design is not just about color. It is about respecting materials, safety, moisture, heat, history, and everyday use. Smoke alarms and carbon monoxide detectors need to detect. Electrical outlets and switches need clean contact and movement. Brick and stone need to breathe. Original hardwood and historic trim deserve careful evaluation. Shower tile, tubs, countertops, and heat-prone appliances need more than wishful thinking and a roller.
Before painting any household feature, ask three questions: What is this material supposed to do? Will paint interfere with that job? Will I regret making this change permanent? If the answers feel uncertain, pause. Clean it, repair it, replace a small part, consult a pro, or choose a reversible design update instead.
The best paint projects make a home feel fresher, safer, and more beautiful. The worst ones make future you stand in the hallway muttering, “Why did I do this?” Choose the first category. Future you has enough to deal with.
Note: This article is based on synthesized guidance from U.S. home-improvement, preservation, electrical-safety, consumer-safety, paint-manufacturer, and renovation resources. It is intended for general home education, not as a substitute for licensed electrical, masonry, lead-safety, or refinishing advice.