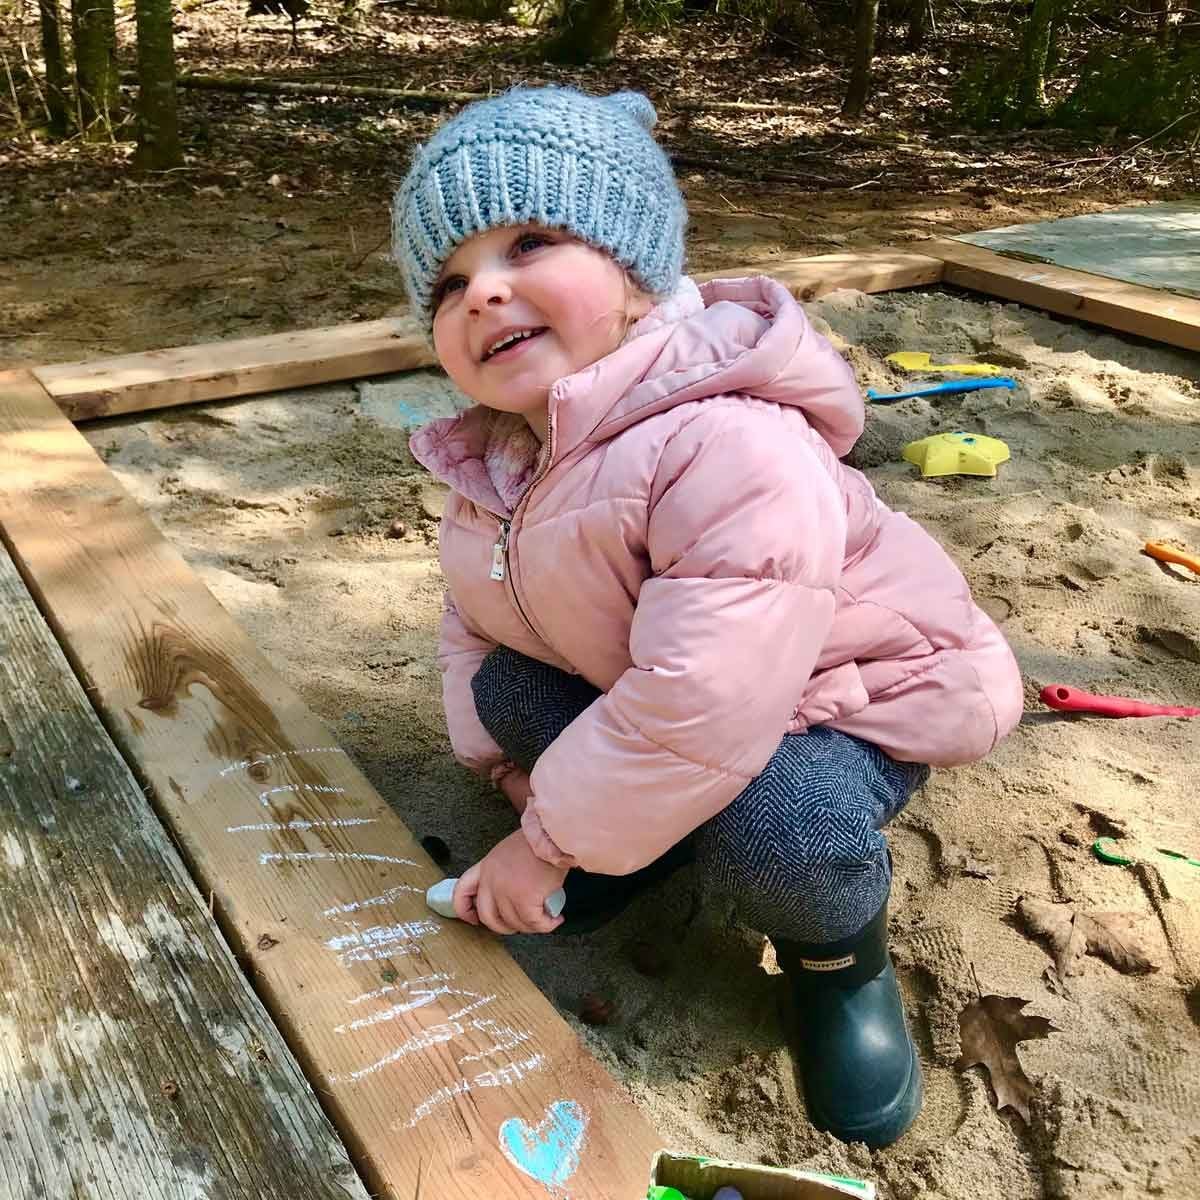
A backyard sandbox is basically a tiny construction site where the workers are three feet tall, paid in crackers, and passionately committed to moving the same pile of sand from one corner to another. Build it correctly, though, and it becomes one of the most useful outdoor play features a family can own.
This covered sandbox DIY guide explains how to build a sturdy 6-by-6-foot wooden sandbox with a split hinged cover. The cover helps keep out leaves, twigs, rain, insects, and animals, while the open-bottom design and landscape fabric allow water to drain into the soil. The project uses simple square cuts, common exterior lumber, and basic tools, making it realistic for a confident beginner to complete over a weekend.
The goal is not to create a museum-quality piece of cabinetry. It is to build a durable, comfortable, easy-to-maintain backyard sandbox that survives weather, enthusiastic digging, and at least one child who insists the sandbox is actually a volcano.
Why Build a Covered Sandbox?
An uncovered sandbox quickly collects everything the wind, trees, neighborhood cats, and local wildlife can contribute. A fitted cover reduces contamination, keeps larger debris out, and makes routine maintenance much easier.
The American Academy of Pediatrics recommends covering sandboxes when they are not being used, keeping pets out, raking the sand regularly, and allowing wet sand to dry before closing the cover. Cats and dogs can carry parasites, including roundworms, so a cover is more than a decorative finishing touch. It is an important part of maintaining a cleaner play area.
A well-designed sandbox cover can also serve as a temporary play surface or seating area. However, a lid should never become a climbing platform unless it has been specifically engineered to support that load. Children should also be supervised whenever the cover is opened, closed, or folded.
Covered Sandbox Plans at a Glance
- Finished exterior size: Approximately 6 feet by 6 feet
- Recommended sand depth: 6 to 8 inches
- Skill level: Beginner to intermediate
- Estimated working time: One full weekend
- Cover style: Two lightweight hinged sections
- Best location: Level, well-drained ground with partial shade
A 6-by-6-foot sandbox offers enough room for two or three children without requiring a dump truck full of sand. Smaller yards can use the same design at 4 by 4 feet or 4 by 6 feet. Measure the available space before buying lumber, and remember to leave room around the sandbox for mowing, opening the lids, and supervising play.
Tools and Materials
Tools
- Tape measure and carpenter’s pencil
- Speed square or framing square
- Circular saw or miter saw
- Drill and driver bits
- 1/8-inch drill bit for pilot holes
- Clamps
- Four-foot level
- Shovel and garden rake
- Orbital sander or sanding block
- Staple gun
- Safety glasses, hearing protection, and dust mask
Materials
| Material | Suggested Quantity | Purpose |
|---|---|---|
| 2-by-10 exterior-rated boards | Four boards | Main sandbox frame |
| 2-by-4 exterior-rated lumber | Two or three boards | Corner blocks and cover supports |
| 1-by-6 cedar or exterior deck boards | Ten to twelve boards | Slatted cover panels |
| Exterior landscape fabric | Approximately 50 square feet | Weed barrier and drainage liner |
| 3-inch exterior deck screws | One box | Frame assembly |
| 1-5/8-inch exterior screws | One box | Cover slats |
| Exterior-rated hinges | Six | Attaching the two cover sections |
| Locking lid supports or safety stays | Four | Holding lids securely when open |
| Exterior handles | Two | Adult operation of the cover |
| Child-appropriate play sand | Based on calculated volume | Sandbox fill |
| Exterior wood sealer | As needed | Weather protection |
Choosing Safe, Weather-Resistant Wood
Cedar is an excellent choice because it is naturally resistant to decay, relatively lightweight, attractive, and easier to finish smoothly than many inexpensive construction boards. Its main disadvantage is cost.
Modern pressure-treated lumber labeled for residential and ground-contact use is another practical option. It is affordable and durable, but the boards may be heavier, wetter, or more likely to warp while drying. Avoid reclaimed lumber of unknown origin and old pressure-treated wood that may contain outdated preservatives.
The Environmental Protection Agency notes that chromated copper arsenate, or CCA, should not be used for new residential playground construction. When working with any treated lumber, keep children away from the cutting area, wear appropriate protection, collect sawdust, wash exposed skin, and never burn treated scraps.
Regardless of the wood species, sand every edge and corner until it feels smooth under a bare hand. A router with a round-over bit makes fast work of sharp edges, but a sander and patience will also do the job. Countersink every screw head so small hands and clothing cannot catch on exposed hardware.
Step 1: Choose the Right Location
Select a level area that can be seen easily from the house, patio, or normal adult seating area. Partial shade is helpful, but avoid placing the box directly beneath a tree that constantly drops leaves, sap, fruit, or branches.
Stay away from low spots, downspout discharge areas, septic components, utility equipment, driveway traffic, swing paths, and the bottoms of slides. A sandbox positioned directly in front of moving playground equipment creates an unnecessary collision zone.
Before digging, contact the local utility-marking service. Even though this project requires only shallow excavation, guessing where underground cables or irrigation lines are located is a poor way to add excitement to a family project.
Step 2: Mark and Prepare the Site
Mark a 6-by-6-foot square using stakes and string. Measure both diagonals. When the diagonal measurements are equal, the layout is square.
Remove the sod and approximately 2 to 4 inches of topsoil. Rake the area flat, then check it in both directions with a long level resting on a straight board. The frame should sit evenly without rocking.
A slight natural slope beneath the sandbox is acceptable if the top of the frame remains level and water can drain away. Do not create a sealed basin with plastic sheeting. Water will eventually get inside, and a waterproof bottom can turn the sandbox into a very disappointing backyard pond.
Step 3: Cut the Sandbox Frame
For a finished exterior dimension of approximately 72 by 72 inches, use the following basic cut list:
- Two 2-by-10 boards cut to 72 inches
- Two 2-by-10 boards cut to approximately 69 inches
- Four 2-by-4 corner blocks cut slightly shorter than the frame height
The shorter boards fit between the two 72-inch boards. Actual lumber dimensions can vary, so measure the boards before making the final cuts. Dry-fit the complete frame on a flat surface before driving screws.
Step 4: Assemble and Square the Frame
Stand the four frame boards on edge. Clamp each corner, drill pilot holes, and drive three 3-inch exterior screws through the long board into the end of the shorter board.
Install a vertical 2-by-4 block inside each corner. These blocks strengthen the joints, reduce twisting, and provide extra material for screws. Check the diagonals again before fully tightening everything.
Basic sandbox plans from major DIY publishers consistently emphasize a level site, square frame, exterior fasteners, landscape fabric, screened play sand, and rounded or thoroughly sanded edges.
Step 5: Install the Permeable Liner
Place the assembled frame in its final location. Cut landscape fabric generously enough to cover the bottom and extend several inches up each interior wall.
Overlap separate pieces by at least 8 inches. Staple the fabric near the top of the interior walls, but leave enough slack at the bottom so the weight of the sand does not tear it away from the staples.
Landscape fabric helps separate the play sand from the soil, slows weed growth, and still permits drainage. Avoid thin household plastic, which traps water. Also avoid wire mesh unless every edge is completely enclosed and inaccessible.
Step 6: Build the Split Sandbox Cover
A single solid 6-by-6-foot lid would be unnecessarily heavy and awkward. A split cover is easier to lift, less likely to warp, and simpler to repair.
Build Two Lightweight Frames
Measure the finished sandbox rather than relying only on the original plan. Construct two rectangular cover frames, each spanning approximately half the box. Allow a small gap between the two covers and around the perimeter so seasonal wood movement does not cause binding.
Use exterior-rated 2-by-3 or 2-by-4 lumber for the frame members. Add at least two cross supports to each cover half. Assemble the frames with exterior screws and verify that they remain square.
Add Slatted Tops
Attach 1-by-6 cedar or deck boards across each frame. Leave gaps of approximately 1/4 inch between slats. These gaps reduce weight, permit air circulation, and allow minor amounts of water to drain instead of pooling on a solid sheet.
A slatted wooden cover is not completely waterproof. Its primary jobs are keeping out animals and large debris while allowing the sandbox to breathe. For areas with heavy rain, add a fitted breathable outdoor cover above the wooden lids, shaped so water runs off instead of collecting in the center.
Attach Hinges and Lid Supports
Fasten each cover half to an opposite side of the sandbox using three exterior-rated hinges. Install handles where an adult can lift each panel without reaching under the edge.
Add locking lid supports, safety stays, or appropriately rated gas struts. The cover must remain securely open during play and should not be operated by young children. Check carefully for pinch points around the hinges, handles, and support hardware.
Keep the cover low and relatively light. A tall roof-style cover can provide useful shade, but it also introduces posts, wind loads, overhead framing, and additional structural requirements. HGTV’s roofed sandbox design, for example, uses multiple pressure-treated framing members and exterior plywood rather than treating the roof as a simple decorative attachment.
Step 7: Sand, Seal, and Inspect the Wood
Sand the frame, lid slats, handles, and all exposed corners. Run a clean cloth over every surface. If the cloth catches, a child’s hand probably will too.
Apply an exterior sealer or child-appropriate outdoor finish according to the manufacturer’s directions. Finish all sides of the cover slats when possible, including cut ends. Allow the coating to cure completely before adding sand or allowing children near the structure.
Do not paint over wet pressure-treated lumber. Fresh treated boards may need time to dry before they will accept a finish properly. Follow the lumber supplier’s and coating manufacturer’s instructions.
Step 8: Calculate How Much Sand You Need
Measure the interior length and width of the completed sandbox. Convert the desired sand depth into feet, then use this formula:
Length × width × depth = cubic feet of sand
A sandbox with an interior measuring approximately 5.75 feet by 5.75 feet filled to a depth of 6 inches requires:
5.75 × 5.75 × 0.5 = approximately 16.5 cubic feet
If the play sand is sold in 0.5-cubic-foot bags, the project would require roughly 33 bags. Bag sizes and sand density vary, so calculate by volume and check the coverage information printed on the product.
Do not fill the sandbox to the rim. Leave several inches of space so children can dig and build without immediately transferring half the sand to the lawn. Lowe’s also recommends calculating sand by multiplying length, width, and fill height rather than estimating by appearance.
Step 9: Choose Appropriate Play Sand
Purchase sand specifically packaged and labeled for children’s sandboxes or play areas. It should be washed, screened, and free of visible stones, construction debris, or sharp material.
Do not substitute masonry sand, paver sand, concrete sand, or material collected from a beach or construction site. Products intended for building work may be coarser and are not necessarily cleaned or processed for children’s play.
Pour the bags carefully and keep children away while filling the box, since dry sand can create airborne dust. Lightly dampening the sand after installation can help settle it. Never soak it until water pools.
Step 10: Establish a Simple Maintenance Routine
After Every Play Session
- Remove food, cups, toys, and damp towels.
- Rake the sand and check for sharp objects or animal waste.
- Let wet sand dry before closing the cover.
- Close and secure both lid sections.
Every Month
- Tighten loose screws and hinge hardware.
- Inspect lid supports and locking mechanisms.
- Look for splinters, cracks, exposed fasteners, or warped boards.
- Check that water is draining and the frame remains level.
At the Beginning of Each Play Season
- Deep-rake and inspect all sand.
- Replace sand if contamination is suspected.
- Sand rough wood and renew the exterior finish as needed.
- Test the covers and supports before children use the sandbox.
Health and DIY guidance generally agrees that wet sand should be allowed to dry, pets should be excluded, debris should be removed regularly, and damaged hardware or rough wood should be repaired promptly.
Common Covered Sandbox DIY Mistakes
Building a Cover That Is Too Heavy
Exterior plywood appears convenient, but a large sheet becomes heavy, especially after absorbing moisture. Split the cover into smaller sections, reinforce it against sagging, and install hardware that prevents sudden closing.
Making the Cover Airtight
A sealed lid traps moisture. Ventilation gaps help damp sand dry and reduce the humid conditions that encourage unpleasant odors and microbial growth.
Using Interior Screws or Hinges
Indoor hardware rusts quickly outside. Choose exterior-coated, galvanized, or stainless-steel components compatible with the lumber being used.
Skipping Pilot Holes
Driving large screws near board ends without pilot holes can split the lumber. Predrilling takes a few extra minutes and prevents the frame from looking as though it lost an argument with a wedge.
Ignoring Drainage
A cover cannot block every drop of rain. The site, liner, frame, and cover must work together. Use permeable fabric, avoid low ground, and keep soil from building up against the exterior walls.
Installing Exposed Finger Traps
Hinged covers create pinch zones. Use safety supports, rounded handles, controlled clearances, and adult-only operation. Test the cover slowly before allowing children into the area.
Frequently Asked Questions
Should a sandbox have a solid bottom?
Most backyard sandboxes perform better with an open bottom lined with permeable landscape fabric. This arrangement permits drainage while separating the play sand from weeds and native soil. A raised sandbox installed on a deck or patio may require an engineered floor with drainage openings.
How deep should sandbox sand be?
Six to 8 inches is a useful depth for ordinary digging, roads, tunnels, and sandcastles. Deeper sand requires substantially more material and adds weight without necessarily improving play.
Does a wooden sandbox cover keep rain out?
A slatted cover reduces direct rainfall but is not waterproof. A slightly peaked, fitted outdoor cover can provide better rain protection. Never stretch a flat tarp tightly across the box because pooled water becomes heavy and can damage the cover.
Can children open the sandbox cover themselves?
Young children should not operate a heavy or hinged cover. An adult should open it, engage the locking supports, inspect the sand, and close it when play ends.
How long will a wooden sandbox last?
Its lifespan depends on climate, drainage, lumber, fasteners, and maintenance. Ground-contact-rated lumber or naturally durable cedar, exterior hardware, sealed cut ends, and periodic refinishing can extend its useful life considerably.
Conclusion
A covered sandbox does not require complicated joinery or a workshop full of professional tools. The most important details are less glamorous: a level site, drainage, durable lumber, smooth edges, exterior fasteners, a manageable cover, reliable lid supports, and sand intended for children’s play.
Take the time to square the frame and test the cover carefully. Those two tasks prevent many of the problems that appear later. Once the build is complete, maintenance is simple: rake the sand, let moisture escape, keep pets out, inspect the hardware, and close the lid after every play session.
The reward is a backyard play space that can entertain children for years. It may not stop sand from appearing mysteriously in shoes, pockets, and occasionally the washing machine, but no woodworking plan has yet defeated that particular law of nature.
Extended Builder Experience: Lessons From a Typical Weekend Sandbox Project
The first practical lesson in building a covered sandbox is that the ground usually requires more attention than the box. A yard can look perfectly level until a straight board and level reveal a miniature mountain range. Spending an extra hour removing high spots is far easier than trying to shim a completed sandbox after it has been filled with hundreds of pounds of sand.
Dry-fitting the frame is equally valuable. Lumber rarely arrives perfectly straight, and a board with a slight crown can push a corner out of square. Lay everything out, rotate imperfect boards until they cooperate, and measure the diagonals before drilling. The difference between a square frame and an almost-square frame becomes obvious when the covers are installed. Square lids do not enjoy fitting onto parallelograms.
The cover often takes longer than the sandbox itself. The frame is simply four boards and reinforced corners. The lids require careful spacing, sanding, hinges, handles, supports, and repeated test-fitting. Build each lid directly over the finished sandbox so small variations in the frame are reflected in the cover. Leave deliberate clearance instead of trying to create furniture-tight joints. Outdoor wood expands and contracts, and a cover that fits perfectly on a dry afternoon may become stubborn after a week of rain.
Weight deserves serious consideration. A large cover may feel manageable while resting on sawhorses, but lifting it from ground level is different. Slatted panels generally feel lighter than solid plywood, dry faster, and are easier to replace one board at a time. Even with light panels, locking supports are essential. Never depend on friction hinges or a conveniently placed scrap of wood to hold a lid above children.
Filling day creates another surprise: sand is heavy and repetitive. Arrange delivery or place the bags near the sandbox before opening them. Carrying more than 30 bags across a yard transforms a cheerful family project into an accidental fitness program. Add half the sand, spread it evenly, and then decide whether the full calculated amount is necessary. Leaving extra wall height reduces spills and provides space for future top-ups.
Once children begin playing, the best design improvements become obvious. A wide top rail gives adults a comfortable place to sit. A nearby storage bin keeps buckets from collecting rainwater. A small brush beside the sandbox helps clean feet and toys. A path of stepping stones or mulch limits mud around the entrance. None of these additions is structurally essential, but they determine whether the sandbox remains convenient after the excitement of the first week.
The final lesson is that maintenance should be designed into the project. Use screws rather than permanent glue where parts may eventually need replacement. Keep hinge hardware visible and accessible. Choose a finish that can be renewed without stripping the entire structure. A covered sandbox succeeds not because it never gets dirty or wet, but because it can be inspected, cleaned, dried, and repaired without turning every small problem into another construction project.
Research note: Construction and safety recommendations in this guide were synthesized from current or established guidance published by the U.S. Consumer Product Safety Commission, U.S. Environmental Protection Agency, American Academy of Pediatrics, Centers for Disease Control and Prevention, state health agencies, major U.S. home-improvement publications, and national retailers.