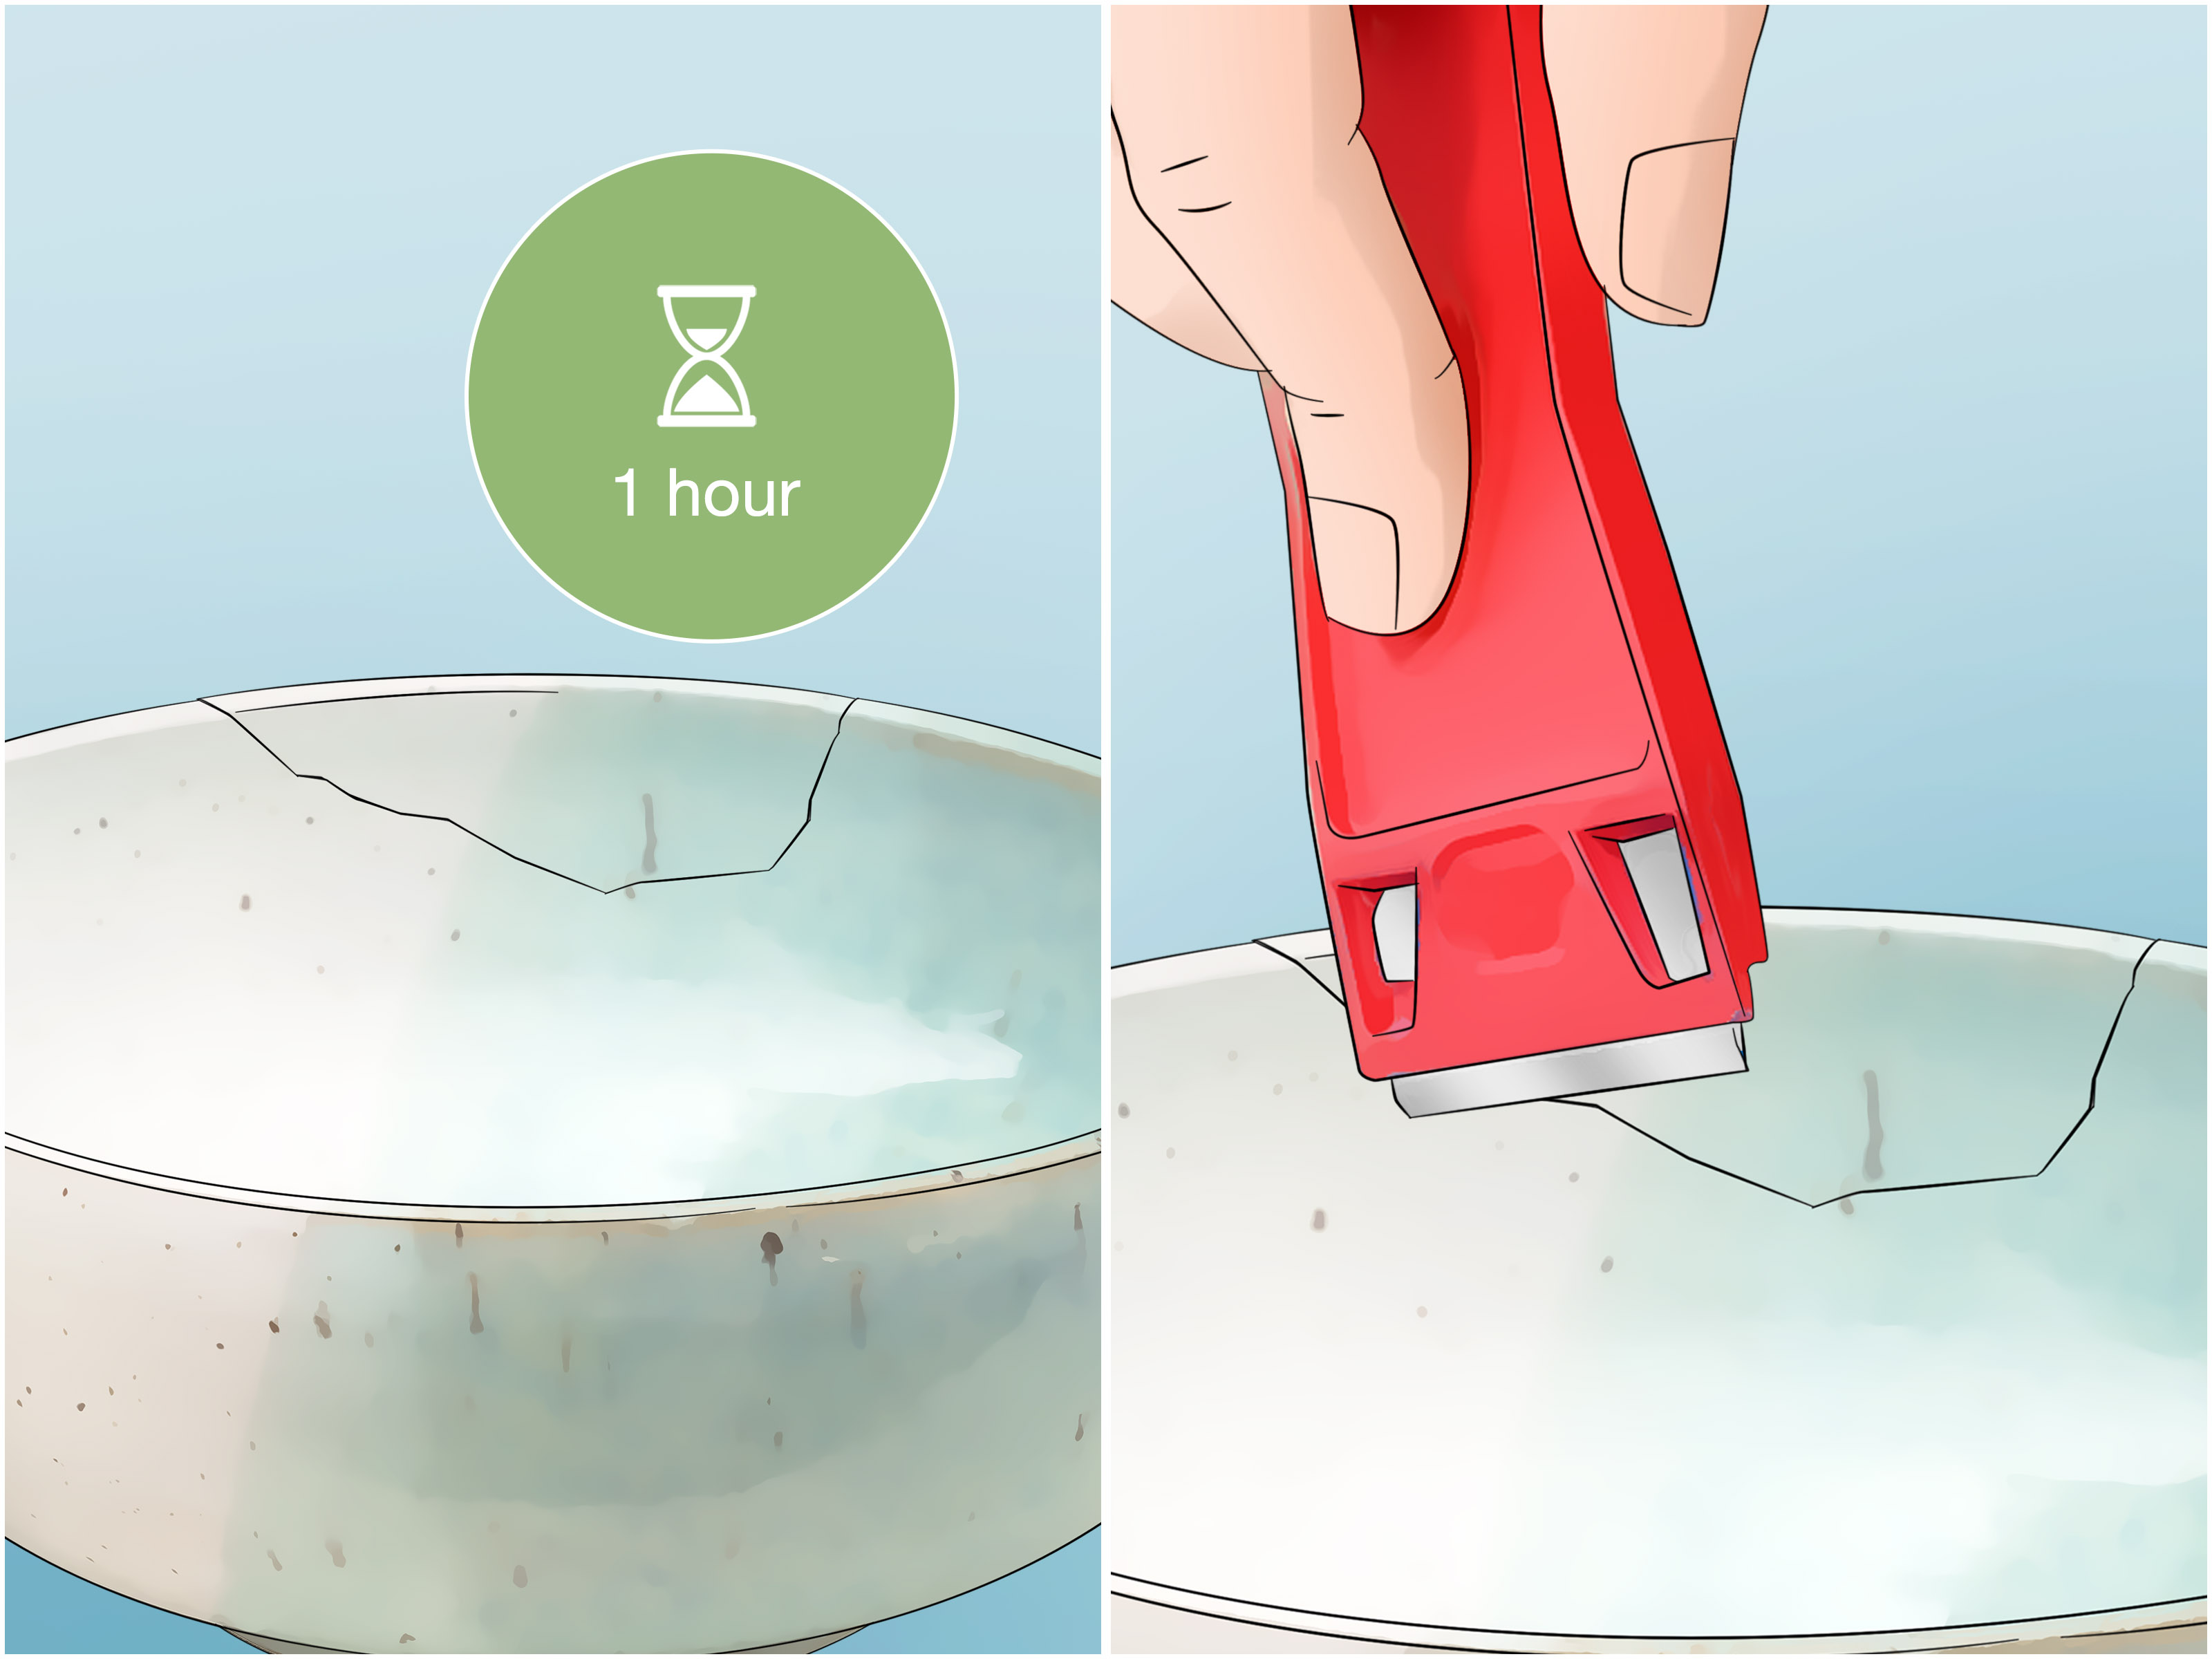
Cracked ceramic has a special talent for ruining your day dramatically. One minute you are holding your favorite mug, flowerpot, tile, vase, or decorative bowl. The next minute, it has developed a dramatic little fault line like it is auditioning for a disaster movie. The good news? Not every cracked ceramic item needs to be tossed into the “oops” pile. With the right adhesive, a clean surface, a little patience, and a realistic expectation or two, many ceramic cracks can be repaired at home.
This guide explains 5 simple ways to repair cracked ceramic, from quick hairline fixes to stronger epoxy repairs, chip filling, tile repair, and decorative kintsugi-style mending. You do not need to be a professional restorer, a pottery wizard, or someone who owns seventeen mysterious clamps. You just need to understand what type of crack you are dealing with and choose the repair method that matches the damage.
Before we begin, one important note: repaired ceramic used for food or drink deserves extra caution. Many household glues and fillers are not meant for surfaces that touch food, hot liquids, microwaves, dishwashers, or ovens. When in doubt, turn that repaired mug into a pencil holder. It may not hold coffee again, but it can still live a proud second life holding pens, paintbrushes, or the tiny screw you swear you will need someday.
Understanding Ceramic Cracks Before You Start
Ceramic is hard, beautiful, heat-resistant, and unfortunately, a little emotionally fragile when it hits the floor. Common ceramic items include porcelain, stoneware, earthenware, ceramic tile, pottery, planters, dishes, and decorative objects. Cracks usually happen because of impact, temperature shock, pressure, weak installation, age, or moisture sneaking into places it was never invited.
Before reaching for glue, inspect the damage. Is the crack a tiny hairline fracture? Has the ceramic split into two pieces? Are there missing chips? Is the crack on a bathroom tile, a flowerpot, or a collectible vase? The answer determines your best repair method.
Quick Crack Check
If the crack is clean, narrow, and the pieces still fit tightly together, super glue or thin epoxy may work well. If the crack is wider, uneven, or under stress, a two-part epoxy usually gives a stronger bond. If pieces are missing, you may need epoxy putty or ceramic filler. If the crack is in a floor tile and keeps spreading, the real problem may be movement underneath the tile, not just the tile itself.
Tools and Materials You May Need
You will not need every item for every repair, but these are common supplies for cracked ceramic repair:
- Dish soap and warm water
- Rubbing alcohol
- Microfiber cloth or paper towels
- Toothpicks, craft sticks, or small brushes
- Painter’s tape or rubber bands
- Disposable gloves
- Super glue for ceramic hairline cracks
- Two-part epoxy for stronger repairs
- Epoxy putty or ceramic filler for chips and gaps
- Fine-grit sandpaper
- Acrylic paint, porcelain touch-up paint, or tile paint
- Clear sealer for non-food decorative surfaces
Now let’s fix the crack without turning your kitchen table into a glue crime scene.
1. Clean and Prepare the Ceramic Surface
The first simple way to repair cracked ceramic is also the most ignored: clean the surface properly. Glue cannot bond well to dust, oil, soap residue, old adhesive, or that mysterious sticky film that appears on things stored in kitchen cabinets for too long. A clean surface gives your repair the best chance of lasting.
How to Prepare the Crack
Wash the ceramic with warm water and a small amount of dish soap. Rinse it thoroughly, then dry it completely. If the surface still feels oily or slick, wipe the cracked edges with rubbing alcohol and let them air dry. Do not rush this step. Moisture trapped inside a crack can weaken the bond, especially when using super glue or epoxy.
If the ceramic has broken into pieces, dry-fit them before applying adhesive. This means putting the pieces together without glue to make sure they align correctly. Think of it as a rehearsal before the sticky live performance. If you discover that a tiny missing shard is preventing a tight fit, you can plan to fill that gap later instead of panicking mid-repair.
Best For
This preparation step is essential for every ceramic repair, including mugs, vases, bowls, tiles, figurines, planters, lamps, and decorative pottery. Whether you use super glue, epoxy, or filler, cleaning is not optional. It is the difference between “nice repair” and “why is this piece in my hand again?”
2. Use Ceramic Super Glue for Hairline Cracks
For small hairline cracks or clean breaks on lightweight ceramic objects, ceramic super glue can be a fast and simple solution. Super glue, also called cyanoacrylate adhesive, bonds quickly and works best when the broken edges fit closely together. It is ideal for small decorative repairs where there is not much gap to fill.
How to Repair a Hairline Crack with Super Glue
After cleaning and drying the ceramic, apply a very thin line of super glue along the crack or broken edge. Less is better. Too much glue can squeeze out, leave a shiny ridge, or glue your fingers to the item in a deeply undignified way. Press the pieces together firmly and align them immediately. Many super glues grab fast, so you may only have a short window to adjust the position.
Use painter’s tape, rubber bands, or gentle hand pressure to hold the pieces in place while the glue sets. Follow the product’s cure time before handling the item normally. Even if the glue feels dry within seconds, the bond may need more time to reach full strength.
Best For
Super glue works well for small ceramic figurines, decorative bowls, small chips, ornaments, lightweight pottery, and clean hairline cracks. It is not the best choice for wide gaps, heavy pieces, outdoor ceramics, or items that will be exposed to frequent water, heat, or pressure.
Pro Tip
Use a gel-style super glue for vertical cracks or curved surfaces. Gel glue is less runny, which means it is less likely to travel across your ceramic like it has somewhere more exciting to be.
3. Use Two-Part Epoxy for Stronger Ceramic Repairs
If the crack is wider, the ceramic is heavier, or the repair needs more strength, two-part epoxy is often the better choice. Epoxy usually comes in two parts: resin and hardener. When mixed together, they create a strong bond that can fill small gaps better than super glue.
How to Repair Cracked Ceramic with Epoxy
Start by placing the ceramic pieces on a protected work surface. Put on gloves, then mix the epoxy according to the package directions. Use a toothpick, craft stick, or small brush to apply a thin, even layer to one or both broken edges, depending on the product instructions. Press the pieces together carefully and wipe away excess epoxy before it hardens.
Hold the repair in place with tape, clamps, rubber bands, or a support made from towels. Ceramic can slide out of alignment while epoxy cures, so do not simply glue it and walk away with heroic confidence. Check the position during the first few minutes and make sure the pieces still match up.
Let the epoxy cure fully before using or moving the item. Some epoxies set quickly but require several hours or longer to cure completely. Patience is part of the repair. Ceramic does not care that you are excited.
Best For
Two-part epoxy is useful for repairing cracked vases, ceramic planters, pottery, thick decorative pieces, handles on non-food items, and cracks with slight gaps. It can also be helpful for ceramic tile cracks when the tile is stable and the crack is mostly cosmetic.
Important Safety Note
Not all epoxies are food-safe, dishwasher-safe, microwave-safe, or heat-safe. If you repair a mug, plate, serving bowl, or teapot, check the adhesive label carefully. Even then, many repaired ceramic items are best used for display only. A repaired coffee mug may look charming on a shelf, but hot coffee plus questionable adhesive is not the DIY adventure anyone ordered.
4. Fill Chips and Gaps with Epoxy Putty or Ceramic Filler
Sometimes a ceramic crack is not just a crack. Sometimes it comes with missing chips, uneven edges, or a small crater that makes your vase look like it survived a tiny meteor strike. In that case, glue alone may not be enough. You need a filler.
Epoxy putty, ceramic repair filler, or a similar repair compound can rebuild missing areas and smooth rough gaps. These materials are often moldable at first, then harden into a sandable surface. Once cured, the repair can be shaped, painted, and sealed for a cleaner finish.
How to Fill a Crack or Chip
Clean the area thoroughly and let it dry. If the ceramic is broken, glue the main pieces together first and allow that repair to cure. Then mix or knead the filler according to the instructions. Press a small amount into the chip, crack, or missing section. Shape it with a gloved finger, toothpick, or craft stick.
After the filler cures, sand it gently with fine-grit sandpaper until it blends with the surrounding ceramic. Do not sand aggressively, especially on glazed or painted ceramics. Once smooth, touch up the area with matching paint. For decorative pieces, a clear sealer can help protect the finish.
Best For
This method is best for chipped ceramic planters, cracked decorative bowls, pottery with missing fragments, tile surface chips, ceramic lamps, and display pieces. It is especially helpful when appearance matters more than invisible perfection.
Color-Matching Advice
Matching ceramic color is harder than it looks. White ceramic is not just white. It can be warm white, cool white, creamy white, blue-white, gray-white, or “why does this look yellow now?” Test paint on a hidden area or a scrap surface first. Build color in thin layers rather than one heavy coat.
5. Repair or Replace Cracked Ceramic Tile
Cracked ceramic tile deserves its own category because tile cracks are not always just surface damage. A single hairline crack from a dropped pan may be easy to patch. But a crack that runs across several tiles, keeps spreading, or appears near grout lines may point to movement underneath the tile, poor installation, subfloor flexing, or a crack in the concrete below.
Simple Cosmetic Tile Repair
For a small crack in a stable tile, clean the surface and apply a clear two-part epoxy into the crack using a toothpick or small tool. Wipe away the excess before it hardens. Once cured, you can disguise the repair with tile paint or a porcelain touch-up product. Finish with a clear sealer if appropriate for the location.
This approach works best when the tile is not loose, the crack is narrow, and the damage is mainly cosmetic. It is a good option for a bathroom wall tile, backsplash tile, or a lightly damaged floor tile that is not moving.
When Replacement Is Better
If the tile is loose, badly shattered, raised, hollow-sounding, or cracked because of movement below, replacement is usually the smarter fix. Remove the grout around the damaged tile, break and remove the tile carefully, scrape away old adhesive, apply fresh thinset or tile adhesive, set the new tile, and regrout after the adhesive cures.
Replacing one tile is more work than filling a crack, but it gives a cleaner, stronger result when the damage is severe. Save spare tiles from the original installation whenever possible. Future you will be grateful, and future you is already dealing with enough.
Bonus Option: Try a Kintsugi-Inspired Decorative Repair
Kintsugi is the Japanese art of highlighting ceramic breaks with gold-toned repair lines rather than hiding them. Traditional kintsugi is a skilled craft using specific materials and techniques, but DIY kintsugi-inspired kits are available for decorative objects. This method turns a crack into a design feature instead of pretending nothing happened.
A kintsugi-style repair is best for decorative bowls, vases, planters, and display pottery. It is not the right approach for every item, but it can be beautiful when the crack is visible and the object has sentimental value. Instead of asking, “How do I hide this crack?” you ask, “How do I make this crack look expensive?” That is emotional growth with metallic pigment.
What Not to Do When Repairing Cracked Ceramic
Repairing ceramic is simple, but a few common mistakes can turn a small crack into a large regret.
Do Not Use Too Much Glue
More glue does not mean more strength. Excess adhesive can create lumps, misalignment, weak curing, and visible seams. A thin, even layer is usually enough.
Do Not Skip Dry-Fitting
Always test how the pieces fit before applying adhesive. Once glue is involved, the pressure rises dramatically. Dry-fitting helps you avoid crooked repairs, backwards pieces, and that unforgettable moment when you whisper, “Oh no.”
Do Not Repair Valuable Antiques Without Advice
If the ceramic is valuable, historic, rare, or emotionally priceless, consider a professional ceramic restorer. Household adhesives can stain, yellow, or make future restoration harder.
Do Not Assume Repaired Dishes Are Safe for Food
Unless every product used is clearly labeled food-safe for the exact use, keep repaired ceramic away from food and drink. This is especially important for mugs, bowls, plates, teapots, and anything exposed to heat.
How to Make a Ceramic Repair Look Better
Even a strong ceramic repair can look messy if the finish is ignored. To improve appearance, remove excess glue early, sand cured filler gently, use small brushes for paint touch-ups, and blend color gradually. For glossy ceramics, a clear gloss sealer may help a decorative repair look more polished. For matte pottery, avoid shiny sealers unless you want the repair to announce itself from across the room.
If the crack remains visible, embrace it. A repaired object does not need to look factory-new to be useful or beautiful. Sometimes the story is part of the charm. Also, nobody needs to know you glued it together while wearing pajamas and negotiating with a rubber band.
Experience-Based Tips for Repairing Cracked Ceramic
After repairing cracked ceramic pieces around the home, one lesson becomes clear very quickly: the repair usually succeeds or fails before the glue ever touches the object. Preparation is everything. The best repairs happen when you slow down, clean the pieces carefully, test the fit, and plan how the item will be held together while curing. The worst repairs happen when you grab glue in a rush and assume your hands can act as precision clamps for twenty minutes. They cannot. Your hands will get tired, your alignment will drift, and somehow one finger will become part of the project.
For small decorative ceramics, super glue is convenient, but it rewards neatness. A tiny amount goes a long way. When repairing a small figurine or ornament, it helps to apply glue with a toothpick instead of squeezing directly from the bottle. Direct squeezing often releases too much adhesive, especially when the bottle has been sitting in a drawer since the last emergency. Toothpicks give better control and help keep glue away from visible glazed surfaces.
For heavier ceramic pieces, epoxy feels more dependable. The trade-off is that epoxy requires mixing and patience. It is best to set up everything first: gloves, paper towel, mixing surface, support materials, tape, and the ceramic pieces arranged in order. Once epoxy is mixed, the clock starts. That is not the time to wander around looking for painter’s tape while holding two sticky vase halves like a confused archaeologist.
Another practical lesson is to respect gravity. Curved ceramics, such as bowls, planters, and vases, love to slide out of position while curing. A towel nest can help. Roll a towel into a ring or cushion and place the ceramic in it so the repaired area is supported without pressure. For handles or small attached pieces, painter’s tape can hold alignment, but do not stretch it so tightly that it pulls the piece out of place.
Color matching is usually the hardest part of making a repair disappear. Even when the structure is fixed perfectly, the repaired line may still catch the eye. For white ceramic, mix tiny amounts of cream, gray, or beige into white paint to match the surrounding glaze. For colored pottery, work in thin layers and let each layer dry before adjusting. A slightly imperfect color match is often less noticeable than a thick blob of paint trying too hard.
Tile repair teaches a different lesson: always ask why the tile cracked. If a tile cracked because a heavy pan fell on it, filling the crack may be enough. If several tiles crack in a line, the floor may be moving beneath them. In that case, filling the visible crack is like putting a tiny bandage on a marching band. It may look better briefly, but the problem will return.
The biggest experience-based tip is to decide the future job of the repaired item. A repaired planter can hold a plastic nursery pot inside it. A repaired vase can hold dried flowers. A repaired mug can hold pencils. A repaired bowl can become a key dish. Not every ceramic piece needs to return to its original duty. Sometimes the smartest repair is a career change.
Conclusion
Repairing cracked ceramic is often easier than it looks, as long as you match the method to the damage. Start by cleaning and inspecting the crack. Use ceramic super glue for small hairline cracks and lightweight pieces. Choose two-part epoxy for stronger repairs and wider cracks. Fill chips or gaps with epoxy putty or ceramic filler, then sand and paint for a smoother finish. For cracked ceramic tile, decide whether a cosmetic repair is enough or whether replacement is the better long-term solution.
The secret is not magic. It is preparation, the right adhesive, careful alignment, and enough patience to let the repair cure properly. Your ceramic may not become immortal, but it can absolutely earn a second chance. And honestly, after surviving a crack, a glue session, and your intense concentration face, it deserves one.
Note: This article is written for general DIY education. Always follow the instructions and safety warnings on the adhesive, epoxy, filler, paint, or sealer you use. For valuable antiques, heirlooms, food-contact ceramics, or structural tile problems, consult a professional repair specialist.

