A bumpy yard has a special talent for making simple outdoor tasks feel like extreme sports. One minute you are mowing the lawn like a calm suburban professional, and the next you are bouncing across the grass like your mower entered a rodeo. Uneven ground is more than an eyesore. It can create puddles, scalp your lawn, make outdoor furniture wobble, and turn a backyard soccer game into an ankle-twisting adventure.
The good news is that you do not always need a bulldozer, a landscaping crew, or a dramatic home-improvement montage to fix the problem. In many cases, learning how to level your yard comes down to choosing the right method for the size of the problem. Small dips can often be corrected with topdressing. Deeper sunken areas may need soil added under lifted sod. Major slope or drainage problems may require regrading.
This guide breaks the job into three practical ways to level a yard: topdressing minor low spots, lifting and filling deeper depressions, and regrading larger areas. You will also learn what materials to use, when to do the work, what mistakes to avoid, and how to keep your yard from turning back into a green moonscape.
Why Your Yard Becomes Uneven in the First Place
Before grabbing a rake and declaring war on every bump, it helps to understand what caused the uneven lawn. Yards settle over time. Soil shifts after construction, tree roots grow near the surface, heavy foot traffic creates ruts, animals dig, downspouts wash out soil, and freeze-thaw cycles can lift and drop sections of ground. Poor drainage can also create soft, sinking areas where water repeatedly collects.
Some uneven spots are harmless and easy to repair. Others are warning signs. If a low spot keeps filling with water after every rain, simply dumping soil into it may only create a muddy layer cake. You need to solve the drainage issue first. If the entire yard slopes toward your house, patio, garage, or foundation, that is no longer just a lawn-leveling project. That is a grading problem, and it deserves professional attention.
Before You Start: Check the Yard Like a Pro
Walk your yard after mowing so the grass is short enough to reveal dips, humps, ruts, and bare patches. Mark low spots with small flags, stakes, or even upside-down flowerpots if you are feeling resourceful. Look for standing water, compacted paths, exposed roots, and areas where mower blades scalp the turf.
For small projects, a rake, shovel, wheelbarrow, broom, topsoil, compost, and sand may be all you need. For larger jobs, you may also need a tamper, lawn roller, sod cutter, string line, level, or professional grading equipment. The goal is not to make the yard perfectly flat like a pool table. In fact, a yard should usually have a gentle slope away from structures so water drains safely. The goal is smooth, usable, mowable ground.
The Best Time to Level Your Yard
The best time to level a yard depends on your grass type and local climate. Cool-season grasses, such as tall fescue, Kentucky bluegrass, and perennial ryegrass, recover best in early fall or spring. Warm-season grasses, such as Bermuda, zoysia, centipedegrass, and St. Augustine, respond best when they are actively growing in late spring or early summer.
Avoid leveling during extreme heat, drought, freezing weather, or right before heavy rain. Soil that is slightly moist is easier to work with than soil that is bone-dry or soggy. If the ground squishes under your shoes like chocolate pudding, wait. Your yard is not ready, and your shoes deserve better.
Way 1: Level Minor Low Spots With Topdressing
Topdressing is the easiest way to level small dips, shallow ruts, and mild unevenness in an established lawn. It means spreading a thin layer of soil mixture over the grass and working it down between the blades. The grass grows through the material, the low spot gradually rises, and the lawn becomes smoother without being torn apart.
When to Use This Method
Use topdressing when the low areas are shallow, usually less than about one inch deep, and the grass is still mostly healthy. It is ideal for small depressions caused by settling soil, foot traffic, mower tracks, or minor washout.
Best Topdressing Mix
A reliable leveling mix is made from screened topsoil, compost, and sand. Topsoil adds structure, compost improves organic matter, and sand helps with workability and drainage. A common home-lawn blend is roughly 40 percent topsoil, 40 percent sand, and 20 percent compost. However, do not blindly dump sand everywhere. If your yard has heavy clay soil, too much sand can create a hard, dense layer. In clay-heavy areas, use more compost and screened topsoil, and keep sand moderate.
Step-by-Step: Topdress Small Low Spots
First, mow the lawn a little shorter than usual, but do not scalp it. Rake away clippings, leaves, and excess thatch. If the soil is compacted, aerate before topdressing so air, water, and nutrients can move into the root zone.
Next, spread the leveling mix over the low spot with a shovel. Use the back of a rake, leveling rake, or push broom to work the material into the grass. The key is to keep the layer thin. In most cases, apply no more than one-half inch at a time. Grass blades should still be visible after you finish. If you completely bury the lawn, the grass may die, which is not leveling; it is grass suffocation with extra steps.
Water lightly to settle the mixture. Over the next week or two, watch the area. If the spot is still low after the grass grows through, repeat the process with another thin layer. Lawn leveling is often a gradual project, not a one-scoop miracle.
Common Topdressing Mistakes
The biggest mistake is adding too much material at once. Another is using dirty fill full of rocks, weed seeds, or clay clumps. Always use clean, screened material. Avoid topdressing when the lawn is stressed by heat or drought. And if the low spot is caused by water flow from a downspout, fix the downspout first or your fresh soil may take a scenic trip down the driveway.
Way 2: Lift the Sod and Fill Deeper Depressions
When a low spot is too deep for thin topdressing, you need a more direct approach. This method involves cutting and lifting the grass, adding soil underneath, leveling the area, and putting the sod back in place. Think of it as giving your lawn a booster seat.
When to Use This Method
Use the lift-and-fill method for deeper depressions, small holes, settled areas around old tree roots, pet damage, or sunken patches where topdressing would require too many layers. It works best when the grass is healthy enough to lift and replace.
Step-by-Step: Lift, Fill, and Replace
Start by watering the area the day before if the soil is dry. Slightly moist soil makes sod easier to cut and lift. Use a flat shovel or edging tool to cut a square or cross-shaped pattern around the sunken area. Slide the shovel under the grass roots and gently peel back the sod. Try to keep the root layer intact.
Add screened topsoil or a topsoil-compost blend into the depression. Tamp it lightly as you go to remove air pockets, but do not pound it into a brick. The filled area should sit level with the surrounding lawn or just slightly high, because soil often settles after watering.
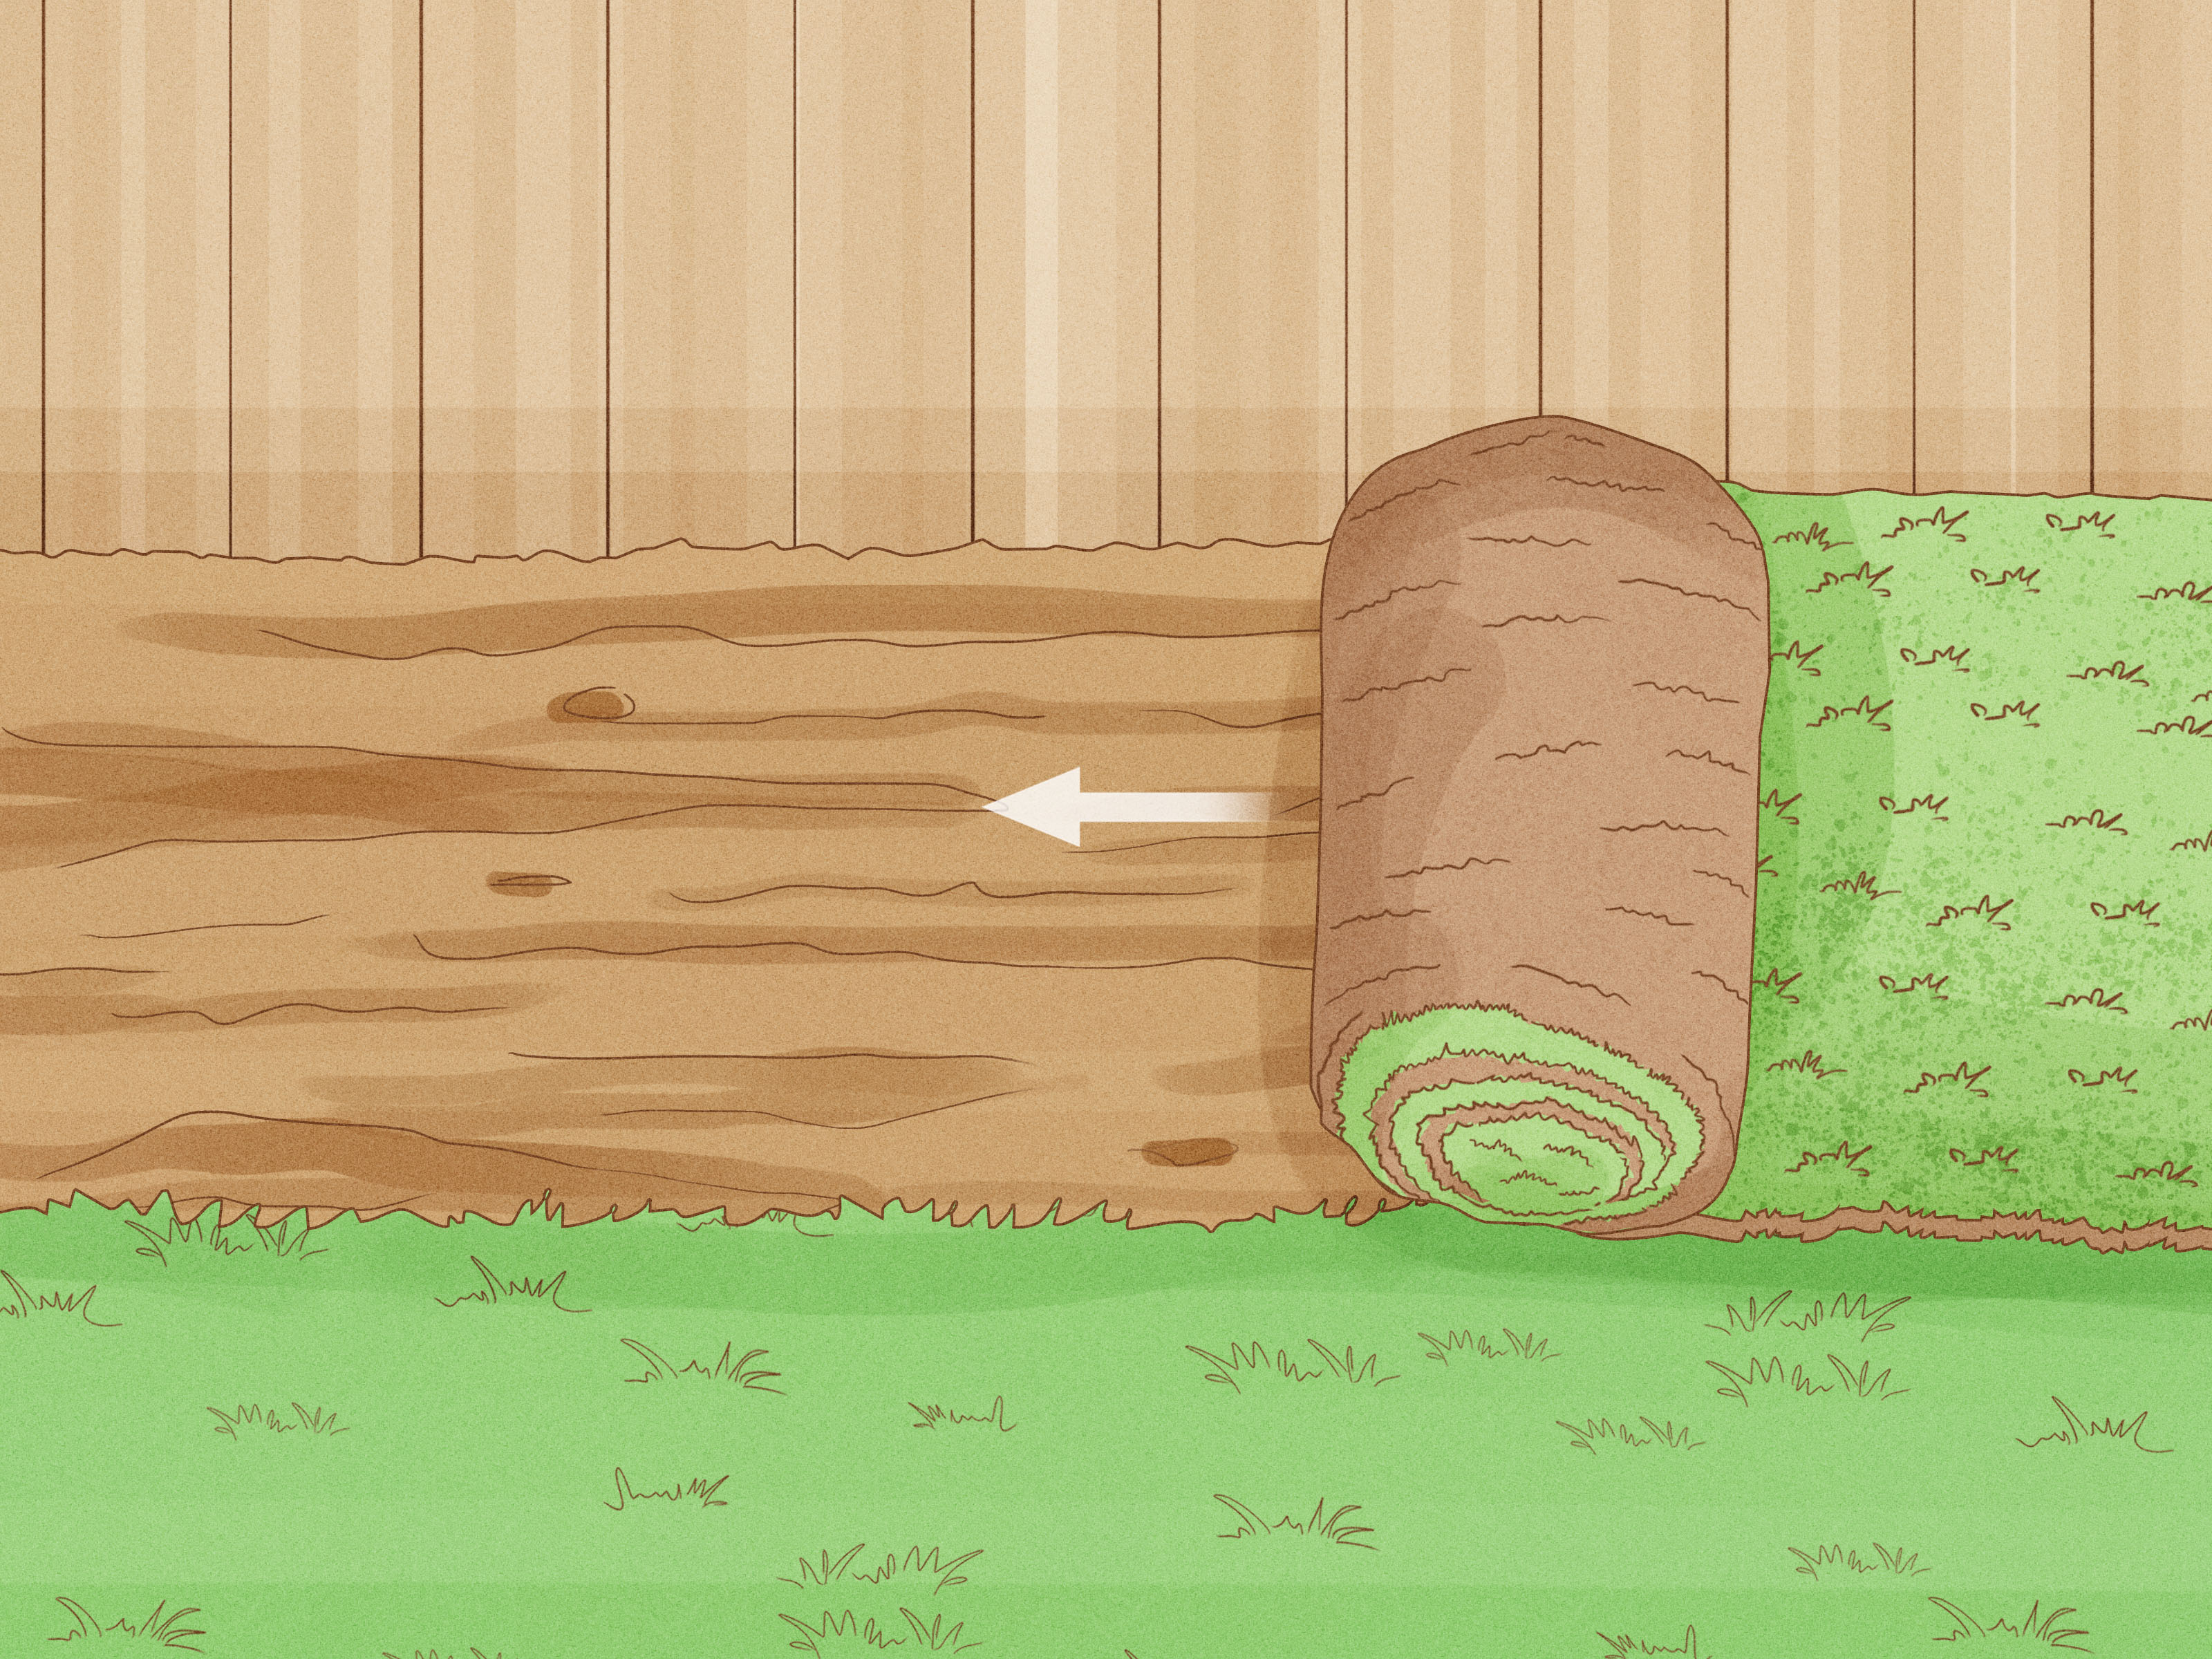
Place the sod back over the repaired area. Press it gently into contact with the new soil. Water thoroughly, then keep the area evenly moist while the roots reconnect. Avoid heavy foot traffic until the grass is growing strongly again.
Should You Seed or Sod Bare Areas?
If the lifted grass is too damaged to reuse, reseed or patch with new sod. Choose a grass type that matches your existing lawn and climate. For cool-season grasses, early fall is often the best time to seed. For warm-season grasses, late spring through early summer usually gives better establishment. If you seed, keep the surface consistently moist until germination and early growth are well underway.
Way 3: Regrade Larger Yard Problems
Sometimes the problem is bigger than a dip or two. If a large section of your yard slopes poorly, holds water, drains toward the house, or has widespread settling after construction, you may need to regrade. Regrading means reshaping the surface of the yard so water flows in the right direction and the lawn has a stable base.
When Regrading Is Necessary
Consider regrading if water pools near your foundation, if runoff cuts channels through the lawn, if the yard has major high and low areas, or if adding soil to one spot would simply move water somewhere worse. Regrading may also be needed after installing patios, walkways, retaining walls, drainage systems, or new construction.
Basic Regrading Process
For a small area, you may be able to remove the grass, loosen the soil, add or remove fill, shape the grade with a rake, compact lightly, replace topsoil, and reseed or sod. For larger areas, professionals may use skid steers, laser levels, drainage plans, and soil-compaction methods.
If grading is needed, preserve good existing topsoil when possible. Strip it, stockpile it, reshape the subsoil, then spread the topsoil evenly back over the surface. Healthy topsoil is valuable because it contains organic matter and supports root growth. Imported topsoil can help, but it may also introduce weed seeds, so buy from a reputable supplier.
Do Not Ignore Drainage
A level-looking yard is not always a healthy yard. Lawns need surface drainage. A perfectly flat area can hold water like a shallow pan. Ideally, the landscape should guide water away from buildings and toward safe drainage areas. If your yard has serious drainage problems, talk to a landscaper, drainage contractor, or local extension office before moving a large amount of soil.
What Materials Should You Use to Level a Yard?
The right material depends on the job. For shallow lawn leveling, use screened topsoil, compost, and sometimes sand. For deep holes, use quality topsoil or fill soil beneath a topsoil layer. For heavy clay, favor compost and topsoil rather than pure sand. For sandy soil, compost helps improve moisture retention. For bare areas, use a seed-friendly lawn soil or topsoil-compost blend.
Avoid using potting mix for large lawn repairs. It is designed for containers, not yards. Avoid cheap, unscreened fill full of stones, construction debris, roots, or mystery chunks. Your grass is not picky in a royal sense, but it does prefer not to grow through gravel and old brick pieces.
Tools That Make Yard Leveling Easier
For most DIY yard leveling projects, useful tools include a lawn mower, garden rake, bow rake, shovel, wheelbarrow, push broom, tamper, garden hose, and grass seed. A lawn leveling rake can help spread soil evenly, especially on larger lawns. For compacted soil, a core aerator is worth renting. For larger grade corrections, a string line and level can help you see the slope more clearly.
Do not underestimate the humble rake. It is inexpensive, simple, and surprisingly effective. It also gives you that satisfying “I am doing real yard work” feeling without requiring you to understand hydraulic machinery.
How to Keep Your Yard Level Longer
After leveling, prevention matters. Aerate compacted areas, redirect downspouts away from soft soil, repair bare spots quickly, keep grass healthy with proper mowing and watering, and avoid driving vehicles over the lawn. If pets dig, create a designated digging zone or supervise outdoor time. If moles or voles are making tunnels, address the pest issue before repairing the surface.
Watch your yard after heavy rain. Notice where water flows, where puddles form, and where soil washes away. Small problems are easier to fix early. A tiny rut today can become a mower-jumping trench later, and nobody wants their lawn equipment developing trust issues.
When to Call a Professional
DIY leveling is reasonable for small dips, shallow ruts, isolated holes, and modest surface unevenness. Call a professional if the yard slopes toward your home, erosion is severe, drainage is complicated, tree roots are involved, or you need to move several cubic yards of soil. Also get help if you suspect a sinkhole, broken irrigation line, damaged sewer line, or underground utility problem.
Professional grading may cost more upfront, but it can prevent foundation moisture issues, repeated washouts, and failed lawn repairs. Sometimes the cheapest fix is the one you only have to do once.
Real-World Experiences: What Yard Leveling Teaches You
Anyone who has leveled a yard learns one lesson quickly: soil is heavier than it looks. A small pile of topdressing mix sitting in the driveway seems innocent at first. Then you start shoveling it into a wheelbarrow, and suddenly you understand why landscapers have excellent forearms. Yard leveling is simple in theory, but it rewards patience, planning, and realistic expectations.
One common experience is discovering that the “one little dip” is actually five little dips wearing a trench coat. Once you mow short and walk the yard carefully, you may find shallow ruts along the mowing path, sunken spots near downspouts, and compacted areas where everyone cuts across the grass. This is normal. Do not panic. Mark them all, then decide which ones need topdressing and which need deeper repair.
Another practical lesson is that thin layers work better than heroic piles. Many homeowners want to fix the lawn in one afternoon by dumping a mountain of soil into every low area. The grass disagrees. If you bury existing turf too deeply, sunlight cannot reach the blades, and the lawn may thin out or die. A half-inch layer may feel too slow, but it gives the grass a chance to recover. Leveling a living lawn is more like adjusting a recipe than pouring concrete.
Watering also matters more than beginners expect. After adding soil, a light watering helps settle the mix into place. Too much water, however, can wash it away or create a muddy crust. The sweet spot is moist, not swampy. If you are reseeding, moisture becomes even more important. Grass seed needs consistent contact with damp soil, especially during germination. Skip watering for several hot days, and your seed may become expensive bird confetti.
Homeowners also learn to respect drainage. A low spot near a downspout may come back again and again unless the water source is redirected. Extending a downspout, adding a splash block, improving soil structure, or installing drainage may be necessary before leveling works permanently. Leveling without drainage correction is like mopping the floor while the sink is still overflowing. Technically active, emotionally unrewarding.
Finally, yard leveling teaches patience. The best results often appear gradually as grass grows through the topdressing, soil settles, and repaired areas knit together. The first week may look a little patchy. The second week looks better. After a few mowings, the lawn starts to feel smoother underfoot. The mower stops bouncing. Chairs sit flatter. Kids run without finding surprise ankle traps. That is the quiet victory of a well-leveled yard: nothing dramatic happens, and that is exactly the point.
Conclusion
Leveling your yard does not have to be intimidating. The secret is matching the method to the problem. Use topdressing for minor uneven spots, lift and fill the sod for deeper depressions, and regrade when the whole yard has slope or drainage issues. Work during the right season, use clean materials, avoid burying grass too deeply, and fix water problems before adding soil.
A smooth yard is safer, easier to mow, better for drainage, and much more enjoyable to use. Whether you are repairing a few ruts or planning a larger lawn renovation, take your time and build the grade in layers. Your mower, your ankles, and your patio chairs will all thank you.