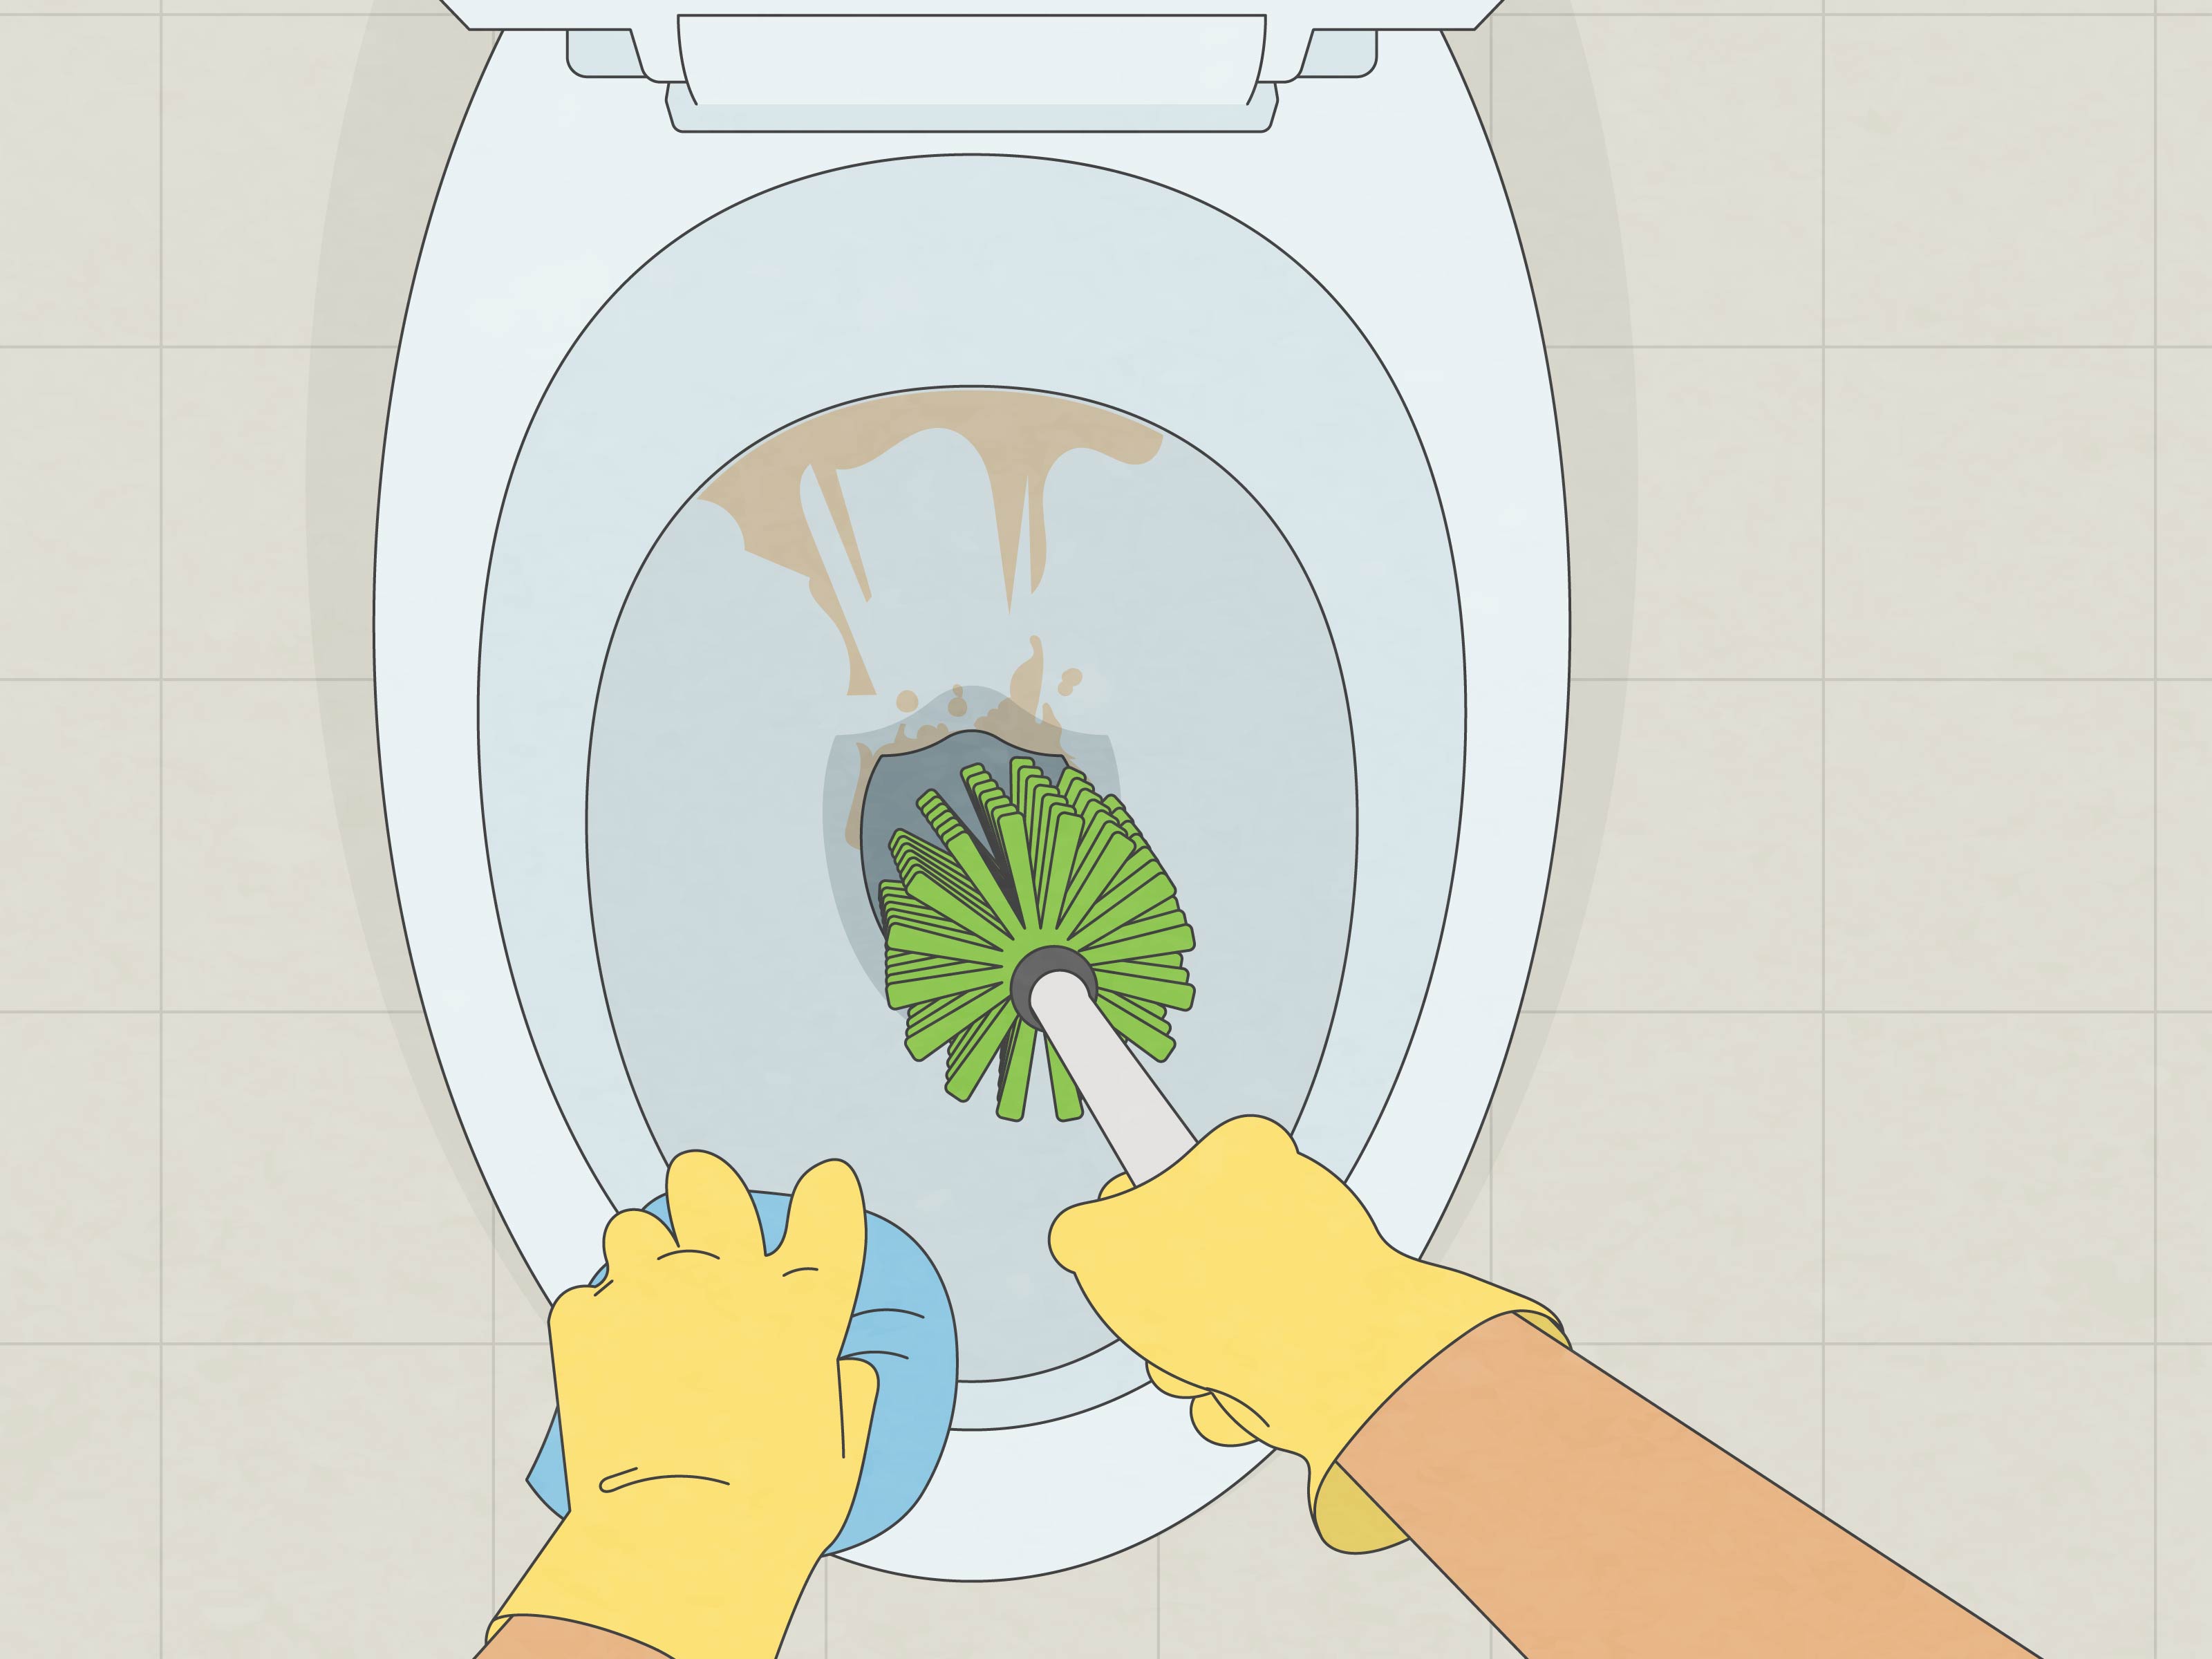
Hard water stains in a toilet are the bathroom’s way of saying, “Surprise! Your water has a mineral hobby.” Those chalky white rings, rusty orange streaks, gray crusty patches, and stubborn brownish stains are usually caused by minerals such as calcium, magnesium, and sometimes iron that remain behind after water evaporates. The toilet bowl is a perfect stage for this drama because water sits there all day, quietly leaving mineral deposits like tiny unpaid rent notices.
The good news? You do not need to replace the toilet, hire a wizard, or pretend the guest bathroom no longer exists. With the right approach, you can clean hard water stains in a toilet using simple household ingredients, gentle abrasion, or a stronger descaling cleaner when the buildup has moved from “annoying” to “archaeological discovery.”
This guide explains three practical ways to remove toilet hard water stains, when to use each method, how to avoid damaging porcelain, and how to keep those rings from coming back every three business days. Put on gloves, open a window, and let’s rescue that bowl from its mineral mustache.
What Causes Hard Water Stains in a Toilet?
Hard water contains dissolved minerals, mainly calcium and magnesium. When water sits in the toilet bowl or splashes under the rim, it slowly evaporates and leaves those minerals behind. Over time, the deposits build up into scale, also called limescale. If your water also contains iron, the stains may look yellow, orange, reddish-brown, or even dark brown.
Unlike ordinary dirt, hard water stains are not just sitting on the surface waiting for a casual swipe. They bond to the porcelain and get tougher as layers accumulate. That is why regular toilet cleaner may make the bowl smell fresh but leave the ring staring back at you like it pays property tax.
Common Signs You Are Dealing With Hard Water Stains
- A white, gray, tan, or brown ring at the waterline
- Orange or rusty streaks running from the rim
- Rough, chalky texture on the bowl surface
- Stains that return quickly after normal cleaning
- Similar mineral spots on faucets, shower glass, sinks, or tubs
Before you start scrubbing, remember this safety rule: never mix bleach with vinegar, acidic toilet cleaners, ammonia, or other cleaning products. Bleach mixed with acids can release dangerous fumes. If you recently used bleach in the toilet, flush several times and wait before using vinegar or a descaling product. Cleaning should improve your bathroom, not turn it into a chemistry lesson with consequences.
Way 1: Use White Vinegar and Baking Soda for Everyday Hard Water Rings
The first and most budget-friendly way to clean hard water stains in a toilet is the classic white vinegar and baking soda method. Vinegar is mildly acidic, which helps dissolve mineral buildup. Baking soda adds gentle scrubbing power and helps loosen grime without being harsh on porcelain.
This method works best for light to moderate hard water stains, fresh toilet rings, cloudy mineral marks, and routine maintenance. It is also a good first attempt before moving on to stronger methods.
What You Need
- 1 to 2 cups distilled white vinegar
- 1 cup baking soda
- Toilet brush
- Rubber gloves
- Optional: paper towels for under-rim stains
Step-by-Step Instructions
Step 1: Lower the water level if possible. For better contact, turn off the water valve behind the toilet and flush once. This lowers the water level so the vinegar can sit directly on the stains. If you do not want to touch the valve, you can still use the method with water in the bowl; it may simply take longer.
Step 2: Pour vinegar into the bowl. Add 1 to 2 cups of distilled white vinegar around the inside of the bowl, focusing on the waterline ring and stained areas. Use the toilet brush to swish the vinegar around so it coats the porcelain.
Step 3: Let it sit. For mild stains, 20 to 30 minutes may be enough. For stubborn rings, let the vinegar sit for one hour. The waiting period matters. Scrubbing immediately is like yelling at a locked door instead of using the key.
Step 4: Add baking soda. Sprinkle about 1 cup of baking soda into the bowl. Add another splash of vinegar if you want the fizzy reaction. The fizz is not magic, but it helps distribute the mixture and loosen residue.
Step 5: Scrub thoroughly. Scrub the ring, the lower bowl, and under the rim with a toilet brush. Use firm pressure but avoid metal brushes or anything that can scratch porcelain.
Step 6: Flush and inspect. Turn the water valve back on if you turned it off, flush, and check the results. If the ring has faded but not disappeared, repeat the process or let vinegar sit longer next time.
Pro Tip for Under-Rim Stains
If mineral deposits hide under the toilet rim, soak paper towels in white vinegar and tuck them under the rim. Let them sit for 30 to 60 minutes, remove them, scrub, and flush. Do not flush the paper towels; throw them in the trash unless your plumbing enjoys drama.
Way 2: Use a Wet Pumice Stone for Stubborn Mineral Buildup
When vinegar and baking soda improve the stain but do not fully remove it, a pumice stone may be the next best move. A pumice stone is a lightweight volcanic stone that can gently scrape mineral deposits off porcelain when used correctly. It is especially useful for thick hard water rings, old limescale, and rough patches that feel raised when you touch them with a gloved finger.
The key phrase is “used correctly.” A dry pumice stone can scratch. A wet pumice stone used on wet porcelain is much safer and more effective. Think of it as sanding off mineral scale, not attacking the toilet like it insulted your family.
What You Need
- Toilet-safe pumice stone or pumice cleaning stick
- Rubber gloves
- Toilet brush
- Water for wetting the stone
- Optional: vinegar pre-soak
Step-by-Step Instructions
Step 1: Confirm the toilet bowl is porcelain. Pumice is generally recommended for porcelain toilet bowls. Do not use it on plastic, enamel-coated surfaces, colored decorative finishes, or anything you are unsure about. If in doubt, test a tiny hidden spot first.
Step 2: Soak the stain first. For best results, pour vinegar into the bowl and let it sit for 20 to 30 minutes. This softens mineral buildup so the pumice does not have to work as hard.
Step 3: Wet the pumice stone completely. Hold the stone under water until it is fully wet. Also make sure the toilet surface stays wet while you scrub. Water acts as a lubricant and reduces scratching risk.
Step 4: Rub gently at an angle. Use light, steady pressure on the stained area. You should see a paste-like residue form as the pumice wears down. That is normal. Keep the stone and surface wet the entire time.
Step 5: Scrub and flush. After working the stained areas, use a toilet brush to clean away residue, then flush. Repeat only if needed.
When to Choose Pumice Over Chemicals
Pumice is useful when the stain feels crusty or raised, because the issue is physical buildup as much as discoloration. It is also handy if you prefer to avoid strong commercial cleaners. However, it should not be your weekly cleaning tool. Use it occasionally for tough buildup, then prevent new scale with lighter maintenance.
Way 3: Use a Commercial Descaler or Acid-Based Toilet Cleaner for Severe Stains
Sometimes hard water stains laugh at vinegar. This usually happens when mineral deposits have been building for months or years, especially in homes with very hard water or iron-heavy water. In that case, a commercial descaler or toilet bowl cleaner designed for calcium, lime, and rust may be the most effective solution.
Look for products labeled for removing limescale, calcium deposits, rust stains, or hard water stains from toilets. Many use acids such as citric acid, lactic acid, hydrochloric acid, or sulfamic acid. These ingredients can break down mineral deposits faster than vinegar, but they require careful handling.
What You Need
- Commercial toilet descaler or hard water stain remover
- Rubber gloves
- Toilet brush
- Good bathroom ventilation
- Protective eyewear if recommended on the label
Step-by-Step Instructions
Step 1: Read the product label first. This is not the exciting part, but it is the important part. Check whether the cleaner is safe for toilets, how long it should sit, whether it can be used with septic systems, and what surfaces to avoid.
Step 2: Flush away any previous cleaner. Never layer products. If you used bleach, vinegar, baking soda, or another toilet cleaner earlier, flush several times and wait before applying a new chemical cleaner.
Step 3: Apply the descaler under the rim and around the bowl. Coat the stained areas, especially the waterline ring and vertical streaks. Many toilet cleaners are designed to cling to the bowl, which gives the acid more time to dissolve minerals.
Step 4: Let it sit for the recommended time. Some cleaners need only a few minutes; others may require longer. Do not exceed the label directions. More time is not always better, especially with strong acids.
Step 5: Scrub and flush thoroughly. Use a toilet brush to loosen remaining deposits, then flush. For very heavy scale, you may need a second application on another day.
When Commercial Cleaners Make Sense
A commercial descaler is a smart choice when the toilet has heavy brown rings, orange rust streaks, recurring mineral deposits, or buildup that vinegar cannot remove after two attempts. It is also useful before guests visit, because apparently toilets enjoy waiting until company comes over to display their worst behavior.
How to Prevent Hard Water Stains From Coming Back
Cleaning hard water stains is satisfying, but preventing them is even better. Once the bowl is clean, the goal is to stop minerals from getting comfortable again.
Clean Weekly
A weekly toilet scrub prevents minerals from forming thick layers. Even a quick vinegar soak every couple of weeks can help slow buildup in hard water areas.
Do a Monthly Vinegar Soak
Pour 1 cup of white vinegar into the bowl, swish it around, let it sit for 20 to 30 minutes, scrub, and flush. This simple maintenance habit can keep a light ring from becoming a full mineral necklace.
Use the Toilet Regularly
Guest bathrooms and basement toilets often stain faster because water sits undisturbed. Flush unused toilets regularly and clean them even when they do not see much action.
Consider a Water Softener
If every sink, shower door, faucet, and toilet in your home develops hard water stains, the problem is bigger than one bowl. A whole-home water softener can reduce calcium and magnesium levels, helping prevent scale in plumbing fixtures and appliances. It is a larger investment, but it may save cleaning time and reduce mineral buildup throughout the house.
Check for Running Water
A toilet that runs constantly brings fresh mineral-rich water into the bowl all day. That can make hard water stains appear faster. If you hear trickling or see movement in the bowl between flushes, inspect the flapper, fill valve, or call a plumber.
Common Mistakes to Avoid
Do Not Mix Cleaning Products
This is the big one. Do not mix bleach with vinegar, ammonia, acidic toilet cleaners, or commercial descalers. If you want to switch products, flush thoroughly and give the bowl time to rinse.
Do Not Use Steel Wool
Steel wool can scratch porcelain. Scratches trap minerals and grime, making future stains worse. Use a toilet brush, non-scratch pad, or wet pumice stone only when appropriate.
Do Not Ignore the Rim Jets
Hard water can clog the small holes under the rim where water enters the bowl. If your flush seems weak or uneven, mineral buildup under the rim may be part of the issue.
Do Not Expect One Gentle Cleaning to Remove Years of Buildup
If a stain has been forming for a long time, it may need repeated treatment. Be patient. Mineral deposits are stubborn, but they are not invincible.
Real-Life Cleaning Experience: What Actually Works Best
After dealing with hard water stains in more than one bathroom, the biggest lesson is simple: the longer you wait, the more annoying the job becomes. A faint waterline ring is easy to remove with vinegar. A thick brown ring that has been ignored for six months starts acting like part of the architecture.
In a lightly stained toilet, the vinegar and baking soda method usually gives the best balance of safety, cost, and effort. The trick is giving the vinegar enough time. Many people pour it in, scrub after 30 seconds, and then declare it useless. That is like putting pasta in cold water and wondering why dinner is crunchy. Let the vinegar sit. For normal mineral rings, 30 minutes can make a big difference. For older stains, an hour is better.
Another helpful experience is lowering the water level before cleaning. When the bowl is full, vinegar gets diluted. When the water level is lower, the cleaner touches the stain directly. This one small step can turn a frustrating scrub session into a much easier job. If the stain is at the waterline, direct contact matters.
For stubborn rings, a wet pumice stone can feel almost too good to be true. You rub gently, the rough deposit starts disappearing, and suddenly the bowl looks ten years younger. But the stone must stay wet. Dry pumice on dry porcelain is a bad idea. It can scratch, and scratches create tiny grooves where future stains can cling. The best approach is to soak the stain first with vinegar, wet the pumice thoroughly, and use patient, light strokes.
Commercial descalers are the heavy-duty option, and they can be impressive when used correctly. They are especially helpful for rust-colored stains caused by iron. However, they are not products to freestyle with. Read the label, ventilate the room, wear gloves, and never combine them with bleach or other cleaners. Stronger does not mean safer; it simply means the chemistry is doing more work.
One surprisingly important habit is cleaning before the toilet looks terrible. A quick weekly scrub prevents the embarrassing “how did this happen?” ring from forming. In hard water homes, prevention is not glamorous, but it is much easier than wrestling with limescale later. Keeping vinegar nearby, doing a monthly soak, and watching for running toilets can save a lot of scrubbing.
The most realistic strategy is to match the method to the stain. Use vinegar and baking soda for routine stains, a pumice stone for crusty buildup, and a commercial descaler for severe mineral or rust stains. That way, you are not overusing chemicals when a simple soak will do, and you are not spending an hour scrubbing a stain that needs a stronger product.
Also, do not judge your bathroom too harshly. Hard water stains are common in many homes, especially in areas with mineral-rich groundwater. They are not a sign that you are secretly terrible at cleaning. They are a sign that your water brought souvenirs. With a little consistency and the right method, your toilet can look clean again without turning the chore into a full-body workout.
Conclusion
Cleaning hard water stains in a toilet does not have to be complicated. Start with white vinegar and baking soda for everyday mineral rings. Move to a wet pumice stone when the buildup is thick and crusty. Use a commercial descaler when stains are severe, rusty, or resistant to gentler methods. The best results come from patience, direct contact, safe product use, and regular maintenance.
Once the toilet is clean, keep it that way with weekly brushing, occasional vinegar soaks, and attention to running water or whole-home hard water issues. Your toilet may never send you a thank-you card, but a stain-free bowl is basically the bathroom version of applause.
SEO Tags
Note: This article is based on widely accepted U.S. water-quality, cleaning, and household safety guidance. Always follow product labels, wear gloves, ventilate the bathroom, and never mix bleach with vinegar, ammonia, or acidic toilet cleaners.