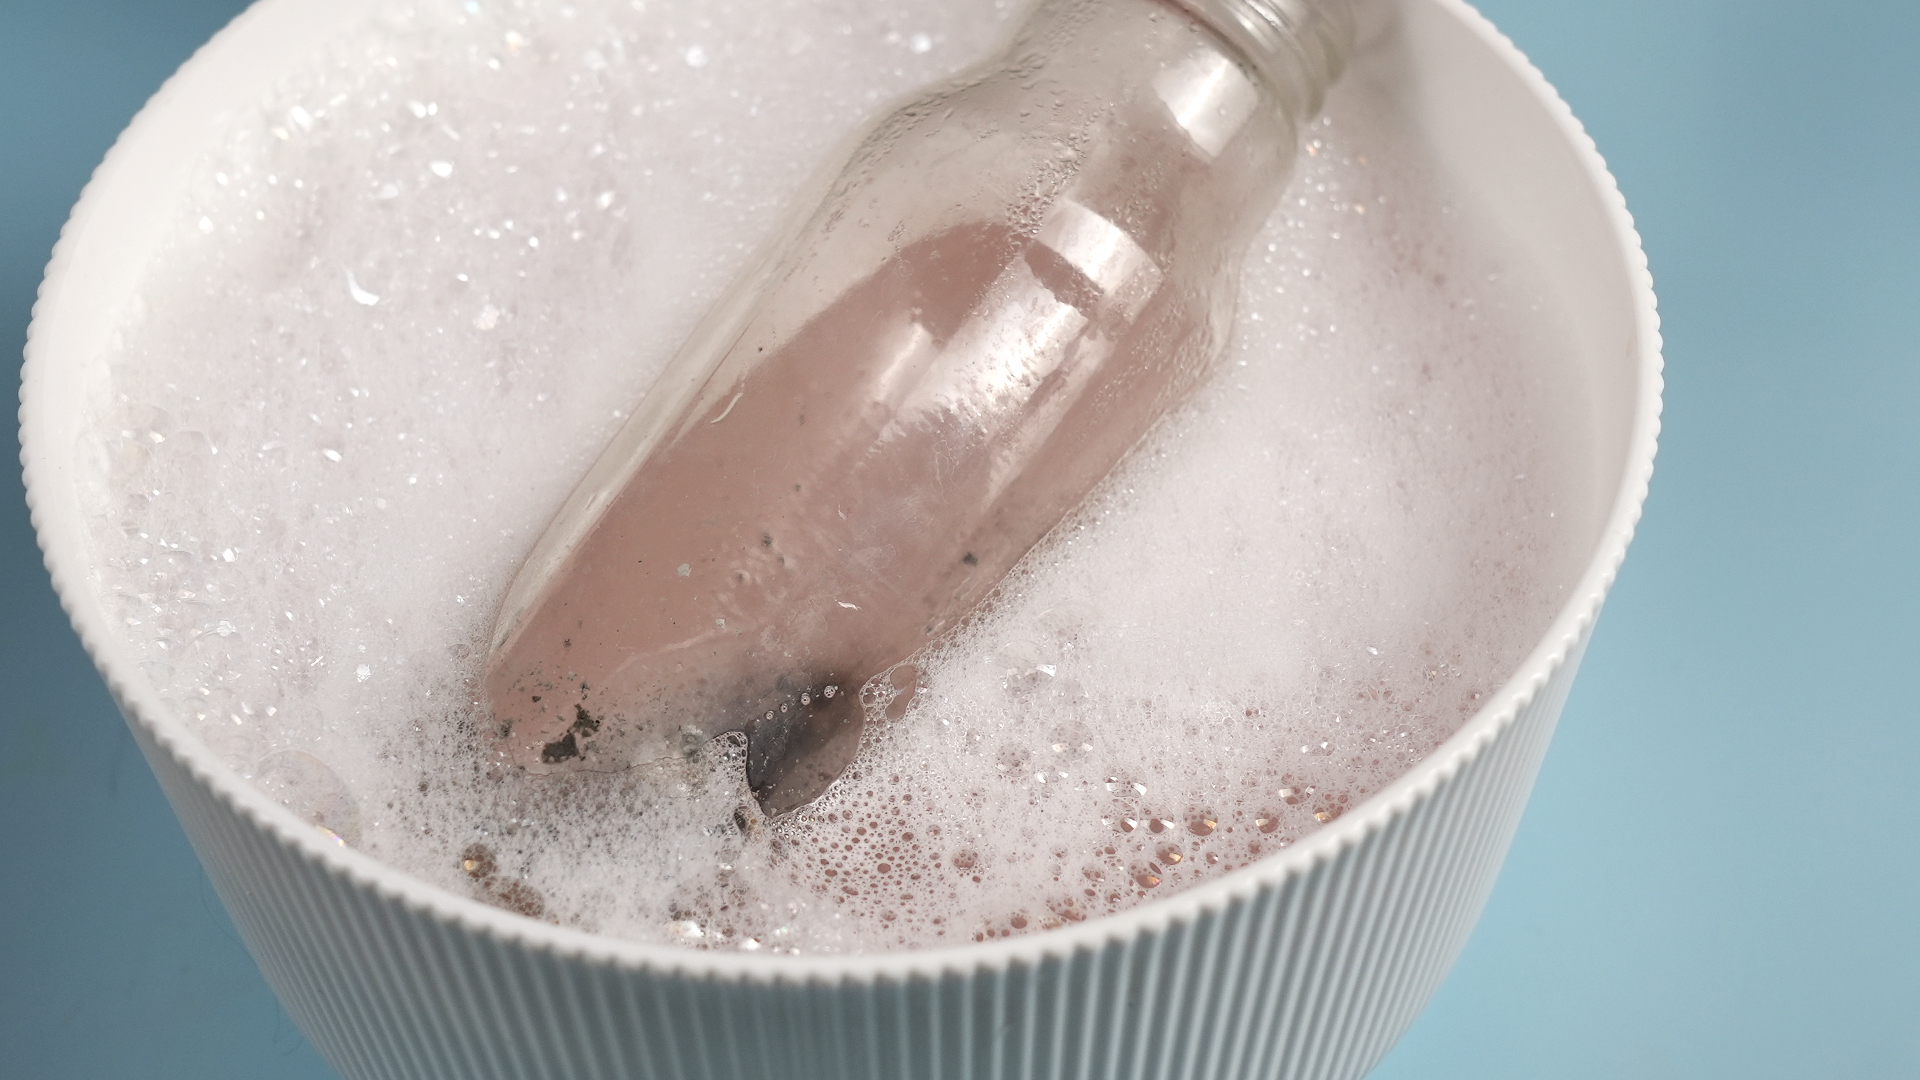
An oily bottle is a tiny kitchen mystery with a very slippery personality. You wash it once, rinse it twice, hold it up to the light, and there it is: that stubborn, shiny film clinging to the inside like it signed a lease. Whether it held olive oil, salad dressing, chili oil, infused vinegar, massage oil, or homemade sauce, oil loves to hide in corners, under caps, around threads, and along the shoulder of the bottle where ordinary rinsing cannot reach.
The good news? You do not need a chemistry degree, a tiny cleaning wizard, or an expensive specialty product. Most oily bottles can be cleaned with simple household tools: hot water, grease-cutting dish soap, baking soda, white vinegar, a bottle brush, and a little patience. The trick is understanding what you are fighting. Oil does not dissolve in plain water, so rinsing alone usually just moves the grease around. You need a method that breaks up the oil, lifts residue from the surface, removes odor, and lets the bottle dry completely.
Below are three practical ways to clean an oily bottle, from everyday grease removal to deep deodorizing. Use the method that matches your bottle material and how stubborn the residue is. Glass bottles can usually handle warmer water and more scrubbing. Plastic bottles need gentler care because very hot water, harsh scrubbing, or strong odors can linger. For stainless steel or insulated bottles, always check the manufacturer’s care instructions before using vinegar, bleach, or the dishwasher.
Before You Start: Prep the Bottle the Right Way
Before choosing a cleaning method, take one minute to prepare the bottle. That tiny step can save ten minutes of frustrated shaking later.
Remove as Much Oil as Possible
If there is leftover oil in the bottle, do not pour it straight down the drain. Oil and grease can cling to pipes and contribute to clogs over time. Instead, pour usable oil into a storage container if you plan to keep it, or wipe small amounts into a paper towel and place it in the trash. For larger amounts, let the oil solidify if possible and dispose of it according to your local guidelines.
Take Apart the Cap, Spout, Gasket, or Pourer
The bottle itself may look like the main villain, but the cap is often the real troublemaker. Oil collects in screw threads, silicone seals, flip-top lids, pour spouts, and tiny air holes. If the bottle has removable parts, take them apart before washing. A clean bottle with a greasy cap is like wearing a tuxedo with muddy sneakers: technically improved, but still not ready for company.
Use Warm or Hot Water, Not Always Boiling Water
Hot water helps loosen oily residue, but boiling water is not always safe. It can warp some plastics, damage seals, loosen labels, or stress thin glass. For most bottles, very warm water from the tap is enough. If the bottle is heat-safe glass, hotter water may be useful, but avoid sudden temperature changes that could crack glass.
Method 1: Clean an Oily Bottle With Hot Water and Dish Soap
This is the best first method for most oily bottles. Dish soap is designed to cut grease, which makes it the obvious starting point. The key is to use enough soap, give it time to work, and create movement inside the bottle so the cleaning solution touches every greasy surface.
What You Need
- Very warm water
- Grease-cutting dish soap
- Bottle brush or long-handled dish brush
- Small brush or old clean toothbrush for the cap
- Drying rack or clean towel
Step-by-Step Instructions
First, rinse the bottle with warm water to loosen the surface oil. Add a few drops of dish soap directly into the bottle. If the bottle is large or extremely greasy, use a little more soap than you would for a drinking glass. Fill the bottle about halfway with very warm water, then close it tightly and shake it for 20 to 30 seconds.
Next, open the bottle carefully. Suds can build pressure, especially in narrow-neck containers. Scrub the inside with a bottle brush, paying special attention to the bottom, shoulder, and neck. These are the places where oil film loves to hang out like it is avoiding rent. Scrub the outside threads and the mouth of the bottle, too.
Wash the cap separately in warm, soapy water. Use a small brush to clean grooves, hinges, gaskets, and pour spouts. If the cap has a silicone ring, remove it if the design allows. Oil can sit underneath the ring and cause lingering smells.
Rinse everything thoroughly with warm water until no soap bubbles remain. Then hold the bottle up to the light. If you see streaks or rainbow-like patches, there is still oil inside. Repeat the dish soap wash once more before moving to a stronger method.
Best For
This method works well for fresh oil residue, olive oil bottles, salad dressing bottles, sauce jars, and water bottles that accidentally held a greasy drink or supplement mixture. It is also the safest daily cleaning routine for reusable bottles because it does not rely on strong cleaners.
Pro Tip: Let the Soap Sit
If the bottle is greasy but not grimy, fill it with warm soapy water and let it sit for 10 to 15 minutes before scrubbing. That short soak gives the soap time to break up the oil so you are not doing all the work with elbow grease. Your elbows have been through enough.
Method 2: Use Baking Soda for Sticky Oil Film and Odor
When dish soap removes the obvious grease but the bottle still smells like old salad dressing, baking soda is your next move. Baking soda is mildly abrasive when used as a paste and helpful for deodorizing. It is especially useful for bottles that held flavored oils, garlic oil, chili oil, nut oils, or anything with a strong aroma.
What You Need
- 1 to 2 tablespoons baking soda
- Warm water
- Dish soap
- Bottle brush
- Uncooked rice or coarse salt, optional for glass bottles
Step-by-Step Instructions
Start by washing the bottle once with dish soap and warm water. Baking soda works better after the heaviest oil has already been removed. Then add 1 to 2 tablespoons of baking soda to the bottle. Add a few drops of dish soap and enough warm water to fill the bottle about one-third to halfway.
Close the bottle and shake it well. The baking soda helps loosen residue while the soap breaks up grease. For a narrow-neck glass bottle that your brush cannot reach, add a tablespoon of uncooked rice or coarse salt before shaking. The grains act like tiny scrubbers, helping knock residue off the inside walls. Do not use this trick on delicate plastic, coated interiors, or bottles that scratch easily.
Let the mixture sit for 15 to 30 minutes. For heavy odors, you can let it sit longer, but do not forget about it for days. A bottle full of mystery sludge is not a cleaning strategy; it is a science fair project waiting to happen.
After soaking, scrub the inside with a bottle brush if possible. Scrub the cap with a baking soda paste made from baking soda and a small amount of water. Rinse thoroughly with warm water. If the bottle still smells oily, repeat the baking soda soak or follow with the vinegar method below.
Best For
This method is ideal for sticky oil film, old cooking oil residue, garlic or onion smells, chili oil stains, and bottles with narrow necks. It is also useful when the bottle looks clean but smells suspicious. You know the smell: not rotten, exactly, but definitely not “fresh mountain spring.”
When Not to Use Abrasive Add-Ins
Rice and salt are handy for glass oil bottles, but they are not right for every container. Avoid abrasive shaking in plastic bottles, painted bottles, insulated stainless steel bottles, or bottles with special interior coatings. Scratches can trap residue and make future cleaning harder.
Method 3: Finish With a Vinegar Rinse or Safe Sanitizing Step
Vinegar can help with lingering odors and mineral film, especially after the oil itself has been washed away. It is not a magic grease eraser by itself, so do not skip the dish soap step. Think of vinegar as the finishing crew, not the demolition team.
What You Need
- Distilled white vinegar
- Warm water
- Clean basin or sink
- Drying rack
Step-by-Step Vinegar Rinse
Wash the bottle first with dish soap or the baking soda method. Then mix equal parts white vinegar and warm water. Pour the mixture into the bottle, close it, and shake gently. Let it sit for 10 to 20 minutes. For a bottle with a stubborn smell, you can soak the cap and removable parts in the same solution.
After soaking, rinse the bottle thoroughly with warm water. Smell it after rinsing, not before. Vinegar has its own sharp scent, and judging the bottle too early may make you think the problem got worse. Once rinsed and dried, the vinegar smell usually fades.
Important Safety Rule: Never Mix Vinegar With Bleach
Vinegar and bleach should never be mixed. Combining acidic cleaners with bleach can create dangerous fumes. The same caution applies to bleach and ammonia. If you use vinegar, rinse the bottle thoroughly before using any other sanitizing product. When in doubt, choose one cleaning route, rinse well, and keep your kitchen chemistry boring. Boring chemistry is safe chemistry.
When Sanitizing Makes Sense
For a regular cooking oil bottle, cleaning is usually the main goal. However, if the bottle will hold food or drink again, has been stored for a long time, or had spoiled residue inside, sanitizing may be helpful after cleaning. Sanitizing works best only after visible oil and grime are removed. A sanitizer cannot do its job properly through a greasy film.
If you use a diluted bleach solution, use only unscented household bleach and follow the product label or public-health guidance for dilution. Never use bleach on bottles or caps if the manufacturer warns against it. After sanitizing, allow the bottle and parts to air dry completely. Do not towel-dry the inside with a questionable dish towel that has been living its best life near the sink since Tuesday.
How to Dry an Oily Bottle After Cleaning
Drying is not the glamorous part, but it matters. A damp bottle can develop musty odors, especially if the cap is screwed on too soon. Place the bottle upside down on a drying rack at a slight angle so air can circulate. If the neck is very narrow, turn it upright for part of the drying time so trapped moisture can evaporate.
Dry caps, gaskets, and pour spouts separately. Do not reassemble the bottle until every part is completely dry. If you store the bottle with the cap on while it is still damp, you may create the perfect little vacation resort for unpleasant smells.
Common Mistakes to Avoid When Cleaning an Oily Bottle
Using Only Cold Water
Cold water can make oil thicker and harder to remove. Warm water helps loosen grease and allows dish soap to work better. If the bottle material allows it, use very warm water for the first wash.
Skipping the Cap
If the bottle still smells oily after cleaning, check the cap. Caps and spouts often hold more residue than the bottle itself. A quick rinse is not enough for screw threads, seals, and pour inserts.
Adding Too Much Soap and Not Rinsing Enough
More soap can help with grease, but leftover soap can leave a slick feeling that mimics oil. Rinse until the water runs clear and the bottle no longer feels slippery.
Putting Every Bottle in the Dishwasher
Some bottles are dishwasher-safe, and some are absolutely not. Heat can warp plastic, damage insulation, loosen labels, or ruin caps. Check the care instructions before using the dishwasher, especially for reusable water bottles, insulated bottles, and decorative oil bottles.
Using Harsh Chemicals for Food Bottles
A bottle that will touch food or drink should be cleaned with food-safe methods. Avoid drain cleaners, strong solvents, scented bleach, and random garage chemicals. If a bottle held non-food oil such as motor oil, fuel, pesticide, or industrial chemicals, do not reuse it for food or drink.
Which Method Should You Choose?
For light oil, start with hot water and dish soap. For sticky film or smell, use baking soda with dish soap. For lingering odor or a final fresh rinse, use diluted vinegar after washing. If the bottle needs extra hygiene, clean first and then sanitize safely according to the bottle material and product directions.
Here is the simplest decision guide:
- Fresh cooking oil residue: Use dish soap and warm water.
- Old sticky oil: Use baking soda, dish soap, and a bottle brush.
- Narrow-neck glass bottle: Add uncooked rice or coarse salt for gentle agitation.
- Lingering smell: Use a vinegar rinse after washing.
- Food bottle after spoilage: Clean thoroughly, then sanitize if safe for the material.
- Plastic bottle with strong odor: Use baking soda first, then air dry for a long time.
Extra Experience: Real-Life Lessons From Cleaning Oily Bottles
Cleaning oily bottles sounds simple until you meet the bottle that refuses to cooperate. The most common example is the classic olive oil bottle with a narrow neck and a graceful shape that looks beautiful on the counter but seems designed by someone who has never washed anything by hand. You pour in soap and water, shake like you are auditioning for a kitchen percussion band, rinse, and still see a glossy film near the shoulder. That is when the baking soda and rice trick becomes useful. The rice reaches where the brush cannot, while the baking soda and soap help lift the grease. It is not fancy, but it works surprisingly well on glass.
Another real-world challenge is the salad dressing bottle. These bottles are oily, acidic, salty, and full of herbs that somehow find every corner. A quick rinse usually leaves behind a smell that says, “Italian vinaigrette was here.” For this type of bottle, the best routine is dish soap first, baking soda second, and vinegar only at the end if the smell remains. If you start with vinegar, you may freshen the odor a little, but the oily layer can still cling to the sides. Soap has to go first because grease needs a grease-cutting cleaner.
Plastic bottles bring their own drama. They can hold onto smells longer than glass, especially if they contained flavored oil, protein drinks with added fats, or sauce. Scrubbing too aggressively can scratch the surface, and scratches become tiny hiding spots for residue. For plastic, gentler is better: warm soapy water, a soft bottle brush, baking soda soak, and plenty of air-drying time. Sometimes the best deodorizer is simply leaving the clean bottle open overnight. Air is free, and unlike many cleaning hacks, it will not accidentally create a weird foam volcano in your sink.
Caps deserve special attention. In many cases, people clean the bottle perfectly and forget the cap, then wonder why the whole thing still smells oily. Flip-top caps, pour spouts, and silicone gaskets are especially sneaky. If the bottle has a removable gasket, take it out and wash underneath it. Use a small brush, warm soapy water, and patience. If a gasket is cracked, sticky, or permanently smelly, replacing it may be better than trying to rescue it forever. Not every kitchen item needs a redemption arc.
One practical habit makes future cleaning much easier: rinse oily bottles immediately after emptying them. Even if you do not have time for a full wash, add warm water and a drop of dish soap, shake, and let it sit until you can clean it properly. Fresh oil is much easier to remove than old oil that has thickened, oxidized, or mixed with spices. This is especially true for chili oil, garlic oil, and homemade dressings.
Finally, drying is often the step that separates a truly clean bottle from one that smells strange tomorrow. A bottle can look spotless and still develop odor if it is capped while damp. Let the bottle, cap, spout, and gasket dry separately. Give narrow-neck bottles extra time. When everything is completely dry, reassemble and store with the cap slightly loose if possible. It is a small habit, but it keeps clean bottles from turning into tiny sealed humidity caves.
Conclusion
Cleaning an oily bottle does not have to be a slippery battle of wills. Start with the simplest solution: very warm water, grease-cutting dish soap, and a bottle brush. If the oil film sticks around, bring in baking soda for extra cleaning power and odor control. If the bottle still smells off, finish with a diluted vinegar rinse, but never mix vinegar with bleach or other cleaning chemicals.
The best method depends on the bottle. Glass can usually handle stronger agitation, while plastic needs gentler cleaning and longer drying. Caps, gaskets, and spouts need just as much attention as the bottle itself. And once the bottle is clean, let every part air dry completely before storing it.
In short, the secret to cleaning an oily bottle is not one dramatic hack. It is a smart sequence: remove excess oil, wash with soap, scrub or shake, deodorize if needed, rinse well, and dry fully. Do that, and your bottle can go from greasy little troublemaker to fresh, reusable kitchen hero.