A handmade blanket sounds like the sort of project that requires a sewing machine, advanced fabric knowledge, and at least one dramatic argument with a bobbin. Fortunately, a no-sew fleece blanket skips all of that. With two pieces of soft fleece, a sharp cutting tool, and a series of simple knots, you can create a warm, reversible blanket that looks thoughtful without requiring a degree in textile engineering.
This easy no-sew fleece blanket is a practical project for beginners, families, teens, classroom groups, and anyone who would rather tie knots than thread needles. It also makes a cozy DIY gift for birthdays, holidays, graduations, housewarmings, care packages, and those mysterious occasions when someone says, “Please don’t buy me anything,” but clearly deserves something wonderful.
Why a No-Sew Fleece Blanket Is Such a Great DIY Gift
Fleece is unusually friendly to beginning crafters because its cut edges generally do not unravel like many woven fabrics. That means the edges can be trimmed, fringed, knotted, braided, or tucked without conventional hemming. Two coordinated layers create a reversible blanket with a soft, warm feel, while a single-layer version offers a lighter option for warmer climates, travel, or donation projects. Craft tutorials commonly recommend about 1.5 yards per layer for a child-sized throw and approximately 2 yards per layer for a larger teen or adult blanket.
The project is also wonderfully customizable. One side can feature dinosaurs, sports logos, flowers, woodland animals, stars, plaid, or a print that celebrates the recipient’s favorite hobby. The second side can be a coordinating solid that calms down the designor makes it louder, depending on whether your gift recipient prefers tasteful neutrals or believes hot pink is a lifestyle.
Good Occasions for Giving a Fleece Tie Blanket
A personalized fleece blanket works especially well as a Christmas gift, dorm-room accessory, movie-night throw, recovery gift, pet blanket, reading blanket, or addition to a winter care package. It can also be made as a community-service project. Organizations such as Project Linus publish specific fleece-blanket guidelines for volunteers creating handmade blankets for children, although makers should always check the requirements of their local chapter or chosen charity before starting.
Choosing the Best Fleece for Your Blanket
Anti-Pill Fleece
Anti-pill fleece is one of the most dependable choices for a frequently used DIY blanket. It is designed to resist the tiny fuzzy balls that may develop on a fabric’s surface after repeated rubbing and washing. It usually feels smooth, soft, and substantial without becoming excessively heavy.
Polar or Performance Fleece
Polar-style fleece is often made from polyester and is valued for warmth, softness, quick drying, slight stretch, and relatively low weight. Higher-quality pill-resistant versions can create durable blankets, although premium performance fleece may cost more than basic craft fleece.
Plush or Luxe Fleece
Extra-plush fleece feels wonderfully luxurious, but two layers can become bulky and difficult to knot. If the fabric resembles a small cloud and has enough loft to conceal a house key, consider using it as a single layer or selecting a less bulky backing.
Should You Mix Different Types of Fleece?
Using two fabrics with similar weight and stretch usually produces the neatest result. If one layer stretches dramatically while the other barely moves, the edges may shift during cutting and the finished blanket may pucker. Lay the fabrics together before purchasing when possible, and compare how they behave when gently stretched.
How Much Fleece Do You Need?
Fleece is commonly sold in widths of roughly 50 to 60 inches, although the exact usable width varies. Always check the fabric description and measure after removing the selvage edges. The following amounts are practical starting points for a two-layer blanket:
- Small pet or lap blanket: 1 yard of each fleece design
- Child-sized blanket: 1.5 yards of each design
- Teen or adult throw: 2 yards of each design
- Extra-long couch blanket: 2.25 to 2.5 yards of each design
Remember that cutting fringe changes the blanket’s usable center area. If you start with fabric measuring approximately 60 by 72 inches and cut 5-inch fringe around all four sides, the flat center will measure roughly 50 by 62 inches. The fringe still extends beyond the center, but it does not provide the same smooth coverage as the main portion of the blanket.
Supplies for an Easy No-Sew Fleece Blanket
- Two coordinating pieces of fleece in matching sizes and similar weights
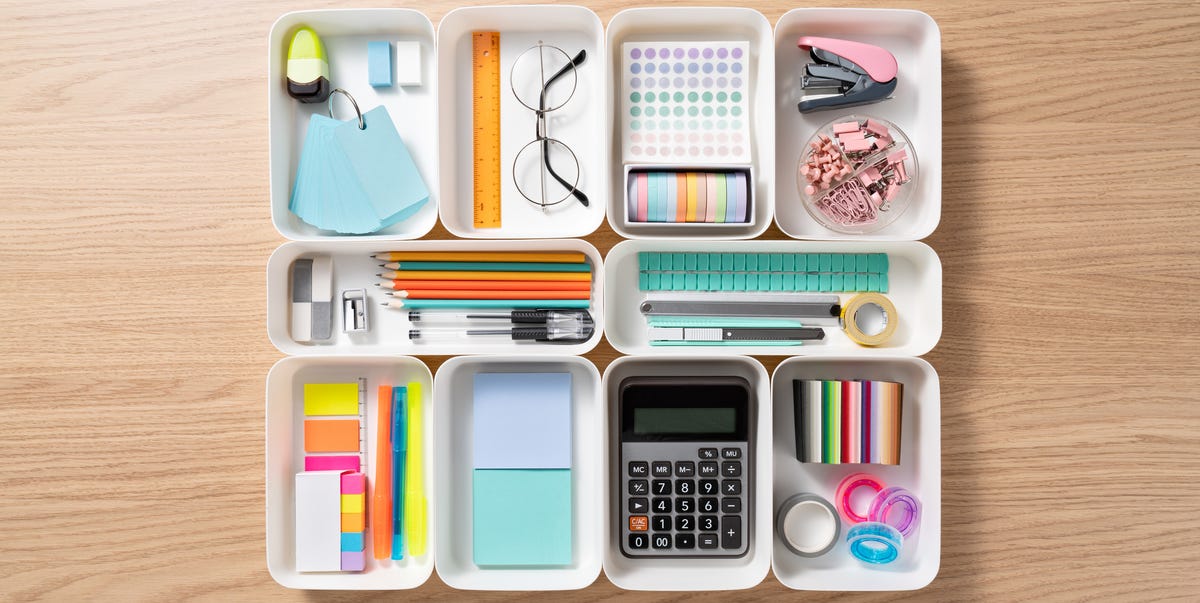
- Sharp fabric scissors or a rotary cutter
- A large self-healing cutting mat if using a rotary cutter
- A long ruler or acrylic quilting ruler
- A 4- or 5-inch cardboard square for a corner template
- Masking tape or painter’s tape
- Fabric clips, safety pins, or a few heavy objects to limit shifting
- A large table, clean floor, or other flat work surface
A rotary cutter can make long cuts faster, but it should always be used on a suitable cutting mat. Self-healing mats protect the table underneath and often include measurement grids that help keep cuts straight. Lock or cover the rotary blade whenever it is not actively being used, and have an adult handle all sharp tools when children participate.
How to Make a No-Sew Fleece Blanket Step by Step
Step 1: Prepare the Fabric
Check the care instructions before beginning. Some makers prefer to wash and dry the fleece first, particularly when the blanket will be given immediately or used by someone with pets or allergies. Others work with the fabric directly from the store because polyester fleece usually changes less than many natural fabrics. Either method is reasonable as long as both layers receive the same treatment.
Spread the fleece flat and remove stickers, loose threads, and visibly damaged areas. Trim away the selvage, which may feel stiffer, have small holes, contain printed words, or differ in texture from the rest of the material.
Step 2: Align the Two Layers
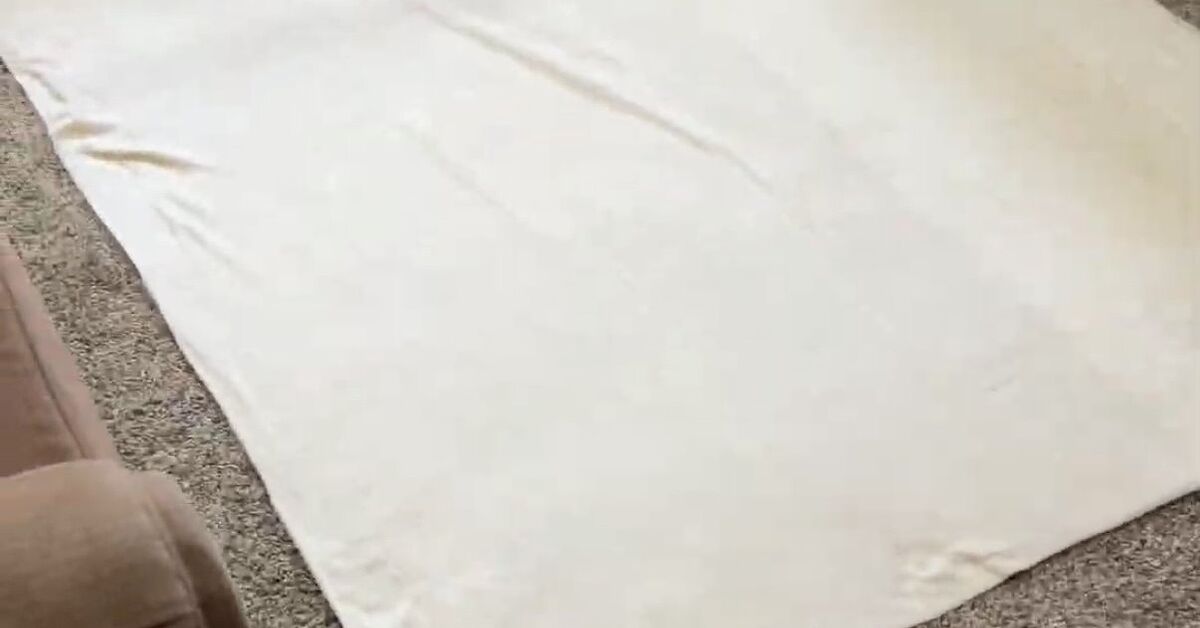
Place the fleece pieces together with the sides you want visible facing outward. For a printed fabric, the brighter or more clearly defined side is generally the front. Smooth the layers from the middle toward the edges, removing ripples without aggressively stretching the fleece.
Match the direction of greatest stretch in both layers. Trim the pieces together so they form one even rectangle. A perfectly square blanket is optional; matching edges are not. One layer wandering two inches beyond the other will eventually create fringe that looks as though it was cut during turbulence.
Step 3: Cut Squares from the Corners
For a classic two-layer tied blanket, cut a 5-by-5-inch square through both layers at every corner. A 4-inch square can be used for shorter fringe or a lighter single-layer blanket. The size of each corner square should match the planned fringe depth.
A cardboard template makes this step faster and more consistent. Place it in each corner, trace lightly if needed, and cut through both layers. Clean corner cuts prevent the fringe from colliding awkwardly where the sides meet.
Step 4: Mark the Fringe Depth
Run a strip of painter’s tape across the fabric 5 inches from one edge. The tape becomes a visible stopping line and helps prevent accidental cuts into the blanket’s center. Mark 1-inch intervals directly on the tape rather than drawing all over the fleece.
Step 5: Cut the Fringe
Cut from the outside edge toward the tape at every 1-inch mark, slicing through both layers at once. Try to keep each cut straight and stop at the tape. Continue along one side, move the tape to the next edge, and repeat until all four sides have fringe.
Fringe measuring about 1 inch wide and 4 to 5 inches long is easy to handle and sturdy enough for most blankets. Very narrow strips may stretch, curl, or tear. Extremely wide strips create oversized knots that can feel like a row of potatoes around the blanket.
Step 6: Tie the Layers Together
Separate the top and bottom strips in the first fringe pair. Tie them together with a square knot: cross the top strip over the bottom strip and tie, then reverse the direction for the second half of the knot. Pull until the knot is secure, but do not yank it tightly against the blanket’s body.
Continue around the blanket, tying one matched pair at a time. Some makers prefer a single balloon-style knot made with both layers together because it lies flatter and displays the contrasting backing. Either approach can work; consistency matters more than choosing the “official” knot.
Step 7: Inspect and Adjust
Spread the completed blanket on a flat surface. If the edges pull inward or the center looks wavy, one or more knots are probably too tight. Loosen and retie them until the blanket lies smoothly. Trim any obviously uneven fringe, but resist the urge to chase microscopic differences. This is a blanket, not a spacecraft component.
Common No-Sew Blanket Mistakes
Cutting Before the Layers Are Even
Misaligned layers create unmatched fringe strips. Smooth, clip, and trim the fleece before cutting any corners.
Using Dull Household Scissors
Dull scissors fold and chew the fleece instead of slicing it. Sharp fabric scissors reduce hand fatigue and produce cleaner fringe.
Pulling Every Knot Too Tight
Overtightened knots gather the blanket and turn a rectangle into a giant fabric bowl. Secure knots are enough; they do not need to survive reentry into Earth’s atmosphere.
Making the Fringe Too Short
Short strips are harder to knot and more likely to pull apart. Four to five inches gives most hands enough fabric to work comfortably.
Ignoring the Pattern Direction
Before cutting, check that directional prints face the same way. Upside-down reindeer remain reindeer, but they may appear to be having a difficult holiday season.
Creative Ways to Personalize the Blanket
The simplest personalization method is choosing fabric that reflects the recipient. Consider school colors for a graduate, paw prints for a pet lover, constellations for an astronomy fan, or a calm botanical pattern for someone creating a cozy reading corner.
You can also roll the finished blanket and secure it with a wide ribbon, reusable fabric strip, or luggage-style gift tag. Add hot cocoa, tea, popcorn, fuzzy socks, or a paperback novel to create a themed comfort basket. For a movie-night gift, combine the blanket with snacks and a handwritten “admit two” coupon. The coupon has no legal authority, but it does make the popcorn look organized.
Alternative no-sew edges include braided, slit-and-tuck, fringed, and bow-style finishes. These variations can create a flatter border for recipients who dislike bulky knots. Follow the measurements for the specific edge style, since some techniques require longer or differently shaped tabs.
How to Wash and Care for a Fleece Blanket
Always keep the fabric’s original care instructions when possible. As a general approach, fleece blankets are commonly washed on a gentle cycle with cold water. If the care label permits machine drying, use low or no heat to reduce the risk of heat damage. Air drying is another practical option.
Before washing, check for loose knots, tears, or stains. Pretreat spills gently and avoid overloading the washer. Large blankets need enough room to move without becoming a soggy fleece boulder that sends the machine into an interpretive dance routine.
Safety note: A small fleece blanket may be given to parents for supervised cuddling, stroller use, or later childhood, but loose blankets should not be placed in an infant’s sleep space. The U.S. Consumer Product Safety Commission recommends a bare crib, bassinet, or play yard with no pillows, loose blankets, or toys around a sleeping baby.
My Experience Making No-Sew Fleece Blankets
The first lesson I learned from making a fleece tie blanket was that “no sew” does not mean “no measuring.” I originally assumed I could stack two pieces of fleece, wave a pair of scissors in their general direction, and somehow produce a charming handmade gift. The fleece had other plans.
My first layers were not aligned properly. I smoothed one side, walked around the table, and discovered the opposite side had shifted like a tectonic plate. Once I began cutting, several fringe pairs no longer matched. I could still tie them, but the finished edge looked slightly confused. On the next blanket, I clipped the corners, placed a few clean books near the center, and trimmed both layers together. The difference was immediate. The fringe lined up, the corners looked sharper, and my blood pressure remained within a more festive range.
I also learned that sharp scissors matter more than fancy supplies. With an ordinary pair of kitchen scissors, cutting two layers of fleece became an unexpected forearm workout. The edges looked jagged, and each strip required several small bites. Switching to proper fabric shears made the cuts smoother and much faster. A rotary cutter was even more efficient for trimming long edges, but I found scissors easier to control when cutting individual fringe strips.
The most important discovery involved knot tension. During my first attempt, I pulled every knot as tightly as possible because I wanted the blanket to be durable. When I spread it out, the sides curled inward and the center puffed up. It resembled a fabric serving tray. I had to loosen dozens of knots and retie them with gentler tension. Since then, I check the blanket after completing each side. That small pause catches puckering before it becomes a four-sided problem.
Choosing fabric for another person is the most enjoyable part. A coordinated print and solid usually looks polished, but matching the pattern to the recipient makes the gift memorable. A space print for a child fascinated by planets feels more personal than a generic store-bought throw. A neutral plaid paired with dark green can suit an adult living room. For pet blankets, playful paw prints are nearly mandatory, because dogs are known for carefully evaluating interior-design themes.
I have also found that the project works better when it is not rushed. The instructions are simple, yet repetitive cutting can cause hand fatigue. Taking a short break between sides improves accuracy. Music or a familiar movie helps, provided the movie is not so interesting that one suddenly cuts a seven-inch fringe while watching the dramatic ending.
Finally, presentation transforms the finished blanket from a craft project into a gift. I like to wash it according to the fabric instructions, inspect every knot, fold it neatly, and roll it with the patterned side facing outward. A ribbon and handwritten care tag make the blanket feel complete. The result is useful, warm, and personalthree qualities that are surprisingly difficult to fit inside an ordinary gift bag.
A Cozy Project Worth Trying
An easy no-sew fleece blanket delivers the satisfaction of making something by hand without requiring complicated equipment or sewing experience. Careful alignment, sharp tools, even fringe, and relaxed knots are the keys to a smooth result. Once you understand the basic method, you can adjust the size, colors, edge finish, and gift presentation for almost anyone.
It may not be an heirloom quilt assembled from 4,000 microscopic fabric pieces, but it will keep someone warmand it can be completed before you lose the tiny motivation required to begin. In the world of handmade gifts, that combination is difficult to beat.