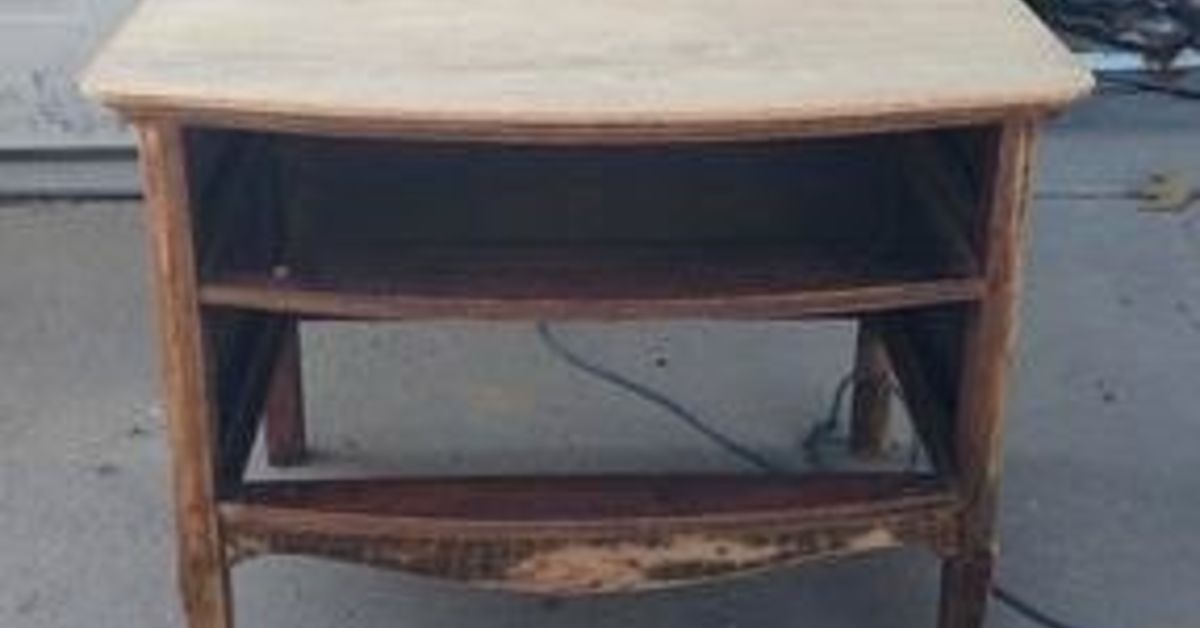
An old chest does not need to become a museum pieceor firewood. With careful preparation, a restrained pink palette, and respect for the furniture’s original character, it can become something far more useful: a practical storage piece that looks as though it has lived in a cheerful Nordic cottage for generations.
When an Antique Chest Meets Scandinavian Pink
The phrase antique chest in Scandinavian pink brings together two ideas that might initially seem incompatible. Antique furniture is associated with dark wood, aged brass, carved details, and the faint aroma of somebody else’s attic. Scandinavian interiors, meanwhile, are known for simplicity, natural materials, functional forms, and light-filled rooms.
Scandinavian pink creates the bridge. It is not bubblegum pink, neon fuchsia, or the sort of color that makes a dresser look like an enormous piece of candy. It is a quiet, dusty blush with warm gray, beige, clay, or peach undertones. Used thoughtfully, it behaves almost like a neutral. Soft pastel accents are commonly paired with pale wood, white walls, natural fibers, and streamlined forms in Scandinavian-inspired rooms.
On an old chest, this muted shade can soften heavy proportions without erasing the evidence of age. Rounded corners, worn drawer edges, imperfect joints, and old hardware suddenly feel intentional rather than tired. The result is not a brand-new piece pretending to be old. It is an old piece beginning a more colorful chapter.
First Decide Whether the Chest Should Be Painted
Before reaching for a paintbrush, determine what you actually own. Some pieces are excellent candidates for creative furniture upcycling. Others have historic, artistic, or financial significance that could be reduced by an aggressive makeover.
Look for Signs of Historical or Monetary Value
Inspect the back, underside, drawer interiors, hardware, and joints. Hand-cut dovetails, an identifiable maker’s mark, unusual veneer, original hand painting, period hardware, or a well-preserved early finish may justify an appraisal. Historic finishes are part of an object’s story, and relatively few old furniture pieces retain completely untouched original surfaces. Conservation professionals therefore favor minimal intervention when important finishes survive.
If the chest is rare, documented, inherited with meaningful provenance, or potentially valuable, consult an appraiser or furniture conservator before painting. A reversible repair may be appropriate; a belt sander enthusiastically removing two centuries of evidence is usually not.
Good Candidates for a Scandinavian Pink Makeover
A chest is generally more suitable for painting when its original finish is already badly compromised, it has mismatched repairs, its veneer is inexpensive and extensively damaged, or it is a common mass-produced piece with little collectible value. Painting can also unify replacement parts that would otherwise stand out.
The goal is not to make every imperfection disappear. Scandinavian style benefits from visual calm, but an antique chest should still look old enough to have opinions.
What Scandinavian Pink Actually Looks Like
There is no single standardized paint color called Scandinavian pink. The term generally describes a family of pale, muted pinks influenced by Nordic minimalism, Danish pastel interiors, weathered architectural colors, and natural pigments.
Choose a Muted Undertone
Look for a pink containing one or more of the following undertones:
- Warm gray for a sophisticated, slightly weathered effect
- Beige or putty for a soft neutral appearance
- Clay or terracotta for rustic Scandinavian warmth
- Peach for a sunnier, cottage-inspired finish
- Dusty rose for a more traditional antique character
Muted pink gained popularity partly because it can function as a “non-neutral neutral”distinctive enough to add personality but restrained enough to sit beside wood, linen, stone, black metal, and cream-colored walls.
Test the Color in the Actual Room
Never choose the final shade from a phone screen alone. Digital colors vary, and pink is especially sensitive to lighting. A sample that appears elegantly dusty under afternoon daylight may turn peachy under warm bulbs or slightly lavender in a north-facing room.
Paint sample boards and place them beside the chest for at least a full day. View them in morning light, evening light, and artificial light. The correct Scandinavian pink should feel calm beside the room’s flooring, walls, and textiles rather than looking as though it arrived from a completely different decorating argument.
Safety Before Sanding an Old Chest
Old furniture can contain lead-based paint or later layers applied during periods when lead pigments were widely used. Sanding, scraping, or heating questionable coatings can release contaminated dust or fumes. The U.S. Environmental Protection Agency specifically identifies refinishing old furniture as an activity that can expose people to lead, while the Consumer Product Safety Commission notes that furniture produced before 1978 is more likely to present lead-paint concerns.
Use an appropriate lead test or professional testing service before disturbing old paint. If lead is detectedor if the finish is unstable and its composition is unknownavoid casual dry sanding. Keep children and pets away from the work zone, control dust, use suitable protective equipment, and follow current lead-safe procedures. A charming pink chest is not worth turning the workshop into a hazardous snow globe.
Tools and Materials for the Project
A successful furniture makeover depends more on preparation than on collecting a heroic number of products. A practical supply list includes:
- Screwdrivers and labeled bags for hardware
- Vacuum with a soft brush attachment
- Lint-free cloths and a gentle cleaner
- Wood glue, clamps, and minor repair materials
- Fine sanding sponge or appropriate abrasive
- Stain-blocking or adhesion primer when required
- Muted pink furniture paint
- Quality synthetic brush and small foam or microfiber roller
- Clear water-based topcoat, furniture wax, or another compatible sealer
- Protective gloves, eye protection, and respiratory protection appropriate to the work
Chalk-style paint can create a controlled matte finish, while traditional milk paint can produce more natural variation, chipping, and an authentically aged patina. Milk paint and chalk-style paint are related in appearance but behave differently, so the best choice depends on whether you want refinement or unpredictable rustic charm.
How to Refinish an Antique Chest in Scandinavian Pink
Step 1: Document the Chest
Photograph the front, back, sides, top, feet, hardware, and drawer arrangement. Record labels, markings, and unusual construction details. Documentation helps you reassemble the chest correctly and preserves information that might otherwise disappear during cleaning or repair.
Step 2: Remove Drawers and Hardware
Number the drawers discreetly because handmade or heavily worn drawers may only fit smoothly in their original openings. Place each knob, screw, escutcheon, and keyhole plate in a labeled container.
Do not automatically replace antique hardware. Original pulls provide scale, age, and contrast. Even mismatched hardware can look charming once cleaned and arranged deliberately.
Step 3: Clean Gently
Begin with dry cleaning. Vacuum dust from corners, drawer cavities, and joints using a soft attachment. Test any liquid cleaner in an inconspicuous area and use as little moisture as possible.
Museum-care guidance warns that well-intentioned cleaning and polishing can damage historic furniture. If the chest may retain an original wax, painted decoration, gilding, or fragile finish, stop and seek professional advice rather than experimenting with strong cleaners.
Step 4: Repair Structure Before Appearance
Fix loose joints, unstable feet, detached drawer runners, lifting veneer, and missing stops before painting. Paint does not strengthen a weak carcass. It merely gives the wobble a more attractive color.
Use repairs appropriate to the original construction. Avoid filling every crack simply because a crack exists. Stable age-related checking can remain visible, while loose veneer and structural splits should receive careful attention.
Step 5: Prepare the Surface
If the existing coating is stable and safe to disturb, lightly scuff glossy areas so the primer can grip. The intention is to dull the sheen, not erase every layer beneath it. Remove sanding residue thoroughly.
Heavy stripping should be reserved for situations in which the old coating is failing, incompatible, unsafe to encapsulate, or aesthetically impossible to retain. Complete stripping is a major intervention and can damage veneer, softened glue, delicate moldings, and surviving historical finish.
Step 6: Prime When Necessary
Primer is especially useful over glossy finishes, bare patches, repairs, laminate components, tannin-rich wood, or surfaces likely to bleed through pale paint. Adhesion primers improve bonding, while stain-blocking formulas help prevent old dyes, knots, and discoloration from migrating into the pink topcoat. Furniture-painting guidance consistently emphasizes choosing primer according to the underlying material and condition.
Step 7: Apply Thin Coats of Pink
Stir the paint thoroughly. Brush carved details, corners, and edges first, then roll broad flat areas if a smoother finish is desired. Apply two or three thin coats rather than one thick coat. Thick paint collects around moldings, rounds over crisp details, and creates drips with impressive determination.
Let each layer dry according to the manufacturer’s directions. Lightly smooth dust nibs between coats when the product allows it. Keep the drawer sides mostly unpainted unless their construction and clearance permit coating; extra paint can cause drawers to bind.
Step 8: Create Controlled Age
For a naturally worn effect, distress only places that would receive real contact: drawer edges, corners, handles, feet, and raised moldings. Randomly sanding a perfect circle in the center of a drawer front rarely looks historical. It looks like the furniture had a close encounter with an orbital sander.
A subtle layered effect can be created by allowing a warm cream, putty, or muted coral undercoat to show through the pink. Milk paint can produce irregular chipping, while chalk-style finishes can be sanded more predictably.
Step 9: Protect the Finish
Choose a sealer compatible with the paint and intended use. Wax creates a soft, low-sheen surface but requires occasional maintenance. A clear water-based topcoat generally provides stronger protection for a hardworking chest and is less likely than some oil-based finishes to add amber coloration over pale pink.
Allow the finish to cure fully before placing heavy objects on top or loading drawers. Dry paint can still be soft paint. Decorative patience is cheaper than repairing a lamp-shaped impression in the top.
Hardware That Complements Scandinavian Pink
Hardware determines whether the finished chest feels rustic, refined, playful, or modern. Whenever possible, preserve usable original pieces.
Aged Brass
Warm brass contrasts beautifully with dusty pink and suits traditional chests. Clean it conservatively rather than polishing every trace of patina away.
Matte Black
Simple black knobs or pulls sharpen the silhouette and create a more contemporary Scandinavian effect. Black works particularly well when repeated in picture frames, lamps, or chair legs elsewhere in the room.
Pale Wood
Oak, beech, ash, or birch knobs bring natural warmth and reinforce a Nordic palette. This option is helpful when the chest will stand beside pale flooring or woven baskets.
Porcelain or Painted Wood
Small cream, floral, or hand-painted knobs can give the piece a Swedish country character. Use them sparingly. Twelve competing patterns can make a chest look less Scandinavian and more like a knob store suffered an explosion.
How to Style the Finished Pink Chest
An antique chest painted Scandinavian pink works best when its surroundings remain relatively simple. Let the color provide personality while natural textures keep the room grounded.
In a Bedroom
Pair the chest with white or oatmeal bedding, a wool throw, pale wood, and a small black reading lamp. Add one ceramic vase or framed botanical print rather than covering the top with numerous decorative objects.
In an Entryway
Use the chest for gloves, scarves, shopping bags, and other items that otherwise form a small mountain near the door. A round mirror, woven runner, and understated table lamp create a welcoming arrangement.
In a Nursery or Child’s Room
Anchor tall or top-heavy furniture securely to the wall and ensure the coating is fully cured. Keep peeling historic paint inaccessible, especially where children may touch or chew surfaces. Soft pink can grow with the room when paired with neutral walls and changeable textiles rather than an all-pink theme.
In a Living Room
Allow the chest to function as a storage console. Style it with a restrained mix of old and new: perhaps a modern lamp, an antique mirror, a stack of books, and one leafy plant. Scandinavian design is not about owning nothing; it is about preventing every possession from shouting at the same time.
Mistakes That Can Ruin the Result
- Painting before checking value: A trendy finish is reversible only in theory when removal damages the original surface.
- Skipping lead precautions: Unknown old paint should never be treated like harmless modern latex.
- Using aggressive cleaning products: Solvents and strong degreasers may dissolve shellac, wax, paint, or decorative coatings.
- Ignoring repairs: Loose joints will remain loose beneath beautiful paint.
- Choosing a pink that is too saturated: Scandinavian pink should usually feel muted and architectural.
- Applying thick coats: Heavy paint hides carving, catches dust, and remains soft longer.
- Over-distressing: Wear should follow believable patterns.
- Reinstalling hardware too soon: Screws and backplates can twist or mark paint that has not cured.
Project Experience: What the Process Teaches You
Working on an antique chest is rarely a smooth sequence of cleaning, painting, and posting a glamorous photograph. The piece usually begins negotiating the moment its drawers are removed. One drawer sticks. Another slides perfectly until the weather changes. A third appears to have been repaired in 1947 by someone equipped with three nails and limitless confidence.
The most useful lesson is to slow down during the first inspection. It is tempting to focus immediately on color, but structural clues reveal how the chest has survived. A dark line may be a harmless age crack, while a nearly invisible separation at a foot may affect the stability of the entire case. Numbering the drawers also seems unnecessarily fussy until two almost identical drawers refuse to trade places.
Cleaning often produces the biggest surprise. Beneath dull grime, the wood trim may be warmer, the brass more detailed, and the old repairs more interesting than expected. This is the point when the original makeover plan frequently changes. Instead of painting every surface, you may decide to preserve the top, leave drawer interiors natural, or retain a worn strip of wood around the base. The project becomes a conversation with the furniture rather than a hostile takeover.
Choosing the pink is another exercise in humility. A sample described as “subtle blush” can look like salmon mousse under warm workshop bulbs. A cooler dusty rose may appear perfect indoors but become lavender near a bright window. Testing large samples beside the actual floor and wall saves both paint and emotional speeches.
Application rewards thin coats and punishes impatience. The first coat often looks streaky and discouraging. That does not mean the color is wrong. It means it is the first coat. By the second or third layer, the surface begins to look quiet and cohesive. Small brush marks may remain, especially on hand-built furniture, but a perfectly sprayed factory finish is not always desirable. Slight texture helps the new color belong to an old object.
Distressing is the moment most likely to get out of control. The first softly worn corner looks convincing, so the natural response is to distress another corner, then every edge, then perhaps areas no human hand could reasonably have touched. Stopping early is usually the better decision. Authentic wear is uneven and selective.
Reinstalling the hardware transforms the project. Before the pulls return, the chest may resemble a large pink box. Once aged brass, black iron, or pale wood knobs are attached, its proportions make sense again. Hardware acts like punctuation: small, necessary, and capable of changing the tone of the entire statement.
The final experience is not simply satisfaction with a new color. It is the realization that restoration and reinvention do not have to be enemies. A thoughtful makeover can preserve old construction, visible age, and useful function while making the chest relevant to a contemporary home. The piece still carries its dents, irregular drawers, and mysterious past repairs. It simply carries them in Scandinavian pink.
Conclusion
An antique chest in Scandinavian pink can balance history, utility, and modern color without becoming overly precious or aggressively trendy. The most successful transformation begins with identification and safety, continues through restrained repairs and careful preparation, and ends with a muted pink that complements rather than buries the chest’s character.
Preserve significant finishes when possible, test for hazardous old coatings, repair structure before decorating, and let genuine age remain visible. Paired with natural wood, aged brass, linen, wool, ceramics, and simple surroundings, Scandinavian pink gives a heavy antique chest an unexpectedly light presence. It is proof that old furniture does not always need to look serious to be respected.