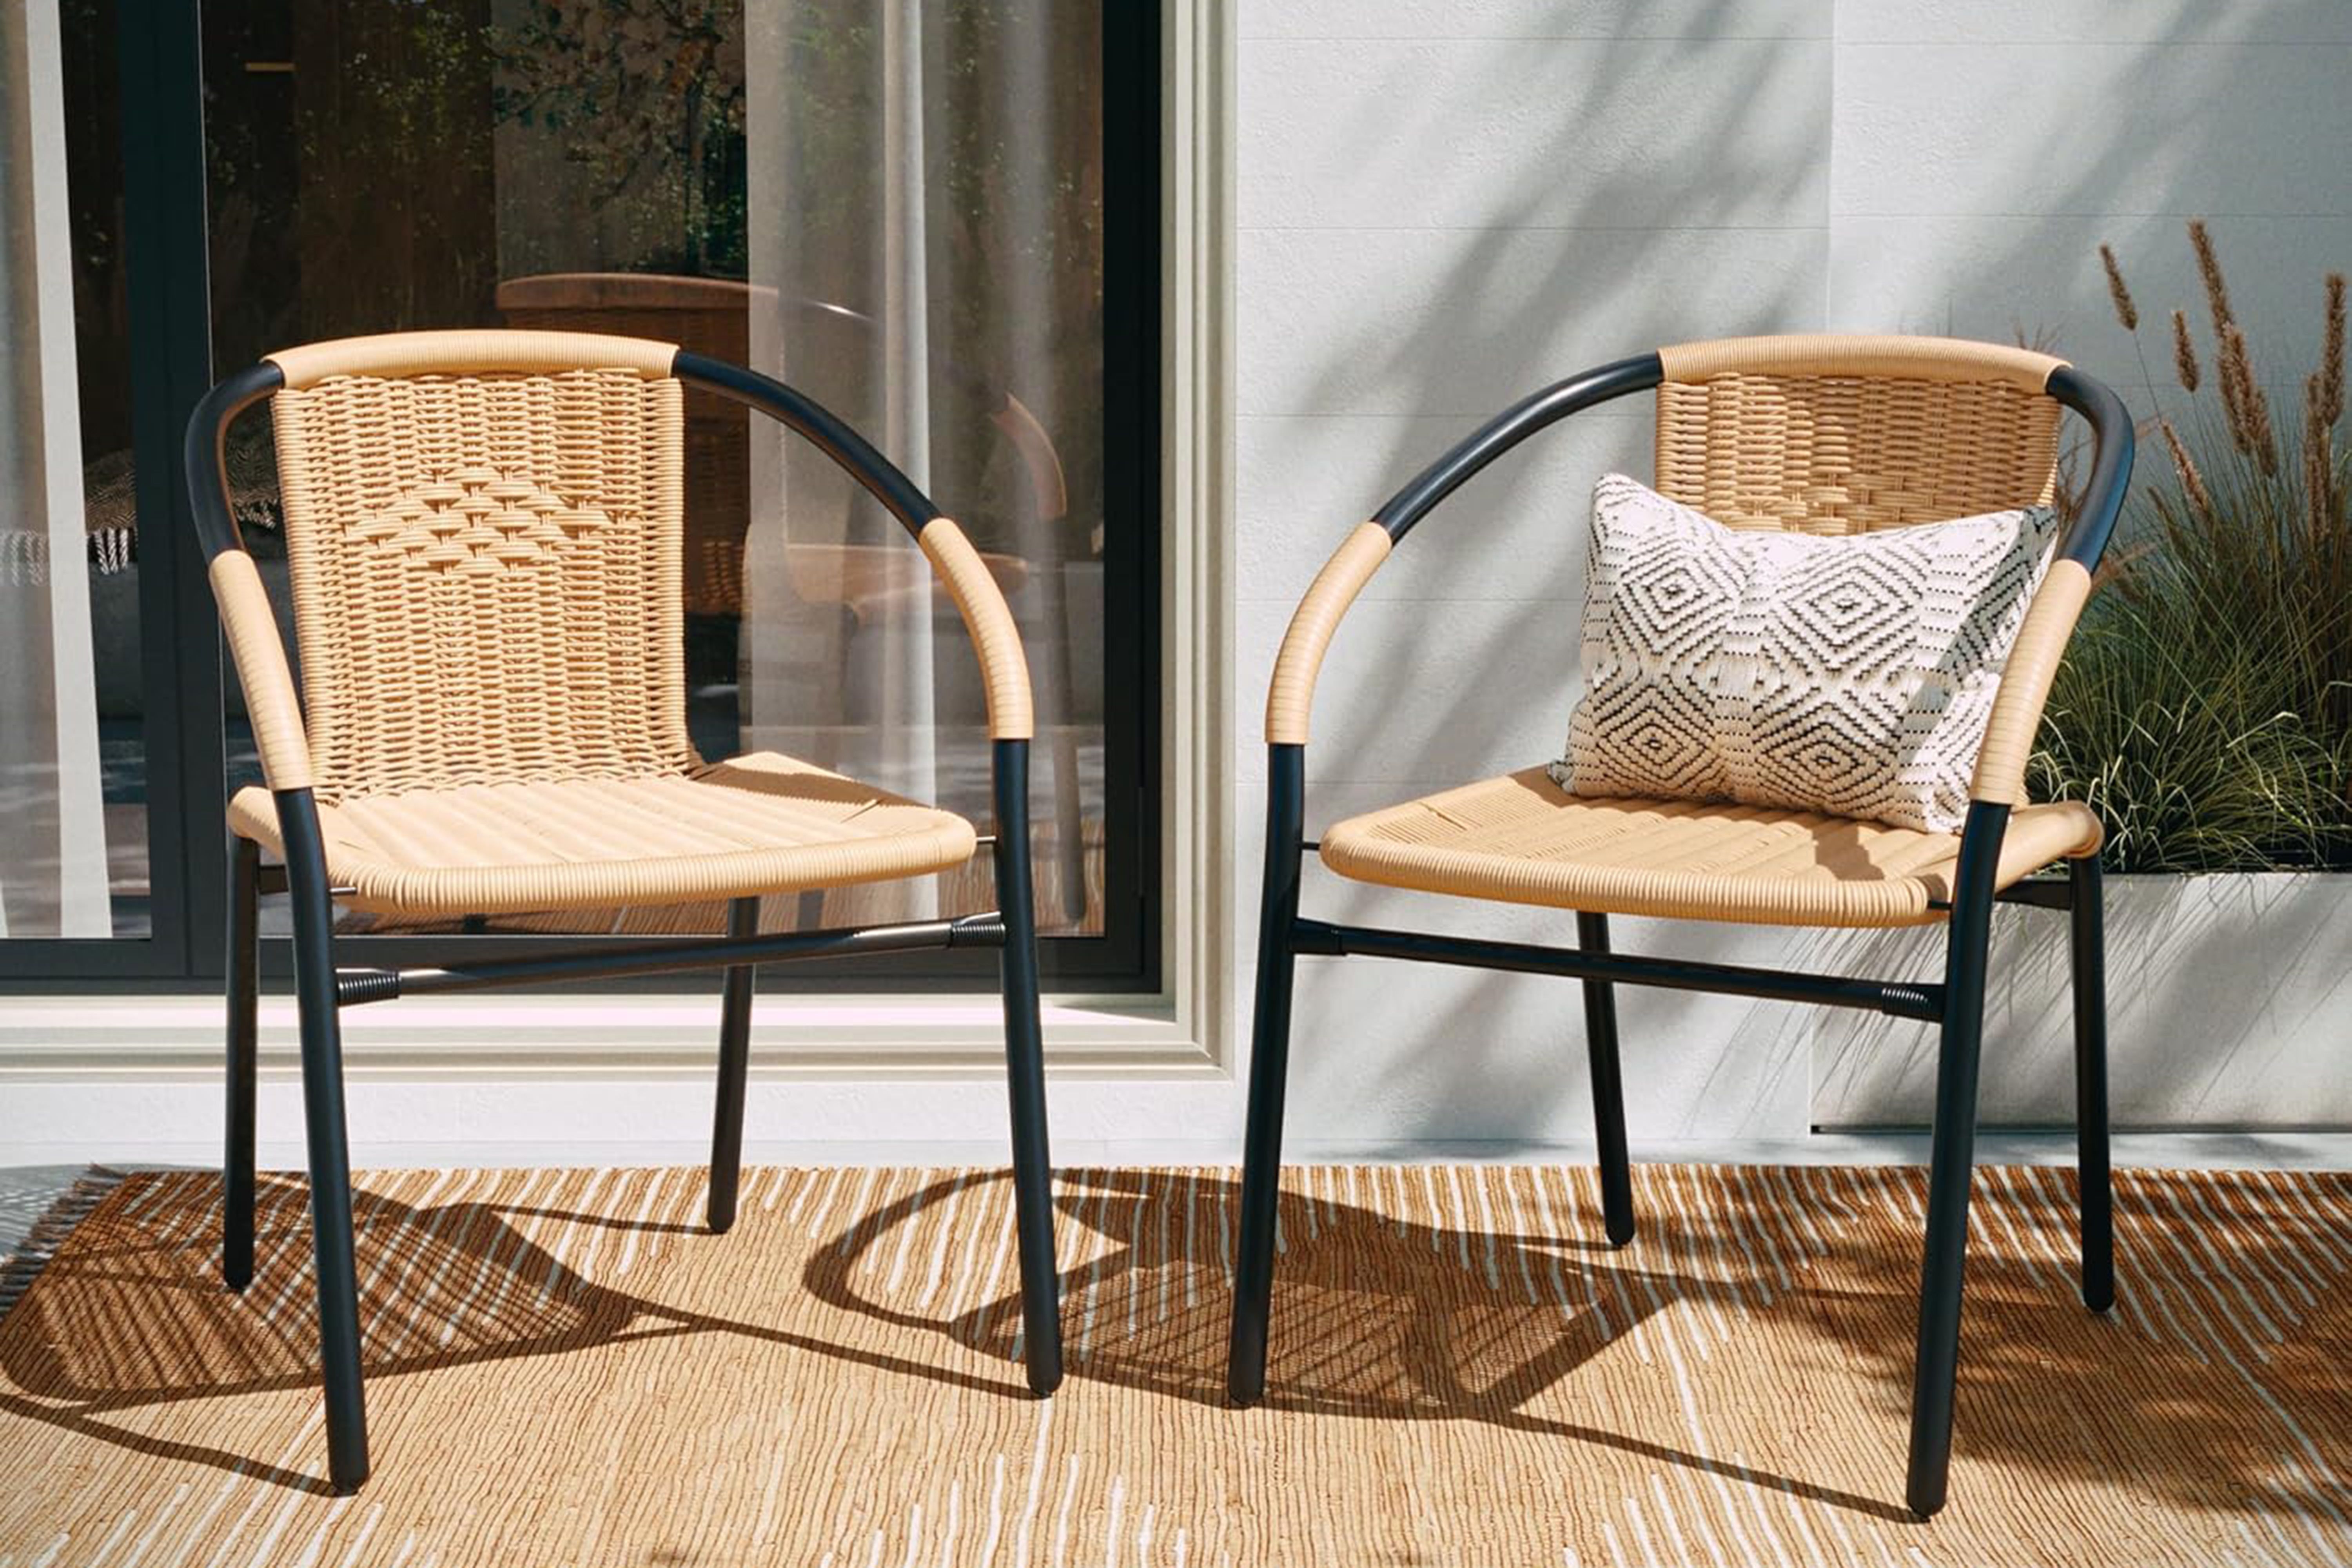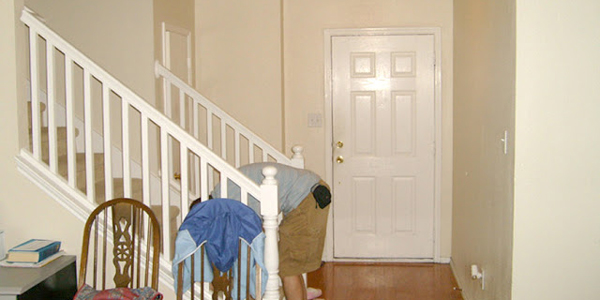
The entryway is the handshake of a house. It welcomes guests, catches muddy shoes, receives packages, stores keys, and quietly announces whether the rest of the home is calm, colorful, classic, or currently losing a battle with backpacks. Yet many builder-grade entries are narrow, dim, undefined, and aggressively ordinary.
Good entry remodel plans solve those problems in the right order. They improve circulation before adding furniture, bring in light before choosing dramatic paint, and create storage for real household habits rather than an imaginary family that owns one tasteful coat. Whether the project involves a new door, wider opening, redesigned staircase, or strategic cosmetic upgrades, the goal is simple: make arriving home easier.
Start With the Problems, Not the Pretty Pictures
Inspiration photos are useful, but they can tempt homeowners to begin with wallpaper while ignoring the fact that the front door collides with the console. Before selecting finishes, study how the entry behaves during an ordinary week.
Perform an Entryway Traffic Audit
Notice where people pause, what they drop, and what blocks movement. Does the door open into a staircase? Do guests step directly into the living room? Is there room for two people to remove shoes without performing an awkward hallway tango? Mark clutter and bottlenecks on a sketch.
Measure the door swing, hallway width, stair footprint, walls, ceiling, outlets, switches, vents, and trim. A narrow table that looks perfect online may become an expensive shin trap in a tight foyer.
Write Measurable Remodel Goals
Replace “make it nicer” with specific outcomes: open the sightline, add natural light without losing privacy, create storage for four people, improve stair safety, or define the foyer without building a full wall. Rank each goal as essential, desirable, or optional so the budget remains focused.
Develop Several Entry Remodel Plans
The first drawing should not be treated as sacred architecture delivered on stone tablets. Entryways connect doors, halls, stairs, and living spaces, so small adjustments can have surprising consequences. Develop at least three concepts before demolition.
Option One: Improve the Existing Footprint
The lowest-risk plan keeps walls and stairs in place while upgrading lighting, paint, flooring, hardware, and storage. A shallow console, wall shelf, narrow bench, mirror, hooks, and closed shoe cabinet can transform a plain passage without structural work.
Option Two: Define an Open Entry
An open home may lack a visual pause between the door and living area. Definition can come from an arched opening, ceiling treatment, paneling, a flooring border, a substantial pendant, or a partial divider. A rug can also establish the zone, provided it stays outside the door swing and has a nonslip pad.
Option Three: Change the Architecture
A more ambitious plan might relocate newel posts, rebuild a railing, widen an opening, add a transom or sidelight, install a window, or replace the front door. These changes can improve width, daylight, and character, but they may affect framing, weather protection, wiring, and stair geometry.
Before altering walls or stairs, consult qualified professionals and confirm local permit requirements. A wall that looks decorative may be carrying a load, and a harmless-looking rail may be part of a required safety system.
Open the Space Without Erasing Its Purpose
A tight entry does not always need more square footage. It may simply need fewer objects projecting into the walking path. Bulky furniture, deep cabinetry, oversized trim, and awkward rail components can make the area feel much smaller.
Use Shallow and Vertical Storage
A console about 10 to 14 inches deep can provide a useful drop zone while preserving circulation. Wall-mounted ledges, peg rails, tall cabinets, and upper shelves use vertical space efficiently. Closed storage hides visual noise; open hooks keep daily items convenient.
Give each household member a hook, basket, cubby, or drawer. Add a wet-boot tray, washable mat, and small key container. Organization succeeds when the easiest action is also the correct one.
Protect Clear Walking Paths
Keep seating and storage outside the direct route from the door to the main rooms. A stable bench helps children, older adults, and anyone negotiating a stubborn boot. For a major remodel, consider a step-free entrance, low threshold, lever hardware, strong lighting, and a wider doorway. These choices help people carrying luggage, pushing strollers, or using mobility devices.
Bring In Natural Light Without Giving Up Privacy
Dark entries often feel smaller and less welcoming. Daylight can arrive through a glazed door, sidelights, a transom, or a new window. The best choice depends on the exterior architecture, climate, budget, and privacy needs.
Compare Door and Window Strategies
A full-light door delivers abundant daylight but may expose the interior. Frosted, textured, tinted, or divided glass can soften the view. Sidelights brighten the foyer while allowing the door to remain mostly solid, and a transom adds light above eye level.
A separate window may work better when the door must remain solid for security or comfort. Verify framing conditions and study the exterior elevation before creating an opening. The window should look intentional from both sides.
Select Products for the Local Climate
Exterior doors and windows are part of the home’s weather barrier. Compare tested energy-performance ratings, choose products suited to the region, and insist on careful flashing, sealing, and installation. Even an excellent door performs poorly when surrounded by gaps and optimism.
Layer the Entryway Lighting
An entry needs dependable light after sunset. Combine ambient, task, and accent lighting rather than asking one heroic ceiling bulb to do everything.
Choose a Strong Ambient Fixture
A pendant, chandelier, flush mount, or semi-flush fixture should provide broad light without interfering with the door or making tall guests duck. Scale it to the room and ceiling. A two-story foyer can carry drama; a low, narrow entry usually needs restraint.
Add Task and Accent Lighting
A console lamp helps with mail and keys. Sconces can frame a mirror, while picture lights emphasize art or trim. Dimmers shift the room from bright cleanup mode to a softer welcome. Motion sensors are useful when someone enters with both hands occupied by groceries and poor planning.
Add Character With Durable Finishes
Once the layout, light, and circulation work, the entry can develop a personality. One or two strong ideas usually outperform a crowded collection of trends.
Create a Focal Point
The focal point might be a black door, arched opening, vintage console, bold runner, sculptural light, or large mirror. Repeating one finishaged brass, matte black, or warm oakacross hardware and accents creates cohesion.
Mirrors are especially effective in compact foyers because they reflect light and allow a last-minute appearance check. Position one to capture a pleasing view rather than multiplying a heap of shoes into two heaps.
Use Materials That Can Take a Beating
Entry flooring must handle grit, moisture, claws, luggage, and repeated cleaning. Porcelain tile, stone, sealed brick, resilient flooring, and properly finished hardwood can all work. Pair the floor with a sturdy exterior mat and washable interior rug.
For walls, consider scrubbable paint, paneling, wainscoting, or durable wallpaper. Protect corners and baseboards where bags, vacuums, and sports equipment regularly make contact.
Plan the Budget in Layers
Entryway renovations range from a weekend refresh to a structural project involving framing, stairs, windows, electrical work, flooring, and custom millwork. Build the budget by category so attractive finishes do not conceal essential labor.
- Infrastructure: Framing, engineering, permits, electrical work, weatherproofing, and stair corrections.
- Functional elements: Door, window, flooring, lighting, storage, seating, and hardware.
- Finish details: Paint, wallpaper, trim, art, rugs, baskets, and decorative accessories.
Reserve a contingency for hidden conditions, especially in older homes. An opened wall can reveal outdated wiring, water damage, uneven framing, or a repair made decades ago by someone whose primary tool was confidence.
Prioritize the exterior door, locks, safe stairs, durable flooring, and sufficient lighting. Save on accessories that can be upgraded later. A budget console can look excellent; bargain weatherproofing is rarely charming in January.
Build a Realistic Remodel Sequence
The order of work matters. Installing new flooring before structural demolition is an efficient method for purchasing the same floor twice.
- Document the existing space and complete measurements.
- Develop layout options and choose the preferred plan.
- Confirm structural, code, permit, and product requirements.
- Order doors, windows, railings, cabinetry, and other long-lead items.
- Complete demolition, framing, wiring, and weather sealing.
- Repair walls and add arches, trim, or paneling.
- Install flooring, paint, fixtures, built-ins, hardware, and accessories.
Test dimensions before buying. Use painter’s tape to outline a bench or console, open the door repeatedly, and carry a large box through the route. A five-minute mock-up can prevent a five-year annoyance.
Experiences From Living Through an Entry Remodel
The most useful lesson from an entry remodel is that the plan improves when it survives contact with real life. On paper, an open foyer may look enormous. During construction, it becomes clear that moving a railing six inches, reducing the depth of a table, or shifting a light fixture can matter more than adding an expensive decorative feature.
One common experience is the slow evolution of the design. The first plan may add a simple header to define the entry. The second may introduce an arch that relates to nearby openings. The third may remove more visual barriers and rework the stair details. This is not necessarily indecision. It is often the design process doing its job. Drawings, taped outlines, sample boards, and basic three-dimensional models reveal conflicts that imagination politely ignores.
Another lesson is that daylight changes everything. A homeowner may focus on paint colors for weeks, only to discover that a carefully placed transom or side window makes the room feel wider, warmer, and more finished before the walls are even painted. Yet glass introduces questions about privacy, security, glare, and exterior appearance. The winning solution is rarely “more glass at any cost.” It is the right light in the right location.
Construction also exposes how interconnected the entry is with the rest of the house. Reworking a newel post affects the first stair tread. Widening an opening changes baseboard and flooring transitions. Adding a window alters exterior siding. Replacing the door may require trim repairs, paint matching, lock decisions, and threshold adjustments. The entry is small, but it has the project-management personality of a much larger room.
Temporary inconvenience deserves respect. During an active remodel, the front door may be unusable, dust may migrate, and the family’s normal drop zone may disappear. Establish a temporary entrance station elsewhere with hooks, a mat, a key bowl, and package instructions. This modest setup prevents the entire house from becoming an entryway.
Budget surprises tend to arrive in unglamorous clothing. Hidden framing repairs, electrical updates, drywall patches, and exterior flashing are not exciting photo opportunities, but they determine whether the finished space is safe and durable. Homeowners are usually happiest when they protect money for those essentials and remain flexible about decorative purchases.
The final experience is emotional: a remodeled entry changes the rhythm of coming home. Good storage removes the daily scavenger hunt for keys. Better light makes evening arrivals feel safer. A bench turns shoe removal from a balancing contest into a normal activity. A defined foyer creates a pause between outside demands and interior comfort.
That practical improvement is why successful entry remodel plans feel satisfying long after the fresh-paint excitement fades. The best result is not merely a beautiful first impression for guests. It is a small area that quietly performs dozens of useful tasks every dayand does so without constantly asking for applause.
Conclusion: Make the First Few Feet Count
An effective entryway remodel begins with circulation, daylight, storage, safety, and clear priorities. Style comes next, supported by durable materials and details that relate to the rest of the home. Sketch several options, test dimensions before buying, and phase the work logically.
The finished entry does not need to be grand. It needs to make sense. A narrow shelf, well-placed mirror, brighter fixture, safer railing, or thoughtfully positioned window can transform the house. When every inch has a purpose, “enter here” stops sounding like a direction and starts feeling like an invitation.
Note: Structural openings, stair modifications, electrical work, exterior doors, and new windows may require permits or professional review. Verify local building rules before construction begins.