A hot glue gun may be the unofficial superhero of the craft drawer, but even superheroes collect sticky baggage. After enough wreaths, school projects, upholstery repairs, and last-minute costume emergencies, dried adhesive can build up around the nozzle, trigger, stand, and body of the tool.
Learning how to clean a hot glue gun helps maintain an even glue flow, reduces drips, keeps charred residue away from your next project, and may extend the tool’s useful life. The job is not difficult, but it does require patience. Depending on the model, a glue gun nozzle can reach approximately 380°F, which is far too hot for the classic “I’ll just grab it quickly” technique.
This guide explains how to clean the outside, clear a clogged hot glue gun nozzle, inspect the feeding mechanism, and store the tool safelyall without turning a small craft mess into an electrical or dermatological adventure.
What You Need to Clean a Hot Glue Gun
Gather your supplies before beginning so you do not have to search for a cotton swab while holding a half-cleaned tool.
- Heat-resistant work gloves
- Safety glasses
- A silicone craft mat, ceramic tile, or thick piece of cardboard
- Several clean, dry cloths
- Paper towels
- Wooden craft sticks or plastic scrapers
- Cotton swabs
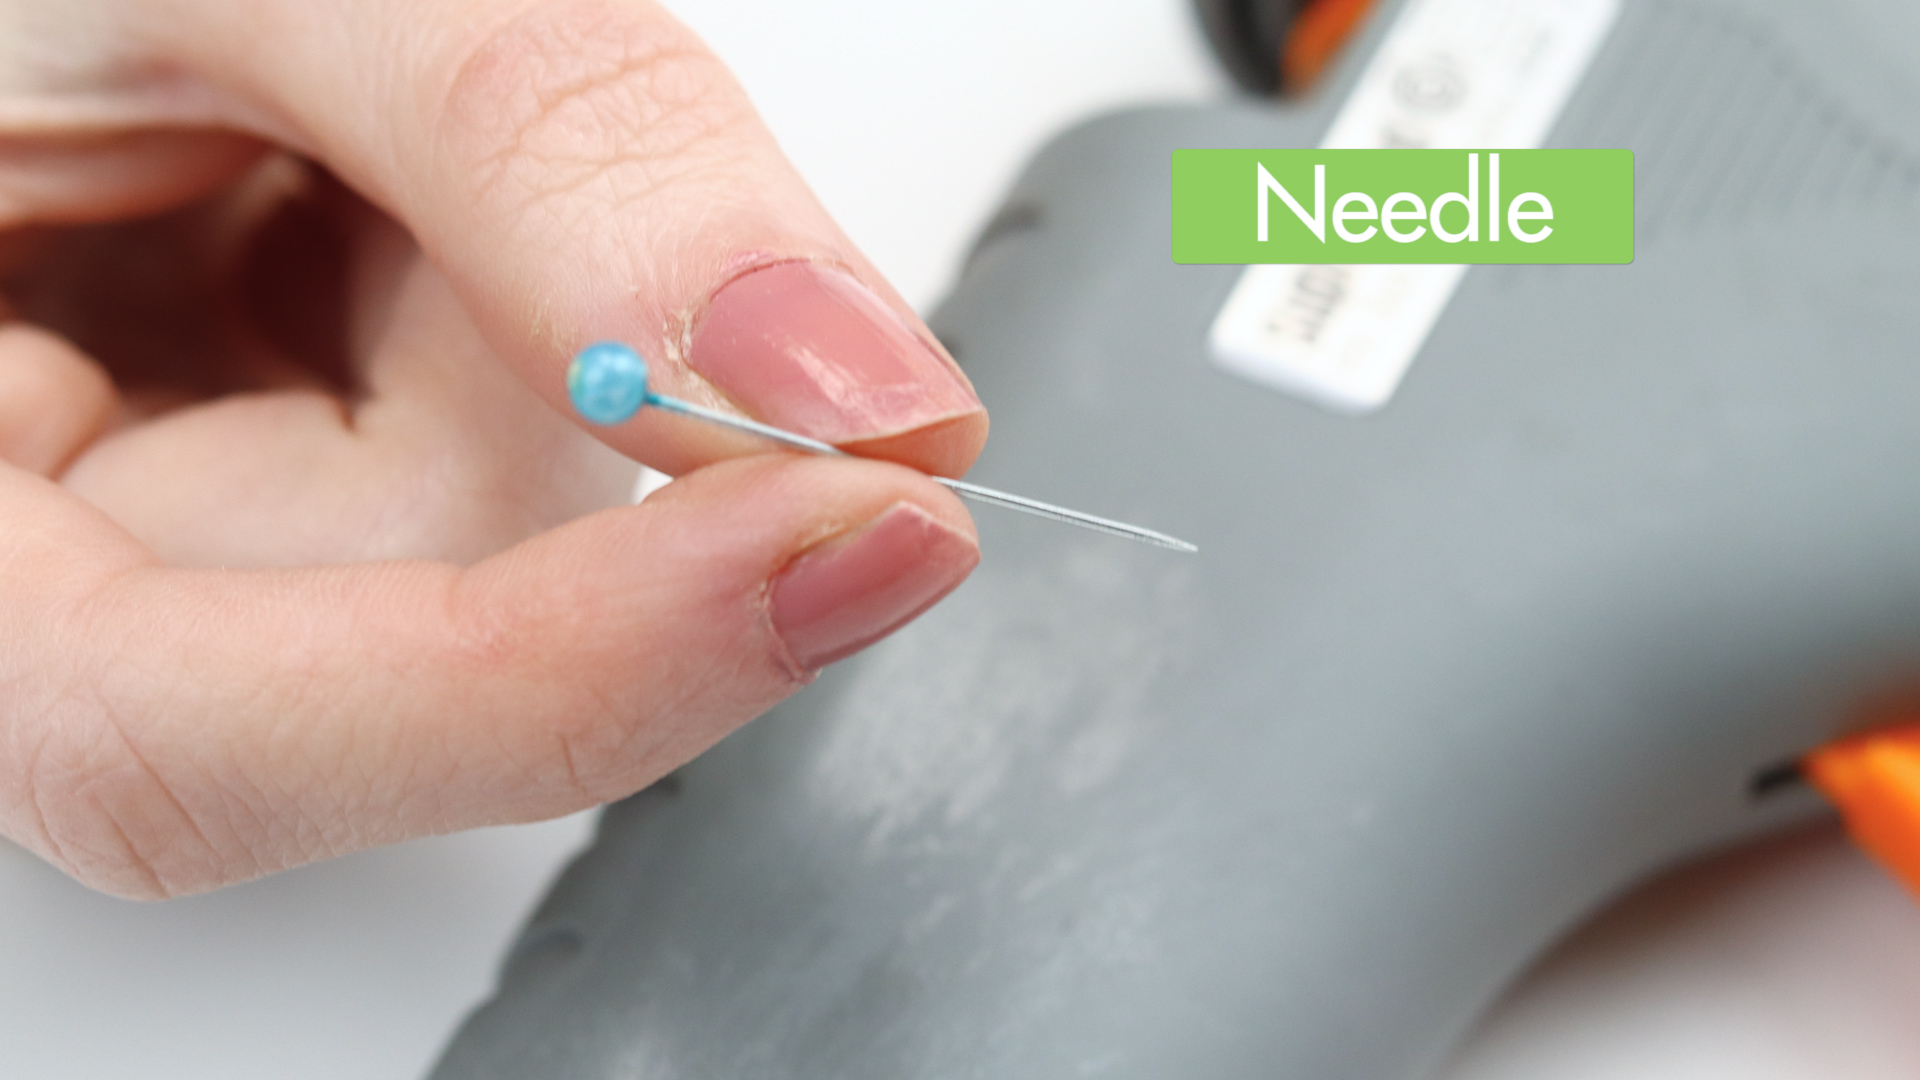
- A small wooden toothpick or manufacturer-approved cleaning wire
- Aluminum foil, folded into several layers
- A fresh glue stick in the correct size and temperature rating
- A small wrench, only if the manufacturer permits nozzle removal
Cleaning Products to Avoid
Do not reach automatically for acetone, paint thinner, alcohol, adhesive remover, or another strong solvent. Some industrial hot-melt applicator manuals specifically warn that cleaning hot-melt adhesive with solvent may create a fire risk. Solvents can also discolor plastic housings, damage seals, remove printed labels, or soften electrical insulation.
Water is not an all-purpose answer, either. Never immerse an electric or battery-powered glue gun, rinse it under a faucet, or allow liquid to enter the trigger, vents, charging contacts, switch, or cord connection.
Important Safety Rules Before Cleaning
Read the owner’s manual for your specific glue gun before removing a nozzle or inserting anything into its opening. Designs vary. One model may have a replaceable threaded tip, while another has a fixed nozzle that should never be twisted with a wrench.
- Work on a stable, heat-resistant surface away from paper, fabric scraps, aerosol cans, and other flammable materials.
- Wear eye protection and heat-resistant gloves when handling a warm nozzle.
- Keep the tip pointed away from your face, hands, and body.
- Do not pull a partially used glue stick out through the back of the gun. This can encourage molten adhesive to travel backward into the feeding chamber.
- Remove the battery from a cordless model before cold cleaning or inspecting it.
- Never open the electrical housing unless the manufacturer specifically provides user-serviceable instructions.
Manufacturers commonly advise users to disconnect the power, use the supplied stand, allow the tool to cool before storage, and avoid pulling adhesive sticks from the rear of the applicator.
How to Clean a Hot Glue Gun in 8 Steps
Step 1: Turn Off and Disconnect the Glue Gun
Switch off the glue gun, unplug the cord by gripping the plug rather than pulling on the cable, and place the tool upright on its stand. For a cordless glue gun, switch it off and remove the battery pack if the design allows it.
Do not begin scraping around the trigger or wiping the body while the tool is connected to power. An unplugged glue gun can remain dangerously hot for quite a while, but at least it is no longer actively reheating while you work.
Place a silicone mat or ceramic tile beneath the nozzle to catch drips. A sheet of newspaper is not ideal because hot adhesive can bond to it, transfer ink, or turn your cleanup surface into part of the problem.
Step 2: Let the Tool Reach the Right Cleaning Temperature
For cleaning the plastic housing, trigger, stand, cord, and fully cooled glue residue, wait until the gun reaches room temperature. This is the safest condition for routine maintenance.
The nozzle requires more judgment. A paper-thin film of glue is often easiest to wipe away while the nozzle is warm but no longer connected to power. Thick deposits are usually safer to remove after they cool and harden. Never touch the nozzle directly to test its temperature. Hovering a hand over it is not especially scientific either; simply allow adequate cooling time and treat all metal parts as hot until proven otherwise.
If the nozzle must be unscrewed, follow the model’s manual exactly. Some replaceable nozzles must be warmed briefly so the adhesive softens before removal. Other manufacturers require the applicator to be completely cool before servicing. When the instructions disagree with an internet cleaning trick, the instructions win.
Step 3: Remove Dried Glue From the Exterior
Once the body is cool, peel away large strings and blobs of glue with your fingers or lift them gently with a wooden craft stick. Hot-melt adhesive often releases cleanly from smooth plastic after cooling, especially when the buildup has not been baked onto the surface repeatedly.
Use a plastic scraper for stubborn edges. Avoid knives, razor blades, screwdrivers, and aggressive metal picks. They can gouge the housing, cut a cord, damage insulation, or slip suddenly toward your hand. A craft tool should not require an action-movie soundtrack.
Pay close attention to the following areas:
- The seam around the nozzle collar
- The underside of the barrel
- The folding or fixed stand
- The trigger edges
- The glue-stick entry opening
- The drip tray or base, if included
Do not push loose debris into ventilation slots or the glue-stick channel. Brush crumbs outward with a dry cloth or cotton swab.
Step 4: Wipe the Outside of the Nozzle
Put on heat-resistant gloves before cleaning a nozzle that may still be warm. Fold a small piece of aluminum foil into a thick pad and gently wipe the metal surface. The foil can conform to the nozzle better than a rigid scraper and helps collect softened glue without leaving cloth fibers behind.
Use a fresh section of foil after each pass rather than smearing the same adhesive around the tip like frosting on a very disappointing cupcake. Keep your fingers behind the folded layers and away from the nozzle opening.
If the glue gun is completely cool, lift thicker residue with a wooden stick. Do not scratch or bend an insulated nozzle sleeve. Damage to the sleeve can expose more hot metal and reduce the protection built into the tool.
Step 5: Clear a Clogged Hot Glue Gun Nozzle
A clogged nozzle may cause weak flow, uneven beads, trigger resistance, back-melt, or adhesive leaking from places where adhesive has no business appearing.
Start with the least invasive approach:
- Insert a compatible glue stick.
- Heat the gun for the period specified by its manufacturer.
- Point the nozzle toward a scrap surface.
- Squeeze the trigger gently and allow fresh adhesive to push out softened residue.
- Stop immediately if the trigger requires unusual force.
Never squeeze the trigger with all your strength. Excessive pressure can damage the feeding mechanism or force molten adhesive backward through the gun.
If normal flushing does not clear the tip, unplug the tool and consult its manual. Certain applicators allow a small nail, paper clip, or approved cleaning wire to be inserted carefully into the warm nozzle. Manufacturer guidance also recommends flushing the remaining old adhesive with a fresh stick after the opening is cleared.
Do not insert a tool deeply into the melting chamber or force it around a bend. If the obstruction remains, replace a removable nozzle or have the glue gun serviced rather than performing exploratory surgery on the heating block.
Step 6: Clean the Trigger and Glue-Stick Feed Area
With the tool fully cool and disconnected, inspect the trigger and the circular opening where the glue stick enters. Remove loose strings with a dry cotton swab, soft brush, or wooden toothpick.
Do not pour cleaner into the feed tube. Do not lubricate the trigger unless the manufacturer’s instructions specifically call for it. Oil can attract dust, contaminate adhesive, migrate toward the heater, or create smoke and odors during the next use.
If a glue stick appears stuck, confirm that it is the correct diameter. Mini and full-size sticks are not interchangeable, and even small differences can cause slipping or jamming. Also check whether a high-temperature adhesive has been loaded into a low-temperature-only gun.
Leave the remaining compatible glue stick in place unless the manual directs otherwise. Pulling it backward may damage the feed mechanism or carry softened glue into the rear sleeve.
Step 7: Wipe the Housing, Stand, and Cord
Wipe the cooled housing with a clean, dry microfiber cloth. For ordinary dust on a non-electrical exterior surface, use a cloth that is barely dampnot wetand then dry the area immediately. Keep moisture away from openings, switches, vents, battery contacts, and cord connections.
Clean hardened glue from the stand and drip tray using a plastic or wooden scraper. Inspect the stand for bending or looseness. A glue gun that tips forward easily is essentially a heated metal nose looking for somewhere unfortunate to land.
Examine a corded model for:
- Cracks or cuts in the insulation
- Exposed wire
- Damage near the plug or strain relief
- Heat discoloration
- A loose or bent plug
Inspect cordless batteries for cracks, swelling, leaking, unusual odors, or scorched contacts. Stop using damaged electrical components and follow the manufacturer’s repair or replacement guidance.
Step 8: Test the Glue Flow and Store the Tool Properly
After every cleaned part is dry, reconnect the tool and place it on its stand over a protected surface. Allow it to heat normally. Feed a fresh, compatible glue stick through the gun and dispense a short line onto scrap cardboard.
A properly cleaned hot glue gun should produce a reasonably steady bead without severe trigger resistance, sputtering, or adhesive escaping from the rear. A few drops during warm-up may be normal because heated adhesive expands, but continuous heavy leaking can indicate a worn nozzle, damaged valve, incorrect glue stick, or internal back-melt.
Turn the tool off and disconnect it again. Let it cool upright before storage. Do not wrap the cord tightly around a warm gun. Store the tool in a dry cabinet or heat-resistant case where the nozzle will not be crushed and children cannot reach it.
How to Clean a Removable Glue Gun Nozzle
Only remove the nozzle if the owner’s manual identifies it as replaceable. Many removable tips are threaded into a hot metal chamber and must be loosened while the internal glue is softened.
- Put on safety glasses, heat-resistant gloves, long sleeves, and long pants.
- Warm the gun only for the period specified in the manual.
- Turn it off and disconnect the power or battery.
- Hold the gun securely on a heat-resistant surface.
- Use the recommended wrench to loosen the nozzle without excessive force.
- Wipe external softened glue with folded foil.
- Replace a worn, damaged, or persistently clogged nozzle rather than soaking it in an unapproved chemical.
- Install the nozzle until snug; do not overtighten and damage the threads.
Surebonder instructions for certain industrial models specify briefly heating the gun, wearing protective equipment, removing the softened nozzle with a wrench, flushing adhesive through the chamber, and tightening the replacement only until snug. That procedure is model-specific and should not be assumed appropriate for every glue gun.
Common Hot Glue Gun Problems After Cleaning
| Problem | Likely Cause | What to Do |
|---|---|---|
| No glue comes out | Insufficient heat, clogged nozzle, wrong stick size, or damaged feeder | Allow full warm-up, confirm the glue-stick specification, and follow the manual’s clog-clearing procedure. |
| Trigger is difficult to squeeze | Glue is not fully melted or pressure is building behind an obstruction | Stop forcing the trigger. Let the gun heat correctly and inspect the nozzle. |
| Glue drips continuously | Worn nozzle, damaged check valve, incompatible adhesive, or back-melt | Confirm the glue type and replace a serviceable nozzle if recommended. |
| Glue appears at the rear | Back-melt caused by forcing adhesive, tilting the gun backward, or pulling a stick out | Disconnect the tool and stop using it until it has cooled and been inspected. |
| Glue contains dark flakes | Old adhesive has charred inside the chamber or nozzle | Flush with a compatible fresh stick. Replace the nozzle or tool if contamination continues. |
| Gun smokes or smells electrical | Overheating, contaminated heating chamber, damaged wiring, or internal failure | Unplug it immediately and discontinue use. Do not attempt another test. |
How Often Should You Clean a Hot Glue Gun?
Remove strings and wipe the nozzle exterior after every project once the tool is safely disconnected. Perform a closer inspection every few uses or whenever you notice poor flow, excessive dripping, trigger resistance, dark adhesive, or glue accumulating around the nozzle collar.
Frequent users should inspect the nozzle regularly and keep glue sticks clean and protected from dust. Industrial applicator guidance recommends checking that the nozzle is clear of foreign material as part of preventive maintenance.
Preventive habits reduce the need for major cleaning:
- Use the correct glue-stick diameter and temperature rating.
- Keep unused sticks in a sealed container.
- Rest the gun upright instead of laying it on its side.
- Do not leave the gun heating unnecessarily.
- Place a silicone pad under the nozzle to catch drips.
- Wipe manageable residue before it becomes a geological formation.
Experience Notes: Lessons Learned From Cleaning Hot Glue Guns
The first lesson many crafters learn is that cleaning a glue gun is easiest before the residue has survived six holiday seasons. A thin ring around the nozzle may look harmless, but repeated reheating can turn clear glue into a dark, crusty collar. That residue eventually catches fresh adhesive, creates strings, and makes precise work more difficult.
A silicone mat is one of the simplest improvements to the cleaning routine. Glue drips cool on the flexible surface and usually peel away in seconds. Cardboard works in an emergency, but glue can tear away its top layer, leaving fuzzy paper attached to the nozzle during the next project. A ceramic tile also performs well, although dropping one on a toe creates a completely different tutorial.
Another practical discovery is that timing matters more than strength. When glue is completely liquid, it smears. When it is fully hardened, it may grip textured surfaces tightly. During the in-between stage, exterior residue often rolls away with folded foil or a wooden stick. The goal is not to attack the tool aggressively; it is to wait until the adhesive is willing to negotiate.
Trigger resistance should always be treated as a warning rather than a challenge. It is tempting to squeeze harder when a project is almost finished, especially when one decorative flower remains tragically unglued. However, a stiff trigger may indicate that the glue has not fully melted or that the nozzle is blocked. Forcing it can damage the feeder or send hot adhesive backward into the gun. Stopping for a proper warm-up or inspection usually saves more time than replacing the tool.
Using the correct glue sticks also makes a noticeable difference. Cheap, dusty, undersized, or unsuitable sticks may feed inconsistently and leave more residue. Storing them loose in a drawer beside glitter, sawdust, and mysterious crumbs is practically an invitation for nozzle contamination. A sealed plastic container keeps the adhesive cleaner and makes it easier to separate low-temperature, all-temperature, and specialty sticks.
It is also worth learning the difference between a dirty tool and a failing tool. Exterior strings, a small nozzle buildup, and an occasional warm-up drip are usually manageable. Melted housing, electrical odors, smoke, exposed wiring, adhesive leaking from the back, or a badly damaged nozzle are not routine cleaning problems. Continuing to use a questionable glue gun to “get one more project out of it” is rarely a good bargain.
Finally, cleaning immediately after a project does not require a full maintenance ceremony. Disconnect the gun, leave it upright over a safe surface, and wipe manageable nozzle residue with protective gloves when appropriate. After it cools, peel away strings and inspect the stand. Those few minutes prevent the next crafting session from beginning with a clogged tip, a dirty bead, and a speech directed at an innocent piece of cardboard.
Conclusion
To clean a hot glue gun safely, disconnect the power, work at the proper temperature, remove exterior buildup gently, clear the nozzle without forcing the trigger, and inspect the electrical components before testing the tool. Avoid soaking the gun, using unapproved solvents, pulling glue sticks from the rear, or dismantling parts that are not designed for user service.
Regular light cleaning is faster and safer than waiting for the nozzle to grow a hardened glue helmet. With the right supplies and a little patience, your glue gun can produce cleaner beads, fewer strings, and far less drama during the next repair or craft project.