A Dr. Brown’s bottle warmer is one of those baby gadgets that quietly becomes part of the family. It sits on the counter, handles half-awake midnight feedings, warms bottles while everyone else is still searching for socks, and asks for very little in return. But after enough warming cycles, steam, mineral deposits, and the occasional sneaky milk drip, even this small appliance needs a little spa day.
The good news: cleaning a Dr. Brown’s bottle warmer is not complicated. You do not need a science degree, a hazmat suit, or a dramatic playlist. Most of the job comes down to three habits: wipe it regularly, wash the removable parts, and descale the heating area with the right vinegar-and-water mixture when mineral buildup appears. Done consistently, these simple steps help the warmer perform better, reduce odors, prevent crusty white deposits, and keep your baby-feeding station feeling less like a laboratory experiment.
This guide explains simple ways to clean a Dr. Brown’s bottle warmer, how often to descale it, what not to use, and how to avoid common mistakes. It also includes practical real-life experience tips for tired parents who want clean equipment without turning bottle prep into a second job.
Why Cleaning Your Dr. Brown’s Bottle Warmer Matters
A bottle warmer works with water, steam, and heat. That combination is great for gently warming bottles, but it can also leave behind mineral scale, moisture, and residue. If you use tap water, filtered water, or bottled drinking water instead of distilled water, minerals can collect around the heating plate and inside the reservoir. Over time, that buildup may slow warming, disrupt the steam cycle, create odd smells, or make the machine look dirtier than it really is.
Milk residue is another issue. A tiny leak from a bottle vent, loose cap, or overfilled container can dry onto the warming chamber. Once heated, milk residue can become sticky, sour-smelling, or brownish. In parent language, this is the moment when you stare into the warmer and wonder whether it has started making cheese.
Cleaning also matters because bottle-feeding equipment touches items used for a baby. While the bottle warmer itself does not replace bottle washing or sanitizing, it sits directly in the feeding workflow. Keeping the warming chamber, basket, lid, and reservoir clean supports a safer, more organized routine.
Know the Main Parts Before You Clean
Different Dr. Brown’s bottle warmer models may vary slightly, but many include similar parts: a warming chamber, heating plate, removable water reservoir, warming basket, lift-out basket, lid, and control panel. The exact design depends on whether you own a Deluxe Bottle Warmer, Deluxe Bottle Warmer & Sterilizer, Insta-Feed warmer, or another version.
Before cleaning, check your product manual for your model. This matters because some removable pieces may be dishwasher-safe on the top rack, while the electric base should never be immersed in water. As a general rule, the removable plastic parts get washed; the electric base gets wiped. If the unit has a plug, display, or control buttons, it is not going for a swim. This appliance is helpful, but it is not a submarine.
What You Need to Clean a Dr. Brown’s Bottle Warmer
You only need a few basic supplies:
- Distilled water
- White vinegar
- Mild dish soap
- A soft sponge or cloth
- A small bottle brush or soft cleaning brush
- A clean towel or paper towel for air-drying space
Avoid bleach, scouring pads, abrasive powders, harsh solvents, and anything that smells like it belongs in an auto repair shop. The goal is to remove residue and mineral scale gently, not to punish the appliance for doing its job.
Step 1: Unplug the Bottle Warmer and Let It Cool
Always unplug the warmer before cleaning. If it has just finished a cycle, let it cool first. The heating element can stay hot after use, and steam can cause burns. This is especially important during late-night cleaning, when your brain may be operating on two hours of sleep and one heroic cup of coffee.
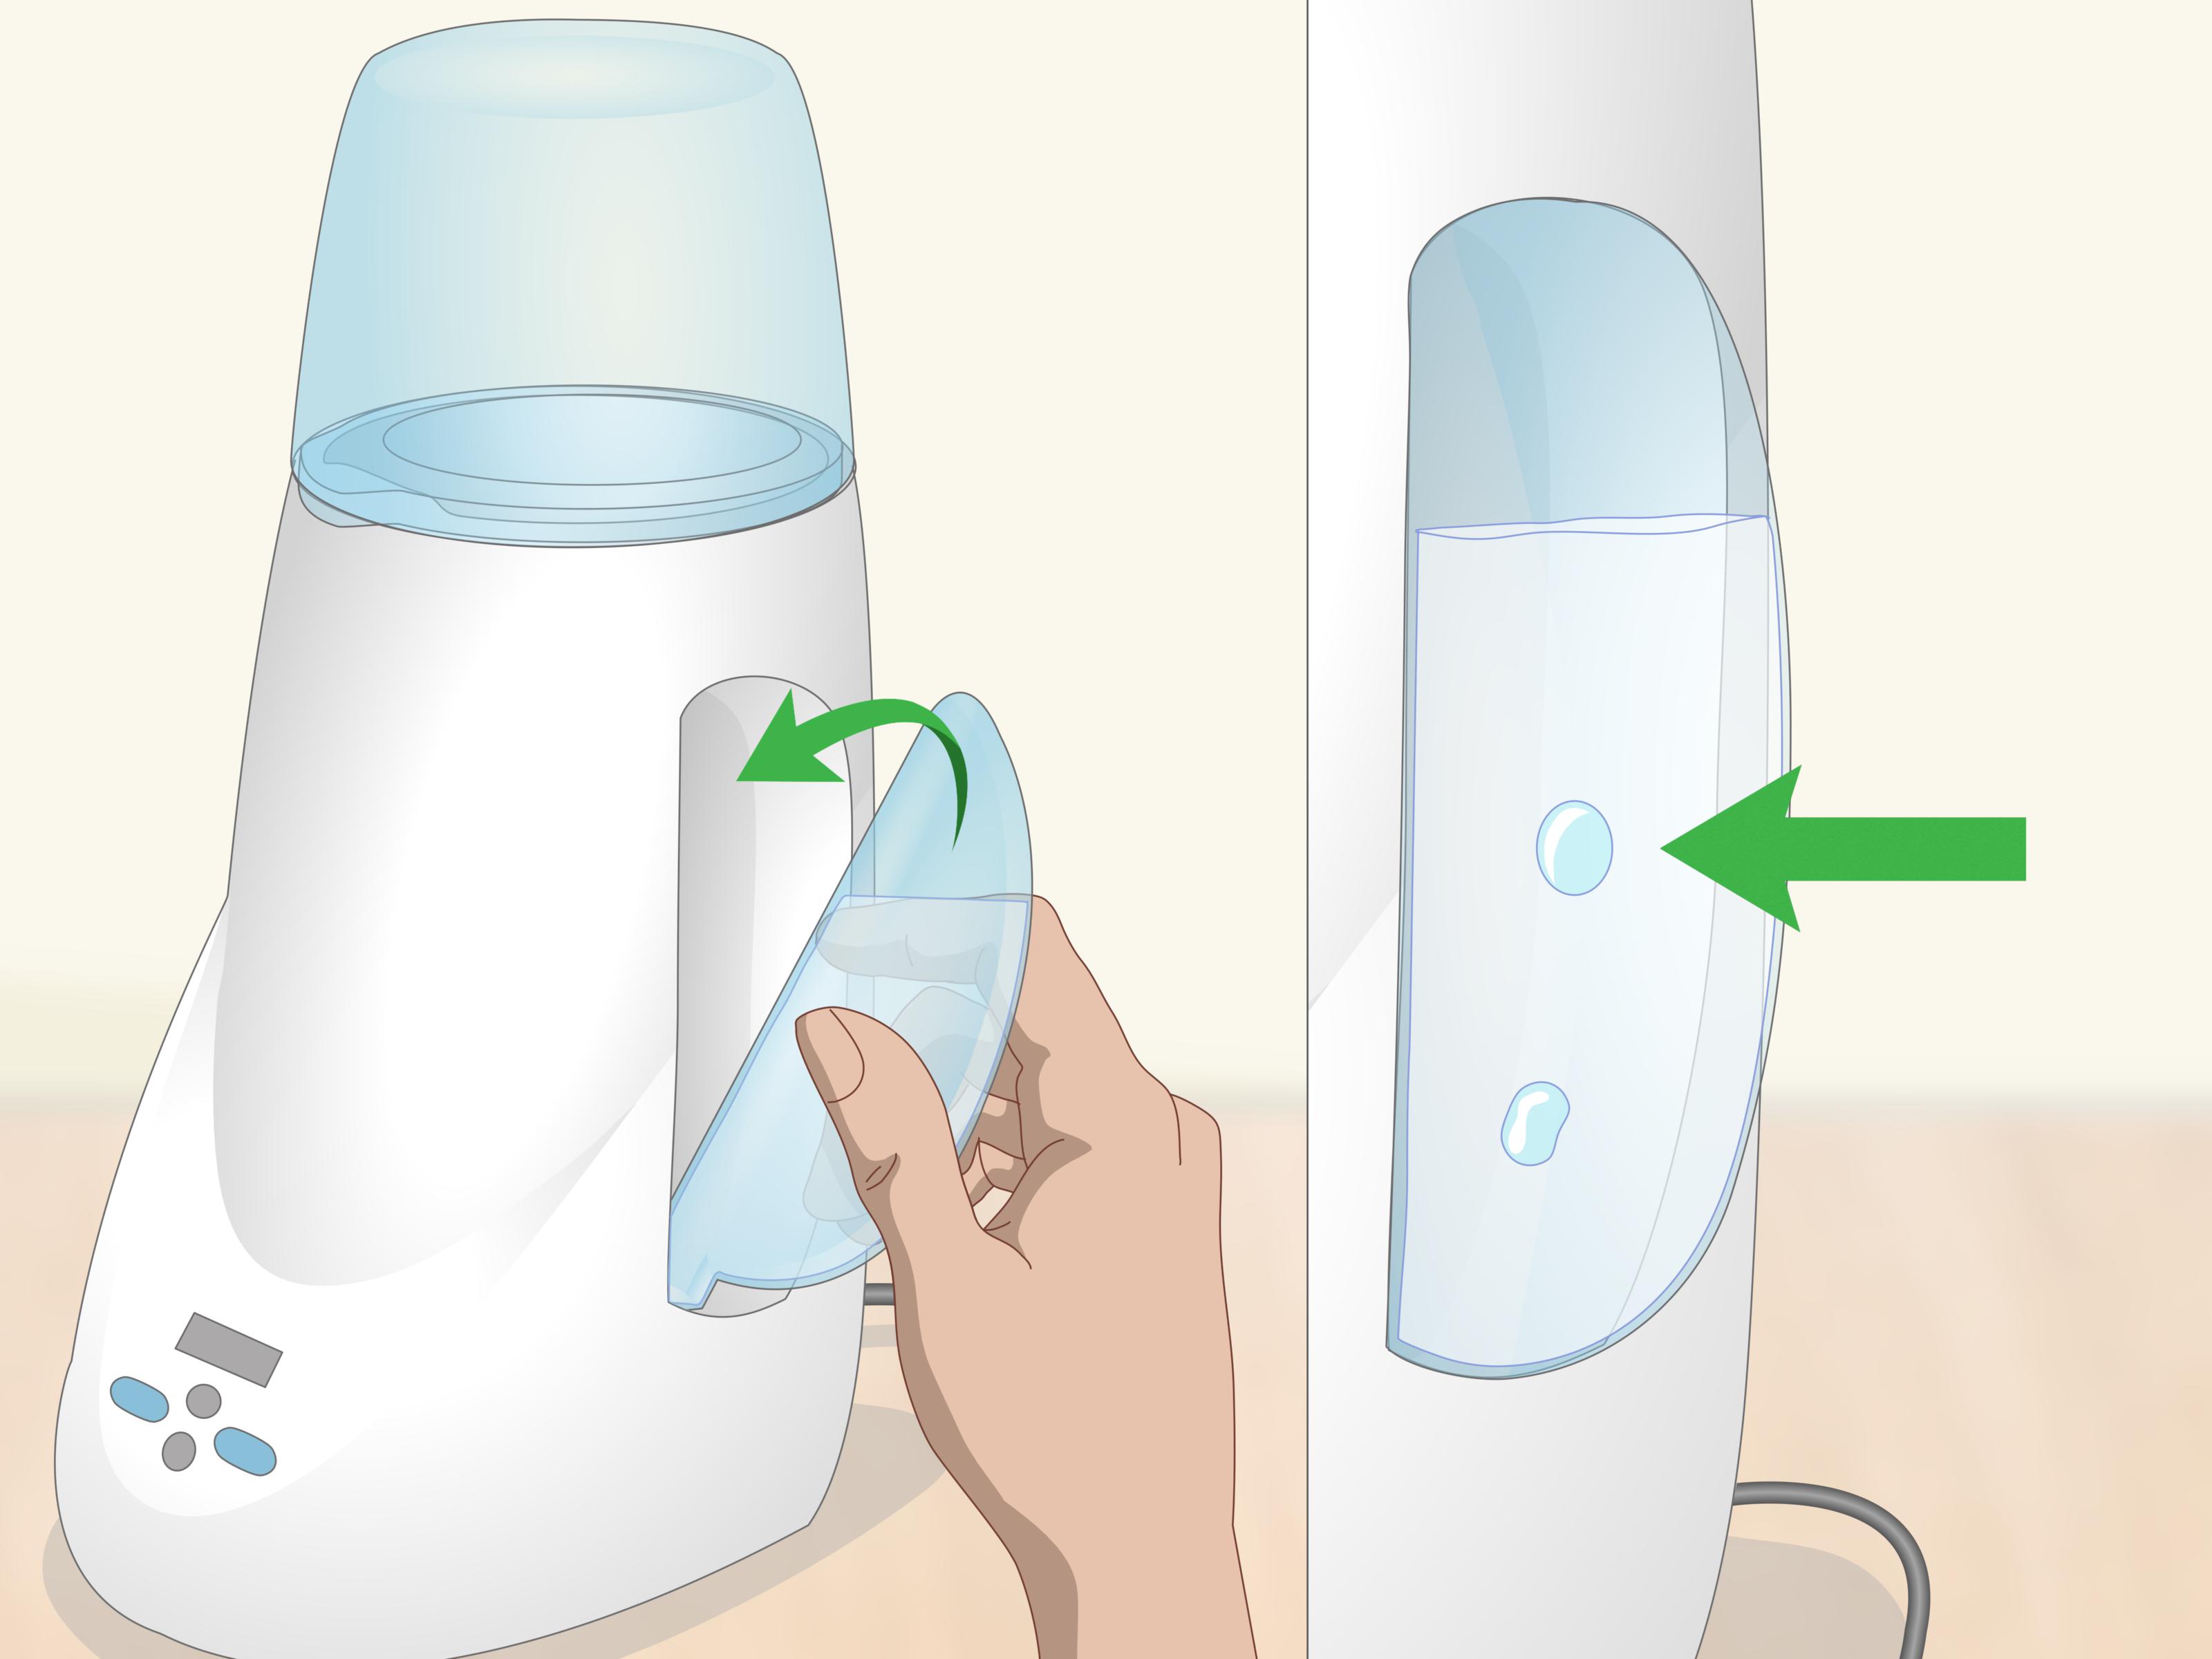
Remove the bottle, basket, lid, and reservoir once the unit is safe to handle. Empty any leftover water from the chamber and reservoir. Do not move the appliance while it contains hot liquid. Place the base on a level, dry, heat-resistant surface before wiping it down.
Step 2: Wipe the Warming Chamber
The warming chamber is where drips, steam residue, and mineral deposits tend to show up. Use a damp cloth or soft sponge to wipe the inside surfaces. If you see milk residue, wipe it promptly before it dries into a stubborn patch. For light residue, warm water on a cloth is often enough. For stickier spots, use a tiny amount of mild dish soap on the cloth, then wipe again with clean water to remove soap traces.
Do not pour soapy water directly into the electric base unless your model instructions specifically tell you to do so. Do not scrub the heating plate with a rough pad. Abrasive cleaning can damage surfaces and make future buildup harder to remove. A soft, patient wipe is usually more effective than aggressive scrubbing.
Step 3: Wash the Removable Parts
Remove the warming basket, lift-out basket, lid, and water reservoir if your model has them. Wash these parts in hot, soapy water, rinse well, and allow them to air-dry completely. If your manual says the removable parts are dishwasher-safe, place them on the top rack only. Small parts should be secured so they do not fall into the dishwasher filter and begin a new life as mysterious rattling objects.
Air-drying is important. Storing damp parts can invite odors and spots. Place the cleaned pieces on a clean, unused towel or drying rack in an area protected from dust and kitchen splashes. Avoid rubbing baby-feeding items with a used dish towel, because towels can transfer germs back onto clean surfaces.
Step 4: Descale the Bottle Warmer With Vinegar and Water
Descaling removes mineral deposits. If you see white chalky buildup, brownish spots on the heating plate, slower warming, sputtering steam, or a faint mineral smell, it is probably time to descale.
For many Dr. Brown’s bottle warmer models, the recommended descaling mixture is 2 ounces, or about 50 milliliters, of white vinegar mixed with 4 ounces, or about 100 milliliters, of distilled water. Pour the mixture into the removable water reservoir or as directed by your model’s instructions. Then run the appropriate warming or sterilizing cycle according to the manual. After the cycle finishes, turn the unit off, unplug it, and let it cool. Empty the vinegar solution from the warming chamber and reservoir, then rinse thoroughly with clean water.
Use white vinegar, not apple cider vinegar, balsamic vinegar, or whatever fancy vinegar is hiding in the pantry. Your bottle warmer does not need salad dressing. White vinegar is preferred because it is simple, acidic, and effective for dissolving mineral scale.
How Often Should You Descale?
If you use distilled water consistently, you may not need to descale as often. If you use hard tap water or notice buildup quickly, descale more regularly. A practical schedule is every few weeks for frequent use, or whenever visible scale appears. Parents who use the warmer multiple times a day may benefit from checking the heating plate weekly.
Think of descaling like brushing teeth for the appliance. Waiting until the buildup looks like a tiny limestone cave makes the job harder than it needs to be.
Step 5: Rinse Until the Vinegar Smell Is Gone
After descaling, rinse the reservoir and chamber thoroughly. Run a clean-water cycle if your model instructions allow it, or wipe and rinse the removable parts until the vinegar smell disappears. Vinegar is useful, but nobody wants a bottle warmer that smells like a pickle jar at 3 a.m.
Let all parts air-dry before reassembling. Drying helps prevent musty odors and reduces the chance of moisture sitting in small corners. Once dry, reattach the reservoir and basket, and the warmer is ready for the next feeding round.
Use Distilled Water to Prevent Buildup
One of the easiest ways to keep a Dr. Brown’s bottle warmer cleaner for longer is to use distilled water. Distilled water contains fewer minerals than tap water, bottled drinking water, or many filtered waters. Fewer minerals mean less scale on the heating element and inside the reservoir.
This does not mean the warmer will never need cleaning. Steam appliances still collect moisture, and accidental milk drips still happen. But distilled water can dramatically reduce the chalky buildup that makes the chamber look cloudy or crusty. It is a small habit that saves scrubbing later, which is exactly the kind of math exhausted parents appreciate.
Common Mistakes to Avoid
Do Not Immerse the Electric Base
The electric base should never be submerged in water. Wipe it with a damp cloth instead. Water and electrical components are not friends, and forcing them to socialize can damage the warmer or create a safety risk.
Do Not Use Bleach or Abrasive Cleaners
Bleach, abrasive pads, scouring powders, and harsh solvents can damage surfaces and leave unwanted residues. For everyday cleaning, mild dish soap and water are enough. For descaling, use the vinegar-and-water method recommended for the appliance.
Do Not Ignore Milk Leaks
If a bottle leaks inside the warmer, clean it as soon as the unit cools. Milk residue can smell sour, stick to the heating plate, and become harder to remove after repeated heating. Make sure bottle parts are assembled correctly before warming, and use storage caps when recommended to prevent leaks.
Do Not Forget to Replace Standing Water
Standing water can become stale. If your model uses a removable reservoir, empty and refresh it regularly. Many parents find it easiest to refill with distilled water at the start of the day and empty the reservoir during the evening kitchen reset.
How to Clean the Reservoir When It Looks Cloudy
The removable reservoir may develop cloudy spots from minerals or trapped residue. First, remove it from the warmer and rinse it with warm water. Add hot, soapy water and let it sit for a few minutes. Use a soft brush if the opening allows. Rinse well and air-dry.
For stubborn residue, a small vinegar-water soak can help, but follow your model’s manual. Avoid shaking the reservoir violently if it has delicate parts. If your instructions mention a rice-cleaning trick for loosening debris in a reservoir, use only the amount and method specified by the manufacturer, then rinse thoroughly. The goal is to remove residue, not create a rice pudding situation inside a baby appliance.
How to Keep the Warmer Cleaner Between Deep Cleans
A full deep clean is useful, but daily mini-habits make the biggest difference. After the warmer cools, wipe visible moisture from the chamber. Check for milk drips. Leave removable parts open to dry when possible. Use distilled water. Keep the counter around the warmer clean so crumbs and formula powder do not migrate into the appliance.
You can also create a tiny cleaning station: distilled water nearby, a soft cloth in a drawer, and a reminder on your phone to descale every few weeks. This is not glamorous, but neither is discovering a mineral crust five minutes before a hungry baby starts broadcasting at full volume.
Cleaning vs. Sanitizing: What Parents Should Understand
Cleaning and sanitizing are related, but they are not the same. Cleaning removes milk residue, dirt, and many germs with soap, water, and scrubbing. Sanitizing reduces germs further, often through heat, steam, boiling, or a dishwasher sanitize cycle. A bottle warmer may include a sterilizing function depending on the model, but the warmer itself still needs cleaning and descaling to work properly.
Health guidance generally emphasizes washing bottle parts thoroughly after use and sanitizing more often for newborns, premature infants, babies under two months, or babies with weakened immune systems. If your pediatrician gives specific instructions for your child, follow that advice. The cleanest routine is the one that fits your baby’s needs, your water quality, and your actual daily life.
Safe Bottle Warming Tips While You Are Cleaning Smarter
Cleaning the warmer is only one part of safe bottle care. Formula and breast milk do not always need to be warmed, but many babies prefer a warm bottle. When warming, avoid microwaves because they can heat unevenly and create hot spots. Always test the bottle temperature on your wrist or the back of your hand before feeding. It should feel warm, not hot.
Do not let formula sit out too long after preparation, and discard leftovers after feeding because bacteria from a baby’s saliva can grow in the remaining milk. Clean the bottle before the next use. These habits pair naturally with keeping the warmer clean: clean bottle, clean warmer, happy feeding routine, fewer mysterious smells.
Troubleshooting: What If the Warmer Still Looks Dirty?
If white deposits remain after one descaling cycle, repeat the process after the unit cools. Hard water buildup can be stubborn, especially if the warmer has gone a long time without descaling. Use the correct vinegar-water ratio and allow the cycle to complete as directed.
If brown or sticky residue remains, it may be dried milk rather than mineral scale. Wipe gently with a damp cloth and mild soap, then rinse with a clean damp cloth. Do not scrape with metal tools. If the unit smells burnt, stops heating properly, shows an error message repeatedly, or has a damaged cord, stop using it and contact customer support or replace the appliance.
A Simple Cleaning Schedule
Here is an easy routine for busy households:
- After each use: Let the warmer cool, then check for spills or milk residue.
- Daily: Empty stale water, wipe the chamber, and let removable parts dry.
- Every few days: Wash removable parts in hot, soapy water or on the dishwasher top rack if allowed.
- Every few weeks: Descale with white vinegar and distilled water, or sooner if mineral buildup appears.
- Always: Use distilled water when possible and test bottle temperature before feeding.
This schedule is simple enough to remember and flexible enough for real life. If you miss a day, do not panic. Just clean it when you can. Parenting already comes with enough guilt; your bottle warmer does not need to join the committee.
Real-World Experience: What Makes Cleaning Easier
The biggest lesson from using a bottle warmer regularly is that small cleaning habits beat heroic deep-cleaning marathons. When the warmer is wiped often, it rarely becomes disgusting. When it is ignored for weeks, the heating plate starts collecting mineral scale, the reservoir looks cloudy, and the whole thing begins to feel like a tiny kitchen volcano with unresolved issues.
One practical experience is to keep distilled water beside the feeding station. Not across the kitchen. Not in the garage. Not in the mysterious pantry zone where spare batteries and holiday napkins live. Right beside the warmer. When distilled water is easy to reach, you are more likely to use it, especially during night feedings. This one habit reduces mineral buildup and makes descaling less frequent.
Another helpful routine is the “morning reset.” After the first feeding of the day, unplug the warmer if it is not needed immediately, empty old water, wipe the chamber, and let the lid and basket air-dry. This takes less than two minutes. It also prevents that stale-water smell that can appear when moisture sits too long. Parents often focus on bottles and nipples, but the warmer deserves the same quick glance.
For families using Dr. Brown’s bottles with vent systems, leaks can happen if parts are assembled loosely or warmed with the wrong cap setup. A small leak inside the warmer can create a surprisingly dramatic smell later. The fix is simple: inspect the bottle before warming, avoid overfilling, and clean drips immediately after the unit cools. Fresh milk residue wipes away easily. Cooked-on milk residue behaves like it has hired a lawyer.
A soft cloth also makes a difference. Paper towels work in a pinch, but a dedicated soft cloth or sponge helps remove residue without scratching. Keep it separate from general kitchen cleaning cloths. The bottle warmer should not be cleaned with the same sponge that just battled spaghetti sauce, because babies may be small, but their feeding gear deserves better.
Descaling is easiest when scheduled before buildup gets ugly. Many parents wait until warming seems slower, but visible white spots are already a sign that minerals are collecting. A recurring reminder every three or four weeks can help. In hard-water areas, check more often. If the warmer is used six or seven times a day, it is doing serious work and deserves regular maintenance.
Finally, cleaning feels easier when expectations are realistic. A baby-feeding station will not look like a showroom every day. There will be bottles drying, caps wandering, and at least one nipple ring hiding somewhere strange. The goal is not perfection. The goal is a safe, clean, functional warmer that heats reliably and does not smell like forgotten dairy. With distilled water, quick wipe-downs, and regular vinegar descaling, a Dr. Brown’s bottle warmer can stay in good shape through countless feedings, sleepy mornings, and the occasional parent who presses the wrong button before coffee.
Conclusion
Cleaning a Dr. Brown’s bottle warmer is simple when you break it into regular care and occasional descaling. Unplug it, let it cool, wipe the warming chamber, wash the removable parts, use distilled water, and descale with white vinegar and distilled water when mineral deposits appear. Avoid bleach, abrasive cleaners, and submerging the electric base. Most importantly, clean spills quickly and let everything air-dry before reassembling.
A clean bottle warmer helps protect performance, reduce odors, and make feeding routines smoother. It may not fold laundry, find lost pacifiers, or convince a baby that 4 a.m. is not party time, but it can reliably warm bottles when cared for properly. And in the world of baby gear, reliable is beautiful.