If your roof has been looking a little tired, a little patchy, or a little too friendly with rainwater, asphalt shingles are often the go-to fix. They are affordable, widely available, and popular for a reason: when installed correctly, they create a durable, great-looking roof without turning your house into a science project. The catch, of course, is that “installed correctly” is doing a lot of heavy lifting there.
This guide breaks down how to install asphalt shingles in a simple, practical way. You will learn the basic order of the job, the tools and materials you need, the common mistakes that ruin otherwise decent roofing work, and the real-world experience that separates a roof that looks good for one season from one that performs for years. Whether you are tackling a shed, garage, or a modest home roof, this step-by-step guide will help you understand the process from tear-off to ridge cap.
One important note before we climb any imaginary ladders: local building codes, climate conditions, and manufacturer instructions matter. Asphalt shingle installation is not a “close enough” kind of project. Always follow the instructions for your exact shingle product, especially for low-slope roofs, high-wind areas, flashing details, and nailing patterns.
What You Need Before You Start
Basic tools
- Roofing shovel or pry bar
- Hammer or roofing nailer
- Utility knife with hook blades
- Chalk line
- Tape measure
- Ladder and ladder stabilizer
- Safety harness and approved fall-protection gear
- Magnetic sweeper for cleanup
Common materials
- Asphalt shingles
- Starter strip shingles
- Hip and ridge shingles
- Ice-and-water barrier where required
- Synthetic underlayment or asphalt felt
- Metal drip edge
- Roofing nails
- Flashing for valleys, chimneys, vents, and wall intersections
- Roofing sealant or asphalt roof cement where specified
Before You Install Anything, Check These First
1. Roof slope matters
Asphalt shingles are not a magic blanket for every roof pitch. In general, they should not be installed on roofs below a 2:12 slope. Roofs from 2:12 up to less than 4:12 usually require special underlayment procedures. That means if your roof is low-slope, you need to slow down, read the manufacturer instructions twice, and resist the temptation to improvise like a reality TV contractor with a coffee addiction.
2. The deck has to be clean, dry, and solid
Do not shingle over a roof deck that is soft, rotten, uneven, or full of popped fasteners. Your shingles can only look as good as what is underneath them. A flat, secure deck helps the finished roof lie smoothly and seal properly. Replace damaged sheathing now, not after the first storm gives you a very expensive reminder.
3. Safety is not optional
Roofing is real-height, real-risk work. Use proper fall protection, stable ladders, and common sense. Do not work on a wet, icy, or windy roof. If the roof is steep, tall, complicated, or full of valleys and penetrations, calling a professional is not weakness. It is wisdom with a pulse.
How to Install Asphalt Shingles: Step-by-Step
Step 1: Tear off the old roofing
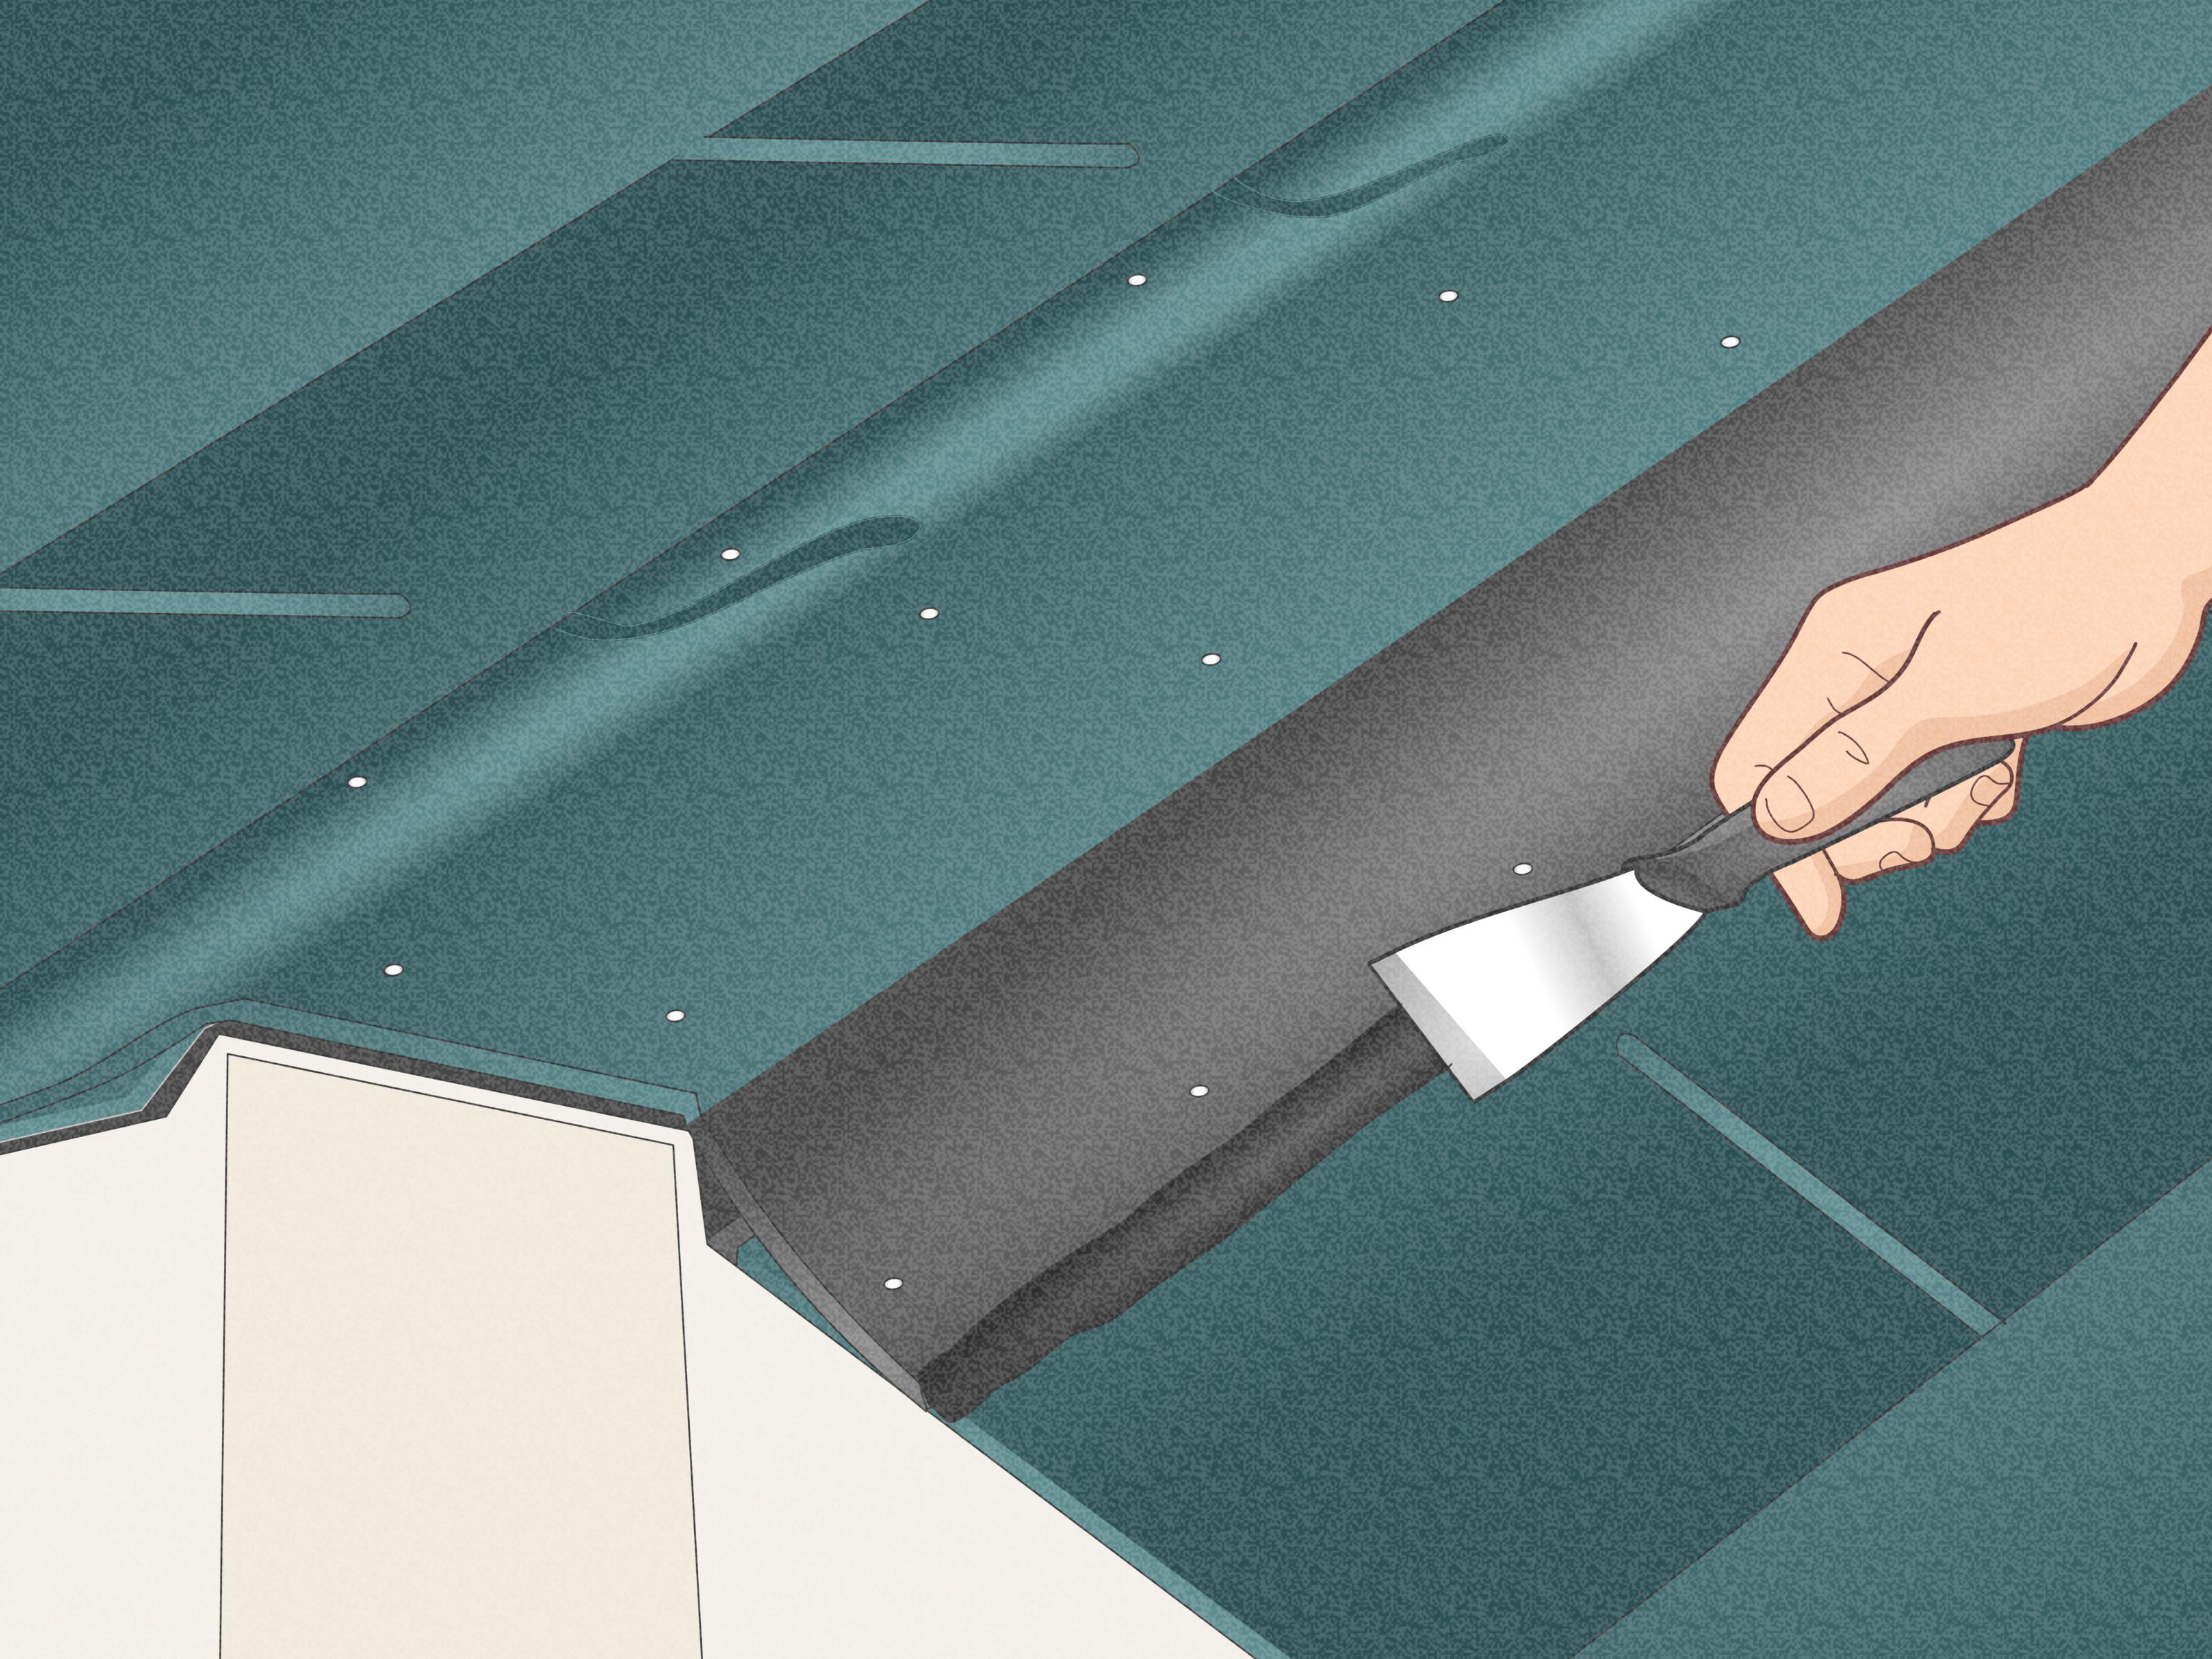
Start by removing the old shingles, underlayment, old flashing, and roofing nails. A roofing shovel speeds up this part, and a pry bar helps with stubborn spots. Clear everything down to the roof deck unless local code and roof condition specifically allow an overlay. A full tear-off gives you the chance to inspect the structure and avoid trapping old problems under brand-new materials.
Once the roof is stripped, sweep the deck clean. Remove loose debris, nails, and scraps. This is not glamorous work, but neither is installing beautiful new shingles over junk and then wondering why the roof looks lumpy.
Step 2: Inspect and repair the roof deck
Walk the deck carefully and inspect for rot, delamination, water staining, or sagging areas. Replace damaged plywood or OSB. Hammer down or remove raised nails. Make sure the sheathing is properly fastened. If the deck is wavy, your finished roof will broadcast that flaw like it has its own spotlight.
Step 3: Install drip edge
Install metal drip edge along the eaves and rakes. This protects the roof edge and helps direct water away from the fascia. The exact order of drip edge and underlayment can vary by edge location and code. Common practice is to install drip edge at the eaves first, then underlayment over it, while rake drip edge is often installed over the underlayment. Follow your local code and product instructions for this detail, because roof edges are where water loves to start arguments.
Step 4: Apply ice-and-water barrier where needed
In cold climates or code-required regions, install a self-adhered ice-and-water membrane along the eaves and in vulnerable areas such as valleys, around chimneys, skylights, and penetrations. This layer is your backup defense when wind-driven rain or ice dams try to sneak water under the shingles.
Step 5: Install underlayment
Roll out the underlayment horizontally, starting at the bottom edge of the roof and working upward. Overlap each course according to the manufacturer’s instructions. Keep the underlayment flat and wrinkle-free. A sloppy underlayment job tends to show up later as a sloppy roofing job, which is one of those unpleasant truths the internet rarely romanticizes.
At valleys, penetrations, and transitions, make sure the underlayment ties into the flashing details properly. Water does not care where one product ends and another begins, so your layers have to work together.
Step 6: Snap chalk lines
Before laying field shingles, snap horizontal and vertical chalk lines. These guide lines help keep the courses straight and prevent gradual drifting. A roof can get surprisingly crooked if you rely on eyeballing alone. Human eyes are wonderful, but they are not laser levels.
Step 7: Install the starter strip
The starter strip is not just a warm-up act. It is essential for proper water shedding and wind resistance at the roof edge. Install starter strip shingles along the eaves and, where required, along the rakes. Many manufacturers call for a slight overhang, often about 1/4 inch to 3/4 inch, depending on the product and drip edge detail.
Offset joints as required so they do not line up with the first course of field shingles. If you skip the starter course or fake it badly, your roof edge becomes the weak link almost immediately.
Step 8: Lay the first course of shingles
Begin at the lower edge of the roof and work across. Install the first full course directly over the starter strip, following the alignment marks and required offset pattern. Keep the reveal consistent and the bottom edge straight. This first course sets the tone for the entire roof, so treat it like the foundation of the finished look.
Most asphalt shingle systems are designed to be installed from the bottom up. Each new course overlaps the one below it, helping water flow down and off the roof instead of underneath it. That overlapping pattern is the whole game.
Step 9: Nail shingles correctly
Use the correct roofing nails for your product and deck, typically corrosion-resistant nails with proper head size and shank thickness. Nails should usually penetrate at least 3/4 inch into the wood deck or fully through the sheathing. That is not a suggestion. That is the difference between secure shingles and shingles that start making travel plans during the next windstorm.
Place nails in the manufacturer’s nailing zone. Many shingles use four nails per shingle under standard conditions, while high-wind areas, steep slopes, or specific products may require six. Nails should be driven flush, not underdriven and not blasted through the mat like you are trying to settle a personal dispute with the roof.
Step 10: Continue up the roof in staggered courses
Work your way up the roof, course by course, following the recommended offset or stagger pattern. Mix bundles as needed to help blend color variations. Keep checking alignment every few rows. Asphalt shingles are forgiving in small ways, but not in big, visible, roof-wide ways.
If you are working on a simple gable roof, this part becomes pleasantly repetitive. If you are working around dormers, chimneys, plumbing vents, or skylights, welcome to the section where flashing details become the stars of the show.
Step 11: Flash valleys, walls, and penetrations properly
Valleys are one of the most leak-prone areas on any roof. Depending on the system, you may use an open valley or a closed-cut valley. Manufacturers differ on their preferred method, so follow the exact installation details for the shingle line you are using.
At chimneys, sidewalls, front walls, and roof penetrations, install step flashing, counterflashing, pipe boots, and other required flashings carefully. A roof rarely fails in the middle of a clean, open field of shingles. It usually fails where materials meet, overlap, turn, or interrupt. Translation: flashing is where good roofs prove they are good.
Step 12: Install hip and ridge shingles
Once field shingles are complete, cap the hips and ridge using the matching ridge product or cut caps where appropriate. Start at the end opposite the prevailing wind direction so the overlaps shed water more effectively. Nail each cap according to the manufacturer’s instructions, keeping the exposure consistent for a clean finish.
If your roof uses a ridge vent, make sure the vent is installed correctly before adding ridge caps. This is one of those details that separates “finished” from “finished properly.”
Step 13: Clean up and inspect everything
Remove all scraps, extra nails, packaging, and old materials. Run a magnetic sweeper around the house, driveway, and landscaping. Then inspect the roof from multiple angles. Look for crooked lines, exposed nails, damaged shingles, missed sealant points, or poor flashing transitions. It is much easier to fix a mistake now than after the roof has introduced itself to a thunderstorm.
Common Mistakes to Avoid
- Ignoring manufacturer instructions: Not all shingles install exactly the same way.
- Bad nailing: High nails, angled nails, overdriven nails, and too few nails can all shorten roof life.
- Skipping starter strips: This weakens both water shedding and wind resistance.
- Poor flashing work: Beautiful shingles cannot compensate for lazy flashing.
- Installing on the wrong slope: Low-slope roofs need special treatment.
- Working on a wet roof: Slippery shingles are a terrible dance partner.
- Failing to inspect the deck: New shingles over bad decking is just expensive denial.
DIY or Hire a Pro?
If you are roofing a small shed, simple garage, or low, straightforward roof section, a skilled DIY approach may be realistic. If you are dealing with a two-story home, a steep pitch, complicated flashing, multiple valleys, or limited roofing experience, hiring a professional is often the smarter move.
A roof is not just a cosmetic layer. It is a water-management system, a wind-resistance system, and a warranty-sensitive system all at once. One misstep can create leaks, blow-offs, or voided coverage. Sometimes the cheapest roof is the one you only pay for once.
Experience and Practical Lessons From Real Asphalt Shingle Jobs
One of the biggest lessons people learn during an asphalt shingle installation is that roofing is less about speed and more about rhythm. On paper, the process looks simple: tear off, underlayment, starter, shingles, ridge. In reality, every stage depends on the care taken in the stage before it. If the deck is uneven, the shingles telegraph that flaw. If the starter strip is sloppy, the first course follows it like a loyal but unfortunate friend. If the nailing pattern drifts, the whole roof may look fine from the driveway but fail where it matters most: in wind and weather.
Many first-time installers are surprised by how much time is spent on setup and details rather than on laying shingles. The glamorous image is someone rapidly nailing down rows of shingles like a machine. The real experience is slower and more methodical. You check the weather. You protect landscaping. You keep bundles staged carefully so they do not overload one area. You snap more chalk lines than you thought possible. You stop to measure. Then you measure again because roofs have a funny way of punishing confidence.
Another common experience is discovering that roof penetrations are where confidence goes to be humbled. A large open roof plane is fairly predictable. Chimneys, vent pipes, skylights, and wall intersections are where roofing becomes a craft. Homeowners often assume shingles do the waterproofing. In truth, shingles shed most of the water, but flashing is what keeps the trouble spots from turning into interior stains, rotten decking, and regret.
There is also the physical side of the work. Asphalt shingles are heavier than many people expect, especially when you are carrying bundles up a ladder or moving them across a hot roof. Summer roofing can feel like standing on a giant skillet. Cooler weather is often more comfortable, but cold shingles can be less cooperative and seal strips may take longer to activate. The job teaches respect for timing, temperature, and fatigue. Most roofing mistakes do not happen because someone lacked a YouTube video. They happen because someone got tired, rushed the last section, and told themselves, “That is probably fine.” Roofing has a very sharp sense of humor about that phrase.
Experienced installers also learn the value of consistency. A decent roof is built from dozens of small repeated actions done correctly: straight starter course, correct overhang, proper nail placement, clean stagger pattern, neat flashing transitions, careful ridge work, thorough cleanup. None of those steps looks dramatic by itself, but together they create a roof that looks clean, performs well, and ages gracefully.
Perhaps the most useful practical lesson is this: a roof rewards patience. If something looks off in the early rows, stop and fix it. If a flashing detail feels confusing, look it up before you nail through the wrong place. If weather is turning ugly, cover the deck and come back later. Roofing is one of those jobs where a single cautious hour can save days of repair work later. And in the world of home improvement, that is about as close to magic as it gets.
Final Thoughts
Installing asphalt shingles is absolutely doable in the right situation, but it is not a casual weekend craft. It requires planning, safe working habits, attention to detail, and respect for both code and manufacturer instructions. When done properly, an asphalt shingle roof offers a strong mix of value, durability, and curb appeal. When done carelessly, it becomes an expensive lesson with excellent views of your attic leaks.
If you approach the job methodically, prepare the roof deck correctly, install the layers in the right order, nail accurately, and treat flashing details like they matter, you can build a roof that not only looks sharp but also performs the way it should. Simple is good. Careful is better. On a roof, careful wins every time.