If your hair has ever looked a little too flat, a little too serious, or a little too “I woke up five minutes before this meeting,” then a bump hairstyle may be your new best friend. A bump is simply that lifted section at the crown that gives your hair shape, height, and a bit of retro charm without forcing you to commit to a full-on helmet of hairspray. It can be soft and modern, polished and dressy, or playful enough for everyday wear.
The magic of a bump hairstyle is that it makes even simple hair ideas look intentional. A regular half-up style suddenly looks elegant. A basic ponytail gets personality. A bun goes from “I’m cleaning the kitchen” to “I might accidentally look expensive.” Better yet, you do not need a glam squad, a mysterious beauty degree, or the patience of a saint. You just need a few styling basics, a little teasing at the crown, and a willingness to let your comb do some light cardio.
In this guide, you will learn three easy ways to do hair styles with a bump: a classic half-up bump, a ponytail with crown volume, and a soft updo with a lifted top. Along the way, we will cover prep, common mistakes, and real-life experience tips so your style looks full instead of fussy.
What You Need Before You Start
Before creating any hair bump style, set yourself up for success. The bump itself is not complicated, but it does work best when your hair has some grip and structure.
- A teasing comb or fine-tooth comb: This helps you backcomb the crown without turning your hair into an emotional support bird’s nest.
- Dry shampoo or texturizing spray: Great for adding grip at the roots, especially if your hair is soft, silky, or freshly washed.
- Light or medium-hold hairspray: You want lift that lasts, not a crunchy sculpture.
- Bobby pins: Choose ones close to your hair color for a cleaner finish.
- A smoothing brush: This is for the top layer only, so your bump looks polished on the outside.
- Optional: Curling iron, small clear elastic, or a cute accessory like a ribbon, clip, or headband.
Important prep tip: Hair should be dry and detangled before you tease it. If your hair is too clean and slippery, a mist of dry shampoo at the roots can make a world of difference. If your hair is naturally fine, adding a little mousse or root-lifting product before blow-drying can also help the bump hold its shape longer.
Method 1: The Classic Half-Up Bump
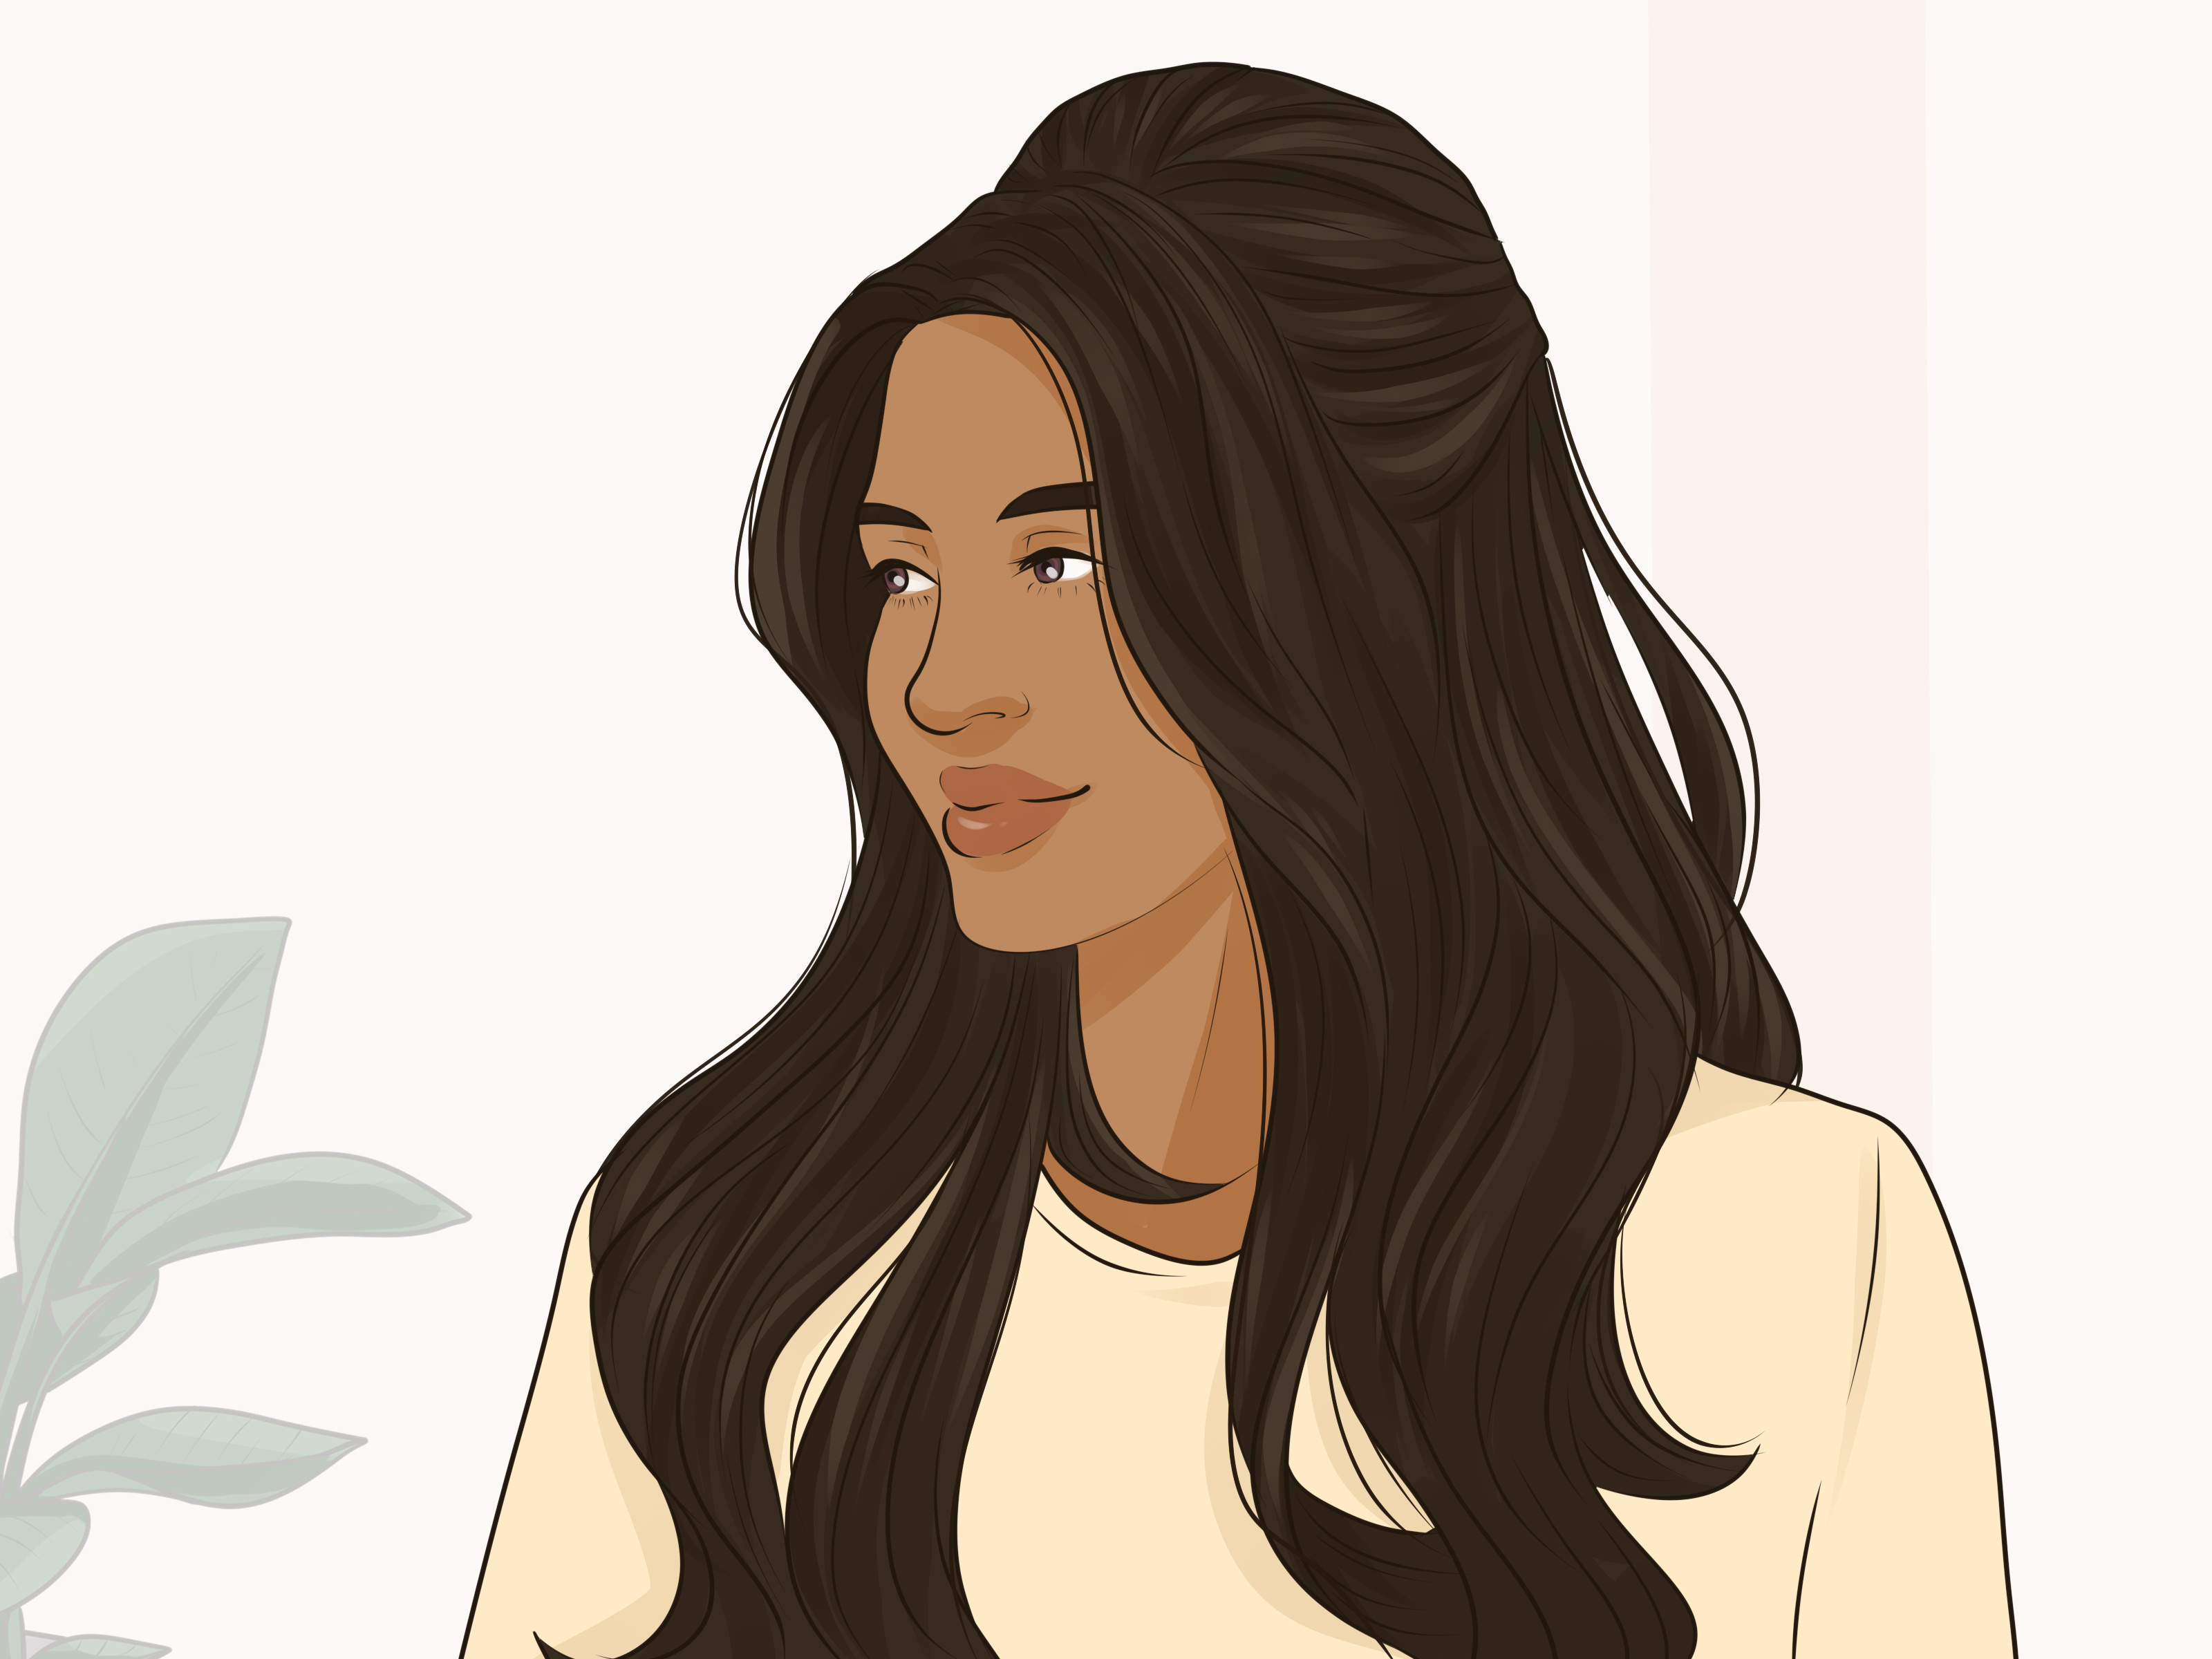
This is the easiest and most wearable version of a bump hairstyle. It gives you height at the crown while keeping the rest of your hair down, which means it works for casual days, dinner plans, date nights, weddings, and any event where you want your hair to say, “Yes, I did make an effort,” without sounding smug.
Why This Style Works
A half-up hairstyle with a bump adds volume without requiring a full updo. It is flattering on straight, wavy, and lightly curled hair, and it works especially well when you want to keep your face framed but still enjoy movement through the lengths.
How to Do It
- Section the crown: Take a horseshoe-shaped section from the top of your head, starting near the temples and moving back toward the crown.
- Clip out the front layer: Separate a thin outer layer from this section and clip it forward. This piece will cover the teasing later and make everything look neat.
- Tease the underneath: Hold the remaining crown section straight up. Using your teasing comb, backcomb from mid-length toward the roots in short, gentle strokes. Focus on the area near the crown instead of attacking the whole section like it insulted your family.
- Set with spray: Mist the teased section lightly with hairspray.
- Smooth the top: Unclip the thin outer layer and gently brush it over the teased base. Do not press hard. You are covering the cushion, not flattening the sofa.
- Secure the half-up section: Gather the sides back and pin them underneath the bump. You can also use a small elastic first, then hide it with a section of hair.
- Finish the lengths: Leave the rest of your hair straight, add loose curls, or flip the ends slightly for a softer finish.
Best Occasions for This Look
This style is ideal for brunch, graduation photos, bridal showers, church, office events, or any time you want a little extra polish. If your hair is shoulder-length, curl the ends lightly first to create more balance between the lifted crown and the hair left down.
Method 2: The Ponytail With a Crown Bump
If the half-up bump is the friendly overachiever, the ponytail with a bump is the cooler cousin. It is sleek, flattering, and surprisingly versatile. A bump at the crown stops a ponytail from looking flat or severe, which is especially useful if your hair is fine or if you want more shape from the side view.
Why This Style Works
A ponytail naturally pulls hair back, which can sometimes make the crown look a little limp. Adding a bump first gives the entire style more lift, and it also creates that softly polished silhouette people often associate with dressed-up ponytails.
How to Do It
- Prep the roots: Spray dry shampoo or texture spray through the crown if your hair is silky or freshly washed.
- Create the bump base: Section off the crown, clip out a thin top layer, and tease the underneath exactly as you did in Method 1.
- Lightly spray: Use a brushable hairspray to hold the cushion in place.
- Smooth the surface: Lay the top layer over the teased section and smooth gently.
- Gather the ponytail: Pull the rest of your hair into a ponytail. A mid-height ponytail is usually the most flattering with a bump, but a low ponytail looks elegant and a high ponytail looks youthful and bold.
- Secure carefully: Tie the ponytail without pulling so tightly that the bump collapses.
- Adjust the crown: Use the tail of your comb or your fingertips to lift the bump slightly if needed.
- Hide the elastic: Wrap a small section of hair around the base of the ponytail and pin it underneath.
Ways to Customize It
- For a soft romantic version: Leave a few face-framing pieces out and curl the ponytail.
- For a clean office style: Keep the ponytail smooth and use a low or mid placement.
- For a playful look: Add a velvet bow, statement barrette, or ribbon.
This version is especially good for second-day hair because the natural texture helps the bump stay put. Translation: your hair is finally being rewarded for not cooperating yesterday.
Method 3: The Soft Updo or Bun With a Bump
When you want a style that feels a little more formal, a bun hairstyle with a bump is a solid choice. This look combines crown volume with the structure of an updo, so it is ideal for weddings, parties, holiday events, or those moments when you want to look elegant but still like yourself.
Why This Style Works
The bump gives the updo balance. Without some lift at the crown, a bun can look too flat from the front. With a bit of volume, the style feels softer, fuller, and more intentional.
How to Do It
- Start with texture: This style holds best on hair with some grit. Dry shampoo, texture spray, or light curls can help.
- Section and tease the crown: Again, save a thin top layer, then tease the hair underneath at the crown.
- Smooth the outer layer: Cover the teased section gently so it looks polished.
- Gather the hair back: Pull your hair into a low ponytail or low loose gather at the nape.
- Create the bun: Twist the ponytail into a bun and pin it in place. For a softer style, pull a few sections loose around the ears and nape.
- Check the profile: View the style from the side. The bump should look lifted but not overly dramatic unless you are intentionally going for a retro bouffant moment.
- Finish with hairspray: Lock in the shape without soaking the hair.
Best Variations
You can make this look sleek and formal, messy and romantic, or even slightly retro. Add a braid around the bun, tuck in a jeweled pin, or tease the bump a bit more if you want a vintage-inspired finish. If your hair is short to medium, use smaller pins and work in sections instead of fighting the whole style at once.
Common Mistakes to Avoid
Even an easy bump hairstyle tutorial can go sideways if you miss the basics. Here are the mistakes people make most often and how to fix them.
1. Teasing the Entire Section
You only need to tease the inner part of the crown section. The outer layer should stay smooth so it can hide the teasing underneath.
2. Pressing Too Hard When Smoothing
If you brush the top layer too aggressively, the bump disappears. Use a gentle hand. Think “escort the hair into place,” not “discipline it.”
3. Using Too Much Product
Too much hairspray or heavy product can make the crown stiff and dull. A light mist goes a long way.
4. Pulling the Style Too Tight
A hairstyle that is too tight can flatten the bump and create unnecessary tension at the hairline. You want secure, not scalp-hostile.
5. Skipping Texture
Freshly washed hair can be too slippery to hold a bump. Dry shampoo, mousse, or a little texturizing spray can rescue the situation quickly.
How to Make a Bump Hairstyle Last Longer
- Use dry shampoo at the roots before styling for grip and lift.
- Tease in small sections instead of one giant chunk.
- Set the teased area lightly with hairspray before smoothing it over.
- Use bobby pins in a crisscross pattern for better hold.
- Choose a style that suits your hair type. Fine hair often does best with a subtle bump, while thicker hair can handle more height.
- If humidity is high, finish with anti-frizz spray on the outer layer only.
Real-Life Experiences With Hair Styles That Have a Bump
Anyone who has tried a bump hairstyle more than once learns very quickly that the look is less about chasing giant height and more about finding the sweet spot. The first time many people try it, they either barely tease the crown and wonder why nothing happened, or they go full retro rocket ship and end up looking like they are headed to a themed costume brunch. The good news is that the perfect bump usually lives somewhere in the middle.
One of the most common real-life experiences is discovering that second-day hair is often easier to style than freshly washed hair. Hair with a little texture tends to hold the teasing better, and the bump stays lifted instead of sliding flat by lunchtime. People with fine hair often notice that a dry shampoo at the roots changes everything. Without it, the style may look good for ten minutes and then quietly give up. With it, the crown has grip, the pins stay put, and the whole style looks fuller.
Another experience people mention is how much the outer layer matters. You can have the best teased base in the world, but if the top layer is not smoothed gently, the hairstyle can look messy instead of polished. This is where patience pays off. A soft brush stroke, a light hand, and one or two well-placed pins can make the difference between “pretty volume” and “I fought a curtain on the way here.”
People also learn that the occasion matters. A soft half-up bump works beautifully for daytime events, family photos, dinner dates, and even school functions because it gives shape without looking too formal. A ponytail with a bump is often the surprise favorite because it feels practical yet flattering. It works on busy days, holds up well, and gives the face a little lift without requiring a lot of maintenance. Then there is the updo version, which tends to become the go-to choice for weddings, holiday parties, and events where people want a polished hairstyle that still has personality.
Humidity, of course, is the plot twist nobody invited. In real life, weather can turn a carefully shaped crown into a soft sigh. That is why experienced stylers often rely on layering hold: a little texture before teasing, a little spray after teasing, and one last finishing mist at the end. Not a chemical thunderstorm. Just enough support to keep the style from collapsing during the first warm car ride.
There is also the confidence factor. Many people say a bump hairstyle changes the whole look of their face and outfit. It adds shape from the side, makes ponytails look less plain, and gives buns a more elegant front view. Even a subtle bump can make hair appear thicker and more styled. That is probably why this look keeps coming back. It is simple, flattering, and adaptable. Once you figure out how much teasing your own hair likes, the style stops feeling tricky and starts feeling dependable. And honestly, dependable hair is a beautiful thing.
Final Thoughts
If you want hair with more shape, more presence, and more “yes, I absolutely meant to look this put together,” learning how to create a bump is worth the effort. The classic half-up bump is easy and romantic, the ponytail with a bump is polished and modern, and the updo with crown volume is ideal when you want something dressier.
The secret is not making the bump enormous. It is creating just enough lift at the crown to add balance, softness, and style. Use light teasing, smooth the top gently, and choose the version that fits your hair type and occasion. Once you get the hang of it, this technique becomes one of those rare beauty skills that actually earns its place in your routine.