Starting a sewing machine for the first time can feel a little like trying to launch a tiny fabric-powered spaceship. There are knobs, dials, a needle that looks very serious about its job, and a foot pedal waiting on the floor like it has somewhere important to be. The good news? Once you understand the basic order of operations, learning how to start a sewing machine becomes much less mysteriousand much more fun.
Whether you have a beginner-friendly Brother, SINGER, Janome, BERNINA, or another home sewing machine, most models follow the same core routine: set up the machine, wind and insert the bobbin, thread the upper path, choose a stitch, place your fabric, lower the presser foot, and sew slowly. That is the whole magic trick. No wand required, though a seam ripper may become your emotional support tool.
This guide breaks the process into eight beginner-friendly steps. You will also find practical tips, common mistakes to avoid, and real-world sewing experiences at the end to help you start with confidence instead of tangled thread and dramatic sighing.
Why Learning How to Start a Sewing Machine Matters
A sewing machine is not just a tool for making clothes. It can help you hem pants, repair pillowcases, create tote bags, sew curtains, customize costumes, and rescue many items that would otherwise be tossed into the “I’ll fix it someday” pile. Knowing how to start a sewing machine correctly also prevents many classic beginner problems, including skipped stitches, thread nests, broken needles, puckered fabric, and the terrifying clunk that makes everyone in the room suddenly become a mechanic.
The first lesson is simple: your machine wants to cooperate, but it needs to be threaded and prepared properly. Threading, bobbin placement, needle position, presser foot use, and speed control all matter. Think of it like making a sandwich. If you put the bread on the outside, things go well. If you put the lettuce in your pocket and call it lunch, chaos follows.
Before You Start: Get to Know the Main Parts
Before pressing the pedal, take a minute to identify the main parts of your sewing machine. Most home machines include a spool pin for the thread, bobbin winder, handwheel, thread guides, tension dial, take-up lever, needle clamp, presser foot, feed dogs, stitch selector, reverse lever or button, power switch, and foot controller.
The presser foot holds the fabric in place. The feed dogs move the fabric forward. The needle carries the upper thread through the fabric. The bobbin supplies the lower thread. The foot pedal controls speed. The handwheel moves the needle manually. Once these parts stop looking like random metal doodads and start looking like a team, sewing becomes much easier.
How to Start a Sewing Machine: 8 Steps
Step 1: Place the Machine on a Stable Surface
Set your sewing machine on a sturdy table or desk with enough room for your fabric to move freely. Avoid soft surfaces like beds or couches, even if sewing in pajamas sounds extremely appealing. A wobbly machine can cause uneven stitches, vibration, and frustration.
Plug the power cord into the machine and then into the wall outlet. Attach the foot pedal if your machine uses one. Keep the pedal flat on the floor where your foot can reach it comfortably. Make sure the power switch is turned off while you are threading the needle or working near the needle area.
Good lighting matters, too. If your machine has a built-in lamp, use it. If not, add a desk lamp. Your eyes will thank you, and your seams will look less like they were guided by a raccoon on roller skates.
Step 2: Choose the Right Needle and Thread
For most beginner projects, a universal needle and all-purpose polyester thread work well. If you are sewing medium-weight cotton, a size 80/12 universal needle is a common choice. For heavier fabrics like denim or canvas, use a stronger needle designed for thicker material. For lightweight fabrics, choose a finer needle.
Check the needle before sewing. It should be straight, sharp, and inserted correctly with the flat side facing the proper direction according to your machine manual. A bent or dull needle can cause skipped stitches, fabric snags, and thread breakage. In other words, the needle may be tiny, but it has main-character energy.
Use good-quality thread. Old thread can become weak, fuzzy, or brittle. If the thread snaps easily when you pull it, save it for decorative crafts instead of machine sewing. Matching the thread weight to your fabric helps the stitches form cleanly and keeps the machine running smoothly.
Step 3: Wind the Bobbin
The bobbin is the small spool that holds the lower thread. Without it, the machine cannot form a proper stitch. To wind a bobbin, place your thread spool on the spool pin. Guide the thread through the bobbin-winding path shown on your machine. Most machines have printed arrows or a small diagram on top.
Insert the thread through the bobbin hole, place the bobbin on the bobbin winder, and push the winder into position. Hold the thread tail lightly, then press the foot pedal or start button. After a few turns, stop and trim the excess thread tail so it does not flop around like a tiny lasso. Continue winding until the bobbin is full or the machine stops automatically.
A well-wound bobbin should look smooth and even. If it looks lumpy, loose, or cone-shaped, rewind it. A messy bobbin can lead to uneven tension, snarled thread, and language your sewing teacher would not put on a sampler.
Step 4: Insert the Bobbin Correctly
Bobbin placement depends on your machine. Some machines use a top-loading drop-in bobbin, while others use a front-loading bobbin case. Follow the diagram on your machine or in the manual. The thread must unwind in the correct direction and pass through the bobbin tension slot.
For many drop-in bobbin machines, the bobbin sits under a clear cover near the needle plate. You place the bobbin in the case, pull the thread through the slot, follow the guide, and replace the cover. For front-loading machines, you insert the bobbin into a removable bobbin case, pull the thread through the case slot, and snap the case into the shuttle area.
If your machine suddenly makes a nest of thread under the fabric, the bobbin is one of the first places to check. Remove it, reinsert it, and make sure the thread is seated correctly. Many “broken” sewing machines are actually just machines politely asking to be rethreaded.
Step 5: Thread the Upper Thread Path
Raise the presser foot before threading the upper thread. This opens the tension discs so the thread can slip into the correct path. Raise the needle to its highest position by turning the handwheel toward you. Place the spool on the spool pin and follow the numbered guides on the machine.
Most machines guide the thread down one channel, around the tension area, up through the take-up lever, back down through the needle bar guide, and finally through the needle eye. Thread the needle from front to back or side to side depending on your machine. If your machine has an automatic needle threader, celebrate this small luxury like someone handed you a cupcake.
Pull several inches of thread through the needle. Also make sure the bobbin thread is available. On some machines, turning the handwheel once brings the bobbin thread up through the needle plate. On quick-set bobbin models, you may be able to start sewing without manually pulling the bobbin thread up.
Step 6: Select a Basic Stitch and Adjust Settings
For your first stitches, choose a straight stitch. Set the stitch length to about 2.5 mm, which is a common beginner-friendly setting for medium-weight woven fabric. If your machine has a stitch width setting, set it to zero for straight stitching unless your model handles this automatically.
Set the thread tension to the standard setting recommended by the manual. On many machines, that is around the middle of the tension dial. Do not panic about tension yet. Tension is important, but beginners often adjust it too quickly. If stitches look odd, first rethread the machine and check the bobbin before twisting the tension dial like you are cracking a safe.
Use scrap fabric for your first test. A folded piece of cotton is perfect. Testing on scraps helps you confirm the stitch length, tension, needle, and thread before sewing your actual project.
Step 7: Position the Fabric and Lower the Presser Foot
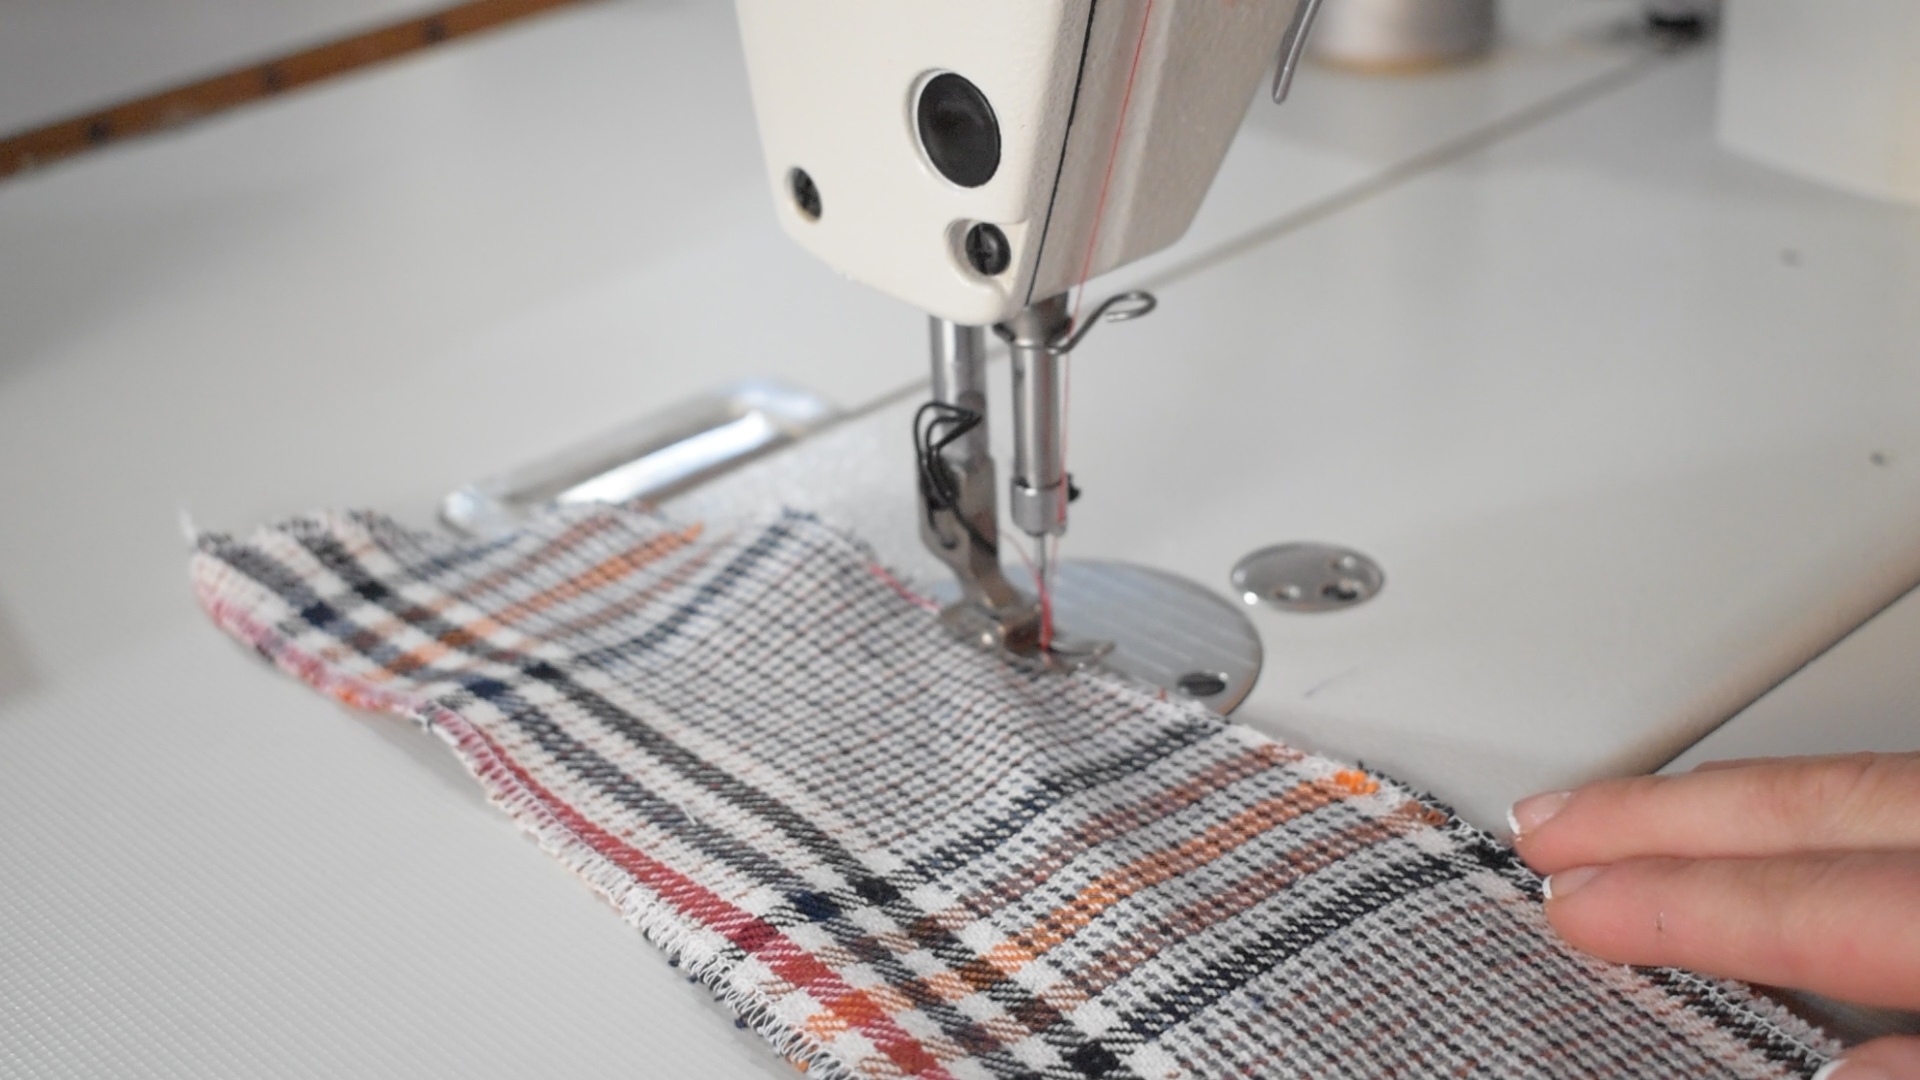
Place your fabric under the presser foot with the edge aligned to a seam guide on the needle plate. Common seam allowances include 3/8 inch, 1/2 inch, and 5/8 inch, depending on the project. Lower the presser foot before you sew. This step is easy to forget, but the machine will not feed the fabric properly without it.
Hold the thread tails gently toward the back of the machine for the first few stitches. This helps prevent the thread from being pulled into the needle plate. Do not pull the fabric while sewing. Let the feed dogs move it. Your job is to guide the fabric, not wrestle it into submission.
Keep your hands on either side of the fabric, safely away from the needle. Sew slowly at first. Speed will come later. Precision is more useful than drama, unless you are making a cape, in which case a little drama is allowed.
Step 8: Start Sewing Slowly and Backstitch
Press the foot pedal gently. The more pressure you apply, the faster many machines sew. If your machine has a speed control slider, set it low while learning. Sew two or three stitches, then press the reverse lever or button to backstitch. Backstitching locks the seam so it does not unravel.
After backstitching, sew forward along your seam line. Keep your eyes on the seam guide, not directly on the needle. This helps your stitching stay straighter. At the end of the seam, backstitch again, raise the needle, lift the presser foot, pull the fabric out, and trim the threads.
Congratulations. You have officially started a sewing machine and made stitches. This is the moment when many beginners look at a straight seam and think, “I am basically a fashion designer now.” Enjoy that feeling. It is part of the hobby.
Common Beginner Mistakes and How to Fix Them
The Machine Is Threaded with the Presser Foot Down
If you thread the machine while the presser foot is down, the upper thread may not enter the tension discs correctly. Raise the presser foot, remove the thread, and rethread from the beginning.
The Bobbin Is Inserted Backward
A backward bobbin can cause loose stitches, thread nests, or uneven feeding. Check the bobbin diagram on your machine and reinsert it correctly.
The Needle Is Dull, Bent, or Wrong for the Fabric
Needles wear out faster than beginners expect. If your machine skips stitches, makes popping sounds, or snags fabric, change the needle.
The Fabric Is Pulled Too Hard
Pulling the fabric can bend the needle and create uneven stitches. Let the feed dogs do the work. Guide gently, as if you are encouraging the fabric rather than dragging it to court.
The Thread Tails Are Too Short
Short thread tails can slip out of the needle when you begin sewing. Leave a few inches of upper and bobbin thread behind the presser foot before starting.
Helpful Tips for First-Time Sewers
Start with woven cotton rather than stretchy fabric. Cotton is stable, forgiving, and less likely to wiggle around. Avoid slippery satin, thick denim, and knits until you feel comfortable controlling the machine.
Practice sewing straight lines on scrap fabric or paper without thread. This helps you learn pedal control and seam alignment. You can also draw lines on fabric with a washable marker and follow them with the needle.
Clean the lint from the bobbin area regularly. Thread and fabric fibers build up over time. A small brush can help remove lint, but avoid blowing into the machine because moisture from your breath can encourage dust to stick.
Keep your manual nearby. Even experienced sewists check manuals. Every machine has its own threading path, bobbin style, presser foot system, and maintenance needs. The manual is not a boring booklet; it is a peace treaty between you and the machine.
Beginner Project Ideas After You Start Sewing
Once you can start the machine and sew a straight seam, choose simple projects that build confidence. Good first projects include a pillowcase, fabric bookmark, drawstring bag, napkin, tote bag, pajama pants, or simple curtain panel. These projects use basic seams and help you practice measuring, cutting, pinning, pressing, and stitching.
Avoid starting with fitted clothing if you are brand new. Garments require pattern reading, body measurements, curves, seam finishes, and sometimes zippers or buttonholes. That does not mean you cannot make clothes soon. It simply means your first project should not require three cups of coffee and a motivational speech.
Extra Experience: What Starting a Sewing Machine Really Teaches You
The first time I watched someone start a sewing machine, it looked effortless. Thread went here, fabric went there, the pedal moved, and suddenly two pieces of fabric became one. Then I tried it myself and discovered that “effortless” is usually the final version of “I have already made every mistake available.” That is actually great news for beginners, because mistakes are part of learning how to sew.
One of the biggest lessons is that sewing rewards patience. When a machine refuses to stitch properly, the answer is rarely to press the pedal harder. That only makes the problem faster and louder. The better approach is to stop, breathe, and check the basics. Is the presser foot down? Is the needle inserted correctly? Is the upper thread passing through the take-up lever? Is the bobbin facing the right direction? These small checks solve a surprising number of problems.
Another helpful experience is learning to sew on scraps before touching the real project. Beginners sometimes want to jump straight into the beautiful fabric, especially if it has flowers, dinosaurs, or tiny lemons on it. But scrap testing is the sewing version of tasting soup before serving it. It tells you whether the stitch length looks right, whether the thread color works, and whether the fabric behaves nicely under the presser foot.
Starting slowly also changes everything. Many new sewists treat the foot pedal like a car accelerator and accidentally launch the fabric across the table. A gentle press gives you more control. Some machines respond quickly, so practicing pedal pressure without fabric can help. Once your foot learns the difference between “slow stroll” and “sewing machine sprint,” your seams become much neater.
Pressing is another underrated habit. Sewing is not only stitching; it is also pressing seams flat as you go. A simple iron can make beginner projects look cleaner and more professional. Even a basic tote bag looks better when the seams are pressed. Skipping the iron may save two minutes, but it often costs the project its crisp finish.
The most important experience is realizing that a sewing machine is not scary. It is mechanical, logical, and fixable. When something goes wrong, it is usually a clue, not a disaster. Thread loops under the fabric? Rethread the upper path. Stitches skip? Change the needle. Fabric puckers? Check tension, needle size, and stitch length. Machine will not move? Make sure the bobbin winder is disengaged and the presser foot is down.
With each practice seam, the machine becomes more familiar. The sound of the motor becomes normal. The needle movement becomes less intimidating. Your hands learn how to guide fabric smoothly. Soon, starting the machine feels less like operating equipment and more like beginning a creative conversation. And once that happens, you may start looking at every curtain, shirt, pillow, and thrift-store bedsheet as “potential fabric.” This is normal. There is no known cure, but there are many lovely storage bins.
Conclusion
Learning how to start a sewing machine is the first real step toward sewing with confidence. Begin by setting up the machine safely, choosing the right needle and thread, winding and inserting the bobbin, threading the upper path, selecting a straight stitch, positioning the fabric, lowering the presser foot, and sewing slowly with a backstitch. Once you master these eight steps, you can move from practice scraps to real beginner projects with far less stress.
Remember, sewing is a skill built stitch by stitch. Your first seam does not need to be perfect. It just needs to exist. Every neat hem, handmade bag, repaired shirt, and cozy pillow starts with the same simple moment: turning on the machine, lowering the presser foot, and giving the pedal a gentle press.